
“Did you ever find yourself with a craving that just won’t quit, especially when friends come over?” If you’ve been searching for the ultimate party-worthy dish that’s easy to make and sure to impress, then look no further than these delightful French Dip Squares! This recipe transforms the classic French Dip sandwich into shareable squares that combine flaky crescent rolls, tender roast beef, and gooey Swiss cheese, making it a crowd-pleaser at any gathering. Plus, they’re incredibly convenient—you can whip them up in no time and serve them with a warm, savory beef broth for dipping. Whether it’s for a game day, a family dinner, or just a cozy night in, these French Dip Squares will quickly become a favorite. What toppings or dips would you add to customize your own version?
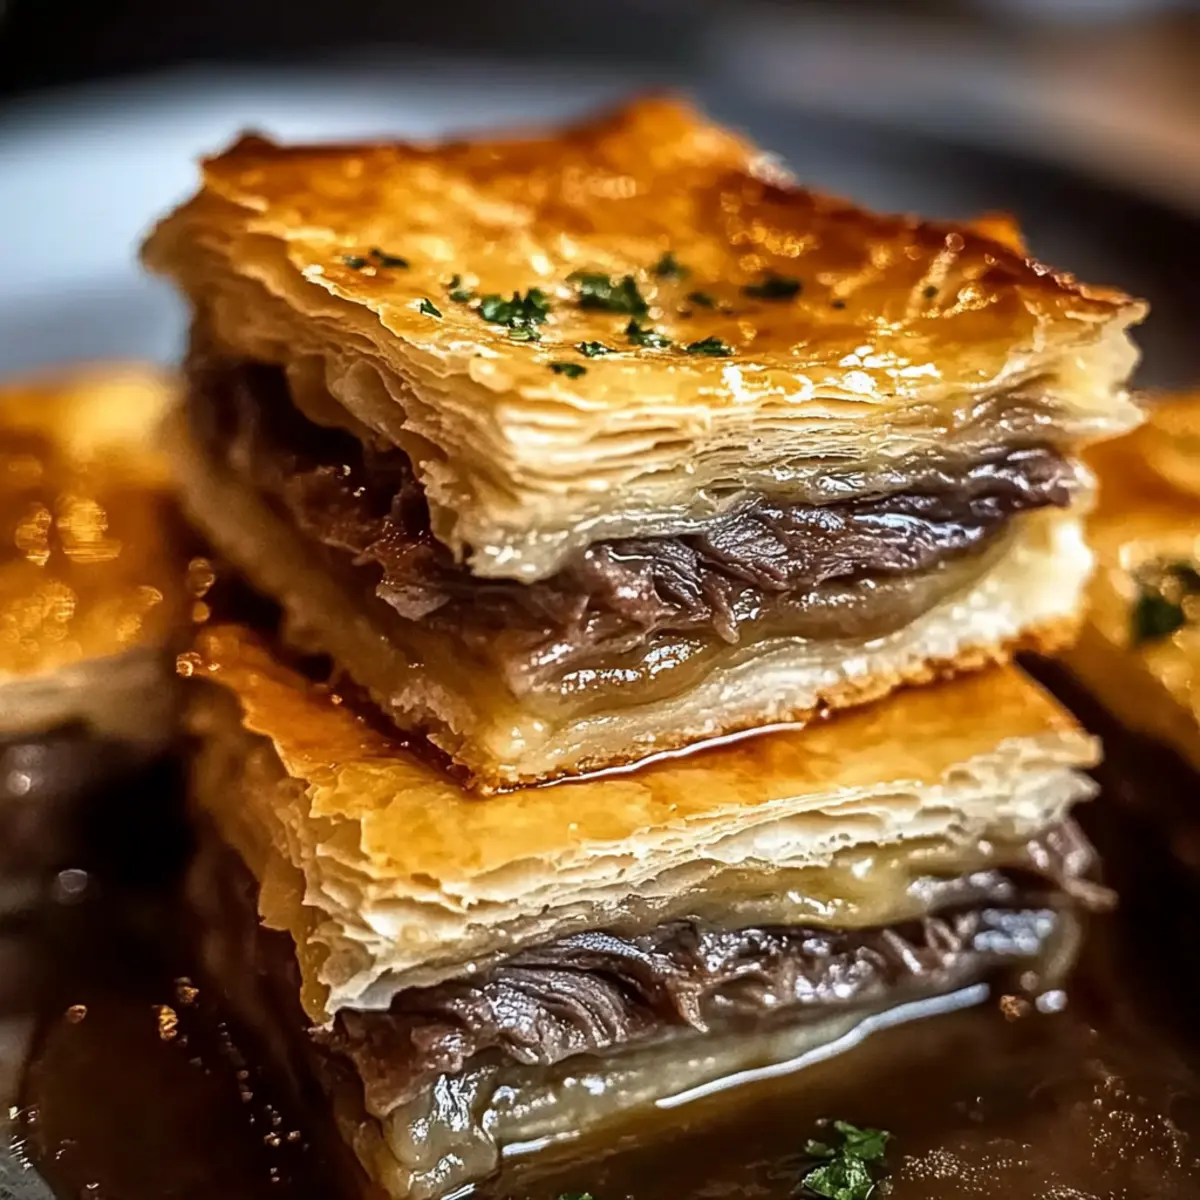
Why Will You Love French Dip Squares?
Easy to Make: This recipe is uncomplicated and perfect for cooks of all levels. Just layer, bake, and enjoy!
Crowd-Pleasing Flavor: The combination of tender roast beef, melty Swiss cheese, and savory broth is irresistible, making these squares a hit at any gathering.
Convenient and Shareable: Cut into bite-sized squares, they’re great for parties and casual dinners, allowing everyone to easily indulge.
Versatile Options: Feel free to swap ingredients! Try turkey or ham instead of beef, or switch up the cheese for a fun twist.
Perfect for Dipping: Don’t forget the warm beef broth! It enhances each bite, creating a delightful experience reminiscent of the traditional French Dip sandwich.
For more delicious options, check out these Baked French Dip or French Onion Butter recipes!
French Dip Squares Ingredients
• Create the perfect blend for your flavorful dish!
For the Dough
- Refrigerated Crescent Rolls – They form a flaky and buttery crust, resembling traditional bread in a French Dip sandwich.
- Melted Butter – Adds richness and helps achieve that beautiful golden-brown crust.
For the Filling
- Deli-sliced Roast Beef – The star ingredient that provides tender, savory bites without the need for cooking.
- Swiss Cheese – Melts wonderfully, offering a mild flavor that pairs perfectly with the roast beef.
- Dry Onion Soup Mix – Infuses delightful savory notes, enhancing the flavors of the beef and cheese.
- Worcestershire Sauce – Adds a tangy depth, tying the filling flavors together beautifully.
- Garlic Powder – Provides a subtle kick that elevates the overall taste.
For Dipping
- Beef Broth – Essential for dipping, it embodies the traditional French Dip experience, making each bite even more delicious.
These French Dip Squares are ready to be devoured—what will your dip of choice be?
Step‑by‑Step Instructions for French Dip Squares
Step 1: Preheat the Oven
Begin by preheating your oven to 375°F (190°C). While the oven warms up, grab a 9×13 inch baking dish and spray it generously with non-stick cooking spray to ensure your French Dip Squares come out effortlessly after baking.
Step 2: Layer the Dough
Unroll one can of refrigerated crescent rolls and lay it flat in the prepared baking dish. Be sure to press the seams together firmly to create a solid crust base. This will form the foundation for your delicious squares, ready to be filled.
Step 3: Add the Filling
Evenly layer the deli-sliced roast beef across the crescent roll dough, ensuring it covers the entire surface. Next, sprinkle grated Swiss cheese on top of the beef, letting the cheesy goodness melt into every square once baked. This combination of flavors brings the essence of classic French Dip right to your dish.
Step 4: Prepare the Sauce
In a medium bowl, combine the dry onion soup mix with melted butter, Worcestershire sauce, and garlic powder. Mix well until all ingredients are blended. Drizzle this savory sauce evenly over the cheese, ensuring each square of French Dip gets a punch of flavor from the rich sauce.
Step 5: Top with Dough
Open the second can of crescent rolls and carefully layer it over the top of the filling. Pinch the seams together just like before, sealing the filling within. This top layer will bake into a golden crust that holds all the delicious ingredients securely in the squares.
Step 6: Bake
Place the baking dish in your preheated oven and bake for 15-20 minutes. Keep an eye on the squares as they bake; you’ll know they’re ready when the top is beautifully golden brown and crispy. This lovely color indicates a perfect balance of texture with the gooey filling inside.
Step 7: Heat the Broth
While the French Dip Squares cool slightly, pour some beef broth into a small pot and warm it over medium-low heat. This broth will be the perfect dipping companion for your squares, enhancing the savory experience and elevating each delightful bite.
Step 8: Cool and Cut
Once baked, remove the French Dip Squares from the oven and let them cool in the baking dish for about 5-10 minutes. This cooling period ensures that the squares hold together when you cut them. Use a sharp knife to slice them into squares of desired sizes.
Step 9: Serve
Arrange the squares on a platter and serve with warm beef broth on the side. Encourage your guests to dip their squares into the broth, immersing them in the traditional French Dip experience. These shareable bites are now ready to be enjoyed at your gathering!
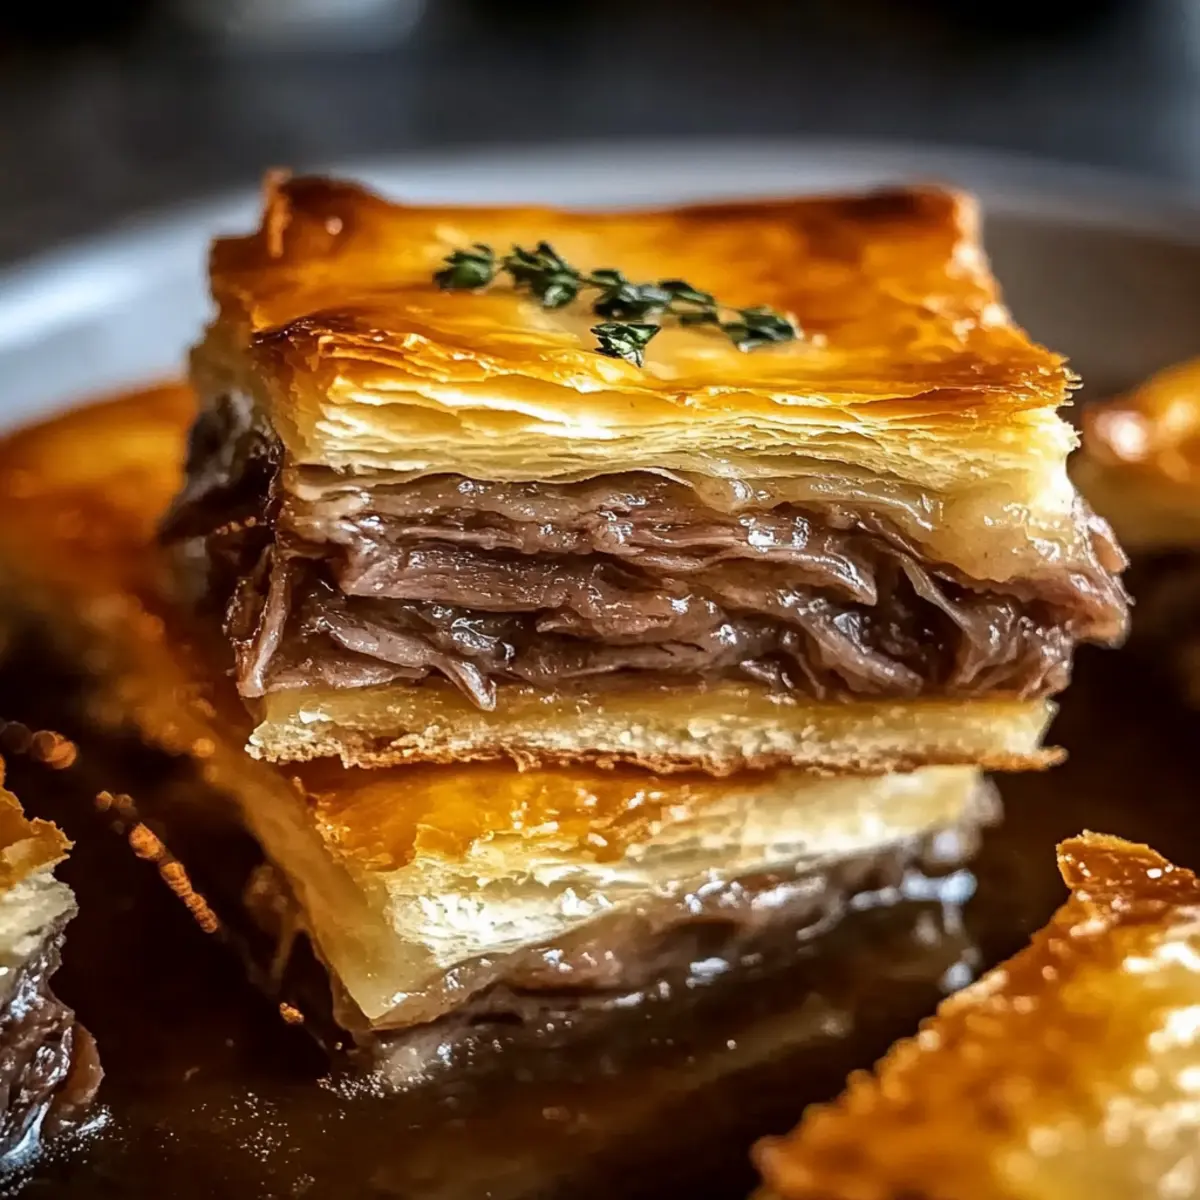
How to Store and Freeze French Dip Squares
Fridge: Store leftover French Dip Squares in an airtight container in the fridge for up to 3 days. Be sure to let them cool completely before sealing to maintain texture.
Freezer: For longer storage, wrap individual squares in plastic wrap and then place them in a freezer-safe bag. They can be frozen for up to 2 months.
Reheating: To reheat, thaw in the fridge overnight and bake at 350°F (175°C) for about 10-15 minutes, until warmed through. This will help retain the flaky crust.
Make-Ahead: Assemble the squares ahead of time and keep them in the fridge for up to 24 hours before baking. Just cover with foil to prevent drying out!
Expert Tips for French Dip Squares
-
Seal the Seams: Ensure the crescent roll seams are pinched tightly to prevent any filling from leaking while baking. A secure seal is key!
-
Watch the Baking: Keep an eye on the squares as they bake; if the top browns too quickly, cover with foil to avoid burning.
-
Cooling Time: Let the French Dip Squares cool for about 5-10 minutes before cutting. This helps maintain clean slices and prevents messy serving.
-
Broth Temperature: Serve the beef broth warm for dipping, enhancing the overall experience. A cold dip just doesn’t bring the same cozy comfort!
-
Ingredient Swaps: Don’t hesitate to mix it up! Try using turkey or ham for a lighter option, or add sautéed mushrooms for an extra layer of flavor.
Make Ahead Options
These French Dip Squares are perfect for meal prep enthusiasts looking to save time during busy weeknights! You can assemble the entire dish up to 24 hours in advance by layering the ingredients in the baking dish and covering it tightly with plastic wrap before refrigerating. To ensure they remain just as delicious, be sure to press the seams of the crescent rolls tightly to prevent leakage. When you’re ready to bake, simply remove the dish from the fridge, let it sit at room temperature for about 15 minutes, and then bake as directed. This way, you’ll have warm, flavorful French Dip Squares ready to impress your guests with minimal effort!
What to Serve with French Dip Squares?
Pairing these delightful squares with the right sides will elevate your meal to the next level.
-
Crispy French Fries: Perfectly golden fries add a satisfying crunch that contrasts beautifully with the soft, gooey squares.
-
Simple Green Salad: A fresh salad tossed with light vinaigrette balances the richness of the beef and cheese, adding a refreshing touch.
-
Steamed Broccoli: Lightly steamed broccoli offers a nutritious and colorful addition that complements the savory flavors of the dish.
-
Garlic Bread: Toasted garlic bread enriches the experience, providing an extra layer of flavor to enjoy alongside the French Dip Squares.
-
Stuffed Mushrooms: These bite-sized treats are savory and fun to eat, making them an excellent complement to the hearty squares.
-
Homemade Coleslaw: A tangy coleslaw brings a crunchy texture and creamy contrast, cutting through the richness of the beef and cheese.
-
Craft Beer or Red Wine: A nice craft beer or a smooth red wine enhances the dining experience, making the meal feel festive and special.
French Dip Squares Variations & Substitutions
Feel free to explore creativity! These savory squares can be easily customized with a few simple twists.
- Lean Option: Swap out roast beef for turkey or ham for a lighter, yet flavorful alternative. You’ll still enjoy that comforting essence without the heaviness.
- Cheese Change: Use provolone or cheddar cheese for a different flavor profile! Each cheese offers unique characteristics that can elevate the dish in delightful ways.
- Vegetable Boost: Add sautéed mushrooms or caramelized onions for extra depth. This not only enhances the flavor but also adds a wonderful texture to your squares.
- Spice It Up: Sprinkle in some red pepper flakes or hot sauce to elevate the heat level. A touch of spice can bring an exciting kick that truly tantalizes the taste buds!
- Herbal Infusion: Fresh herbs like thyme or parsley can be added to the filling for an aromatic twist. Herbs infuse freshness and vibrancy, making each bite feel extra special.
- Dairy-Free Delight: Use dairy-free cheese and a plant-based butter substitute to create a delicious, dairy-free version. It’s amazing how flavor harmonizes, catering to various diets!
- Bulk Up the Filling: Mix in cooked spinach or kale to sneak in some greens. This is a fantastic way to enhance nutrition while adding an unexpected savory element.
- Mini Version: Make bite-sized squares by using a mini muffin tray. Perfect for parties, these charming little bites pack all the flavor in a smaller form that’s ideal for guests!
For even more delicious ideas, consider checking out these scrumptious French Chicken Casserole or French Onion Butter recipes!
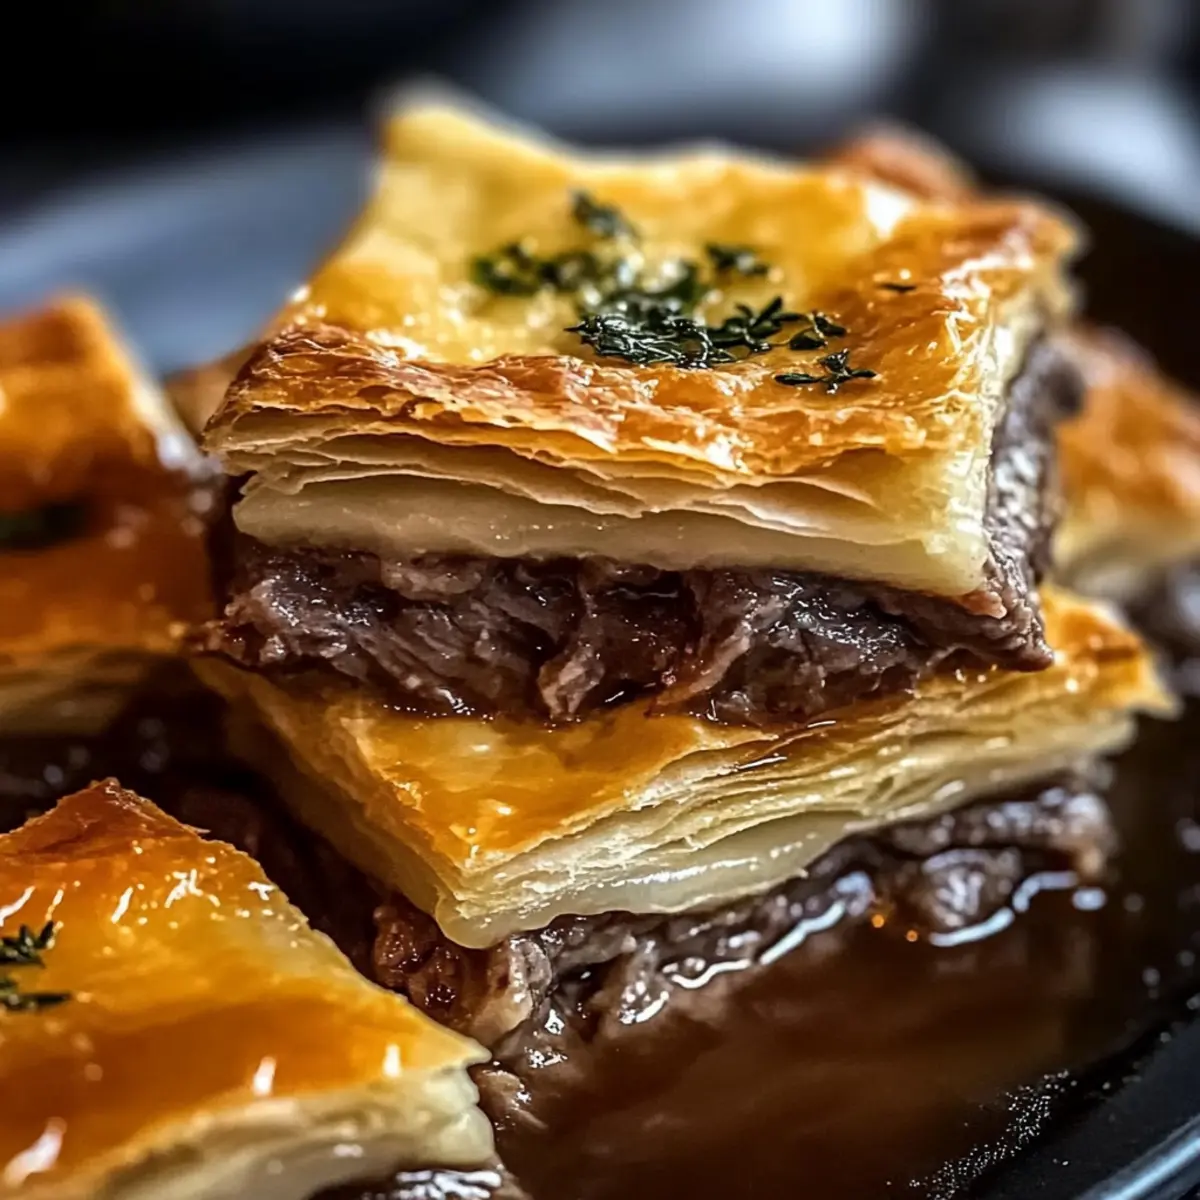
French Dip Squares Recipe FAQs
What type of roast beef should I use?
I recommend using thinly sliced deli roast beef, as it offers excellent flavor and tenderness without the need for extensive cooking. Choose a high-quality brand for the best taste.
How should I store leftover French Dip Squares?
Store any leftover squares in an airtight container in the refrigerator for up to 3 days. It’s best to let them cool completely before sealing to maintain their delightful texture and prevent them from becoming soggy.
Can I freeze French Dip Squares?
Absolutely! To freeze, wrap individual squares in plastic wrap and then place them in a freezer-safe bag. They can be frozen for up to 2 months. When you’re ready to enjoy them, thaw in the fridge overnight and reheat in an oven at 350°F (175°C) for about 10-15 minutes until warmed through.
What should I do if the crescent rolls are too sticky?
If the crescent rolls are sticky and hard to work with, try chilling the dough in the fridge for about 10-15 minutes. This can help firm it up and make it easier to handle. Also, ensure that your baking dish is well greased to prevent sticking.
Is there a way to make this dish healthier?
Certainly! You can use leaner slices of turkey or ham instead of roast beef. Additionally, substitute Swiss cheese for a lower-fat cheese option and consider using reduced-sodium broth to cut back on salt. Enjoying it with a side of veggies can also add to the nutritional value.
Can I prepare the French Dip Squares ahead of time?
Yes! Assemble the entire dish and cover it with foil in the refrigerator for up to 24 hours before baking. This makes party prep a breeze, allowing the flavors to meld while you focus on other party preparations!
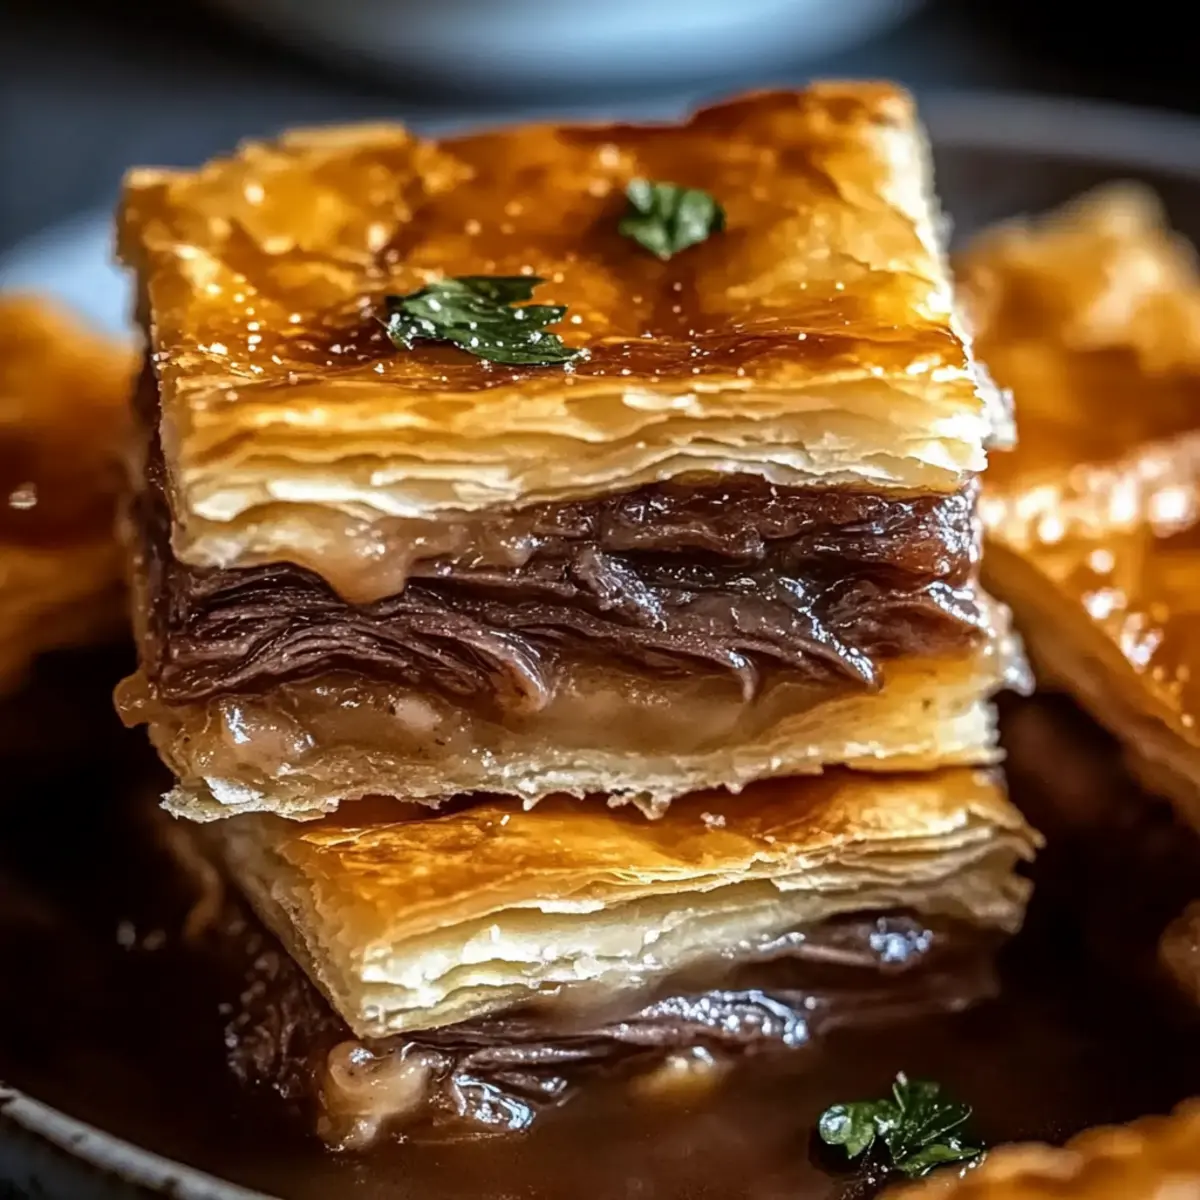
Savory French Dip Squares for Easy Party Pleasing Bites
Ingredients
Equipment
Method
- Preheat your oven to 375°F (190°C) and prepare a 9×13 inch baking dish with non-stick spray.
- Unroll one can of refrigerated crescent rolls and lay it flat in the prepared baking dish, pressing seams together.
- Layer the deli-sliced roast beef across the crescent roll dough and sprinkle grated Swiss cheese on top.
- In a medium bowl, combine the dry onion soup mix, melted butter, Worcestershire sauce, and garlic powder. Drizzle over the cheese.
- Lay the second can of crescent rolls on top, pinching seams to seal the filling.
- Bake for 15-20 minutes until golden brown and crispy.
- Heat beef broth in a small pot over medium-low heat.
- Let cool for 5-10 minutes before cutting into squares.
- Serve squares on a platter with warm beef broth on the side for dipping.
Leave a Reply