
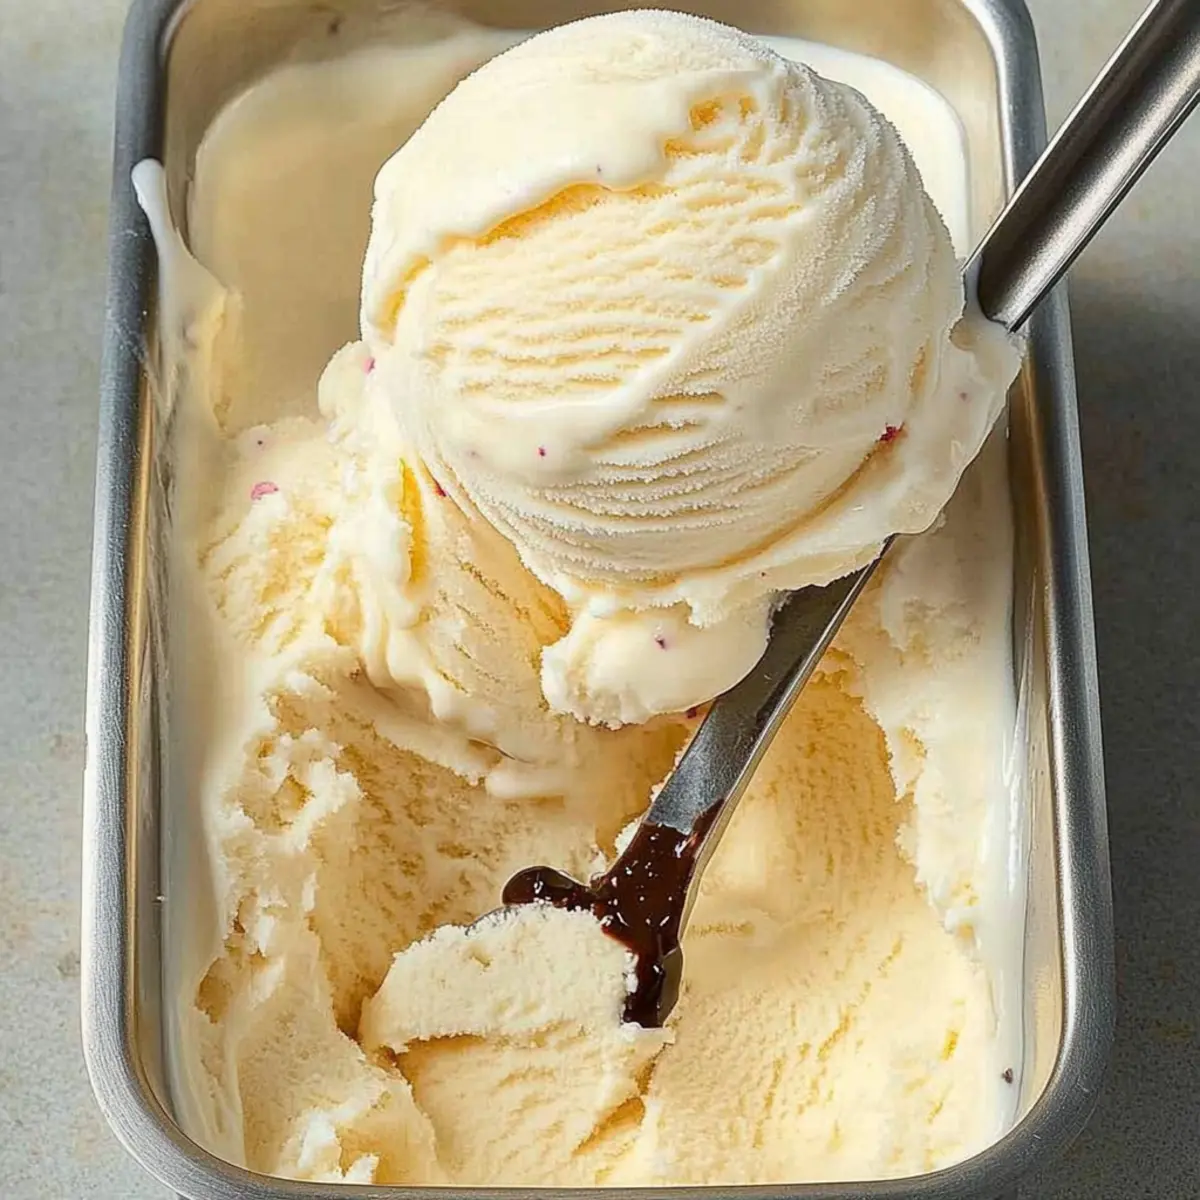
As I stood in my kitchen, the warm summer breeze dancing through the open window, I couldn’t help but think about the joys of homemade treats. There’s something magical about whipping up a batch of homemade vanilla ice cream that fills your home with sweet nostalgia. This easy vanilla ice cream recipe requires just four simple ingredients, making it a breeze for both seasoned bakers and curious newcomers. Not only is it a delightful crowd-pleaser, but it also opens up endless possibilities for customization—just picture your favorite mix-ins or creative flavors! You’ll love how this indulgent treat transforms hot days into refreshing moments of bliss. What unique take will you put on this classic creation?
Why is Homemade Vanilla Ice Cream Special?
Homemade ice cream brings a level of joy that store-bought just can’t match. Simplicity is at its core, with just four ingredients you likely already have. Customizable flavors mean every batch can reflect your mood! Add mix-ins, like chocolate chips or fresh fruit, for personalization. Perfect for sharing, this creamy treat instantly elevates any gathering, whether it’s just family or a summer barbecue with friends. Easy to make, you’ll find this recipe is a delightful way to create sweet memories while staying cool!
Vanilla Ice Cream Ingredients
• For the Base
- Heavy Whipping Cream – Provides richness and a creamy texture; substitute with whole milk for a lighter option, but note it may affect creaminess.
- Half-and-Half Cream – Adds a smooth consistency and balances the richness; whole milk can be used, but you might lose some of that luxurious texture.
- Sugar – Sweetens the mixture and lowers the freezing point for creaminess; feel free to adjust the amount to suit your sweetness preference.
- Vanilla Extract – Infuses the ice cream with its signature flavor; swapping in vanilla bean paste or actual vanilla beans can create a more complex taste.
This simple vanilla ice cream recipe lets you enjoy a delicious treat any time!
Step‑by‑Step Instructions for Easy Homemade Vanilla Ice Cream
Step 1: Mix the Base
In a large mixing bowl, combine the heavy whipping cream, half-and-half, sugar, and vanilla extract. Whisk vigorously for about 3-4 minutes until the sugar fully dissolves and the mixture is smooth and slightly thickened. You want the consistency to be creamy, so ensure all ingredients are well incorporated before proceeding.
Step 2: Prepare the Ice Cream Maker
Chill the ice cream maker bowl in the freezer for at least 24 hours prior to use. When you’re ready, take the bowl out and pour the vanilla ice cream mixture into it, filling it no more than two-thirds full. This will allow room for the ice cream to expand as it churns.
Step 3: Churn Until Creamy
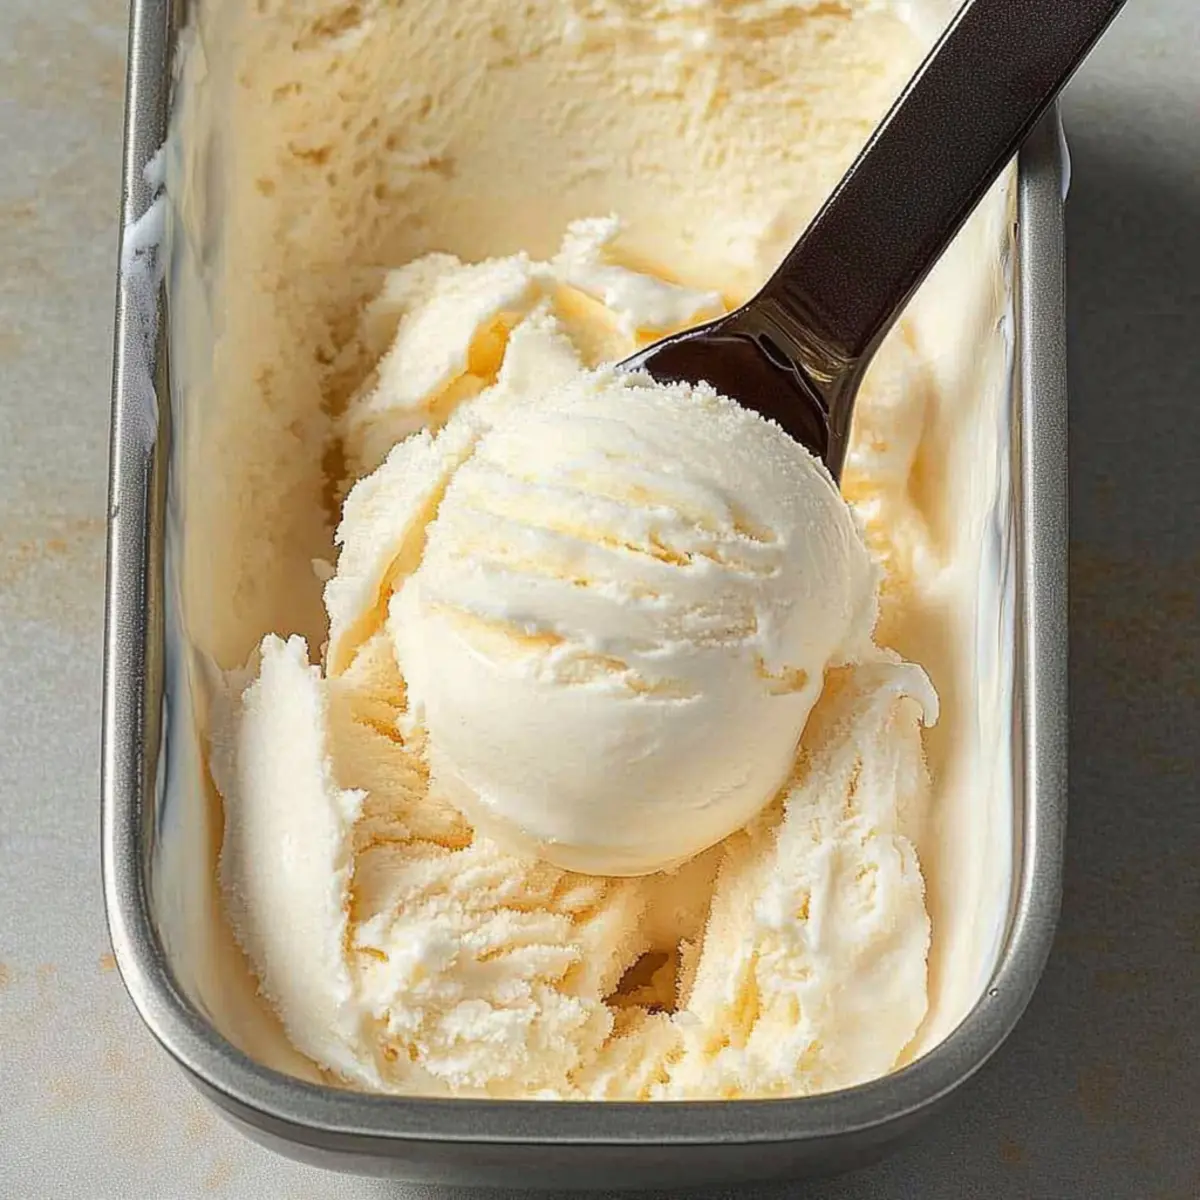
Turn on the ice cream maker and churn the mixture according to the manufacturer’s instructions, typically for about 20-25 minutes. Watch for the ice cream to thicken and become creamy. It should nearly double in volume and have a soft-serve consistency when done, a sign that your vanilla ice cream is ready.
Step 4: Store or Serve
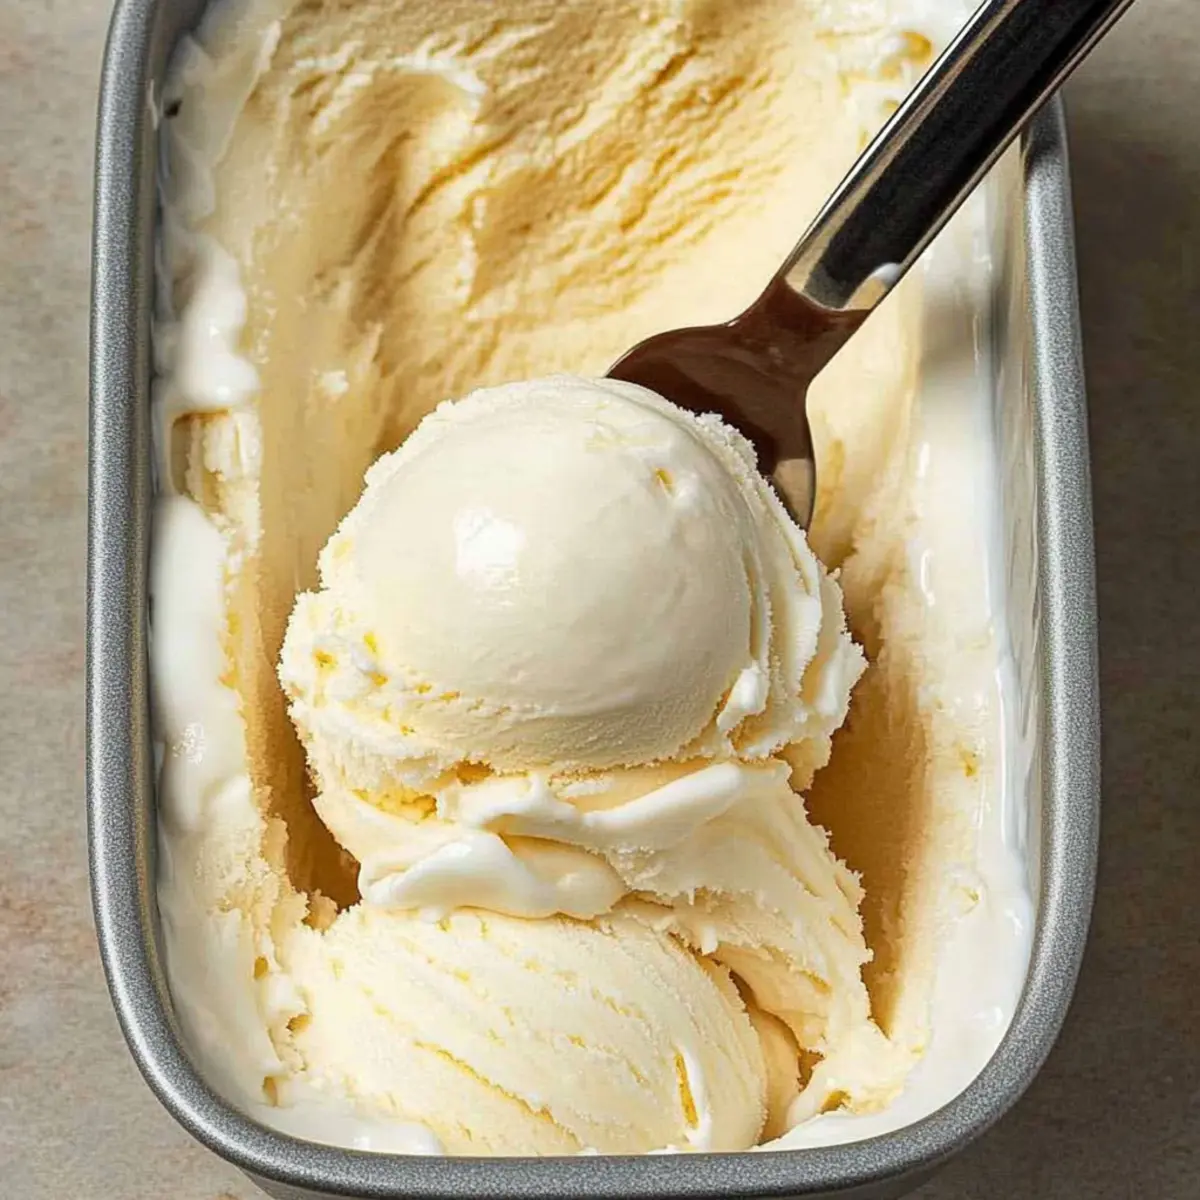
Once churned, serve the vanilla ice cream immediately for a soft, creamy treat. If you prefer a firmer texture, transfer the ice cream to an airtight container, making sure to leave some space for expansion. Freeze for 2-4 hours or until well set, achieving the perfect scoopable consistency.
Step 5: Enjoy and Customize
For a fun twist, feel free to mix in chocolate chips, berries, or nuts after churning, and gently fold them into the vanilla ice cream. You can also experiment by adding different extracts or flavorings to create your unique take on this easy homemade vanilla ice cream.
Vanilla Ice Cream Recipe Variations
Feel free to play with this classic recipe and create your perfect scoop of vanilla ice cream!
- Dairy-Free: Substitute coconut milk or almond milk for a creamy, non-dairy alternative that still tastes delightful.
- Sugar-Free: Use a sugar substitute like stevia or erythritol for a guilt-free version without compromising on taste.
- Flavor Boost: Incorporate different extracts, such as almond or mint, for a delicious twist that brings new character to your ice cream.
- Texture Twist: Add crushed cookies or nuts right after churning for a delicious crunch in every creamy bite. Think of adding dark chocolate chips for decadence!
- Fruit Swirls: Blend in fruit purees or jam post-churning to create lovely swirls of flavor, elevating your vanilla ice cream to something truly special.
- Coffee Infusion: Mix in a shot of espresso or coffee extract for a rich and aromatic twist that will please caffeine lovers.
- Seasonal Spice: Try adding a sprinkle of cinnamon or nutmeg for a cozy autumnal vibe, making each scoop feel like a warm hug.
- Ice Cream Sandwiches: Use this vanilla ice cream as a filling for cookies, like those in Cookies Cream Peanut, for an indulgent treat that’s perfect for sharing.
Have fun experimenting and enjoy your homemade creation!
Expert Tips for Making Vanilla Ice Cream
• Chill Everything: Ensure your ice cream maker bowl is thoroughly chilled prior to use. This helps achieve the best texture in your vanilla ice cream recipe.
• Mix Well: Whisk the mixture until the sugar is completely dissolved to prevent graininess. Take your time with this step for the creamiest results!
• Watch Time: Don’t over-churn! Keep an eye on your ice cream as it churns. If it becomes too thick, it could lead to a hard final product.
• Taste First: Always taste the base before churning. Adjust the sugar according to your preference for sweetness, ensuring a balanced flavor in your vanilla ice cream.
• Creative Combos: Don’t hesitate to experiment! Mix in your favorite flavors or add-ins after churning to create your own unique twist on classic vanilla ice cream.
What to Serve with Easy Homemade Vanilla Ice Cream
Indulging in a scoop of creamy homemade vanilla ice cream is just the beginning of a delightful dessert experience.
- Warm Brownies: The fudgy warmth of brownies contrasts beautifully with the cold, creamy vanilla ice cream, creating a symphony of textures.
- Fresh Berries: Juicy strawberries, raspberries, or blueberries add a refreshing burst of flavor that brightens your ice cream experience.
- Chocolate Syrup: Drizzling rich chocolate syrup brings an extra layer of sweetness and a luxurious feel to each scoop.
- Graham Cracker Crumbs: Crunchy graham cracker crumbs introduce a delightful texture and a hint of nuttiness, perfect for mixing in.
- Coconut Flakes: Toasted coconut adds a tropical twist, enhancing the flavor and giving a crunchy contrast to the creamy ice cream.
- Caramel Sauce: Silky caramel brings a sweet depth that enhances the vanilla notes while creating a decadent treat in every bite.
- Coffee: A small cup of freshly brewed coffee complements the sweetness remarkably and offers a wonderful balance.
- Custard Tarts: Pairing with a mini fruit custard tart adds an elegant flair, uniting creamy and fruity elements for a memorable dessert experience.
- Chocolate Chip Cookies: A classic combination! Warm cookies paired with cold ice cream provide a nostalgic touch, perfect for family gatherings.
- Mint Sprigs: Fresh mint can elevate the dessert visually and add a refreshing fragrance that balances the sweetness beautifully.
Make Ahead Options
These vanilla ice cream preparations are perfect for busy home cooks looking to save time! You can mix the base of heavy whipping cream, half-and-half, sugar, and vanilla extract up to 24 hours in advance; simply whisk everything together and store it in the refrigerator until you’re ready to churn. For an even more convenient option, you can chill the ice cream maker bowl for up to 3 days in advance, ensuring everything is ready to go. When you’re ready to serve, just pour the chilled mixture into your ice cream maker and churn according to the manufacturer’s instructions. By prepping ahead, you’ll have delicious homemade vanilla ice cream whipped up with minimal effort at your fingertips!
Storage Tips for Vanilla Ice Cream
-
Fridge: If you have any leftover mixture, you can refrigerate it for up to 3 days in a covered container before churning again.
-
Freezer: Store homemade vanilla ice cream in an airtight container, sealing tightly to prevent ice crystals. It can last up to 2 months, but is best enjoyed fresh for optimal flavor and texture.
-
Reheating: For best results after freezing, allow the ice cream to sit at room temperature for about 10-15 minutes before scooping. This will help soften it for easier serving.
Vanilla Ice Cream Recipe FAQs
How do I select the right ingredients for my vanilla ice cream?
When choosing your ingredients, opt for heavy whipping cream and half-and-half that are fresh and free from any visible signs of spoilage, such as an off smell or separation. For the best flavor, look for pure vanilla extract rather than imitation flavoring. It’s worth it to invest in quality ingredients; they make a noticeable difference in the final taste of your homemade vanilla ice cream!
What’s the best way to store leftover vanilla ice cream?
Store your homemade vanilla ice cream in an airtight container in the freezer to keep it fresh and prevent ice crystals from forming. Label the container with the date, and consume it within 2 months for the best flavor experience. If you have any leftover mixture before churning, you can keep it in the refrigerator for up to 3 days, tightly covered.
Can I freeze my homemade vanilla ice cream? If so, how?
Absolutely! After churning, transfer your vanilla ice cream to an airtight container with some space left at the top to allow for expansion. Freeze it until firm, which typically takes about 2-4 hours. For the best scooping experience later, let the ice cream sit at room temperature for about 10-15 minutes before serving.
What should I do if my ice cream is too sweet or icy?
If your ice cream turns out too sweet, try reducing the sugar in your next batch. It’s completely adjustable to suit your taste! If the ice cream has an icy texture, it could be due to over-churning or not chilling your ingredients sufficiently. For a smoother texture, ensure your mixture is chilled fully before churning, and avoid over-processing it in the machine.
Is this vanilla ice cream recipe suitable for those with dietary restrictions?
Yes! This vanilla ice cream recipe can easily be customized for various dietary needs. If you’re looking for a dairy-free or vegan option, consider using coconut cream or a dairy-free milk alternative, but keep in mind this may alter the creaminess. Always check for allergies when incorporating mix-ins such as chocolate or nuts. Enjoy making it your own!
How can I personalize my homemade vanilla ice cream?
You can personalize your vanilla ice cream by adding your favorite mix-ins after churning, like chocolate chips, berries, or crushed cookies. Another option is to experiment with different flavor extracts—mint or almond can give a delightful twist to the classic vanilla! Remember, the more the merrier when it comes to customization, so let your creativity shine!
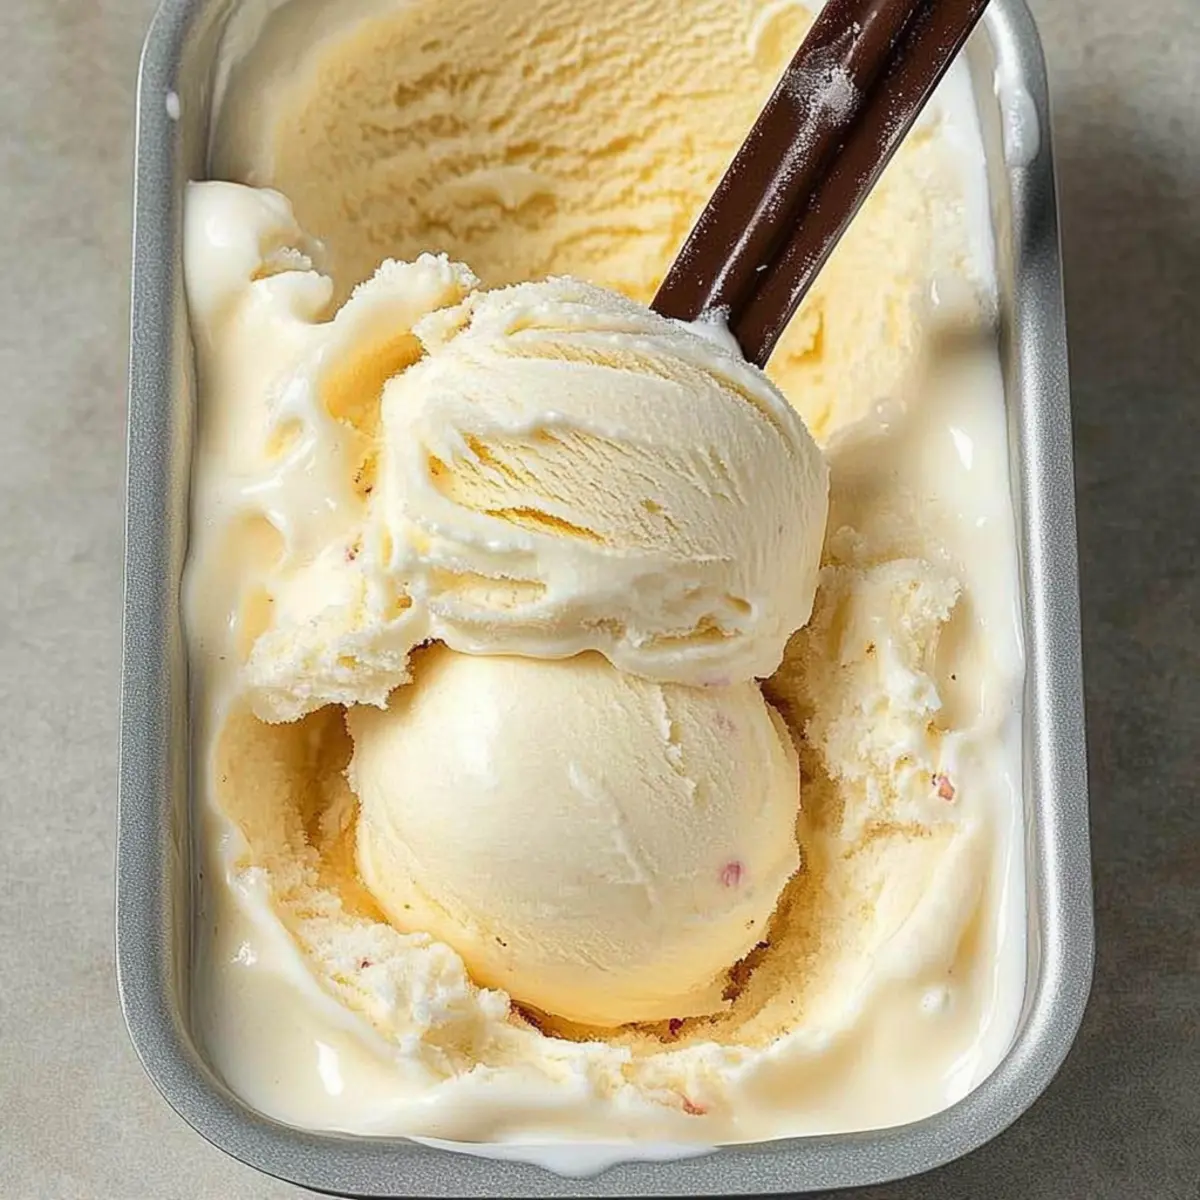
Creamy Vanilla Ice Cream Recipe You Can Customize Anytime
Ingredients
Equipment
Method
- In a large mixing bowl, combine the heavy whipping cream, half-and-half, sugar, and vanilla extract. Whisk vigorously for about 3-4 minutes until smooth.
- Chill the ice cream maker bowl in the freezer for at least 24 hours prior to use.
- Pour the vanilla ice cream mixture into the chilled ice cream maker bowl, filling it two-thirds full.
- Turn on the ice cream maker and churn the mixture for about 20-25 minutes until it thickens and has a soft-serve consistency.
- Serve the vanilla ice cream immediately or transfer it to an airtight container and freeze for 2-4 hours for a firmer texture.
- Mix in chocolate chips, berries, or nuts after churning for customization.
Leave a Reply