
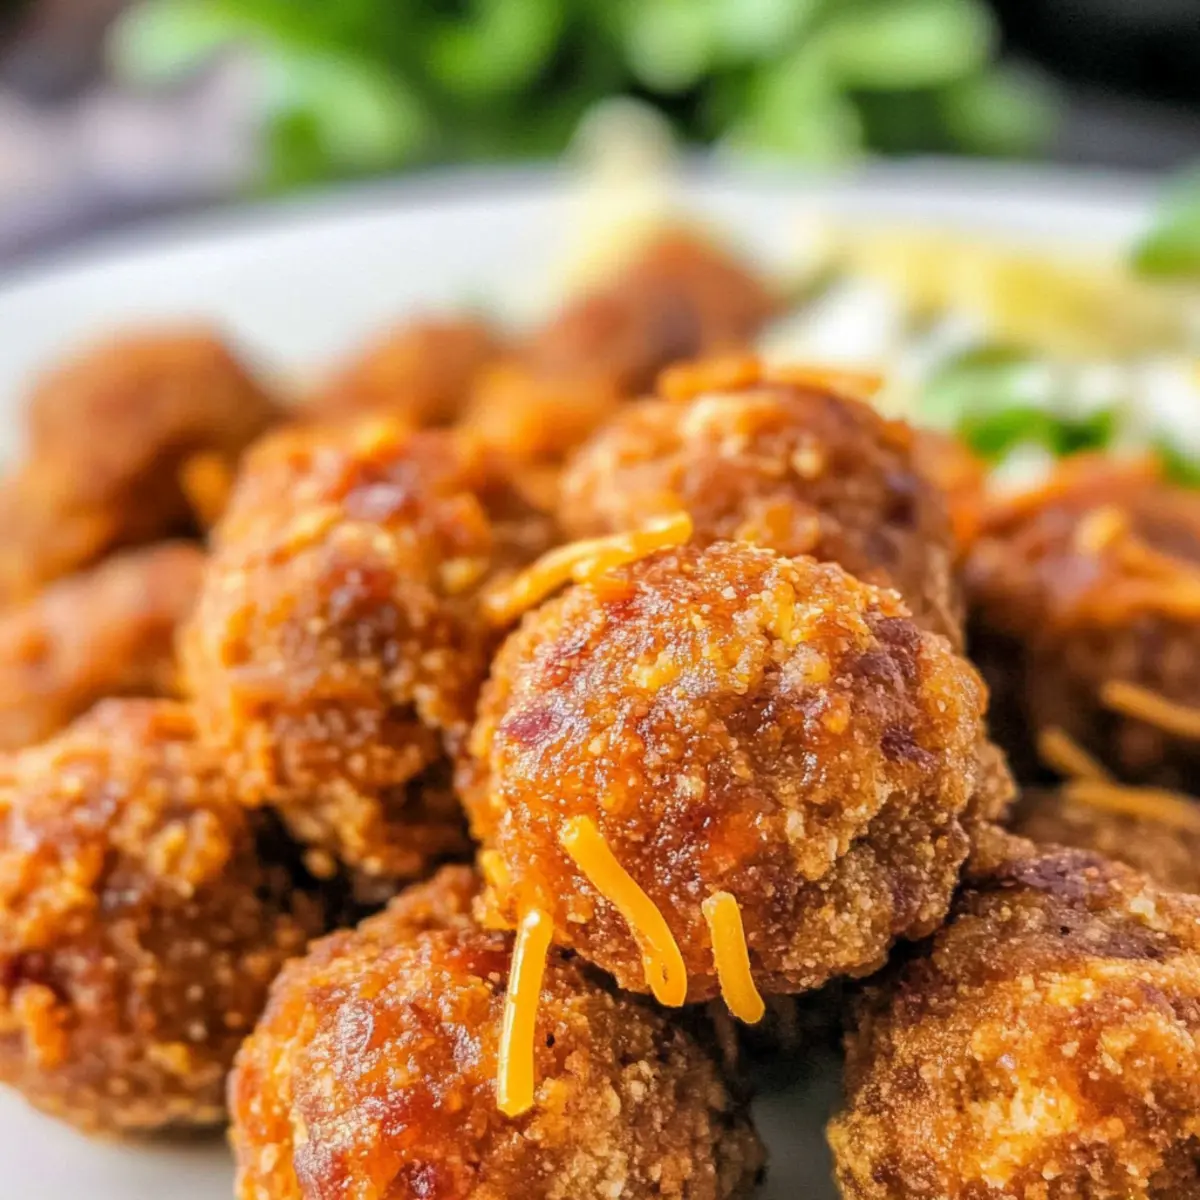
The smell of sizzling ground beef and melted cheddar can transport me straight to my favorite taco shop, but why venture out when you can recreate that magic at home? These Bisquick Taco Balls bring all the classic Mexican flavors wrapped up in a convenient, bite-sized delight. Ideal for game day or a quick weeknight dinner, they’re not only easy to whip up but also adaptable for various cooking methods—be it oven-baked, fried, or air-fried! These savory snacks are perfect for sharing with family and friends, and with a selection of mouthwatering dipping sauces, they really elevate the experience. Are you ready to bring a fiesta to your kitchen? Let’s dive into this delicious adventure together!

Why Are Taco Balls So Irresistible?
Crispy Delight: These small bites pack a huge flavor punch with every crunchy exterior.
Versatile Cooking: Choose to bake, fry, or air-fry—each method delivers unique textures and tastes!
Crowd-Pleaser: Perfect for parties or family gatherings, everyone will love them!
Simplified Prep: Quick to prepare, making snack time a breeze. Serve alongside dips like ranch or guacamole for a delightful twist!
Flavor Fusion: The combination of ground beef, cheddar, and taco seasoning brings the fiesta vibes right to your table. If you’re in the mood for something hearty, you might also want to check out our Vegetarian Casserole for a different take!
Taco Balls Ingredients
For the Taco Balls
• Ground Beef – Provides the main protein and savory flavor; substitute with ground pork or turkey for variation.
• Cheddar Cheese – Adds richness and creaminess in every bite; a Mexican cheese blend enhances the flavor even further.
• Bisquick – A versatile baking mix that forms the base; opt for gluten-free Bisquick if you have dietary restrictions.
• Taco Seasoning – Infuses the mix with zesty Mexican spices; consider homemade seasoning for a customized flavor profile.
• Green Onions – Adds freshness and a mild onion flavor; chives can easily be used as a substitute.
• Sour Cream – Provides moisture and tang; Greek yogurt is a healthier alternative.
• Salsa – Enhances flavor and keeps the mixture moist; fresh salsa gives superior texture and taste.
• Egg – Acts as a binder to hold everything together; a flax egg can be a vegetarian-friendly alternative.
Ready to mix these ingredients together and create your delicious taco balls? Let’s get cooking!
Step‑by‑Step Instructions for Taco Balls
Step 1: Preheat the Oven
Begin by preheating your oven to 350°F (175°C). While it heats, line a baking sheet with parchment paper and lightly grease it to ensure your Bisquick Taco Balls don’t stick. This prep will set the stage for an even and thorough bake, ensuring these delightful snacks emerge perfectly golden and crisp.
Step 2: Mix the Ingredients
In a large mixing bowl, combine the ground beef, shredded cheddar cheese, Bisquick, taco seasoning, diced green onions, sour cream, salsa, and the beaten egg. Using your hands or a spoon, mix thoroughly until all ingredients are well incorporated, forming a cohesive mixture. This flavorful blend is key to achieving that savory goodness in your Taco Balls!
Step 3: Form the Taco Balls
Once your mixture is ready, scoop out about one tablespoon of the blend and roll it between your palms to form a ball. Place each ball on the prepared baking sheet, ensuring they are spaced about an inch apart. This spacing allows for even cooking, helping each Bisquick Taco Ball become delightfully crispy as they bake.
Step 4: Bake to Perfection
With your Taco Balls arranged on the baking sheet, slide them into the preheated oven and bake for 18-20 minutes. Keep an eye on them towards the end of the cooking time; you’re looking for a golden-brown exterior, indicating they’re fully cooked. To check for doneness, the internal temperature should reach 160°F (70°C).
Step 5: Serve and Enjoy
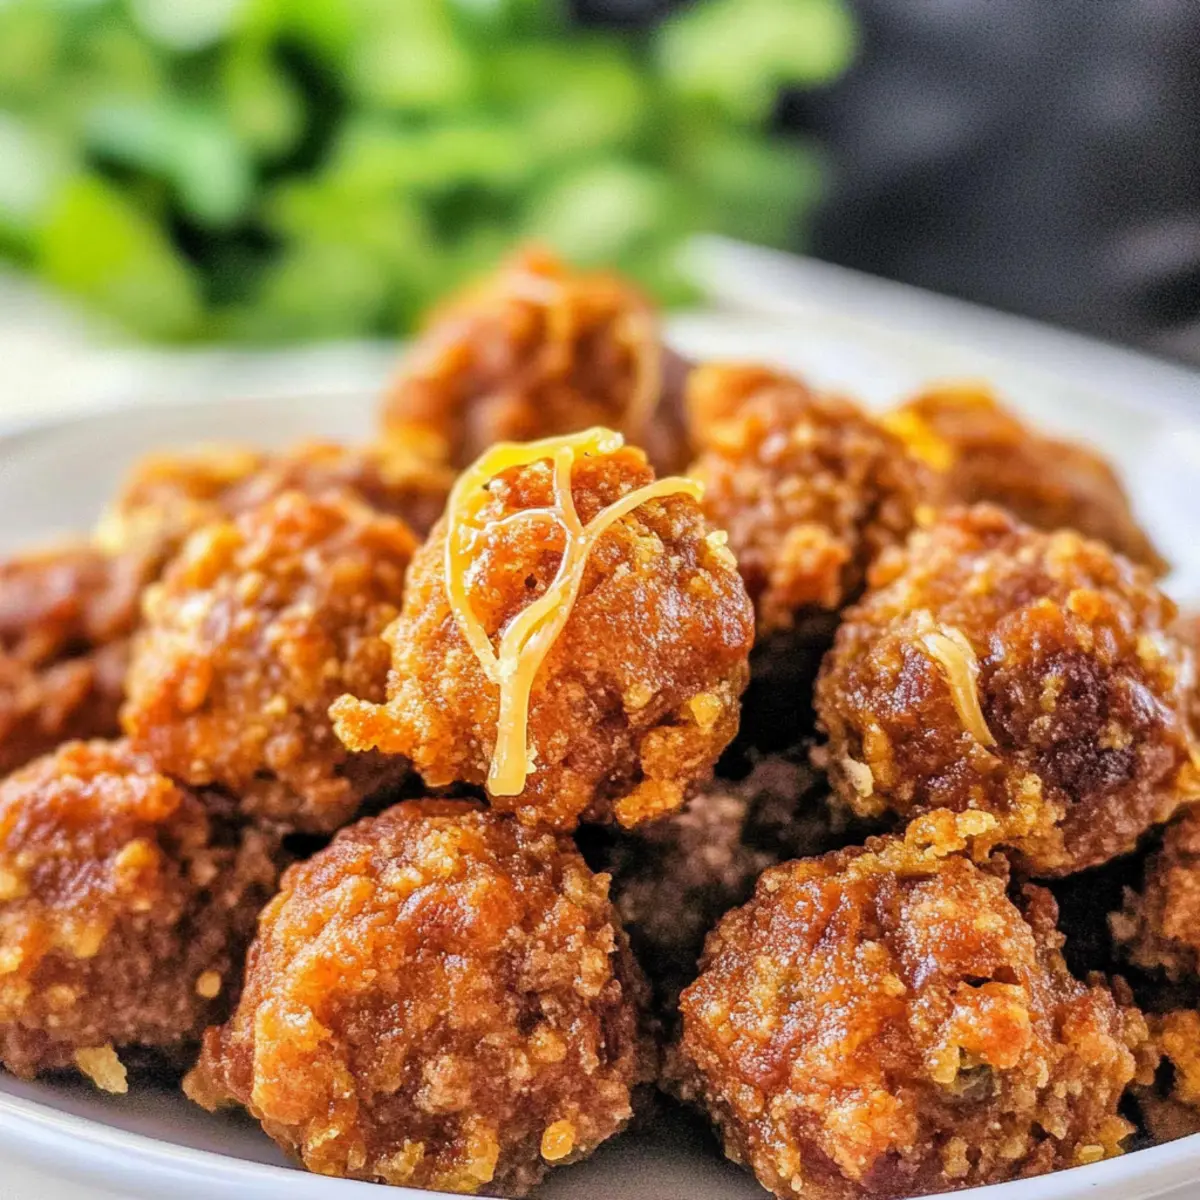
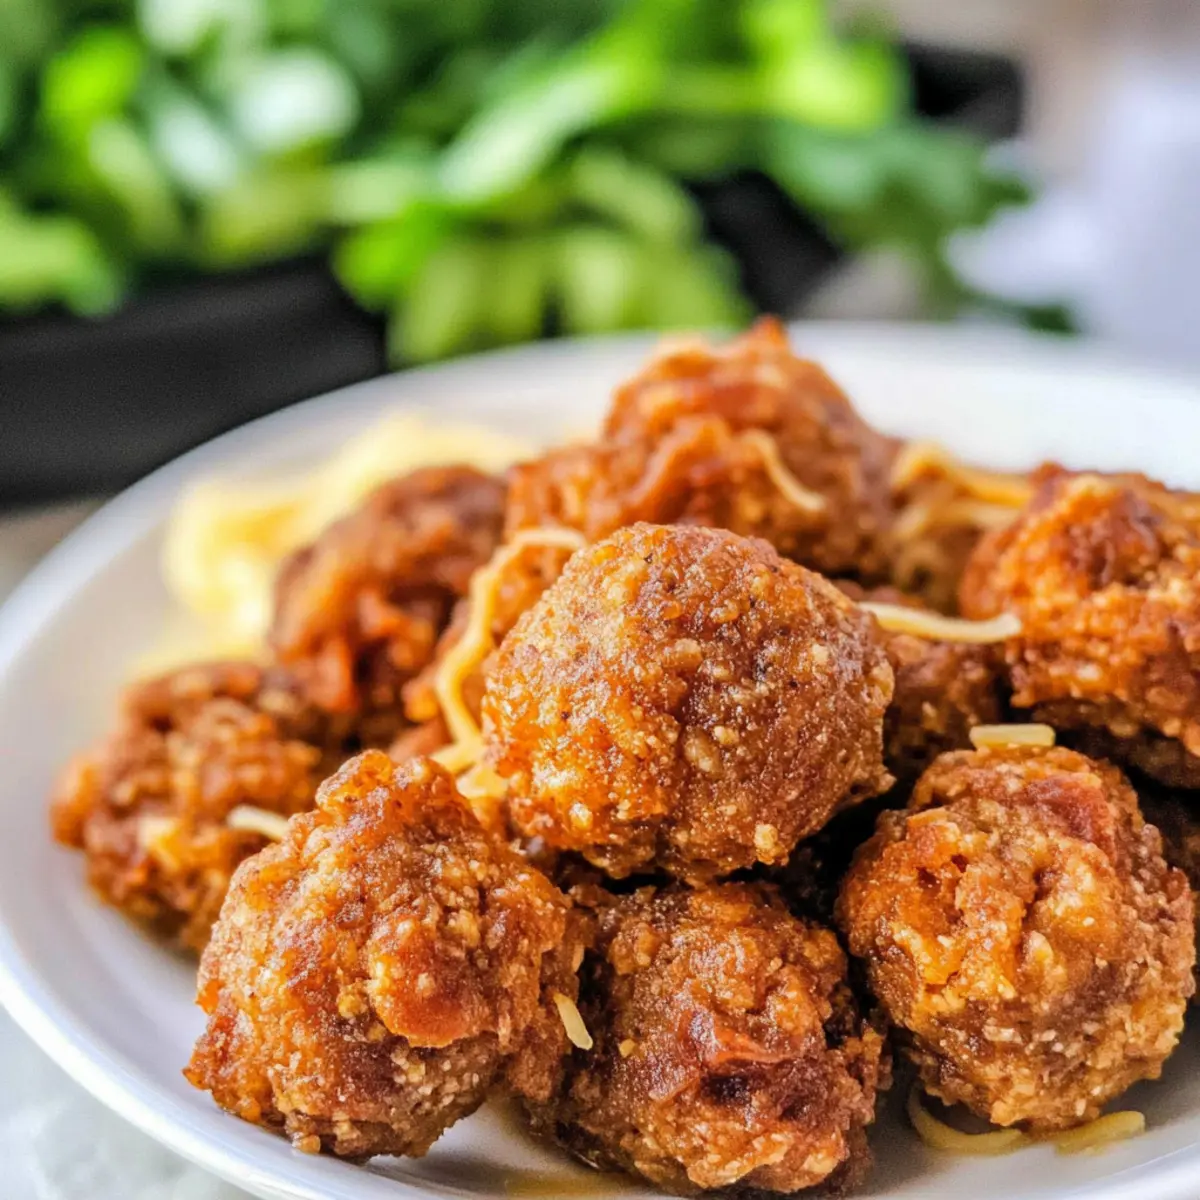
Once baked, remove the Taco Balls from the oven and let them cool for a few minutes on the baking sheet. Serve these crispy Bisquick Taco Balls warm, accompanied by your favorite dipping sauces like salsa, ranch, or guacamole, to elevate the flavor. Indulge in these tasty treats and enjoy the delightful fusion of flavors!
What to Serve with Crispy Bisquick Taco Balls
Elevate your taco ball experience by pairing them with sides and flavors that enhance every delicious bite!
-
Zesty Guacamole: The creamy texture and refreshing flavors of guacamole provide a perfect balance to the crispy taco balls.
-
Spicy Salsa: A vibrant and tangy salsa adds an extra kick, bringing out the savory notes of these snacks while keeping them lively.
-
Mexican Street Corn Salad: This cool, crunchy salad complements the warm taco balls with its sweet corn and zesty lime dressing for a delightful contrast.
-
Creamy Avocado Dressing: Drizzle this rich dressing over your taco balls for added moisture and a burst of fresh avocado flavor that everyone will love.
-
Pico de Gallo: The fresh and bright flavors of pico de gallo add a refreshing crunch and pairs beautifully with the seasonings in the taco balls.
-
Chilled Lemonade or Agua Fresca: A cool, citrusy drink like lemonade or agua fresca balances the richness of the taco balls and is perfect for hot days.
-
Crispy Tortilla Chips: Pair these savory bites with crunchy tortilla chips for a fun textural experience, great for dipping in salsas or guacamole.
-
Cheesy Queso Dip: For the ultimate indulgence, serve the taco balls with a warm queso dip, adding a gooey, cheesy flavor that complements the spices perfectly.
Expert Tips for Taco Balls
• Don’t Overcrowd: Keep enough space between each Taco Ball on the baking sheet to ensure even cooking and crispiness.
• Consistency Check: Ensure that your mixture is well-combined; uneven mixtures can lead to dry or unevenly cooked Taco Balls.
• Try Different Cheeses: Experiment with various cheese blends for unexpected flavor depths, but ensure they melt well to hold your Taco Balls together.
• Check Temperature: Use a meat thermometer to check the internal temperature; undercooked beef can be unsafe to eat, and overcooked variety can ruin the texture.
• Balancing Flavors: Taste your mixture before baking and adjust seasoning if needed. Adding a pinch of salt or an extra dash of taco seasoning can enhance the final taco balls.
Make Ahead Options
These Bisquick Taco Balls are perfect for meal prep enthusiasts! You can mix the ingredients up to 24 hours in advance; just cover the mixture tightly and refrigerate it to preserve freshness. To save time on your busy evening, roll the mixture into balls and refrigerate them for up to 3 days before baking. This way, they’ll be ready whenever you are! When you’re ready to serve, simply bake them directly from the fridge, adding an extra minute or two to the cooking time for optimal results. Trust me, they’ll come out just as delicious and crispy, making your meal time so much easier!
Taco Balls: Exciting Variations to Try
Customize your Taco Balls with these exciting suggestions that can amp up the flavor and experience of your tasty bites!
- Ground Turkey: Swap ground beef for ground turkey for a leaner option that’s just as delicious.
- Spicy Addition: Add diced jalapeños or a sprinkle of cayenne pepper for a zesty kick of heat to your Taco Balls—a fantastic way to turn up the flavor!
- Cheese Variety: Use pepper jack or a Mexican cheese blend instead of cheddar for added richness and a hint of spice. It can transform your taco balls into an elevated snack!
- Veggie Delight: Consider mixing in some shredded zucchini or finely chopped bell peppers; these vegetables provide additional moisture and a colorful twist.
- Air Fryer Version: For an even crispier texture, cook your Taco Balls in an air fryer at 375°F for about 12-15 minutes. This method keeps them juicy on the inside while making the outside irresistibly crunchy.
- Homemade Seasoning: Create your own taco seasoning by blending cumin, paprika, garlic powder, and onion powder for a personal touch.
- Gluten-Free Option: Use gluten-free Bisquick for those following a gluten-free diet; they’ll still be incredibly tasty!
- Exotic Dips: Serve with unique dips like mango salsa or spicy ranch to elevate your taco ball experience. Pairing them with these sauces can significantly enhance the flavor profile!
Experimenting with these variations will take your Taco Balls to new heights and make every bite a delightful adventure! If you’re also in the mood for a hearty dish, try our Garlic Butter Tacos for another tasty treat.
How to Store and Freeze Taco Balls
Fridge: Keep leftover Taco Balls in an airtight container in the fridge for up to 3 days. Reheat them in the oven or air fryer for the best texture.
Freezer: To freeze, place cooled Taco Balls in a single layer on a baking sheet until firm, then transfer to a freezer bag. They’ll maintain quality for up to 3 months.
Reheating: When ready to enjoy, reheat from frozen in an air fryer or oven at 350°F (175°C) for about 15-20 minutes, ensuring they heat evenly.
Make-Ahead Tip: You can prepare Taco Balls ahead of time and refrigerate or freeze them before baking. This way, you can enjoy them fresh at a moment’s notice!
Bisquick Taco Balls Recipe FAQs
What type of ground beef should I use for the taco balls?
Absolutely! You can use any ground beef that’s convenient, but I recommend a lean blend like 80/20 for optimal flavor without too much grease. Ground turkey or pork can also be great substitutes for a different flavor profile and may suit different dietary needs.
How should I store leftover taco balls?
To keep your leftover taco balls fresh and delicious, store them in an airtight container in the fridge for up to 3 days. When you’re ready to enjoy them again, simply reheat them in the oven or air fryer for a few minutes—this helps restore their crispy texture.
Can I freeze taco balls for later?
Yes, you can! To freeze your taco balls, place the cooled, cooked balls in a single layer on a baking sheet and freeze until firm. Once solid, transfer them to a freezer-safe bag or container. When stored properly, they can last for up to 3 months. Just remember, to reheat from frozen, pop them in the air fryer or oven at 350°F (175°C) for about 15-20 minutes, and enjoy!
How can I tell when my taco balls are fully cooked?
The key to perfectly cooked taco balls is checking the internal temperature; it should reach 160°F (70°C) to ensure they are safe to eat. They should also be a lovely golden brown on the outside. If you’re unsure, a meat thermometer can be a helpful tool!
Can my pets eat taco balls?
While it may be tempting to share, it’s important to note that taco balls contain ingredients like onion and seasoning that can be harmful to pets. Always consult your veterinarian before giving your furry friends any human food to ensure it’s safe for them.
Can I make taco balls gluten-free?
Definitely! You can substitute regular Bisquick with gluten-free Bisquick, which works just as well in this recipe! Make sure to double-check any other ingredient labels, such as taco seasoning and sauces, to ensure they comply with gluten-free dietary needs.
Savory Taco Balls: Crispy Bites for Your Next Fiesta
Ingredients
Equipment
Method
- Preheat your oven to 350°F (175°C) and prepare a baking sheet with parchment paper and light grease.
- In a large mixing bowl, combine the ground beef, shredded cheddar cheese, Bisquick, taco seasoning, diced green onions, sour cream, salsa, and the beaten egg. Mix until well combined.
- Scoop out about one tablespoon of the mixture and roll it into a ball. Place on the baking sheet spaced about an inch apart.
- Bake in the preheated oven for 18-20 minutes until golden brown, checking internal temperature of 160°F (70°C).
- Remove from the oven, let cool for a few minutes, then serve warm with dipping sauces.
Leave a Reply