
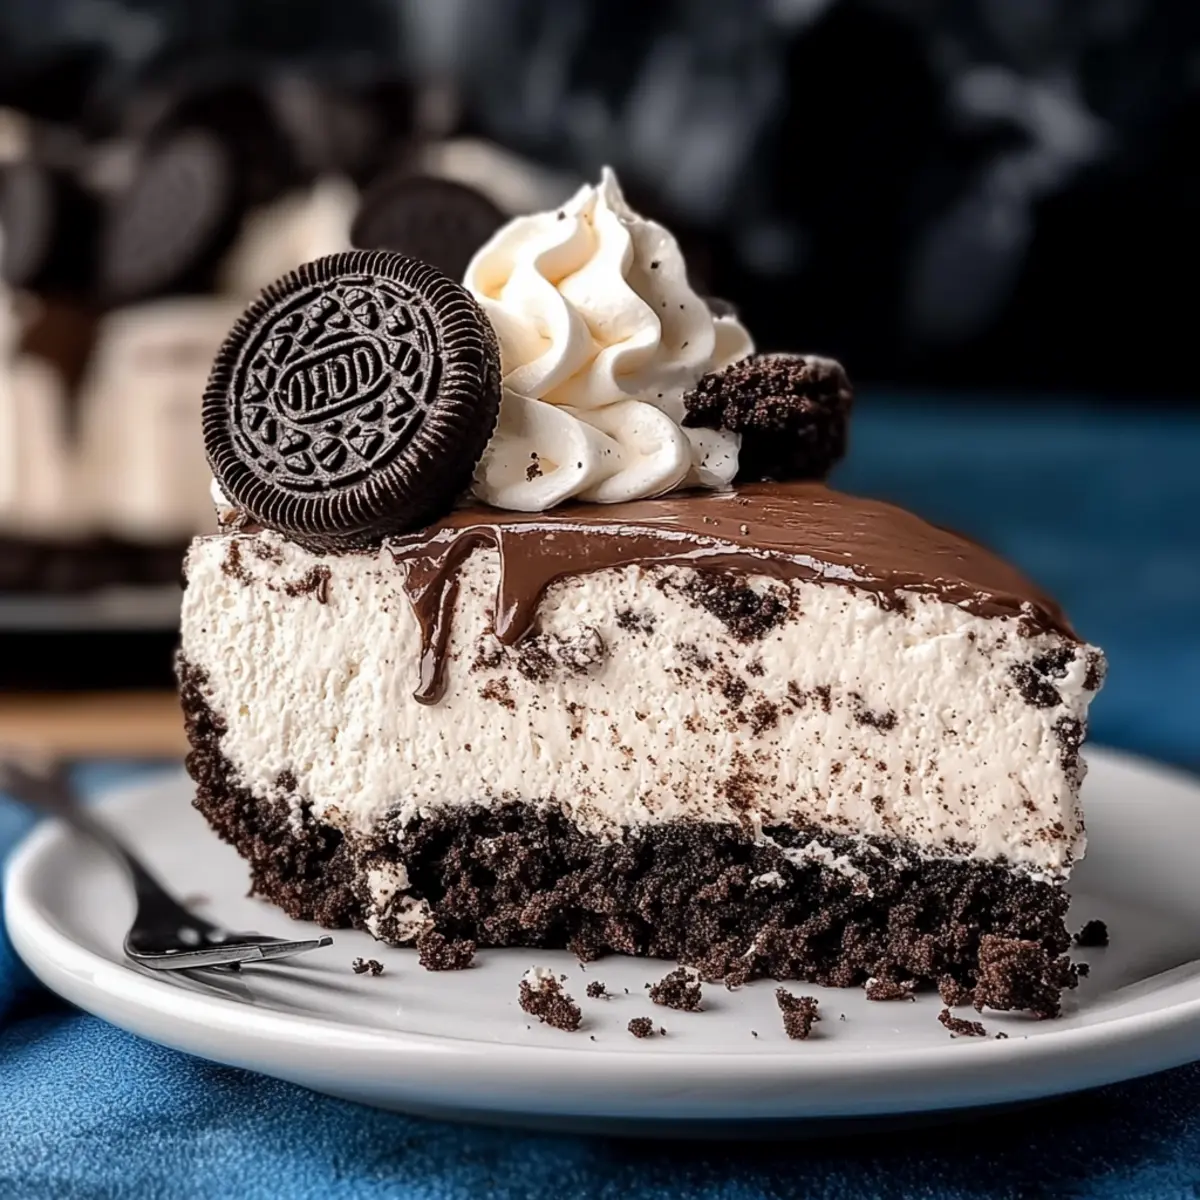
The kitchen chatter heightened as I wondered how to transform my dessert game with a little something special. Enter the No-Bake Oreo Cheesecake Recipe, a delightfully rich treat that needs only 30 minutes of your attention! This creation combines a creamy filling of crushed Oreos and smooth cream cheese over a crunchy Oreo cookie crust, effortlessly balancing flavors in every bite. Perfect for those moments when you want to impress friends without spending hours in the kitchen, this cheesecake is also a time-saver, as it simply needs to chill for a few hours before diving in. Whether you’re celebrating a special occasion or just need a sweet pick-me-up after a long day, this cheesecake has your back. Are you ready to indulge in a dessert that’s not just easy to make but also unbelievably satisfying?
Why is this cheesecake a must-try?
Ultimate Convenience: This No-Bake Oreo Cheesecake can be whipped up in just 30 minutes, making it an ideal choice for last-minute gatherings or sweet cravings.
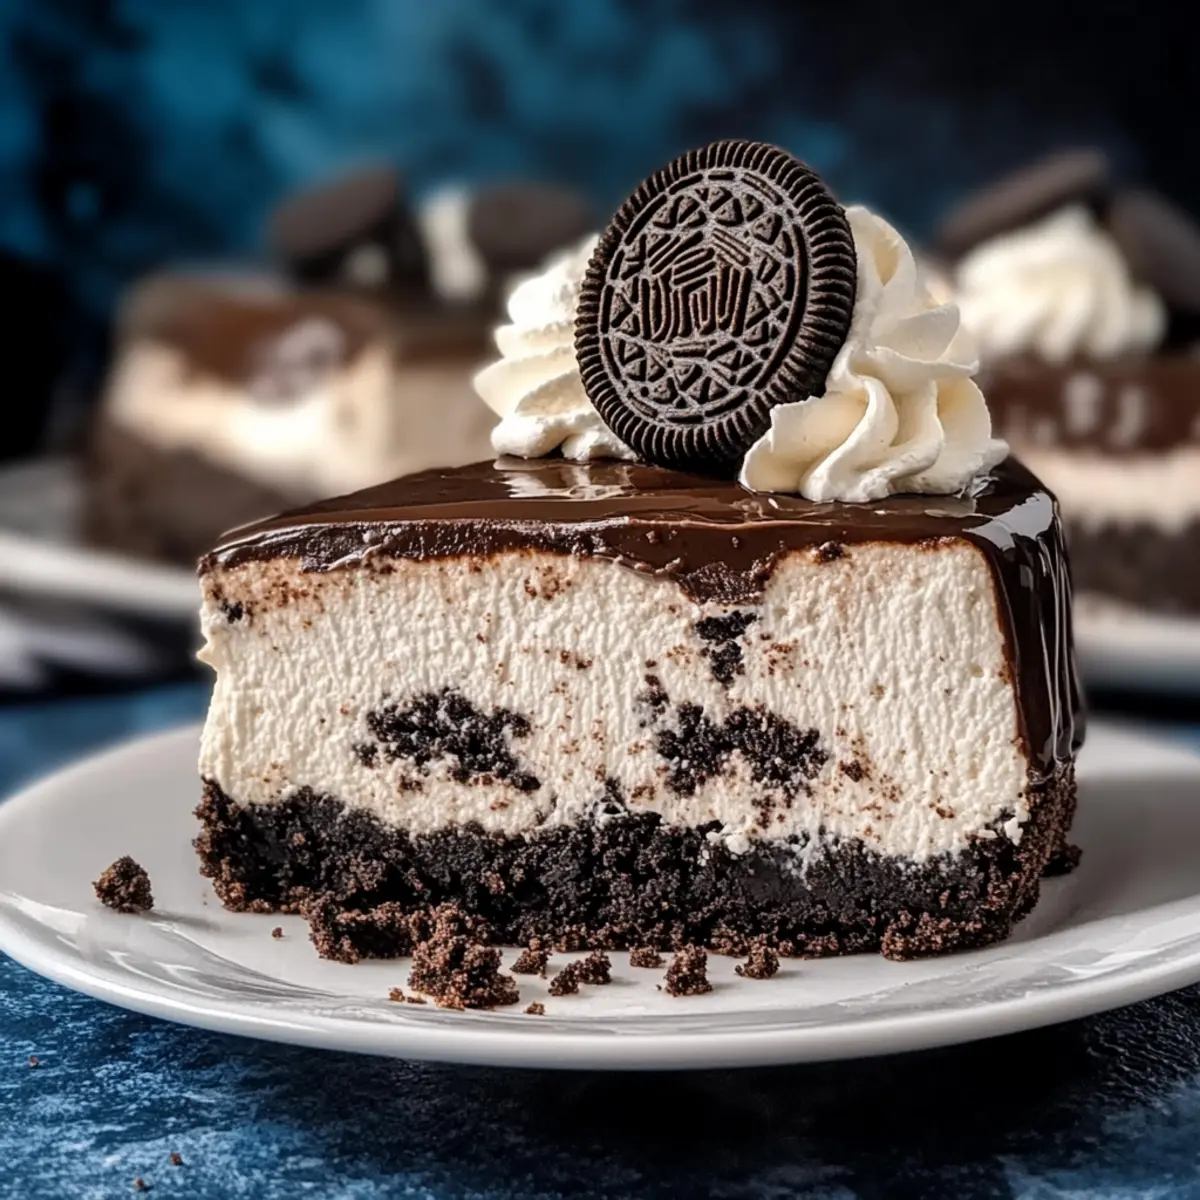
Indulgent Flavor: The combination of cream cheese and crushed Oreos creates a rich, satisfying treat that will have everyone coming back for seconds.
Effortless Preparation: With no baking required, it’s perfect for those hot summer days when you want dessert without heating up the kitchen.
Garnish Potential: It’s easy to make it your own—top with extra Oreos, fresh fruit, or even drizzle on some caramel for a fancy touch! If you love creative desserts, don’t miss out on my other favorites like Caramel Brownie Cheesecake and Pumpkin Cheesecake Cinnamon.
Crowd-Pleasing Appeal: Whether it’s a birthday, holiday, or casual dinner, this cheesecake fits right in and delights everyone at the table!
No-Bake Oreo Cheesecake Ingredients
• A delightful blend of flavors awaits! Here are all the ingredients you’ll need for this scrumptious No-Bake Oreo Cheesecake.
For the Crust
- Oreo Cookies – 28 whole cookies create the perfect foundation for your cheesecake base.
- Salted Butter – 5 tablespoons, melted – Binds the crust and adds flavor; consider unsalted for a milder taste.
- Salt (optional) – A pinch – Balances sweetness; use if you enjoy a hint of contrast in your crust.
For the Filling
- Cream Cheese – 16 oz, softened – The star of the show that brings creaminess and richness; full-fat is best for optimal texture.
- Powdered Sugar – 1 cup – Sweetens the filling while ensuring a smooth consistency.
- Vanilla Extract – 1 teaspoon – Enhances the overall flavor and brings warmth to the cheesecake.
- Cool Whip – 2 cups, thawed – Adds a light, airy texture; don’t skip this for that classic cheesecake fluff.
- Crushed Oreos – 15 cookies – Folded into the filling, these add delightful cookie bites in every slice.
For the Ganache
- Semi-Sweet Chocolate Chips – 1 cup – Melt for a rich topping; swap for dark chocolate if desired.
- Heavy Cream – ½ cup – Ensures a velvety smooth ganache finish that truly elevates your dessert.
Get ready to impress with this irresistibly creamy No-Bake Oreo Cheesecake!
Step‑by‑Step Instructions for No Bake Oreo Cheesecake Recipe
Step 1: Prepare the Crust
Begin by crushing 28 Oreos in a food processor until they resemble fine crumbs. Melt 5 tablespoons of salted butter, then combine it with the Oreo crumbs and a pinch of salt in a mixing bowl. Stir until the mixture is well blended, then firmly press it into the bottom and slightly up the sides of a 10-inch springform pan to create a solid base.
Step 2: Make the Filling
In a large mixing bowl, beat 16 ounces of softened cream cheese with 1 cup of powdered sugar and 1 teaspoon of vanilla extract using an electric mixer on medium speed until the mixture is fluffy and smooth, about 3-4 minutes. Be sure there are no lumps for a creamy texture. Gently fold in 2 cups of thawed Cool Whip and 15 crushed Oreos until fully combined, ensuring that the cookie pieces are distributed evenly throughout the filling.
Step 3: Assemble the Cheesecake
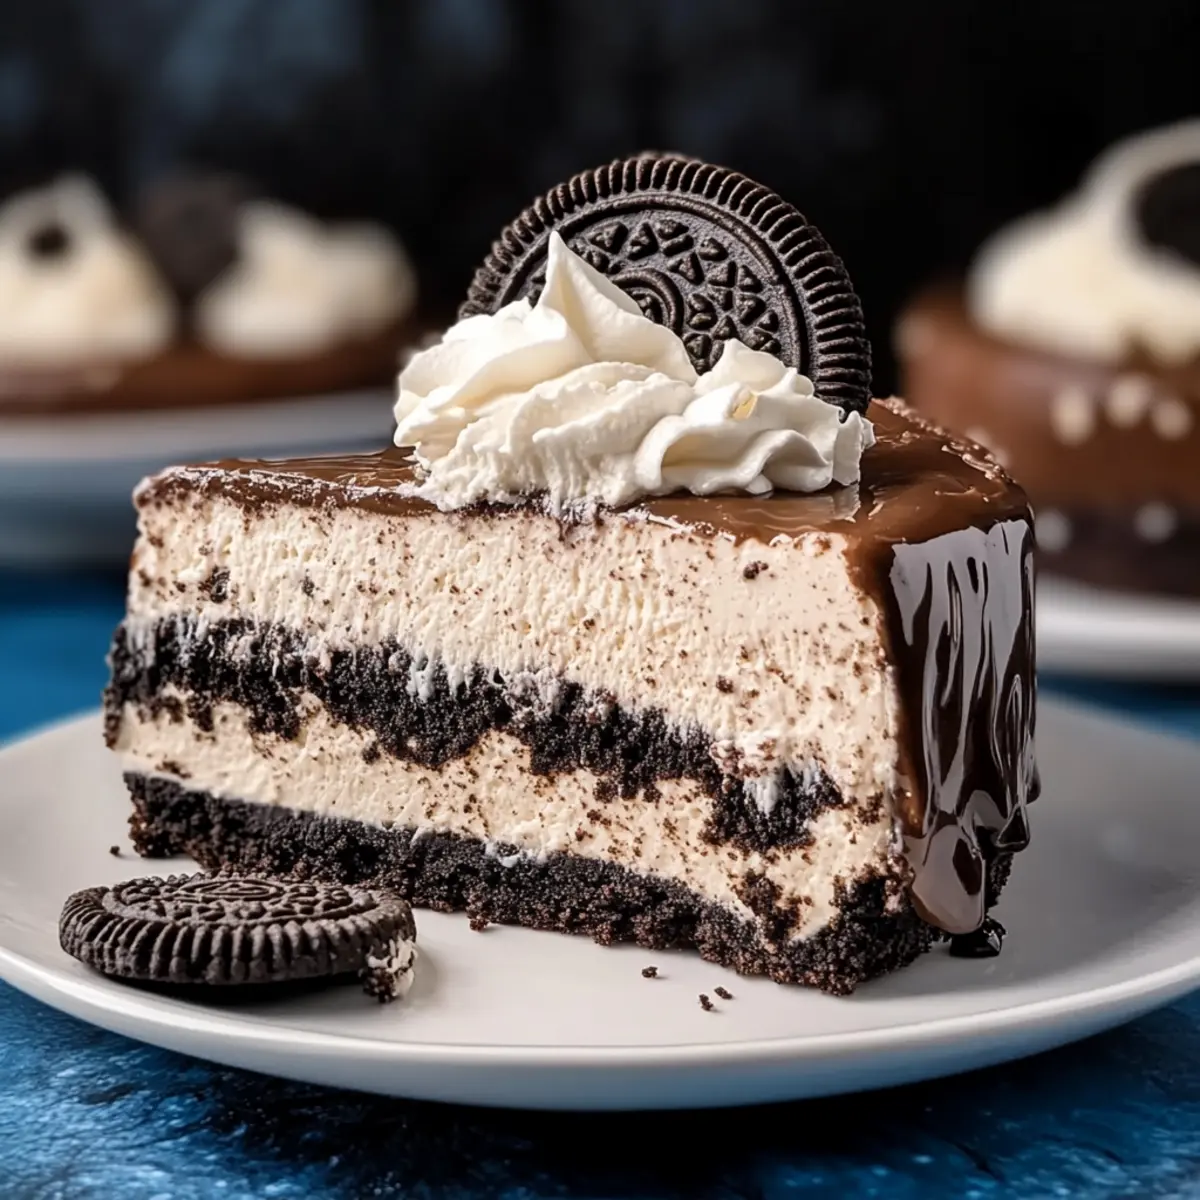
Carefully pour the luscious cheesecake filling over the prepared Oreo crust, using a spatula to spread it evenly. Smooth the top to achieve a nice surface, ensuring it reaches the edges of the crust for a rustic charm. Once the filling is spread out, you’ll already start to see the delightful layers come together in this No Bake Oreo Cheesecake.
Step 4: Prepare Ganache Topping
In a microwave-safe bowl, add 1 cup of semi-sweet chocolate chips and ½ cup of heavy cream. Heat this mixture in the microwave in 30-second intervals, stirring between each until it melts completely and forms a smooth ganache. Once melted and glossy, allow it to cool for a few minutes before pouring it gently over the cheesecake, creating a decadent topping.
Step 5: Refrigerate the Cheesecake
Cover the assembled cheesecake with plastic wrap and place it in the refrigerator. Chill for at least 6 hours, but ideally overnight, to allow the flavors to meld beautifully and the filling to set. As it chills, the crust will firm up further, providing a lovely contrast to the creamy filling, awaiting its grand reveal.
Step 6: Serve and Garnish
Once chilled, carefully remove the sides of the springform pan to reveal your masterpiece. For an extra touch, top the cheesecake with whipped cream and any remaining crushed Oreos to add visual appeal. Slice and serve this No Bake Oreo Cheesecake to friends and family, and watch as they delight in each rich, creamy bite!

Tips for the Best No-Bake Oreo Cheesecake
-
Room Temperature Cream Cheese: Ensure your cream cheese is at room temperature for easy blending. This avoids lumps and creates a perfect creamy texture in your filling.
-
Crust Firmness: Press the Oreo crust mixture firmly into the pan. A well-compressed crust helps prevent it from crumbling when you slice your cheesecake.
-
Cool Whip Alternatives: If you prefer homemade options, feel free to substitute Cool Whip with freshly whipped cream for a delightful touch of lightness in your No-Bake Oreo Cheesecake.
-
Chill Time is Key: Don’t rush the chilling process. Allowing the cheesecake to rest overnight enhances the flavors and improves the texture immensely.
-
Variations Galore: Experiment with flavored Oreos or chocolate varieties in your filling; this quick change can give your cheesecake a unique twist while maintaining its deliciousness!
No Bake Oreo Cheesecake Variations
Feel free to make this dessert your own and explore delightful twists that will spark joy for your taste buds!
-
Dairy-Free: Substitute cream cheese with a plant-based alternative and use coconut whipped cream for a creamy texture.
-
Gluten-Free: Use gluten-free Oreo cookies for the crust and filling to cater to gluten sensitivities without sacrificing flavor.
-
Flavored Oreos: Replace regular Oreos with a variety like peanut butter or mint for an exciting flavor profile that stands out.
-
Nutty Delight: Stir in crushed nuts like walnuts or pecans into the filling for added crunch and a delightful nuttiness.
-
Swirled Ganache: Drizzle ganache in a swirl pattern on top instead of a layer for a beautiful presentation and an extra chocolate kick.
-
Layered Version: Create a layered cheesecake by using some of the cheesecake filling, then alternating layers with crushed Oreos for added texture.
-
Chocolate Chip Addition: Toss in mini chocolate chips into the filling to add bursts of chocolatey goodness in every bite.
-
Spicy Kick: Incorporate a hint of cayenne pepper or cinnamon into the filling for an unexpected touch of warmth and spice.
For more delightful recipes, check out my Low Carb Bake or add some festive flare with my Bake Cranberry Pecan treats!
What to Serve with No-Bake Oreo Cheesecake
Enhance your dessert experience with delightful pairings perfect for this creamy sensation.
-
Fresh Berries: Their tartness complements the richness of the cheesecake, adding a refreshing contrast on every bite. A medley of strawberries, raspberries, or blueberries brings both color and flavor to your dessert plate.
-
Chocolate Sauce: Drizzle over the cheesecake before serving for an indulgent touch. The rich chocolate enhances the dessert’s already decadent profile, making it even more luxurious.
-
Whipped Cream: A dollop of fluffy whipped cream adds airiness to every rich slice. It’s a classic partner that elevates the experience, inviting more sweetness and texture.
-
Coffee or Espresso: The bitterness cuts through the sweetness, creating an exquisite balance. Pairing your cheesecake with a robust cup of coffee is perfect for a late-night treat.
-
Mint Chocolate Chip Ice Cream: This cool, creamy delight brings a minty freshness that offsets the dense dessert. The combination of flavors is ideal for those who love to mix it up!
-
Caramel Sauce: Rich and buttery, it pairs beautifully with the chocolate flavors, adding depth. Consider drizzling caramel over your cheesecake and garnish, creating a beautiful presentation.
-
Almond Biscotti: These crunchy cookies provide a delightful textural contrast, perfect for scooping up the cheesecake. The nutty flavor enhances the dessert and adds a charming touch to your dessert table.
Make Ahead Options
This No-Bake Oreo Cheesecake is a fantastic choice for busy home cooks looking to save time without sacrificing flavor! You can prepare the entire cheesecake up to 24 hours in advance. Start by making the crust and filling the cheesecake, then refrigerate it overnight to let the flavors meld. If you prefer, you can also prepare the crust and filling separately and keep them in the fridge (the crust in an airtight container for up to 3 days). When you’re ready to serve, simply pour the ganache over the cheesecake and let it set for about 30 minutes before garnishing and slicing. This way, your dessert will still be just as delicious as when freshly made, making it perfect for any gathering!
How to Store and Freeze No-Bake Oreo Cheesecake
Fridge: Store leftovers in an airtight container to keep the cheesecake fresh for up to 3 days. Remember that the crust may soften slightly over time.
Freezer: If you want to keep it longer, wrap individual slices in plastic wrap and place them in a freezer-safe container. The No-Bake Oreo Cheesecake will retain its flavor for up to 2 months.
Thawing: To enjoy frozen cheesecake, transfer it to the fridge for 4-6 hours or until fully thawed. Avoid microwaving, as it can affect texture.
Reheating: This dessert is best served cold and does not require reheating, preserving that creamy delight and freshness!
No-Bake Oreo Cheesecake Recipe FAQs
How do I choose ripe ingredients for the No-Bake Oreo Cheesecake?
Absolutely! For the best cheesecake experience, select Oreo cookies with no visible damage. They should be intact and crunchy—not stale. As for cream cheese, always pick a full-fat variety and ensure it’s softened to room temperature. This guarantees a smooth filling without lumps, leading to a perfectly creamy texture.
How should I store the No-Bake Oreo Cheesecake?
To keep your cheesecake fresh, store leftovers in an airtight container in the refrigerator for up to 3 days. Just a heads up, the crust might soften a bit over time, but the flavor will still shine through. If you want to keep it longer, consider freezing it!
Can I freeze No-Bake Oreo Cheesecake? What’s the best method?
Absolutely! To freeze your No-Bake Oreo Cheesecake, first cut it into individual slices. Wrap each slice tightly in plastic wrap to prevent freezer burn, and then place them in a freezer-safe container. This way, you can keep it for up to 2 months. When you’re ready to enjoy, let it thaw in the refrigerator for 4-6 hours. Avoid microwaving, so it maintains its creamy, delightful texture.
What are some common issues that could arise while making the cheesecake?
Very! A common issue is lumps in your filling from cold cream cheese. Always soften it beforehand. If your crust crumbles when sliced, make sure you’ve pressed it firmly into the pan. If it’s too soft after chilling, you might need to let it set longer in the refrigerator. Just remember, preparation is key!
Are there any dietary considerations for this No-Bake Oreo Cheesecake?
Certainly! This recipe contains dairy and gluten, so it’s not suitable for vegans or those with lactose intolerance or gluten sensitivities. You could experiment with gluten-free Oreos and a dairy-free cream cheese alternative if you’re looking for safer options for dietary restrictions. Always check ingredient labels to accommodate allergies!
Can I make this cheesecake ahead of time?
Absolutely! One of the best aspects of this No-Bake Oreo Cheesecake is that it can be prepared a day before your event. Just ensure to chill it overnight, allowing the flavors to meld beautifully. This way, you can serve a delightful dessert without the last-minute rush!
No Bake Oreo Cheesecake Recipe: Indulge in Creamy Delight
Ingredients
Equipment
Method
- Begin by crushing 28 Oreos in a food processor until they resemble fine crumbs. Melt 5 tablespoons of salted butter, then combine it with the Oreo crumbs and a pinch of salt in a mixing bowl. Stir until the mixture is well blended, then firmly press it into the bottom and slightly up the sides of a 10-inch springform pan to create a solid base.
- In a large mixing bowl, beat 16 ounces of softened cream cheese with 1 cup of powdered sugar and 1 teaspoon of vanilla extract using an electric mixer on medium speed until the mixture is fluffy and smooth, about 3-4 minutes. Gently fold in 2 cups of thawed Cool Whip and 15 crushed Oreos until fully combined.
- Carefully pour the cheesecake filling over the prepared Oreo crust, using a spatula to spread it evenly. Smooth the top to achieve a nice surface.
- In a microwave-safe bowl, add 1 cup of semi-sweet chocolate chips and ½ cup of heavy cream. Heat this mixture in the microwave in 30-second intervals, stirring between each until it melts completely and forms a smooth ganache. Allow it to cool for a few minutes before pouring it gently over the cheesecake.
- Cover the cheesecake with plastic wrap and place it in the refrigerator. Chill for at least 6 hours, ideally overnight.
- Once chilled, carefully remove the sides of the springform pan. Top the cheesecake with whipped cream and any remaining crushed Oreos, then slice and serve.
Leave a Reply