
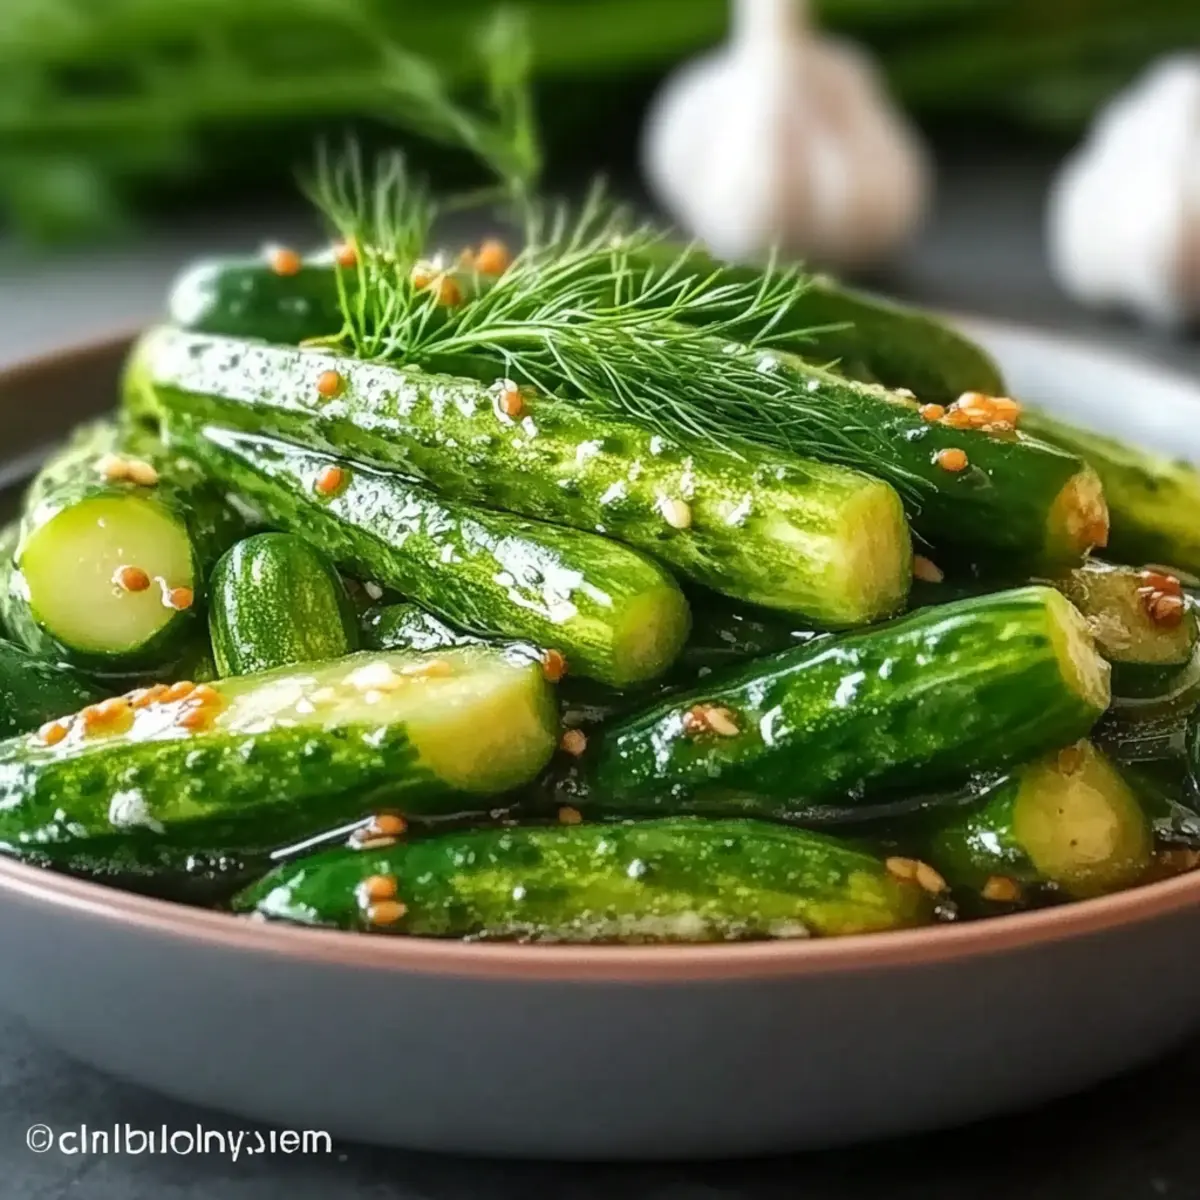
There’s nothing quite like the satisfying crunch of a fresh pickle, especially when you realize you can whip up Refrigerator Dill Pickles in no time at all. Forget the long canning processes; this quick pickling technique brings the vibrant, zesty flavor straight to your fridge. Perfect for elevating sandwiches, enhancing charcuterie boards, or enjoying as a flavorful snack, these dill pickles offer both convenience and a homemade touch that’s hard to resist. Plus, they’re beginner-friendly and allow for personal customization — adjust the sweetness or spice levels to cater to your palate. Are you ready to relish the simplicity of making your own pickles at home? Let’s dive into the crisp and tangy goodness!

Why Make Refrigerator Dill Pickles?
Ease of Preparation: This recipe is incredibly simple and requires no canning experience, making it perfect for beginners.
Fresh Flavors: With bright dill and pungent garlic, these pickles burst with freshness in every bite.
Ultimate Crunch: Using Kirby cucumbers ensures a satisfying snap, giving you that classic pickle crunch you crave.
Quick Results: You’ll have delicious pickles ready to enjoy in just 24 to 48 hours, perfect for last-minute gatherings.
Customizable: Adjust sweetness or add spices like red pepper flakes to create your perfect pickle!
Transform your meals with these Refrigerator Dill Pickles—they’re the ideal homemade addition to sandwiches, salads, or charcuterie boards!
Refrigerator Dill Pickle Ingredients
• Here’s everything you need!
For the Pickles
• Kirby Cucumbers – Ensures the crunch; avoid English cucumbers for best texture.
• Garlic – Provides a strong, flavorful punch; can be used whole for a milder taste.
• Fresh Dill – Adds herbal brightness that elevates the flavor; dill seed is a good substitute if fresh isn’t available.
• Mustard Seeds – Offers subtle spice and complexity; feel free to omit if desired.
For the Brine
• White Distilled Vinegar – The core ingredient for sharpness; do not swap for flavored vinegar for optimal results.
• Filtered Water – Balances the vinegar for a perfect brine; tap water is perfectly acceptable.
• Kosher Salt – Enhances flavor and preserves; stick with kosher salt as table salt can cloud the brine.
• Granulated Sugar – Balances the vinegar’s acidity, lending a touch of sweetness; increase for a sweeter pickle option.
This easy-to-follow ingredient list will set you on the path to homemade Refrigerator Dill Pickles that will have everyone craving more!
Step‑by‑Step Instructions for Refrigerator Dill Pickles
Step 1: Prepare the Cucumbers
Start by washing your Kirby cucumbers thoroughly under cool running water. To ensure maximum crunch, slice a thin sliver off the blossom end of each cucumber. Cut them into your desired shape—either spears or rounds—making sure they are uniform for even pickling later on. Set your prepared cucumbers aside while you work on the brine.
Step 2: Make the Brine
In a medium saucepan, combine 1 cup of white distilled vinegar, 1 cup of filtered water, 2 tablespoons of kosher salt, and 2 tablespoons of granulated sugar. Heat this mixture over medium heat while stirring gently for about 5 minutes until the salt and sugar are completely dissolved. Keep an eye on it; you want the brine to simmer gently without boiling rapidly. Remove from heat once dissolved.
Step 3: Pack the Jars
Evenly distribute the smashed garlic, fresh dill, and mustard seeds into two clean 32-ounce wide-mouth Mason jars. This creates a flavorful base for your quick pickling. Next, pack the cucumber slices tightly into the jars, ensuring to leave about ½ inch of headspace at the top, which allows for the brine to cover the cucumbers fully.
Step 4: Add the Brine
Carefully pour the hot brine over the packed cucumbers in each jar, ensuring they are completely submerged. You may notice a bit of bubbling as the brine interacts with the cucumbers. To maintain freshness, seal the jars tightly with their lids right after pouring the brine. This will lock in the crispy texture and flavor of your Refrigerator Dill Pickles.
Step 5: Cool Down and Refrigerate
Allow the jars to cool to room temperature on your kitchen counter for about 30 minutes to 1 hour. This cooling period helps with the flavor infusion. Once the jars are cool, transfer them to the refrigerator and let them chill for at least 24 to 48 hours. The longer you let them sit, the more flavorful your Refrigerator Dill Pickles will become.
Step 6: Enjoy Your Pickles
After your Refrigerator Dill Pickles have chilled, they’re ready to enjoy! Use a clean utensil to scoop out the pickles whenever you need them, preventing contamination. These pickles are perfect as snacks, sandwich toppers, or as an eye-catching addition to your charcuterie board. Don’t forget to savor that satisfying crunch!

Refrigerator Dill Pickles Variations
Feel free to unleash your creativity and tailor these pickles to your taste with a few delightful twists!
-
Spicy Dill: Add red pepper flakes or sliced habanero for a fiery kick that transforms this classic into a zesty treat. The heat will beautifully balance the vinegar’s acidity!
-
Sweet & Tangy: Increase the sugar amount for a sweeter variant reminiscent of “bread and butter” pickles. The sweetness pairs perfectly with sandwiches and adds a fun contrast to salty meats.
-
Herb Infusion: Swap out fresh dill for other herbs like tarragon or cilantro for a unique flavor explosion. Each herb brings its distinct personality, giving your pickles a fresh twist!
-
Low-Sodium Option: Substitute half the kosher salt with a potassium-based salt alternative to lower sodium levels without losing flavor. This is great for health-conscious eaters.
-
Garlic-Lover’s Delight: Amp up the garlic by adding more whole cloves or even crushed for a more pronounced flavor. The intensified garlic taste creates a robust zing in every bite.
-
Citrus Zest: Incorporate lemon or lime slices into the jars for a refreshing citrusy flavor that brightens the pickles. You’ll love the unexpected zing every time you reach for one!
-
Crunchy Extras: Toss in some sliced carrots or radishes for mix-ins that add color and crunch. They’ll absorb the brine flavors, making for a stunning, flavorful addition to your pickles.
Experiment with these delightful ideas and create a jar of Refrigerator Dill Pickles that’s perfectly suited to your palate! Enjoy this culinary adventure, and feel free to try them alongside your favorite homemade meals—like a hearty sandwich or a charcuterie board filled with mouthwatering treats.
Expert Tips for Refrigerator Dill Pickles
Best Cucumber Choice: Use Kirby cucumbers for the perfect crunch; avoid English cucumbers, which may turn mushy after pickling.
Blossom End Trick: Always slice off the blossom end to prevent softening and ensure your pickles stay crisp and crunchy.
Soaking for Crispness: Consider soaking cucumbers in ice water for 30 minutes before packing them into jars for an added crunch in your Refrigerator Dill Pickles.
Brine Discipline: Balance salt and sugar carefully if scaling the recipe; the right proportions are key to a flavorful brine and good preservation.
Jars Matter: Ensure jars are thoroughly cleaned and dry before packing; remove any residue to maintain clarity and taste of the brine.
How to Store and Freeze Refrigerator Dill Pickles
Fridge: Keep your Refrigerator Dill Pickles in the coldest part of the fridge to maintain their crispness; they will stay fresh for up to 4 to 6 weeks.
Airtight Containers: Store the pickles in sealed glass jars to avoid moisture and odors. Always use a clean utensil to retrieve pickles, preventing brine contamination.
Long-Term Storage: While it’s not recommended to freeze pickles due to texture changes, if desired, freeze the brined cucumbers in airtight freezer bags for up to 3 months, though expect some softening when thawed.
Flavor Preservation: The flavor improves over time, so resist the temptation to use them too quickly; let the pickles marinate for at least 24 hours for the best taste!
Make Ahead Options
These Refrigerator Dill Pickles are a fantastic choice for meal prep, saving you time on busy weeknights! You can prepare the cucumbers and the brine up to 24 hours in advance; simply slice the cucumbers and store them in the refrigerator in an airtight container. When you’re ready to pickle, bring the brine to a simmer, pack the jars, and proceed with the recipe. Make sure to refrigerate the pickles right after filling the jars to maintain their crispness and flavor. By allowing them to chill for 24 to 48 hours before serving, these pickles will develop a delightful taste that’s just as delicious as if made fresh!
What to Serve with Quick & Crunchy Refrigerator Dill Pickles
These vibrant, zesty pickles will elevate any meal, offering a refreshing crunch that’s perfect for summertime dining.
-
Classic Sandwiches: These pickles add a bright crunch to turkey or ham sandwiches, cutting through richness and enhancing flavors.
-
Charcuterie Boards: Serve alongside an array of cheeses, cured meats, and fresh fruits. Their tang and crunch balance well with creamy and savory elements, creating a harmonious bite.
-
Burgers: A crunchy dill pickle is the ultimate topping that brings a punch of flavor and texture to juicy burgers, enhancing each mouthful.
-
Salads: Chop these pickles into your favorite salads for added acidity and crunch, complementing greens beautifully and brightening flavors.
-
Tacos: Add slices to tacos for a crisp, acidic contrast that elevates the profile of spicy or savory fillings.
-
Potato Salad: Mix chopped pickles into creamy potato salad for an unexpected zing that ties the dish together wonderfully.
-
Beverages: Pair with iced tea or a light beer, as their sharpness complements the refreshing nature of these drinks, making for a perfect cooling experience.
Refrigerator Dill Pickles Recipe FAQs
What type of cucumbers should I use for Refrigerator Dill Pickles?
Absolutely, for the best crunch, always choose Kirby cucumbers. They have a thicker skin and crunchy texture, unlike English cucumbers, which may turn mushy. If you can’t find Kirby cucumbers, look for pickling cucumbers labeled as such at your local store.
How should I store my Refrigerator Dill Pickles?
Very! Store your pickles in the coldest part of the fridge, ideally in a sealed glass jar, where they can maintain their crispness for up to 4 to 6 weeks. Remember to always use a clean utensil to retrieve them to avoid contaminating the brine.
Can I freeze Refrigerator Dill Pickles?
While it’s generally not the best idea to freeze pickles due to potential texture changes, you can freeze them in airtight freezer bags for up to 3 months if necessary. Just keep in mind that when they thaw, they may lose their signature crunch.
What can I do if my pickles turn soft?
If your pickles have become softer than desired, this could be due to not removing the blossom end of the cucumber before pickling or using the wrong type of cucumber. For a future batch, ensure you slice off that end and stick with Kirby cucumbers for crunch.
How can I adjust the flavor for dietary considerations?
Feel free to customize the sweetness or spice! You can increase the sugar for a sweeter pickle or add red pepper flakes for some heat. For lower sodium, substitute some kosher salt with a potassium-based alternative. Always check for allergies if serving to guests!
How long should I let my pickles sit before eating?
The flavor deepens and improves over time, so I recommend letting your pickles chill in the fridge for at least 24 to 48 hours before enjoying. This allows the cucumbers to absorb all the zesty, garlicky goodness from the brine!

Crispy Refrigerator Dill Pickles That You’ll Crave!
Ingredients
Equipment
Method
- Wash the Kirby cucumbers under cool running water. Slice a thin sliver off the blossom end and cut into uniform shapes.
- Combine vinegar, water, salt, and sugar in a saucepan. Heat over medium, stirring until dissolved.
- Distribute smashed garlic, dill, and mustard seeds into jars. Pack cucumber slices tightly, leaving ½ inch of headspace.
- Pour hot brine over cucumbers until submerged. Seal jars tightly with lids.
- Cool jars to room temperature for about 30 minutes to 1 hour, then refrigerate for 24 to 48 hours before enjoying.
- Use a clean utensil to scoop out pickles as needed.
Leave a Reply