
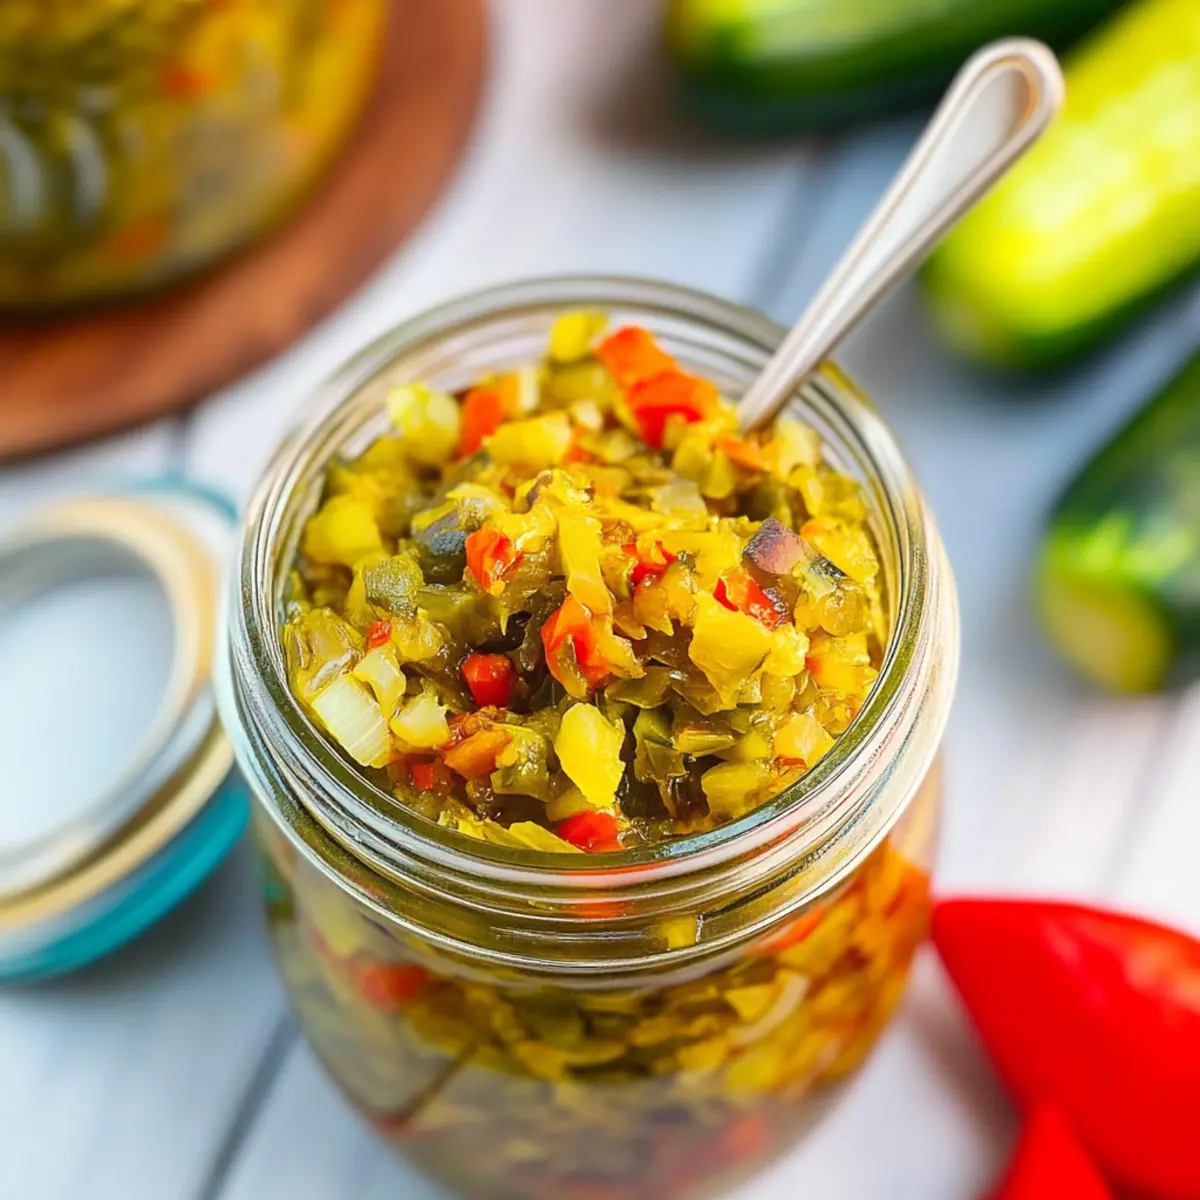
You know those moments when a tangy jar of pickle relish brings back summer BBQs and family gatherings? That’s the magic of this Homemade Sweet & Spicy Pickle Relish. With a delightful balance of sweet vinegar tang and mild pepper heat, you’ll discover that making this condiment is not just simple—it’s rewarding. This recipe not only offers a satisfying crunch from fresh cucumbers but also ensures versatility, making it perfect for topping burgers, jazzing up sandwiches, or enhancing your favorite potato salads. Plus, it’s vegan, gluten-free, and super quick to whip up, meaning you can enjoy a homemade accompaniment without the fuss. Ready to embark on a flavorful journey with this irresistible relish? Let’s dive in!
Why is Homemade Pickle Relish the Best?
Flavorful Experience: Every bite of this homemade pickle relish bursts with vibrant flavors, perfectly blending sweet, tangy, and spicy notes that elevate any dish.
Quick Preparation: With minimal effort required, you can whip this up in no time—ideal for busy home cooks looking to enhance their meals effortlessly.
Versatile Uses: Use it as a zesty topping for burgers, a tangy addition to potato salads, or even a garnish for deviled eggs, making it a must-have for every gathering.
Healthy Option: Packed with fresh ingredients and no preservatives, this vegan and gluten-free relish offers a guilt-free way to enjoy that familiar pickle taste.
Storage Friendly: Easily store your finished jars in the fridge for up to a month, allowing you to make ahead for summer BBQs and family events.
Pickle Relish Ingredients
For the Relish
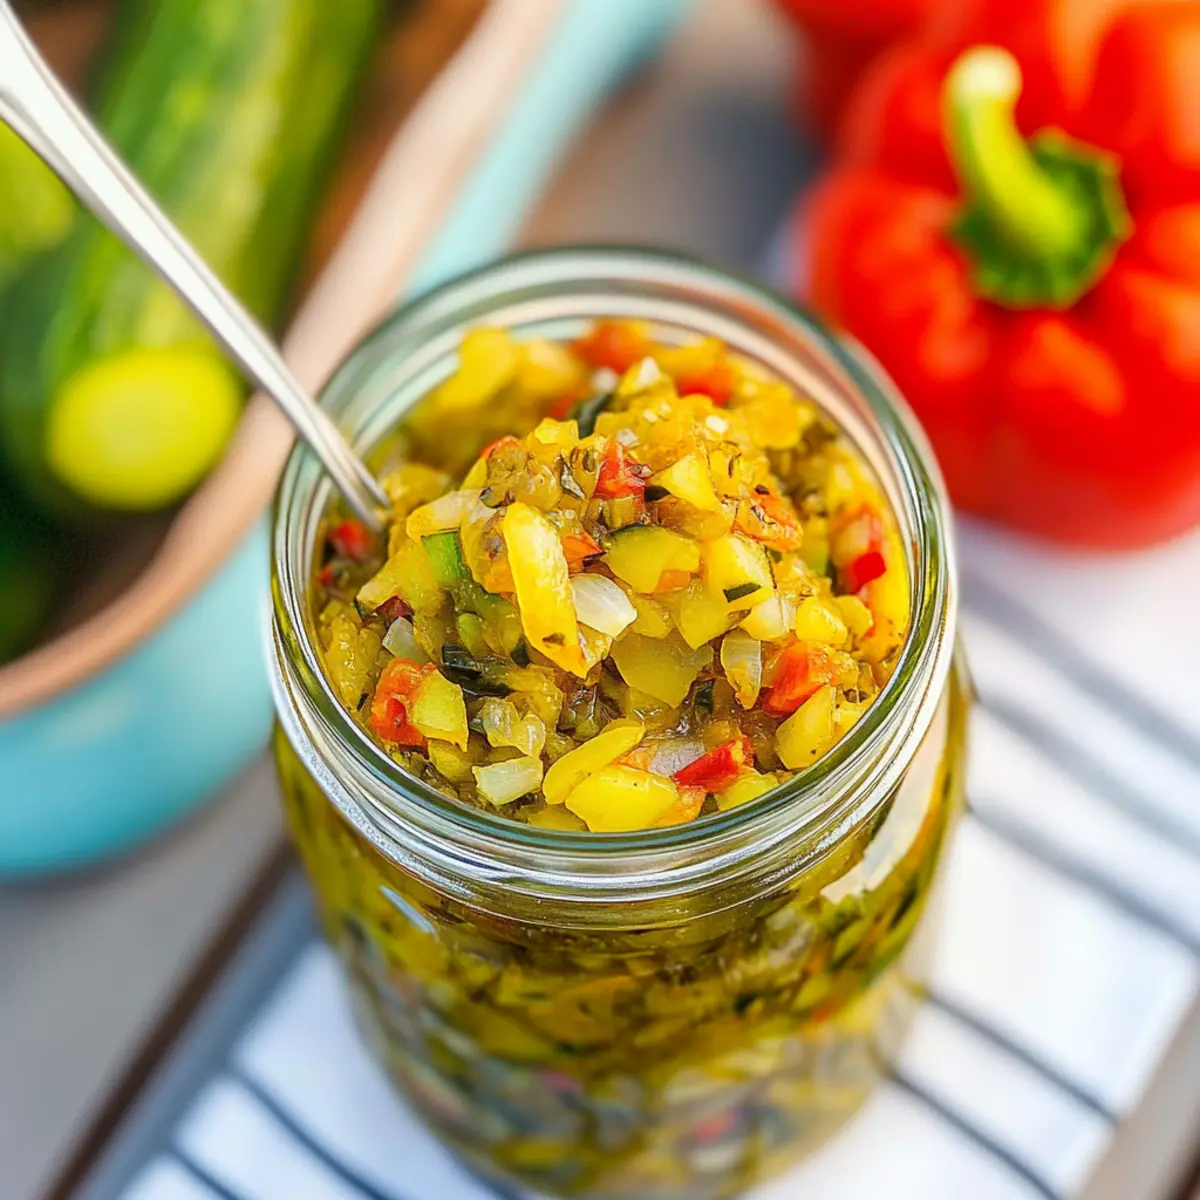
- Pickling Cucumbers – Choose smaller, firm cucumbers for the best crunch.
- Yellow Onion – This adds a savory balance that complements the sweet and tangy flavors.
- Red Bell Pepper – Provides mild sweetness, balancing the sharpness from the onion.
- Garlic – Enhances the overall savory complexity of your pickle relish.
- Jalapeño – Optional for heat; omit or adjust quantity to suit your taste preference.
For the Brine
- Pickling Salt – Essential for drawing out moisture; crucial for achieving the right texture in your pickle relish.
- Apple Cider Vinegar & Distilled White Vinegar – Creates a tangy brine, with apple cider adding a fruity note.
- Granulated Sugar – Balances the acidity, enhancing flavor without making it overly sweet.
- Mustard Seeds, Dill, Celery Seed, Turmeric – These are key spices that add familiar pickle flavors; turmeric also lends a lovely color.
- Crushed Red Pepper Flakes – Optional, to adjust the heat level according to your taste.
Embrace the joy of crafting your own pickle relish that not only satisfies but is a wholesome addition to countless dishes!
Step‑by‑Step Instructions for Homemade Sweet & Spicy Pickle Relish
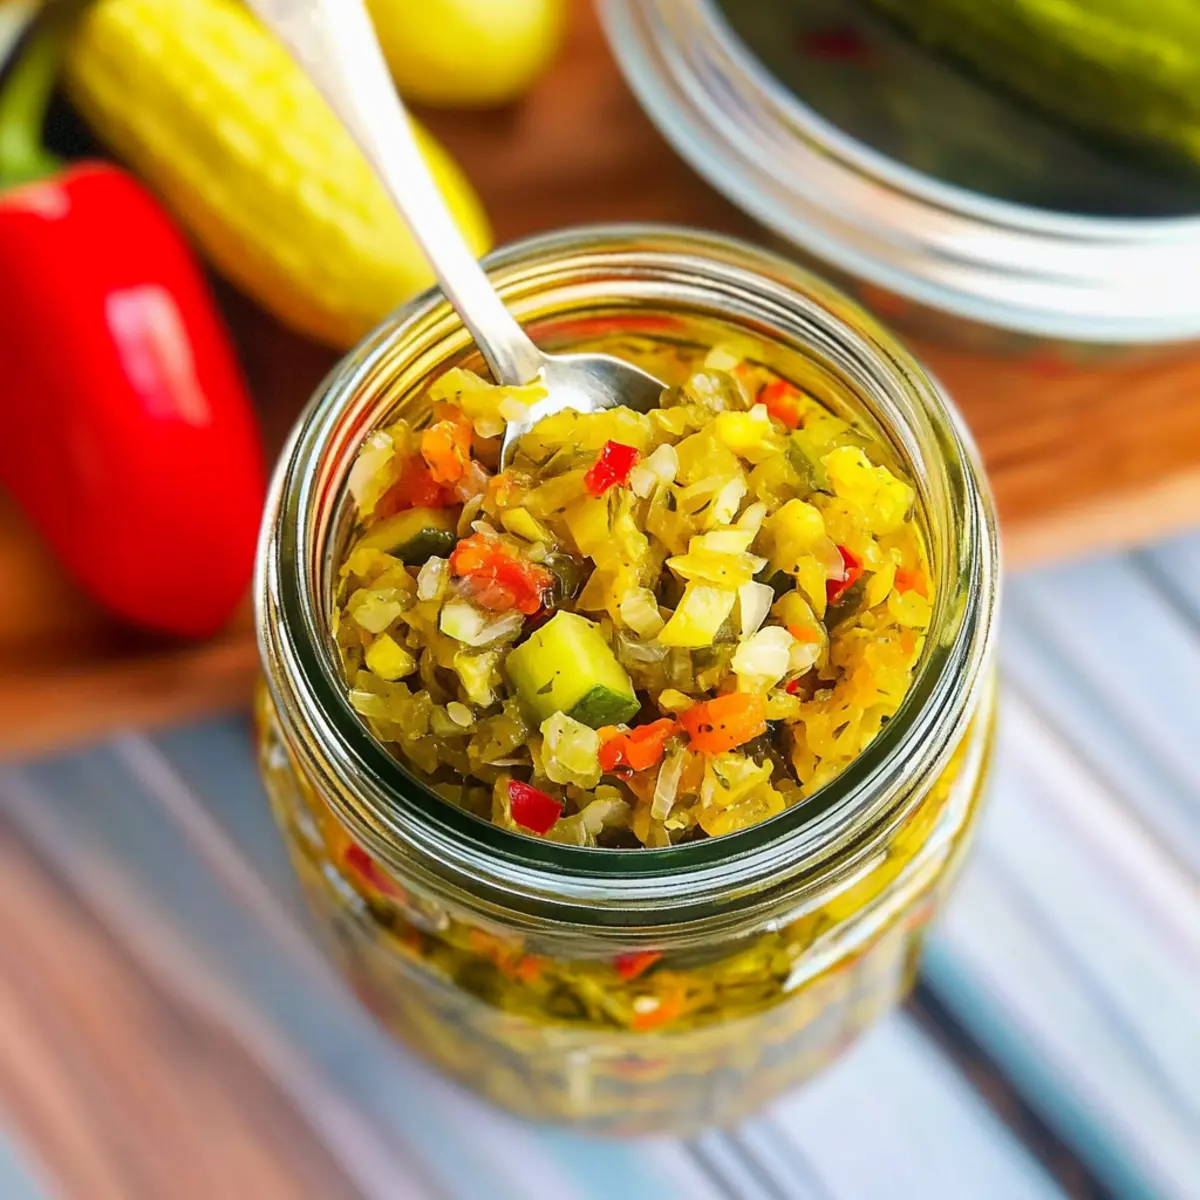
Step 1: Chop Vegetables
Begin by washing and trimming the pickling cucumbers, yellow onion, red bell pepper, garlic, and jalapeño (if using). Pulse these ingredients in a food processor until they are finely minced. Aim for a uniform texture that should resemble small bits; this ensures your pickle relish achieves that signature crunch while maintaining a balanced flavor.
Step 2: Salt and Soak
Transfer the chopped vegetables into a large bowl. Sprinkle them with pickling salt and cover everything with ice water, making sure they’re all submerged. Allow the mixture to soak for 1-2 hours; this step is crucial as it draws out excess moisture, helping to preserve the crunchiness in your homemade pickle relish.
Step 3: Drain Vegetables
After soaking, grab a fine mesh strainer or cheesecloth. Carefully drain the vegetables to remove the salted water, pressing firmly to extract any remaining liquid. This helps achieve the perfect consistency for your pickle relish, making sure it isn’t too watery when you add it to the brine.
Step 4: Make Brine
In a medium-sized pot, combine equal parts apple cider vinegar and distilled white vinegar, granulated sugar, mustard seeds, dill, celery seed, turmeric, and optionally, crushed red pepper flakes. Heat the mixture over medium-high heat, stirring frequently until it comes to a gentle boil; watch for sugar to dissolve completely, creating a fragrant brine.
Step 5: Cook Relish
Once the brine is boiling, lower the heat and carefully add your drained vegetables. Allow the mixture to simmer uncovered for about 15 minutes, stirring occasionally. As it cooks, you’ll notice the bright colors and scents meld together, creating a deliciously vibrant pickle relish.
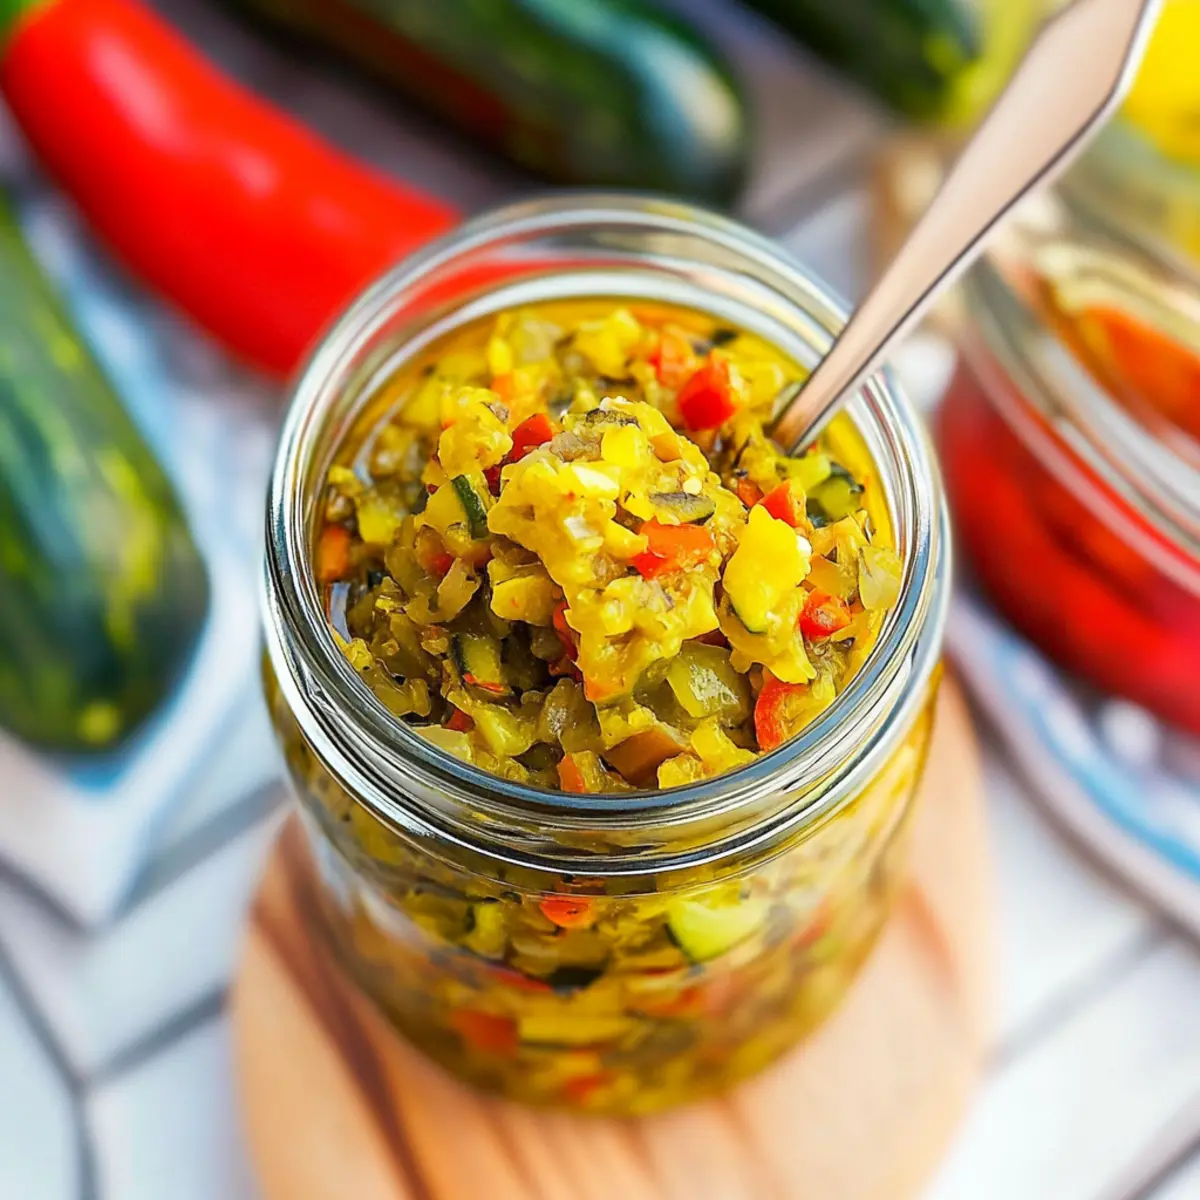
Step 6: Fill Jars
Remove the pot from heat and let the relish cool slightly before filling. Carefully ladle your homemade pickle relish into sterilized mason jars, leaving about ½ inch of headspace at the top. Seal each jar tightly with a lid; this enables your relish to maintain freshness in storage.
Step 7: Cool & Store
Allow the filled jars to cool at room temperature for a few hours. Once cooled, check that the lids are properly sealed (they should not flex when pressed). Store your homemade sweet & spicy pickle relish in the refrigerator, where it can be enjoyed for up to one month, ready to bring tangy delight to any meal.
Make Ahead Options
These Homemade Sweet & Spicy Pickle Relish jars are perfect for meal prep enthusiasts! You can chop the cucumbers, onion, red bell pepper, and garlic up to 24 hours in advance. Simply store the chopped veggies in an airtight container in the refrigerator to keep them fresh and vibrant. Additionally, you can prepare the brine mixture (vinegars, sugar, and spices) up to 3 days ahead; just store it separately in a sealed jar. When you’re ready to finish the pickle relish, combine the soaked vegetables with the pre-made brine, simmer for 15 minutes, and ladle into jars for a tangy, homemade condiment that’s just as delicious as it is convenient.
Expert Tips for Making Pickle Relish
-
Chop in Batches: Ensure even chopping by pulsing your vegetables in small batches; avoid overcrowding the food processor which can lead to uneven textures.
-
Drain Well: After soaking, press firmly to remove excess liquid. A fine mesh strainer or cheesecloth can greatly enhance drainage, giving you a thicker brine for your pickle relish.
-
Use Pickling Salt: Always opt for pickling salt instead of regular table salt. Their grain sizes differ, which can affect the brining process and flavor.
-
Check Vinegar Acidity: Make sure both vinegars are labeled with at least 5% acidity. This is crucial for proper pickling and ensuring food safety.
-
Storage Guidelines: Store sealed jars in the refrigerator for up to one month. Avoid freezing, as it can alter the texture of your beloved pickle relish.
Pickle Relish Variations & Substitutions
Feel free to mix and match ingredients in this relish recipe to suit your taste or dietary needs!
-
Sweetness Adjustment: Increase sugar if you prefer a sweeter relish; it can transform the flavor profile beautifully.
-
Heat Variations: For those who love a spicy kick, include jalapeño seeds or add more crushed red pepper flakes to tailor the heat to your liking.
-
Dairy-Free: This recipe is naturally dairy-free, making it perfect for anyone avoiding dairy but still craving delicious flavors.
-
Gluten-Free: With all gluten-free ingredients, this relish can be enjoyed by everyone. Just double-check labels on any pre-packaged components, like pickling salt, to ensure they’re gluten-free.
-
Vegan Twist: No changes here! This relish is entirely plant-based, proving that vibrant flavors don’t require animal products.
-
Texture Boost: Add finely chopped carrots or zucchini for an extra crunch and a hint of sweetness that pairs well with the tangy vinegar.
-
Color Splash: Incorporate finely chopped purple onions or yellow bell peppers to brighten up your relish visually while adding nuanced flavors.
-
Herb Infusion: Introducing fresh herbs like dill or cilantro as a finishing touch can elevate the flavor, adding freshness that complements the pickles perfectly.
You’ll find that with these variations, your homemade pickle relish can truly be your own! For a vibrant spin on sides, consider serving your relish with dishes like potato salad or garnished atop grilled meats.
What to Serve with Homemade Sweet & Spicy Pickle Relish
Elevate your meals by pairing this delightfully zesty condiment with complementary flavors and textures.
- Grilled Burgers: These smoky, juicy patties are perfectly enhanced by the tangy crunch of relish, making each bite a flavor explosion.
- Potato Salad: Toss in a spoonful of relish to brighten up creamy potato salad; it adds an unexpected zing that will have everyone reaching for seconds.
- Hot Dogs: Nothing beats the classic combo of a hot dog topped with this vibrant pickle relish; the sweetness cuts through the savory meat beautifully.
- Charcuterie Boards: Add a small bowl of relish to your cheese and meat platters for an exciting contrast; it complements rich flavors and brings color to the spread.
- Deviled Eggs: Incorporate a touch of relish into your deviled egg filling for a tangy twist that leaves a lasting impression on your guests.
- Sandwiches: Use this pickle relish as a spread or topping for sandwiches; it adds a refreshing crunch that works wonders in elevating deli meats.
- Tacos: Spice up your tacos by adding this relish as a topping; it provides a delightful sweet and spicy kick.
- BBQ Chicken: Drizzle it over grilled chicken for a uniquely flavored meal bursting with sweet and spicy goodness.
- Fish Tacos: The relish works wonders over fish tacos, harmonizing the flavors with its delightful crunch and tang.
Storage Tips for Pickle Relish
-
Refrigerator: Store your homemade pickle relish in the refrigerator, where it will stay fresh for up to one month in sealed jars. This keeps it vibrant and ready to enhance your meals.
-
Room Temperature: Avoid leaving pickle relish at room temperature for extended periods, as this can compromise its quality and safety. Always refrigerate after opening.
-
Freezer: Freezing is not recommended for pickle relish, as it may alter the texture and flavor of this delicious condiment.
-
Reheating: There’s no need to reheat pickle relish. Serve it cold straight from the fridge for the best flavor experience!
Homemade Sweet & Spicy Pickle Relish Recipe FAQs
What type of cucumbers work best for pickle relish?
For the best texture in your pickle relish, opt for smaller, firm pickling cucumbers. They provide that perfect crunch and flavor that pairs beautifully with the tangy brine.
How long can I store my homemade pickle relish?
You can keep your homemade pickle relish in the refrigerator for up to one month. Ensure it’s stored in a sealed jar to maintain its vibrant flavors and prevent spoilage.
Can I freeze pickle relish for later use?
Freezing is not recommended for pickle relish, as it can significantly alter the texture and flavor of this tasty condiment. The fresh crunch will be lost, which is a vital aspect of your delicious relish.
What should I do if my relish is too watery?
If you find your relish is watery, make sure to press down firmly during the draining step. Use a fine mesh strainer or cheesecloth to help extract as much liquid as possible. This ensures a thicker, more enjoyable relish consistency.
Is this pickle relish safe for those with dietary restrictions?
Absolutely! This homemade pickle relish is vegan, gluten-free, and dairy-free, making it a versatile condiment suitable for anyone. Always double-check the labels of your ingredients to avoid any allergens.
How do I adjust the heat level of my pickle relish?
To control the heat, you can either adjust the amount of jalapeño you use or include the seeds for extra spice. Alternatively, if you prefer a milder relish, simply omit the jalapeño altogether.
Deliciously Spicy Pickle Relish You’ll Want on Everything
Ingredients
Equipment
Method
- Chop the pickling cucumbers, yellow onion, red bell pepper, garlic, and jalapeño in a food processor until finely minced.
- Transfer the chopped vegetables into a bowl, sprinkle with pickling salt, and soak in ice water for 1-2 hours.
- Drain the vegetables using a fine mesh strainer or cheesecloth.
- In a pot, combine apple cider vinegar, distilled white vinegar, granulated sugar, mustard seeds, dill, celery seed, turmeric, and crushed red pepper flakes. Heat until boiling.
- Add the drained vegetables to the boiling brine and simmer uncovered for about 15 minutes.
- Ladle the relish into sterilized mason jars, leaving ½ inch of headspace.
- Let the jars cool at room temperature before sealing and refrigerating.
Leave a Reply