
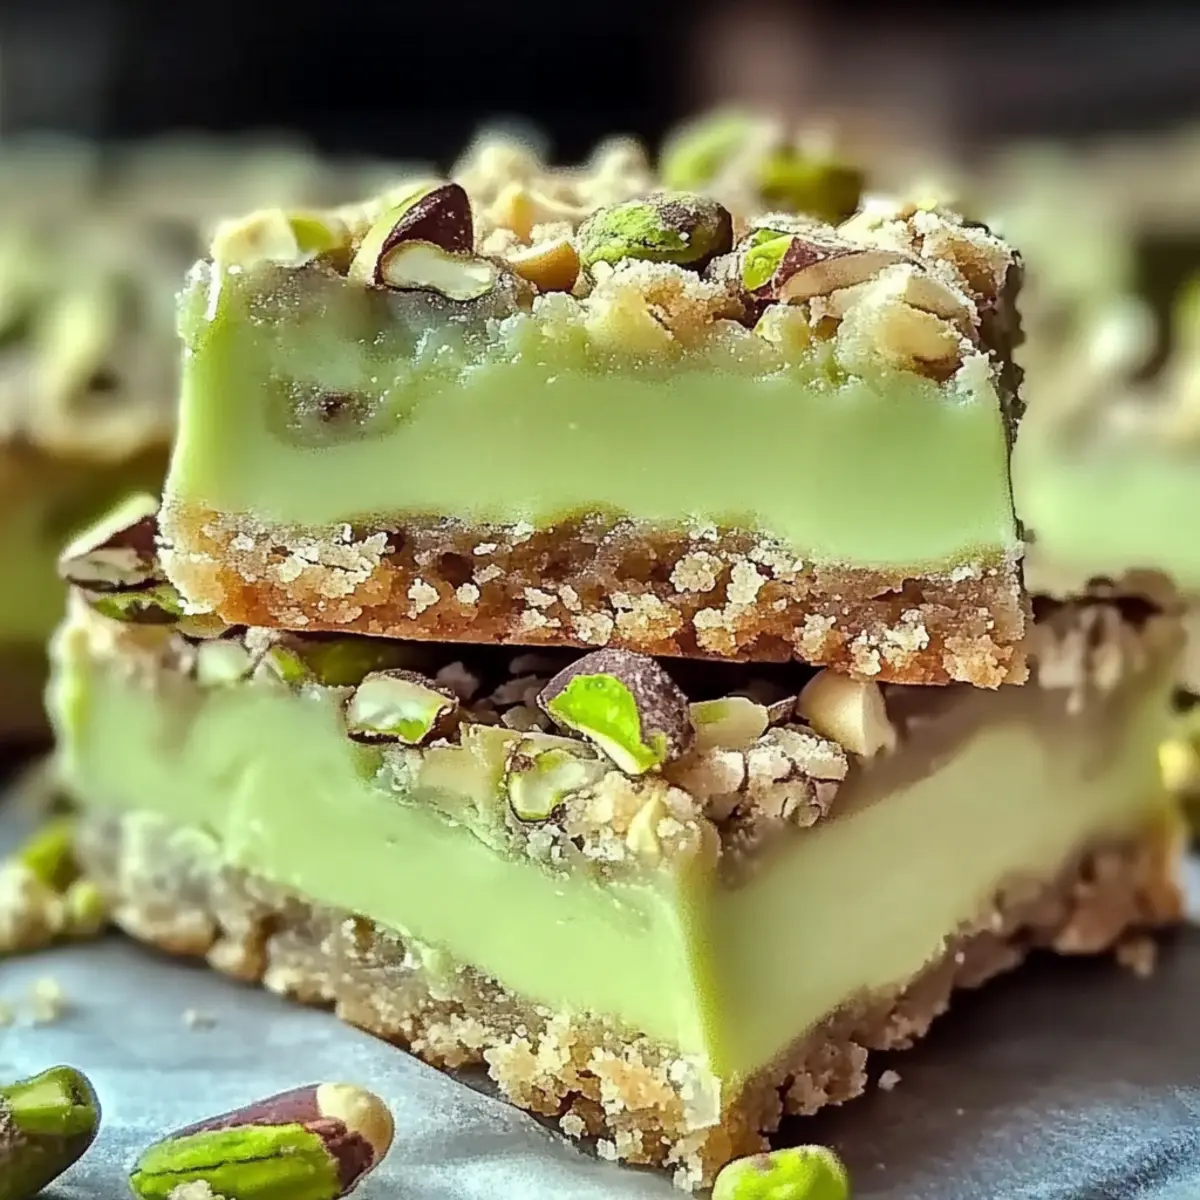
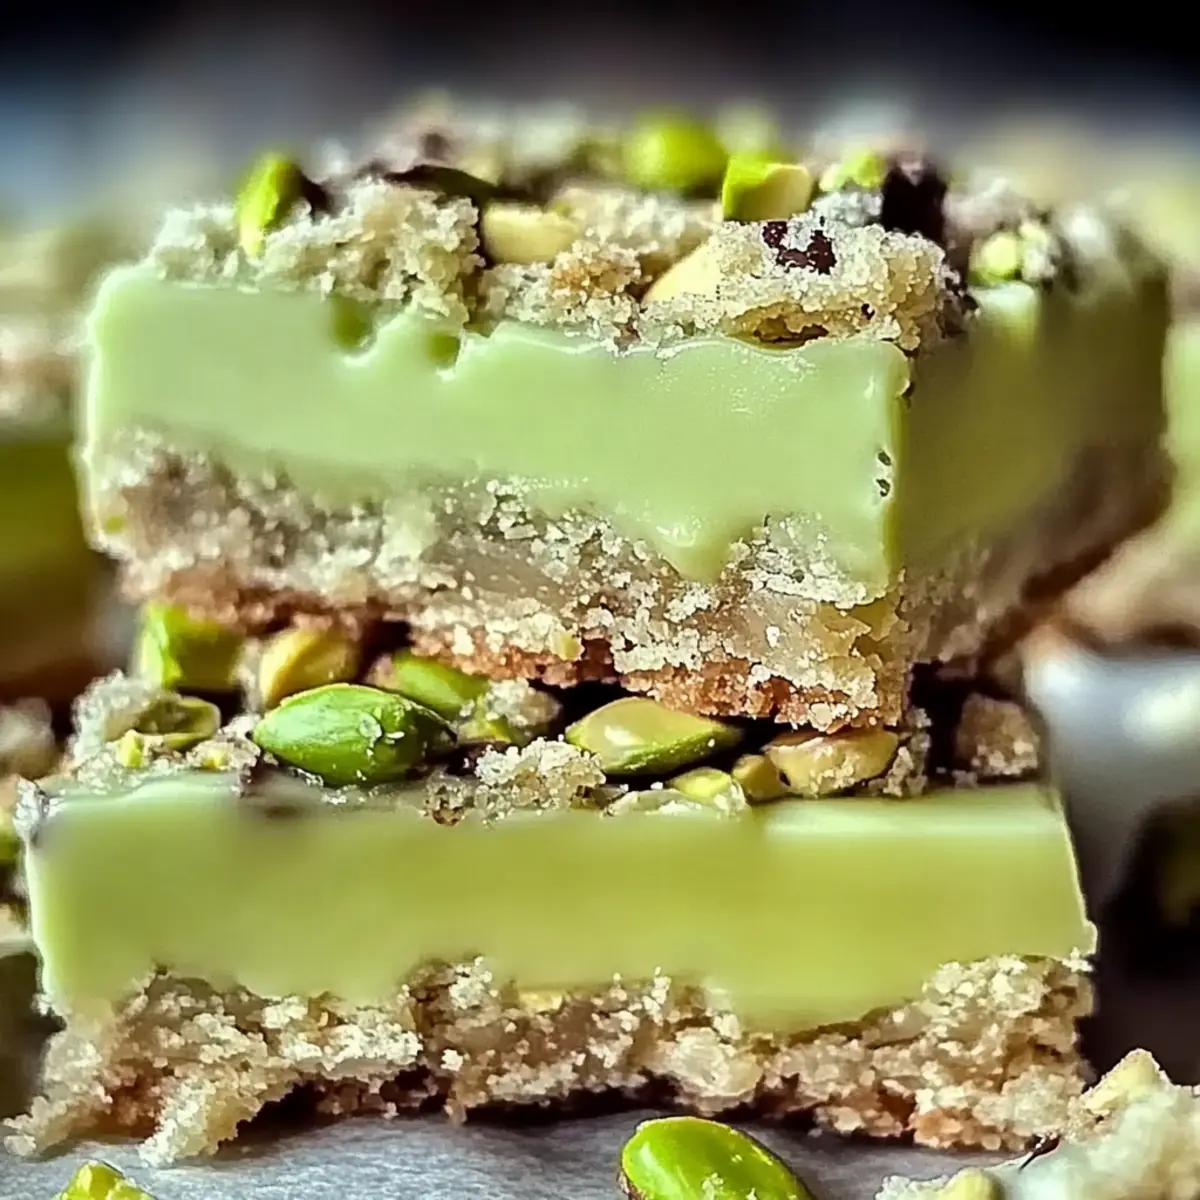
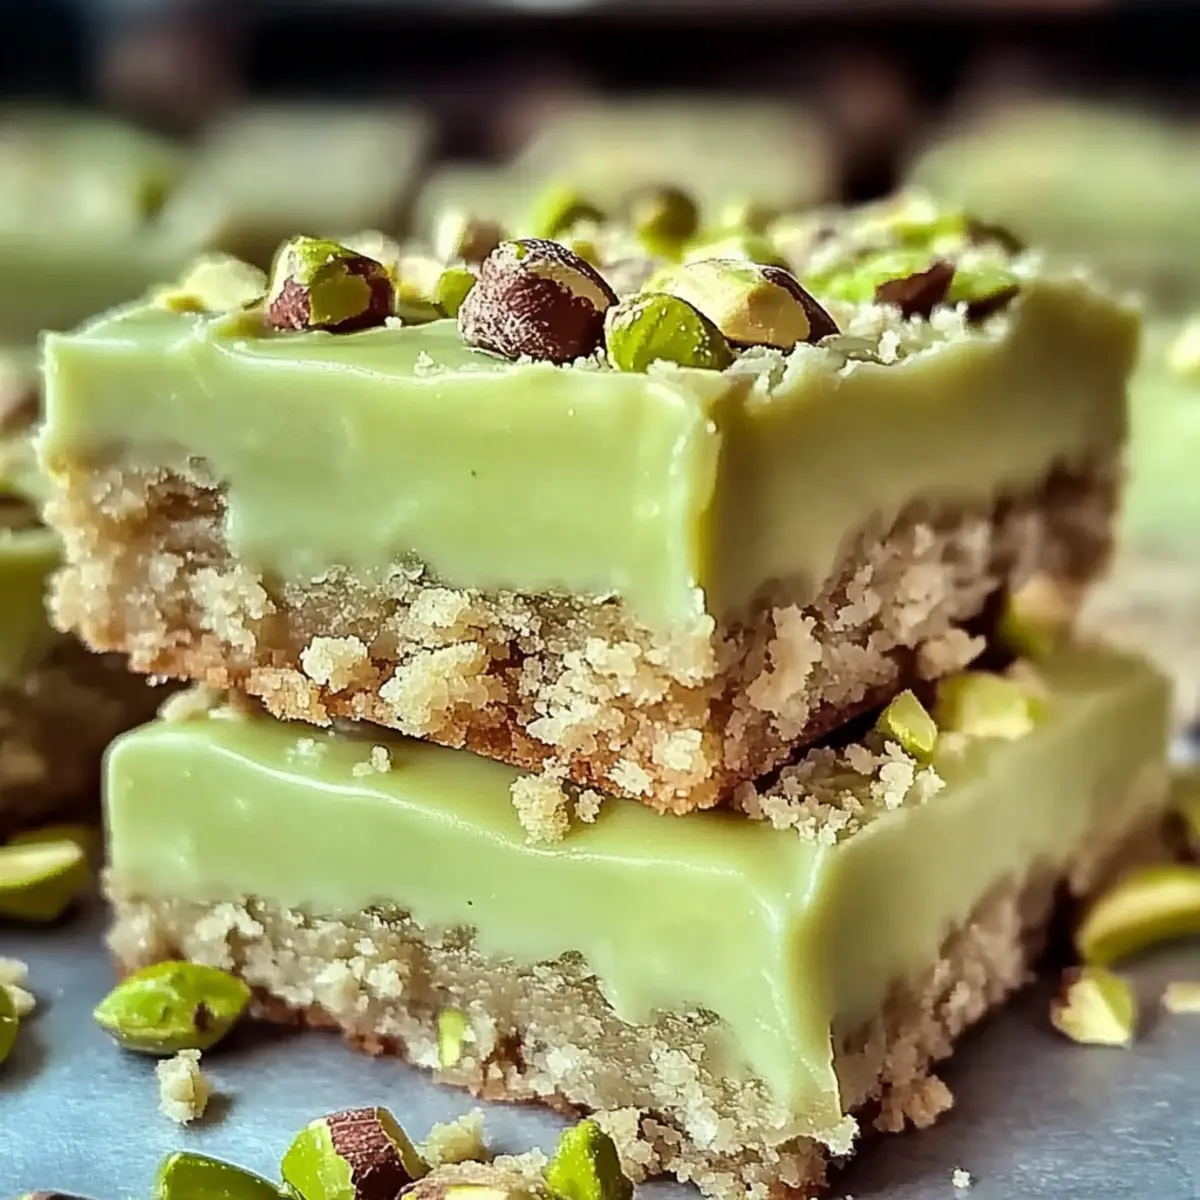
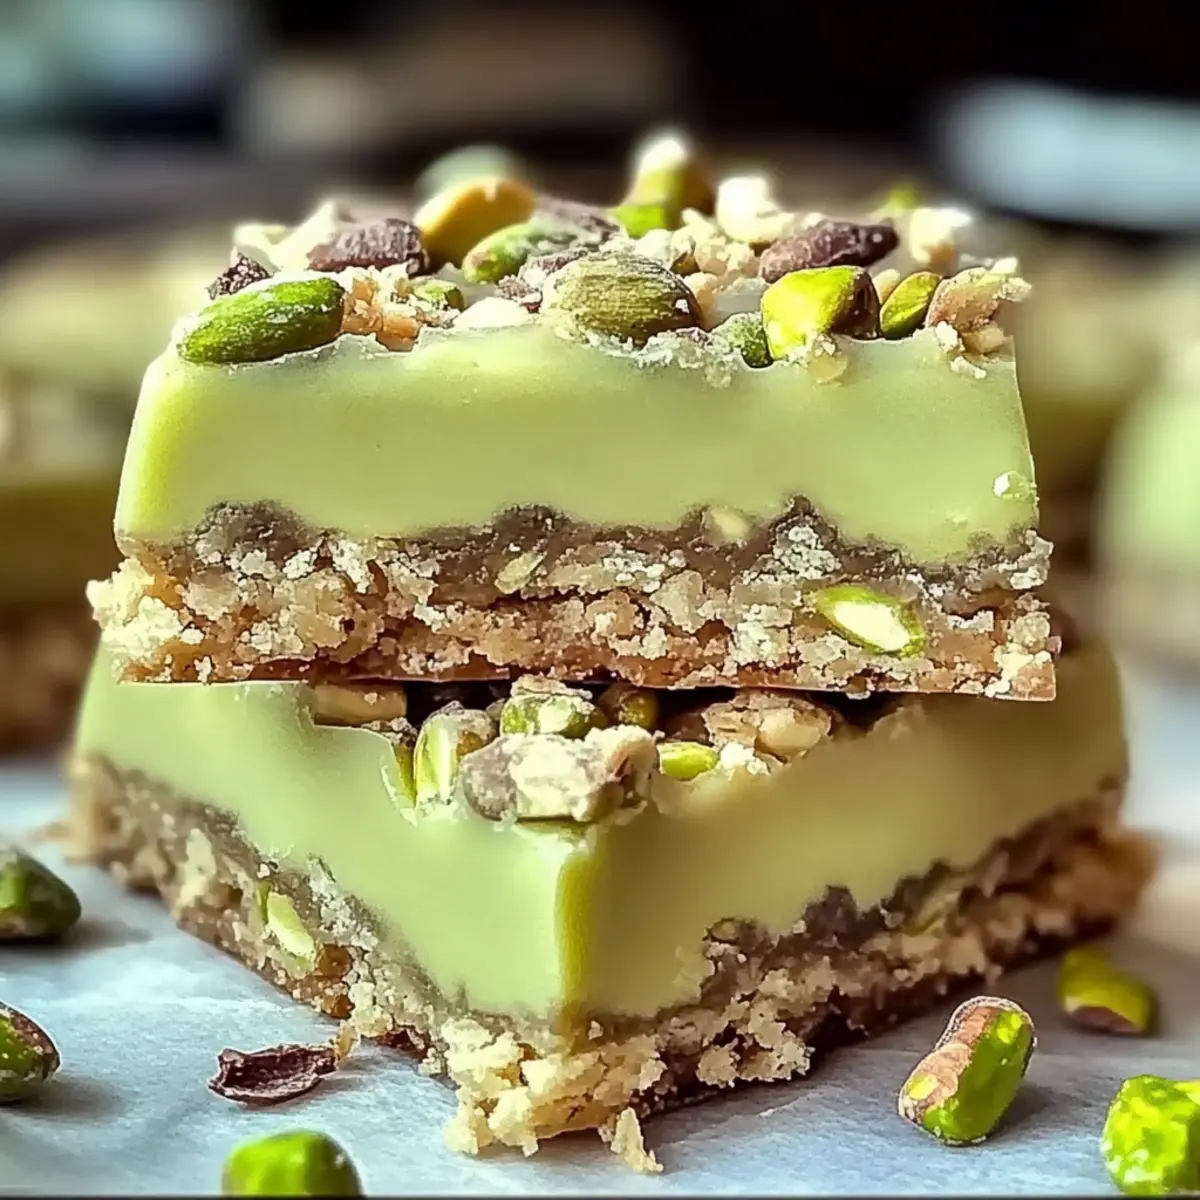
As I pulled a tray of warm, chewy Pistachio Dream Cookie Bars from the oven, the sweet, nutty perfume enveloped my kitchen like a warm hug. These delightful treats are perfect for anyone seeking an easy dessert that doesn’t compromise on taste. With their vibrant green hue and buttery goodness, they’re not only a showstopper at gatherings but also a quick and fun baking project for busy weeknights. Plus, these cookie bars offer customization options to suit your or your guests’ needs, whether you prefer nut-free or gluten-free varieties. At the heart of this recipe lies the promise of satisfied smiles and the joy of sharing something delicious—are you ready to see how easy it is to create your own batch?
Why are Pistachio Dream Cookie Bars amazing?
Crowd-Pleasing Delight: These cookie bars are a guaranteed hit at any gathering, impressing friends and family with their unique flavor and vibrant color.
Easy to Make: With just a few simple ingredients, whipping up a batch is quick, perfect for busy weeknights or spontaneous treats.
Customizable Options: Whether you want nut-free or gluten-free variations, this recipe accommodates various diets without sacrificing deliciousness.
Irresistible Texture: Expect chewy, soft centers that create a delightful contrast to the lightly golden edges—each bite is a delight!
Pair them with a scoop of vanilla ice cream or fresh berries for an even more indulgent dessert experience!
Pistachio Dream Cookie Bars Ingredients
For the Cookie Bars
• Unsalted Butter – Provides richness and moisture; make sure it’s softened at room temperature for easier mixing.
• Large Eggs – Adds structure and binds everything together; use eggs at room temperature for better incorporation.
• Pistachio Instant Pudding Mix – Adds flavor and a vibrant green color; natural flavors are recommended for the best taste.
• Sugar Cookie Mix – Serves as a convenient base for the bars, ensuring quick and easy preparation.
• Cooking Spray or Butter – Essential for greasing the baking sheet and preventing sticking.
Optional Toppings
• Melted Chocolate – Drizzle over cooled bars for an extra layer of indulgence and decadence.
These easy and customizable Pistachio Dream Cookie Bars will surely become a favorite in your baking repertoire!
Step‑by‑Step Instructions for Pistachio Dream Cookie Bars
Step 1: Preheat and Prepare
Start by preheating your oven to 375°F (190°C). While it warms up, grease a 9×13-inch baking sheet with cooking spray or butter to ensure easy removal of your delicious Pistachio Dream Cookie Bars later. This early preparation sets the stage for a smooth baking experience.
Step 2: Cream the Base
In a large mixing bowl, combine the softened unsalted butter, large eggs, and pistachio instant pudding mix. Use a hand mixer or a whisk to cream these ingredients together until the mixture is smooth and well-blended, about 2–3 minutes. This step adds moisture and flavor, creating a luscious base for your cookie bars.
Step 3: Incorporate Dry Ingredients
Gradually add the sugar cookie mix to the wet ingredients, gently folding it in with a spatula until just combined. Be careful not to overmix, as doing so can result in denser bars. You want to retain the chewy texture that makes these Pistachio Dream Cookie Bars so delightful.
Step 4: Transfer to Baking Sheet
Once your dough is ready, transfer it to the prepared baking sheet. Using your hands or a spatula, press the dough evenly across the surface, making sure it reaches the corners. This ensures that every bite of the cookie bars has that irresistible chewy goodness and is evenly cooked.
Step 5: Bake to Perfection
Place the baking sheet in the oven and bake your cookie bars for 18–22 minutes. Keep an eye on them, as you’re looking for the edges to turn a light golden brown while the center stays soft and set. The perfect bake will give you those tasty, chewy Pistachio Dream Cookie Bars everyone will love.
Step 6: Cool Before Slicing
Once baked, remove the baking sheet from the oven and let the cookie bars cool in the pan for about 10 minutes. After that, transfer them to a wire rack to cool completely, which should take at least 30 minutes. This cooling time is crucial for preventing crumbling when you slice them.
Step 7: Optional Indulgence
For added decadence, you can melt some chocolate and drizzle it over the cooled cookie bars. This step is optional but greatly enhances the flavor and presentation of your Pistachio Dream Cookie Bars, making them even more irresistible for your family and friends!
Expert Tips for Pistachio Dream Cookie Bars
- Perfectly Chewy Texture: Avoid overmixing after adding the sugar cookie mix; overmixing can lead to dense bars instead of the chewy texture you want.
- Room Temperature Eggs: Using eggs at room temperature ensures better mixing and incorporation, which contributes to the pillowy softness of your Pistachio Dream Cookie Bars.
- Cooling Is Key: Allow the bars to cool completely before slicing them; this prevents crumbling and helps maintain their lovely chewy consistency.
- Experiment with Add-Ins: If you’re folding in extras like chocolate chips or nuts, do it gently to avoid compromising the perfect texture of the cookie bars.
- Greasing the Sheet: Grease your baking sheet thoroughly with cooking spray or butter to ensure your cookie bars come out easily without sticking.
Storage Tips for Pistachio Dream Cookie Bars
Room Temperature: Store leftover cookie bars at room temperature in an airtight container for up to 5 days to keep them fresh and chewy.
Fridge: If you prefer a longer shelf life, refrigerate the bars in an airtight container for up to 7 days. This will help retain their delightful texture.
Freezer: For longer-term storage, wrap the bars individually in plastic wrap and place them in a freezer-safe bag. They can be frozen for up to 3 months without losing flavor.
Reheating: When you’re ready to enjoy your frozen Pistachio Dream Cookie Bars, simply thaw them at room temperature for a bit or microwave for 10-15 seconds to warm them up slightly.
Make Ahead Options
These Pistachio Dream Cookie Bars are perfect for meal prep enthusiasts looking to simplify their baking routine! You can prepare the dough up to 24 hours in advance by mixing all the wet and dry ingredients and storing the dough in an airtight container in the refrigerator. This helps maintain their chewy texture and flavor. When you’re ready to bake, simply spread the chilled dough into the prepared baking sheet and follow the usual baking instructions. If you prefer, you can also bake the cookie bars and store them, covered at room temperature, for up to 5 days; just be sure to let them cool completely before slicing to prevent any crumbling. Enjoy these delicious treats with the confidence of having your baking done ahead of time!
What to Serve with Irresistibly Chewy Pistachio Dream Cookie Bars
Indulge in a sweet adventure by pairing these lush cookie bars with delicious accompaniments that enhance their nutty essence.
-
Vanilla Ice Cream: A creamy scoop counters the chewy texture, creating a delightful contrast that melts in your mouth.
-
Fresh Berry Salad: Juicy strawberries, blueberries, and raspberries add a refreshing burst of tartness, balancing the sweetness of the cookie bars perfectly.
-
Chocolate Drizzle: Elevate your dessert by drizzling melted chocolate over the bars, adding richness and an extra layer of indulgence.
-
Whipped Cream: Light and fluffy, a dollop of whipped cream is perfect for those who love a creamy finish to their sweets—ideal for topping each bar!
-
Iced Coffee: A chilled iced coffee pairs wonderfully, its bold flavor complementing the sweet, nutty nature of your cookie bars without overwhelming them.
-
Chai Tea: The spiced notes of chai tea offer warmth and complexity, making for a cozy pairing that’s comforting alongside your Pistachio Dream Cookie Bars.
-
Toasted Coconut Flakes: Sprinkle some toasted coconut on top for added crunch and a hint of tropical sweetness that enhances the nutty flavor.
Pistachio Dream Cookie Bars Variations
Feel free to have fun and make these Pistachio Dream Cookie Bars your own with these delightful twists!
-
Nut-Free: Substitute the pistachio pudding mix with vanilla or coconut for a nut-free delight that everyone can enjoy. The flavor remains superb and satisfying!
-
Gluten-Free: Use a gluten-free sugar cookie mix to make these bars accessible for those with dietary restrictions. They’ll be just as chewy and delicious.
-
Chocolate Chip Boost: Fold in semi-sweet chocolate chips for an extra layer of sweetness. The chocolate pairs beautifully with the nutty flavor, creating a decadent treat!
-
Coconut Creaminess: Mix in shredded coconut for a tropical touch. It adds a delightful chewiness that complements the cookie bars’ soft centers.
-
Citrus Zest: Grate some orange or lemon zest into the batter for a bright, zesty burst of flavor. This refreshing twist elevates the cookie bars to a new level!
-
Oatmeal Twist: Swap a portion of the sugar cookie mix for oatmeal cookie mix. The hearty texture works wonders, adding a rustic charm to these delectable bars.
-
Brown Sugar Richness: Replace granulated sugar with brown sugar in the mix for a deeper, richer flavor. It adds a hint of caramel that’s simply irresistible!
-
Spicy Kick: For the adventurous, add a pinch of cayenne pepper or cinnamon to the dough. It’s a subtle heat that enhances the flavors in an unexpected way!
As you mix and match these variations, consider pairing your treats with a scoop of creamy vanilla ice cream or alongside fresh berries for a delightful dessert experience. Don’t forget to check out my Cookies Cream Peanut for more easy dessert ideas!
Pistachio Dream Cookie Bars Recipe FAQs
How can I select the best pistachio pudding mix?
Absolutely! When selecting pistachio pudding mix, look for brands that specify “natural flavors” on the label, as they tend to offer a more authentic taste. Avoid mixes with artificial colors or preservatives to ensure you get that beautiful green color and nutty flavor without any additives that could compromise your cookie bars.
What’s the best way to store leftover Pistachio Dream Cookie Bars?
To maintain the chewiness and flavor of your Pistachio Dream Cookie Bars, store them in an airtight container at room temperature for up to 5 days. If you’d like to keep them for longer, refrigerate in the same airtight container for about 7 days. This will help preserve their delightful texture and flavor.
Can I freeze Pistachio Dream Cookie Bars? If so, how?
Yes, you can absolutely freeze these cookie bars! To freeze, cut the cookie bars into individual portions, wrap them tightly in plastic wrap, and then place them into a freezer-safe bag. Label the bag with the date, and you can freeze them for up to 3 months. When you’re ready to enjoy, let them thaw at room temperature or pop them in the microwave for 10–15 seconds to warm them slightly.
What should I do if my cookie bars turn out too dry?
If your Pistachio Dream Cookie Bars are too dry, it’s likely due to overbaking or overmixing. Make sure to bake them just until the edges are lightly golden and the center is set but still soft. As a guideline, check them around the 18-minute mark. Remember, everyone has different ovens, so adjust baking times accordingly!
Are there any dietary considerations for pets with these cookie bars?
Very! If you’re thinking about sharing your treats with your furry friends, it’s best to avoid giving them any cookie bars. Ingredients like butter and sugar can upset their stomachs, and pudding mixes may contain flavors that aren’t suitable for pets. Always check with your veterinarian before sharing any homemade treats with your pets to keep them safe!
Heavenly Pistachio Dream Cookie Bars that Everyone Will Love
Ingredients
Equipment
Method
- Preheat your oven to 375°F (190°C) and grease a 9x13-inch baking sheet.
- In a large mixing bowl, combine the softened unsalted butter, eggs, and pistachio instant pudding mix until smooth.
- Gradually add the sugar cookie mix, folding in gently until just combined.
- Transfer the dough to the prepared baking sheet and press it evenly across the surface.
- Bake for 18–22 minutes, until the edges are light golden brown and the center is soft.
- Let the cookie bars cool in the pan for about 10 minutes, then transfer them to a wire rack to cool completely for at least 30 minutes.
- Optionally, drizzle melted chocolate over the cooled cookie bars for added indulgence.
Leave a Reply