
The moment the sun begins to blaze, I find myself craving something both refreshing and indulgent. Enter my Naturally-Sweetened Key Lime Pie Popsicles, a delightful twist on the classic dessert that captures that creamy, tangy goodness in a frozen treat. Using Greek yogurt and honey instead of refined sugars, these popsicles not only satisfy those sweet cravings but also offer a healthier option without sacrificing taste. They’re an ideal way to cool down on a hot summer day, and trust me, your family will love them! So why not step into your kitchen and whip up a batch? You’ll be surprised at how easy it is to create a treat that’s both delicious and guilt-free. Don’t you want to know how to make them?
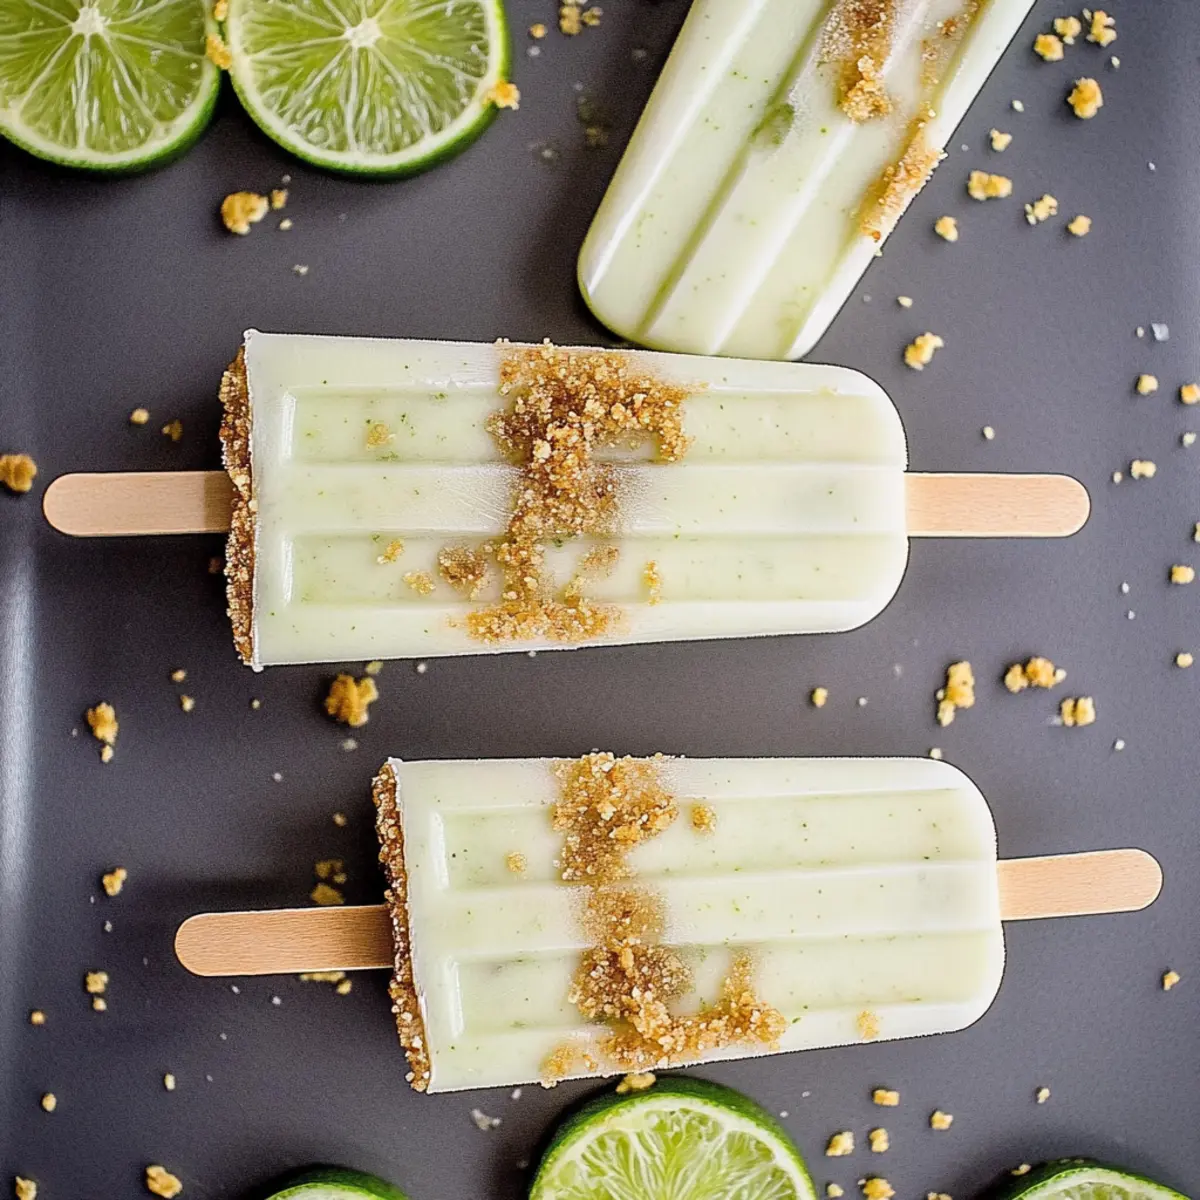
Why You’ll Crave These Popsicles?
Tasteful Fusion: Experience the delicious balance of tangy lime and creamy yogurt, delivering a refreshing burst with every bite.
Healthier Indulgence: Crafted with naturally sweetened ingredients, these popsicles offer a guilt-free way to satisfy your sweet tooth.
Easy Preparation: With just a few simple steps, you’ll be able to create popsicles that will make you feel like a pro in the kitchen!
Family-Friendly Fun: Perfect for kids and adults alike, these popsicles are a delightful treat for any summer gathering. Want more ideas? Try pairing them with Toasted Pumpkin Pie for a unique dessert experience!
Versatile Options: Feel free to get creative by swapping ingredients – think fruity variations or alternative crust flavors!
Naturally-Sweetened Key Lime Pie Popsicles Ingredients
For the Crust
- Graham Cracker Rectangles – Adds a crunchy base to mimic the classic pie crust; substitute with digestive biscuits for a similar flavor.
- Butter – Binds graham cracker crumbs for the crust; coconut oil can be used as a dairy-free alternative.
For the Filling
- Plain Greek Yogurt – Provides creaminess and boosts protein content; substitute with dairy-free yogurt for a non-dairy version.
- Honey – Natural sweetener that complements the tartness of lime juice; maple syrup can be used as a vegan alternative.
- Key Lime Juice – Gives popsicles their signature tartness; regular lime juice can be used if key limes are unavailable.
- Lime Zest – Enhances the flavor and freshness of the popsicles; use finely grated citrus zest for the best results.
Create these naturally-sweetened key lime pie popsicles to enjoy a delicious frozen treat on warm summer days!
Step‑by‑Step Instructions for Naturally-Sweetened Key Lime Pie Popsicles
Step 1: Prepare the Crust Mixture
Begin by crushing the graham cracker rectangles in a food processor or placing them in a zip-top bag and smashing until fine crumbs form. In a mixing bowl, combine the crumb mixture with melted butter until well incorporated. The texture should resemble wet sand, and once combined, set this crust mixture aside as you prepare the filling.
Step 2: Whisk the Filling Ingredients
In a medium-sized bowl, whisk together the plain Greek yogurt, honey, key lime juice, and lime zest until the mixture is smooth and uniform. This should take about 2-3 minutes of vigorous whisking to remove any lumps. The resulting yogurt filling should be creamy, with a bright and refreshing aroma of lime, perfect for your Naturally-Sweetened Key Lime Pie Popsicles.
Step 3: Fill the Popsicle Molds
Next, carefully fill your popsicle molds with the yogurt mixture, leaving about ¾ inch of space at the top of each mold. Use a spoon to help guide the mixture into the molds evenly. Ensure each mold is filled uniformly so you achieve delightful popsicles that freeze evenly and maintain the key lime flavor profile throughout.
Step 4: Add the Crust Layer
Once the molds are filled with the yogurt mixture, take the prepared crust and sprinkle a layer on top of each popsicle, gently packing it down with a spoon. This will create that delicious crumbly layer reminiscent of traditional key lime pie crust. It’s essential to press it down lightly to avoid it floating away when you add the sticks.
Step 5: Insert Popsicle Sticks and Freeze
Insert the popsicle sticks into the center of each mold, ensuring they stay upright. Place the filled molds in the freezer and let them freeze for at least 3-4 hours or until completely solid. You’ll know they are ready when they are firm to the touch and have no soft spots, giving you a refreshing treat on a hot summer’s day.
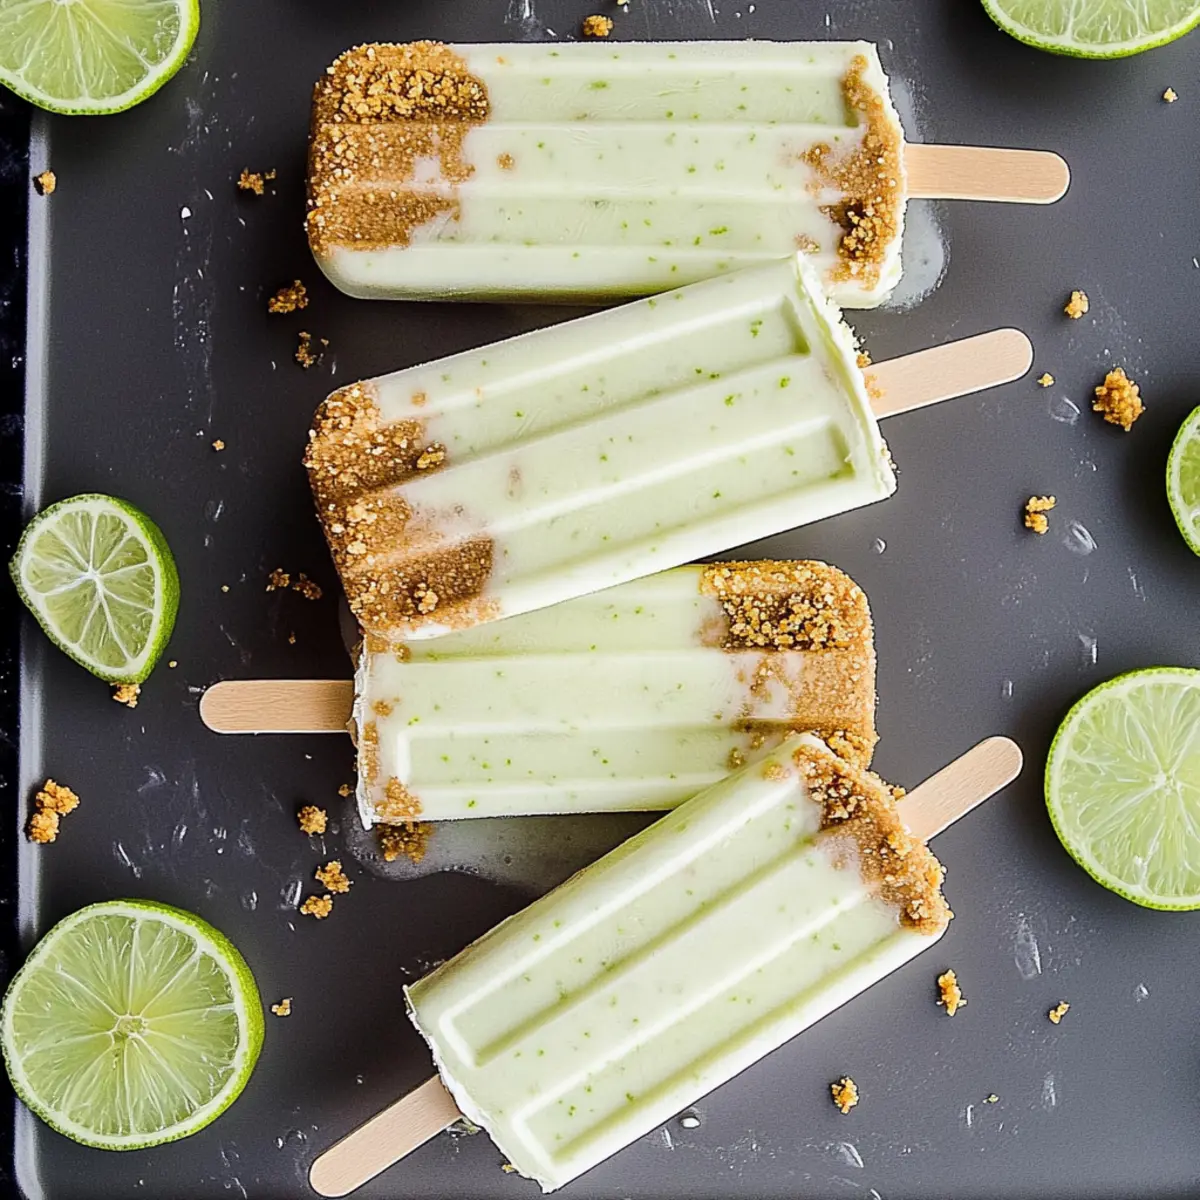
Naturally-Sweetened Key Lime Pie Popsicles Variations
Feel free to get creative with these popsicles and make them your own with a variety of delicious adaptations!
- Dairy-Free: Substitute Greek yogurt with coconut yogurt for a creamy, non-dairy delight. The tropical flavor really enhances the popsicles!
- Vegan: Use maple syrup in place of honey and a plant-based yogurt for a completely vegan treat everyone can enjoy. It’s just as satisfying!
- Crunchy Twist: Swap out the graham crackers for crushed nuts or seeds to add a delightful crunch and boost the nutrition. Think almond or pecan for a nutty flavor!
- Fruity Explosion: Experiment with different citrus fruits by using lemon, orange, or even grapefruit juice for a refreshing twist. Each fruit adds its own unique zing to the popsicles!
- Spicy Kick: Add a pinch of cayenne pepper or fresh jalapeño to the filling for an unexpected heat that balances the sweetness beautifully. It’s a fun surprise!
- Chocolate Drizzle: Once frozen, dip in melted dark chocolate and sprinkle with sea salt for an indulgent twist on these healthy popsicles. A match made in heaven!
- Layered Pops: Create colorful layers by filling molds with different fruit purees before adding the yogurt mixture. It’s like a mini treat parade in each bite.
- Protein Boost: Stir in your favorite protein powder into the yogurt mix for an extra nutritional punch that’s perfect for after workouts or a snack on the go.
Ready to dive into these tantalizing variations? And if you want to expand your dessert repertoire, why not try these Pumpkin Pie Stuffed for a cozy autumn treat or enjoy some Salmon Grilled Naan for a zesty dinner? The culinary possibilities are endless!
Expert Tips for Naturally-Sweetened Key Lime Pie Popsicles
-
Perfect Sweetness: Use ripe key limes for the best flavor; if they’re unavailable, regular limes work just fine but may taste a bit different.
-
Avoid Lumps: Ensure the Greek yogurt mixture is well-whisked for a smooth texture; lumps can lead to uneven freezing in your popsicles.
-
Proper Layering: When adding the crust layer, pack it down gently. Too loose a layer may float and not adhere to the yogurt mixture properly.
-
Mold Alternatives: Don’t have popsicle molds? Use small cups or even muffin tins topped with parchment and wooden sticks for a creative twist!
-
Flavor Variations: Experiment by swapping limes for lemons or oranges to create exciting fruity iterations of your naturally sweetened key lime pie popsicles.
Make Ahead Options
These Naturally-Sweetened Key Lime Pie Popsicles are a dream for busy home cooks looking to save time! You can prepare the graham cracker crust mixture and the yogurt filling up to 24 hours in advance. Simply crush the graham crackers and mix them with melted butter, storing them in an airtight container in the refrigerator. For the filling, whisk together the Greek yogurt, honey, key lime juice, and lime zest, then cover and refrigerate. When you’re ready to create the popsicles, fill the molds with the chilled yogurt mixture, layer with the crust, and freeze for 3-4 hours until solid. This method ensures that your popsicles retain their delicious texture and flavor, giving you a refreshing treat ready to enjoy anytime!
What to Serve with Naturally-Sweetened Key Lime Pie Popsicles
Pair these refreshing popsicles with delicious sides and drinks that elevate your summer experience.
-
Coconut Whipped Cream: Light and airy, this creamy topping enhances the tangy flavors of the popsicles, encouraging light indulgence.
-
Fresh Fruit Salad: A vibrant mix of berries, melons, and citrus provides a refreshing contrast and adds a burst of color to your dessert platter.
-
Iced Green Tea: This subtly flavored beverage balances the popsicle’s tanginess with its cooling essence, creating a delightful sip alongside your treat.
-
Grilled Pineapple Skewers: Sweet, caramelized pineapple pieces add a tropical touch and a warm, smoky flavor that beautifully pairs with the popsicle’s coolness.
-
Lime Sorbet: For an extra citrus kick, serve a scoop of tangy lime sorbet on the side, offering a harmonious flavor duo that’s fruity and refreshing.
-
Crunchy Granola Bites: Include these sweet bites for a bite-sized texture contrast. Their nuttiness complements the smoothness of the popsicles while providing added crunch.
-
Sparkling Water: Serve with a lemon or lime wedge for a refreshing drink that keeps your palate clean between popsicle bites, enhancing the tartness of your treat.
-
Chocolate Dipped Pretzels: A playful sprinkle of salt with a sweet chocolate coating balances the tangy flavor profile, creating a delightful snack to enjoy alongside your popsicles.
Storage Tips for Naturally-Sweetened Key Lime Pie Popsicles
Fridge: Keep popsicles in the fridge for up to 1 day if you plan to consume them soon; however, they are best stored in the freezer.
Freezer: Store your naturally-sweetened key lime pie popsicles in an airtight container in the freezer for up to 1 month to maintain freshness and flavor.
Reheating: When ready to enjoy, run warm water over the outside of the popsicle mold for a few seconds to loosen the popsicles for easy removal.
Serving Suggestions: For a delightful twist, serve the popsicles with extra lime zest or a drizzle of honey right before serving to enhance their refreshing flavor!
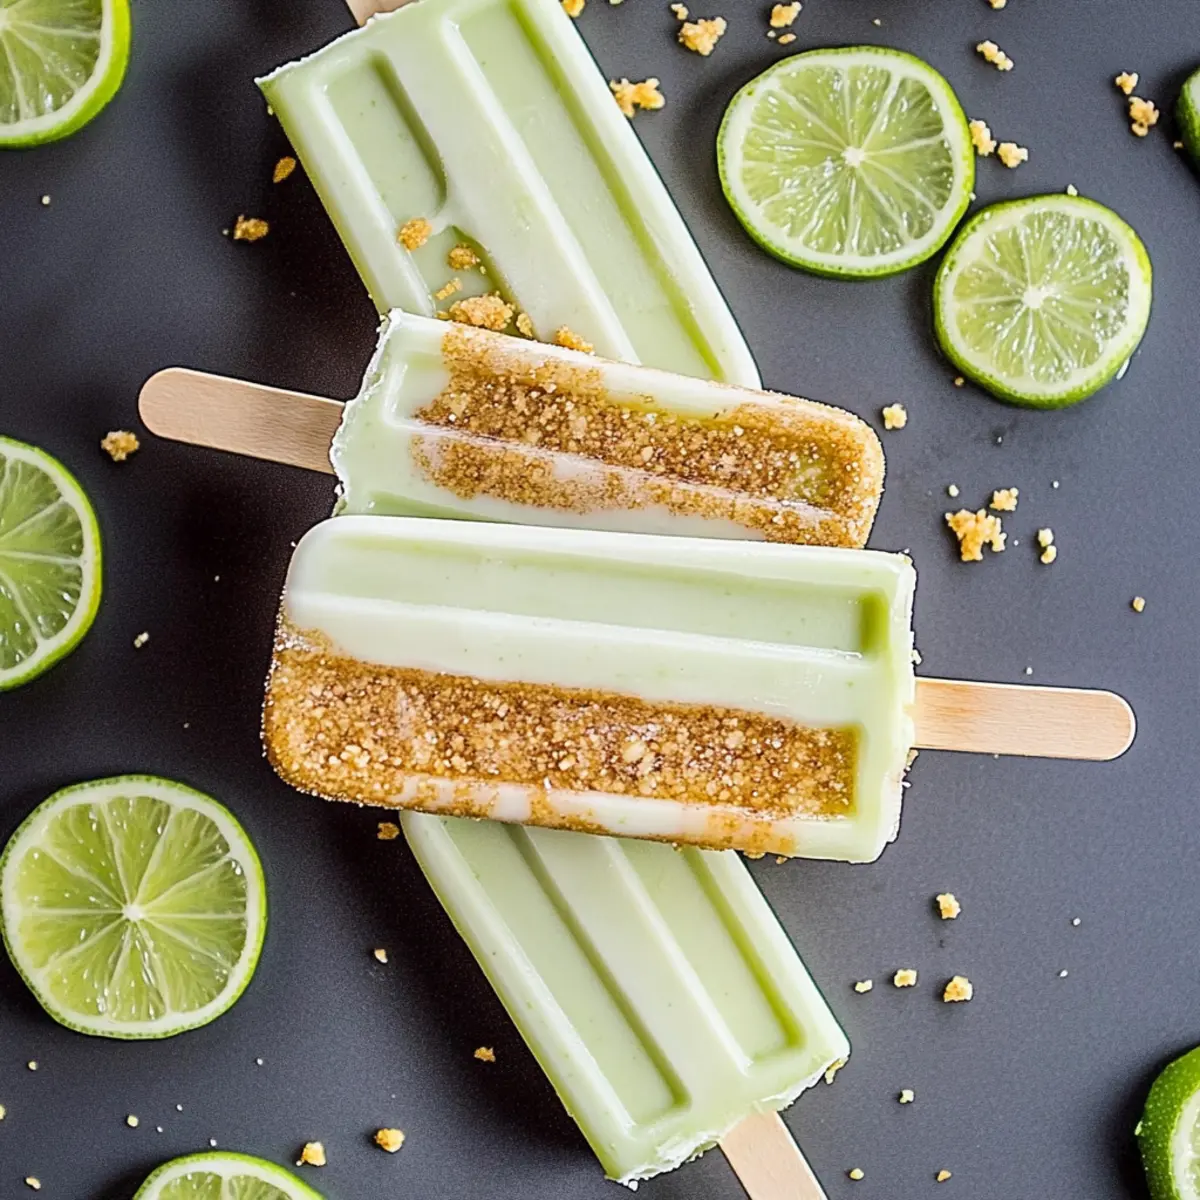
Naturally-Sweetened Key Lime Pie Popsicles Recipe FAQs
What type of limes should I use for the best flavor?
Absolutely! For the best flavor, using ripe key limes is ideal. If key limes are not available, regular limes can be used as a substitute. While the taste may differ slightly, you’ll still enjoy that lovely tang.
How should I store my popsicles?
I recommend storing your naturally-sweetened key lime pie popsicles in an airtight container in the freezer. They can stay fresh for up to one month, which helps retain their delicious flavor and texture.
Can I freeze these popsicles?
Yes, you can! Once your popsicles have been made and frozen solid (about 3-4 hours), simply transfer them to an airtight container for longer storage, up to three months. This ensures you always have a refreshing treat on hand.
What if my popsicles are hard to remove from the molds?
Very common! If you find that your popsicles are difficult to remove, try running warm water over the outside of the molds for a few seconds. This gentle heat helps loosen them, making it easier to pull them out while keeping their shape intact.
Are there any dietary considerations when making these popsicles?
Certainly! If you’re concerned about allergies or dietary needs, you can easily swap the Greek yogurt for a dairy-free alternative to suit vegans or those with lactose intolerance. Moreover, using maple syrup instead of honey makes it suitable for those avoiding animal products.
What can I do if my yogurt mixture has lumps?
No worries! To ensure a smooth mixture, whisk the Greek yogurt, honey, lime juice, and zest vigorously for 2-3 minutes. If lumps persist, you can use a blender to achieve a creamy consistency, helping your naturally-sweetened key lime pie popsicles have an even texture.
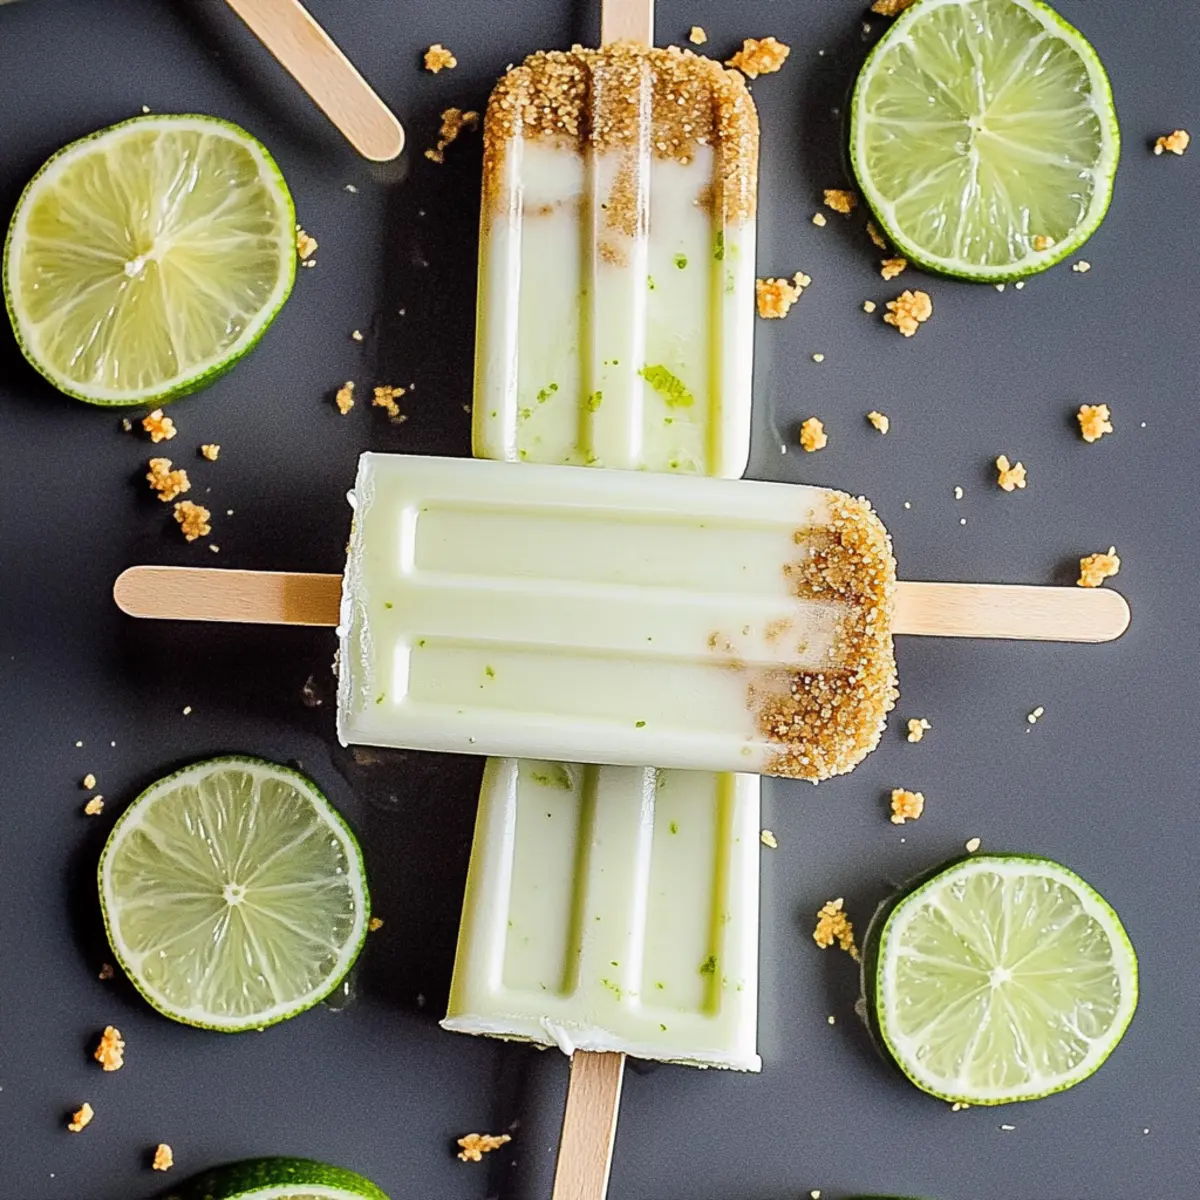
Refreshing Sweetened Key Lime Pie Popsicles You'll Love
Ingredients
Equipment
Method
- Begin by crushing the graham cracker rectangles in a food processor or placing them in a zip-top bag and smashing until fine crumbs form.
- In a mixing bowl, combine the crumb mixture with melted butter until well incorporated. Set this crust mixture aside.
- In a medium-sized bowl, whisk together the plain Greek yogurt, honey, key lime juice, and lime zest until smooth.
- Carefully fill your popsicle molds with the yogurt mixture, leaving about ¾ inch of space at the top of each mold.
- Take the prepared crust and sprinkle a layer on top of each popsicle, gently packing it down.
- Insert the popsicle sticks into the center of each mold and place in the freezer to freeze for at least 3-4 hours.
Leave a Reply