
As I pulled my warm Easy Homemade Cherry Crumble from the oven, the tantalizing scent of sweet, juicy cherries intertwined with buttery goodness enveloped my kitchen. This dessert not only brings a burst of nostalgia but also provides a quick and satisfying solution for those evenings when you crave something comforting yet uncomplicated. Using fresh or frozen cherries, this homemade cherry crumble recipe is adaptable for whatever fruits are at hand, making it a versatile treat for anyone who loves a flavorful dessert. Whether you’re hosting friends or simply indulging yourself, there’s something truly delightful about serving it warm, topped with a scoop of vanilla ice cream. Ready to transform your kitchen into a haven of sweet aromas? Let’s dive into this easy recipe!
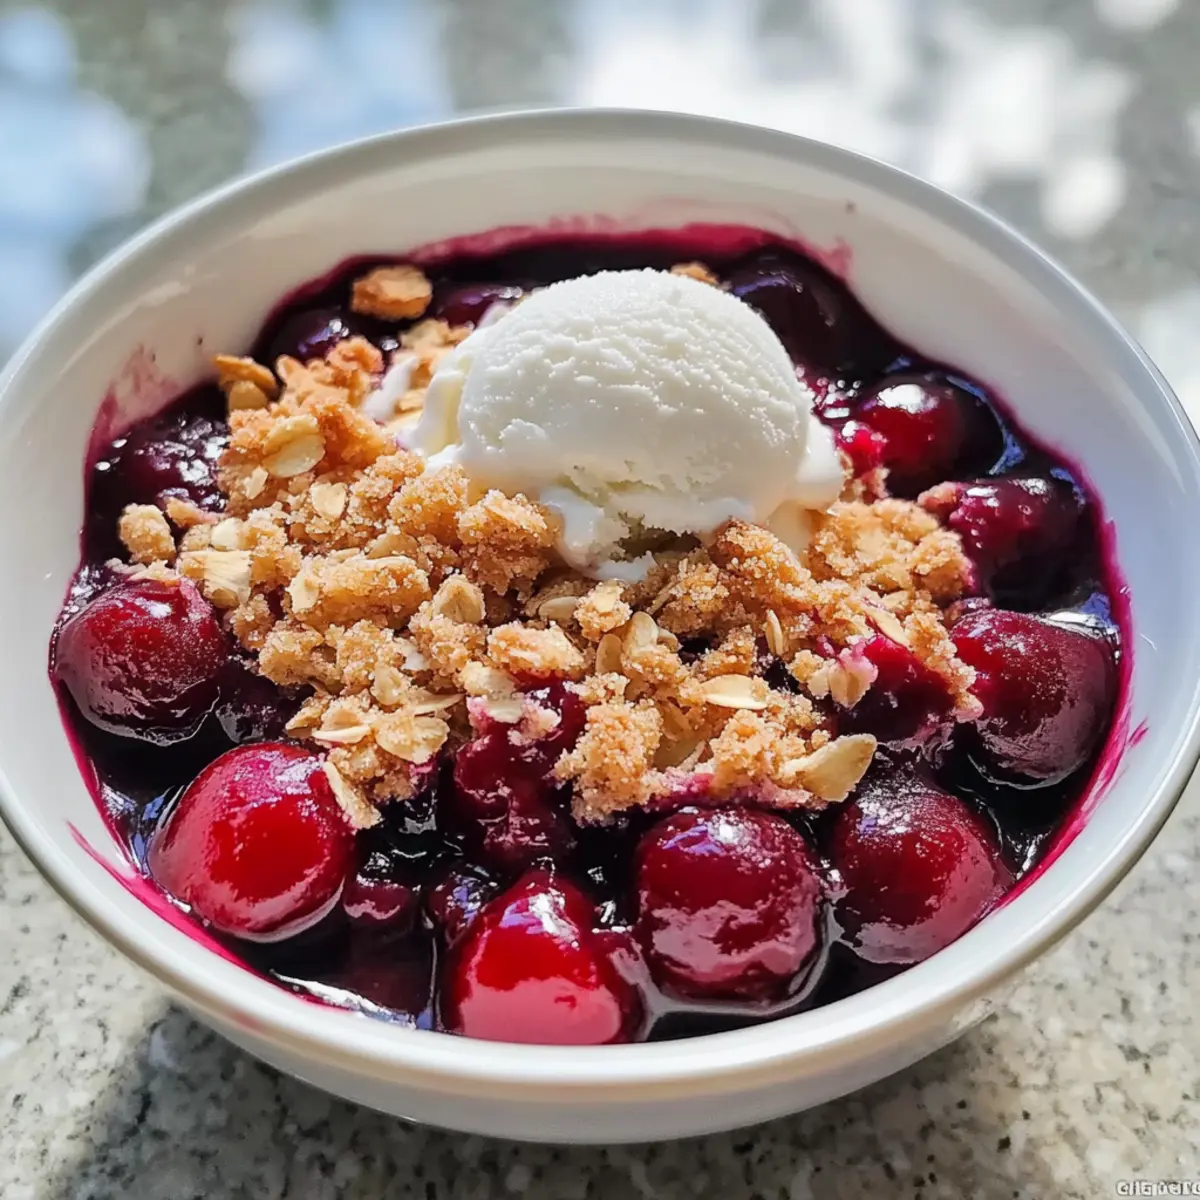
Why is this cherry crumble truly special?
Simplicity: This recipe combines easy-to-find ingredients for a hassle-free baking experience. Versatile: You can easily swap cherries for other fruits like blueberries or peaches, adapting to your cravings. Crowd-Pleasing: Serve warm with ice cream, and watch it disappear at any gathering! Time-Saving: Quick to prepare, perfect for those busy evenings when dessert is a must! With minimal cleanup, it’s my go-to when I want something sweet without the fuss. For another delightful dessert, check out my Apple Crumble Chia for a fun twist!
Homemade Cherry Crumble Recipe Ingredients
For the Cherry Filling
- Cherries – Fresh cherries are ideal, but you can use frozen cherries directly from the bag; just bake a little longer.
- Sugar – Granulated sugar sweetens the filling; for a healthier option, try honey or maple syrup, but note that texture may vary.
- Cornstarch – Thickens the filling nicely; substitute with arrowroot powder or tapioca flour if needed.
For the Crumble Topping
- Butter – Unsalted butter adds richness; margarine or coconut oil works as a dairy-free substitute.
- Flour – All-purpose flour forms the base of your crumble; consider gluten-free flour for a suitable swap.
- Rolled Oats – Provides delightful texture to the topping; ground nuts can be used for a gluten-free alternative.
- Brown Sugar – Adds moisture and sweetness; you can switch to white sugar if that’s what you have on hand.
- Cinnamon – Brings warmth and depth of flavor; adding it is optional but highly recommended.
- Salt – Enhances the overall flavor of the crumble; don’t skip it!
Now you’re one step closer to delighting your taste buds with this homemade cherry crumble recipe! Let’s get baking!
Step‑by‑Step Instructions for Homemade Cherry Crumble Recipe
Step 1: Preheat Your Oven
Begin by preheating your oven to 350°F (175°C). This temperature is crucial for achieving a beautifully golden topping while ensuring the juicy cherry filling bubbles perfectly during baking. Take out your favorite baking dish; it should be medium-sized and greased with butter to prevent sticking.
Step 2: Prepare the Cherry Filling
In a mixing bowl, combine the pitted cherries with granulated sugar, cornstarch, and a splash of lemon juice. Gently toss the mixture until the cherries are well coated, allowing the sugar to draw out their natural juices. Once combined, transfer this luscious mixture into the buttered baking dish, spreading it evenly across the bottom.
Step 3: Make the Crumble Topping
In another bowl, whisk together the all-purpose flour, rolled oats, brown sugar, cinnamon, and a pinch of salt. Next, cut cold, diced butter into the dry ingredients using a pastry cutter or your fingers until the mixture resembles coarse crumbs, with some larger pieces for extra crunch. This ensures a delightful contrast to the soft cherries in your homemade cherry crumble recipe.
Step 4: Assemble and Bake
Evenly sprinkle the crumble topping over the cherry filling, ensuring complete coverage. This creates a crispy layer on top of the juicy cherries. Place the baking dish in the preheated oven and bake for 35 to 40 minutes, or until the topping is golden brown and the cherry filling is bubbling delightfully around the edges.
Step 5: Cool and Serve
After baking, remove the homemade cherry crumble from the oven and allow it to cool slightly for about 10–15 minutes. This cooling period helps the juices settle. For an elegant touch, dust with powdered sugar before serving warm, preferably with a generous scoop of vanilla ice cream or a dollop of whipped cream on top.
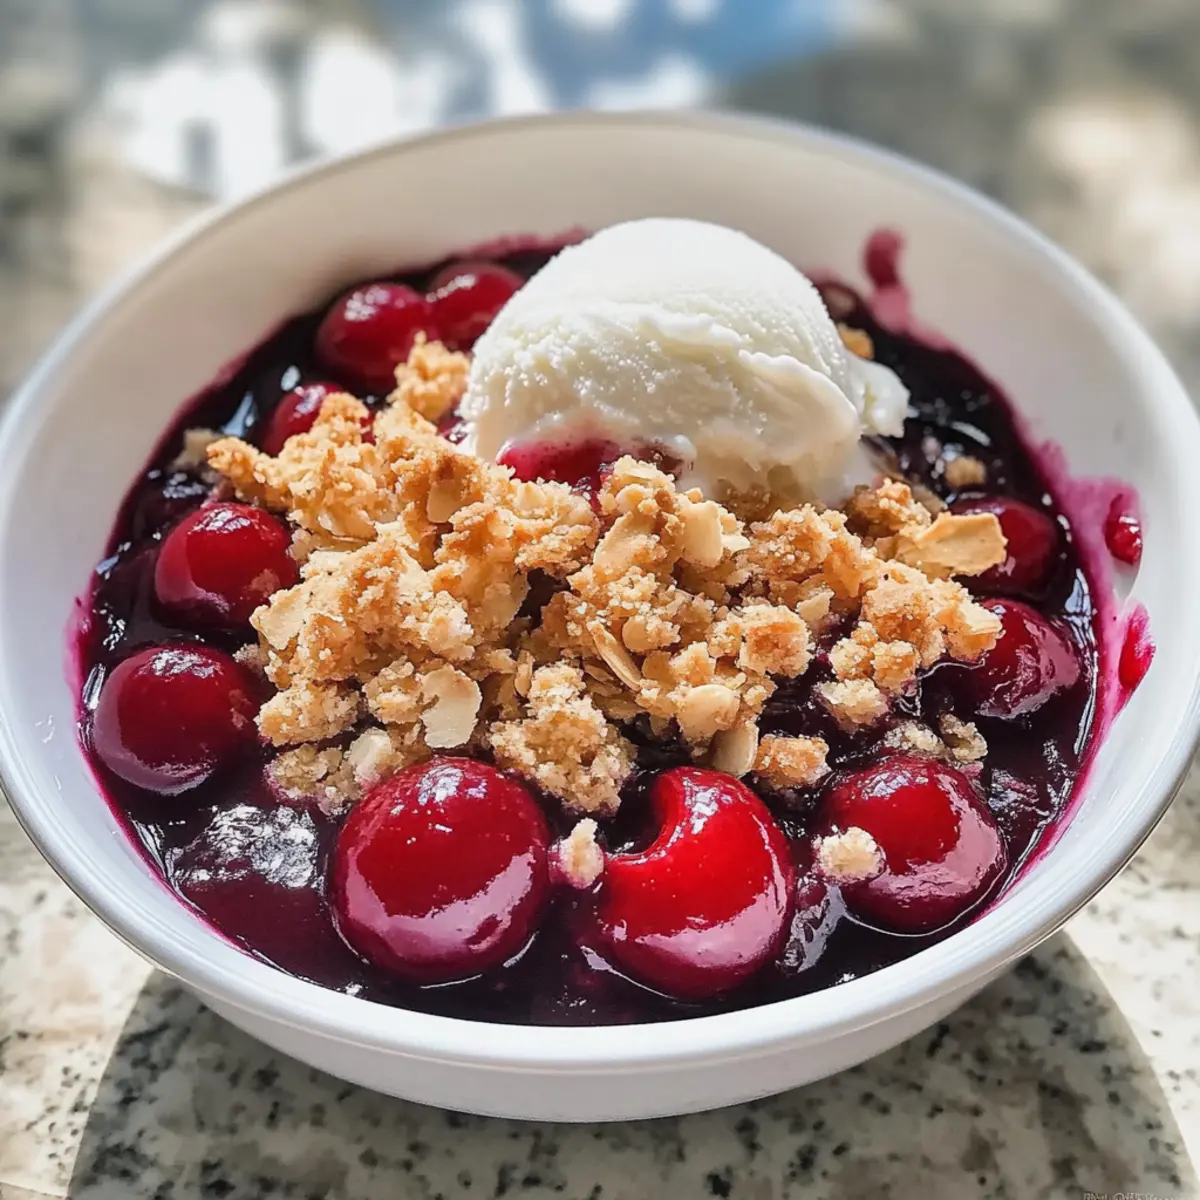
Homemade Cherry Crumble Recipe Variations
Feel free to make this dessert your own with these delightful variations that will surprise and impress your family and friends!
- Berry Bliss: Substitute cherries with blueberries or raspberries for a fresh burst of flavor. Each variation brings a unique sweetness that’s simply irresistible!
- Peachy Keen: Switch cherries for ripe, juicy peaches for a summery twist. The soft, sweet peaches pair beautifully with the buttery crumble.
- Nutty Crunch: Fold in chopped almonds or pecans into the crumble topping for an extra layer of texture and flavor. The nutty goodness will take your dessert experience to new heights.
- Gluten-Free Delight: Use gluten-free flour and oats to keep this dish accessible for those with dietary restrictions. You’ll still enjoy the same comforting taste without missing out!
- Cinnamon Spice: Add a pinch of nutmeg along with cinnamon for a deeper, aromatic profile. It complements the fruit perfectly, making your homemade cherry crumble feel like a warm hug.
- Tropical Twist: Mix in diced pineapple or mango for a tropical flair. These flavors create a refreshing take on the classic crumble that’s perfect for warmer days.
- Spicy Heat: Sprinkle in a dash of cayenne or red pepper flakes to the cherry filling for a surprising twist of heat. It elevates the sweetness of the cherries, creating a daring contrast!
Each of these variations invites creativity into your kitchen. And if you’re in the mood for something similar, my Butter Steak Bites offer a perfect savory accompaniment—what an ideal balance for a meal!
What to Serve with Easy Homemade Cherry Crumble
Transform your cherry crumble into a delightful meal experience with these perfect pairings.
-
Vanilla Ice Cream: A classic pairing that adds a creamy, cold contrast to the warm, fruity dessert. The indulgent creaminess elevates every bite.
-
Whipped Cream: Light and fluffy, whipped cream balances the sweetness of the cherry crumble, creating a delightful blend of textures. Sprinkle some cinnamon for extra flavor!
-
Coffee or Espresso: An aromatic cup provides a rich undertone that complements the sweet and buttery flavors of the crumble. Perfect for an afternoon treat!
-
Fresh Mint Leaves: A touch of freshness from mint enhances the sweetness of cherries and adds a pop of color to your dessert plate. Simple yet effective!
-
Chocolate Sauce: Drizzling chocolate sauce or a fudge-like topping can elevate the dessert, giving it a decadent twist that chocolate lovers will adore.
-
Warm Bread Pudding: Serve alongside warm bread pudding for a hearty and comforting combo that speaks to indulgence. The textures harmonize beautifully.
-
Sparkling Water with Lemon: Rejuvenate your palate with a bubbly drink. The refreshing citrus notes cut through the richness, making each bite of your cherry crumble shine.
-
Seasonal Fruit Salad: A medley of fresh seasonal fruits provides a bright and fruity balance to the sweet crumble. It’s a refreshing way to lighten your dessert experience.
-
Chai Tea: The spice blends in chai create a warm, comforting pairing that complements the cinnamon in your cherry crumble. It’s a cozy combination worth savoring!
-
Cheese Platter: Include a light cheese, such as goat or brie, to add a creamy, salty contrast to the sweet cherry flavors, enhancing the overall dessert experience.
How to Store and Freeze Homemade Cherry Crumble
Fridge: Store leftover cherry crumble in an airtight container for up to 3 days. This keeps it fresh while preserving the delicious flavors and textures.
Freezer: For longer storage, freeze the crumble before baking. Wrap it tightly in plastic wrap followed by foil, and it will stay good for up to 3 months.
Reheating: To enjoy your homemade cherry crumble, reheat in the oven at 350°F (175°C) for 10-15 minutes or until warmed through, ensuring that the topping retains its delightful crunch.
Make-Ahead Tip: Prepare the cherry filling and crumble topping separately in advance. Store them in the fridge until you’re ready to bake, saving time and effort on busy days!
Make Ahead Options
Preparing your Easy Homemade Cherry Crumble ahead of time is a fantastic way to save time for those busy weeknights! You can prep the cherry filling and the crumble topping separately, allowing for stress-free last-minute baking. This can be done up to 24 hours in advance; simply store the cherry filling in an airtight container in the refrigerator, and the crumble topping can be kept in the same way. When you’re ready to enjoy, just sprinkle the crumble over the cherries and bake as directed. This method ensures a delightful dessert that’s just as scrumptious as if you made it fresh that day, making it perfect for easy entertaining or a cozy treat at home!
Expert Tips for Homemade Cherry Crumble
-
Butter Temperature Matters: Ensure your butter is cold when mixing the crumble topping. This helps achieve that flaky texture we all love in a homemade cherry crumble recipe.
-
Frozen vs. Fresh Cherries: If using frozen cherries, there’s no need to thaw them. Just remember to bake a little longer to ensure the filling is bubbly and the topping is perfectly golden.
-
Don’t Overmix: When preparing the crumble topping, avoid overmixing. Maintaining some larger chunks will give you that delightful crunch, enhancing your dessert’s overall texture.
-
Elegant Finishing Touch: Dust with powdered sugar before serving. It not only adds flavor but also makes your homemade cherry crumble look extra special, perfect for impressing guests.
-
Flavor Variations: Experiment with adding different spices like nutmeg or substituting some sugar with brown sugar for deeper flavor. This flexibility allows you to customize your homemade cherry crumble to your taste preferences.
-
Serve It Right: For an unparalleled experience, always serve your cherry crumble warm, topped with a scoop of vanilla ice cream or a dollop of whipped cream. It’s the perfect finishing touch that elevates this dessert!
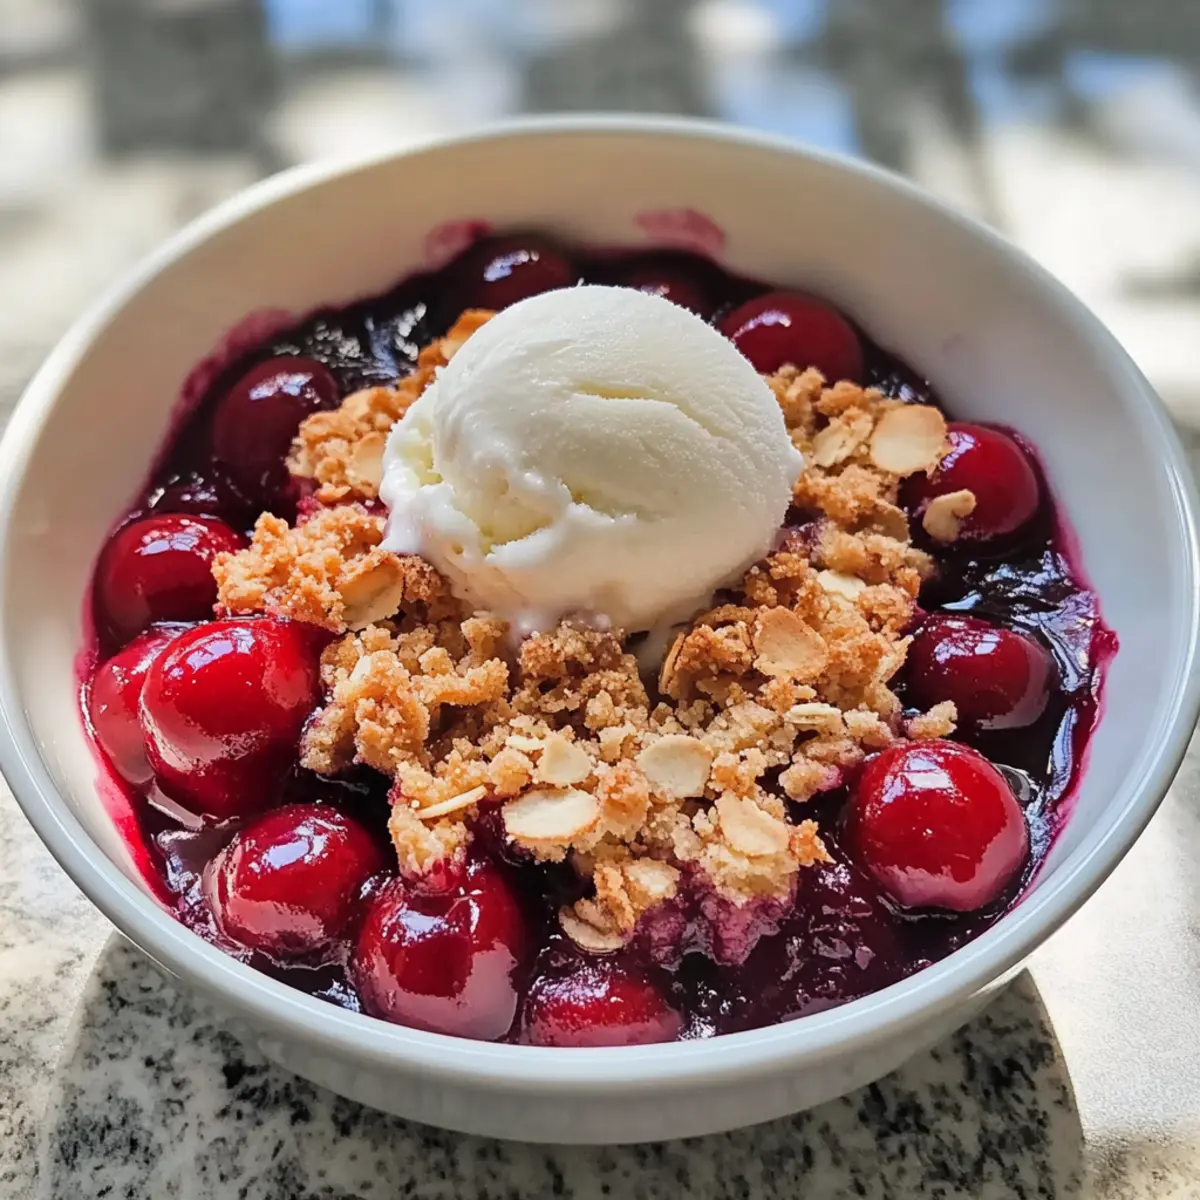
Homemade Cherry Crumble Recipe FAQs
What type of cherries should I use for this recipe?
Fresh cherries are ideal for the best flavor and texture, but frozen cherries work just as well! If you go for frozen, there’s no need to thaw them; just add a little extra baking time to ensure they’re perfectly bubbly and sweet.
How should I store leftover cherry crumble?
To keep your homemade cherry crumble fresh, store any leftovers in an airtight container in the fridge. It will stay tasty for up to 3 days. Just remember to reheat it in the oven at 350°F (175°C) for 10-15 minutes to restore its delightful crunch.
Can I freeze cherry crumble?
Absolutely! You can freeze the assembled crumble before baking. Just wrap it tightly in plastic wrap and then in foil to protect it from freezer burn. It will keep well for up to 3 months! When you’re ready to enjoy it, bake it from frozen at 350°F (175°C), increasing the baking time by 10-15 minutes until golden and bubbly.
What if my crumble topping is too dry or crumbly?
If your topping ends up too dry, it might be due to overmixing or not enough butter. If you find this happening, you can gently fold in a bit more softened butter until it reaches the desired texture. Remember, keeping some larger chunks will give your crumble that exciting crunchy contrast!
Can I use alternative sweeteners in this recipe?
Yes! For a healthier option, consider using honey or maple syrup in place of granulated sugar. Just be aware that this may alter the texture slightly, making it a bit softer. If you prefer using less sugar, feel free to adjust to your taste while keeping an eye on the balance of liquid in your cherry filling.
Is this cherry crumble recipe suitable for pets?
Not at all—this dessert contains sugar and butter, which aren’t healthy for pets. It’s best to keep this delicious homemade cherry crumble just for yourself and your family, sharing those sweet, comforting moments without sharing with pets!
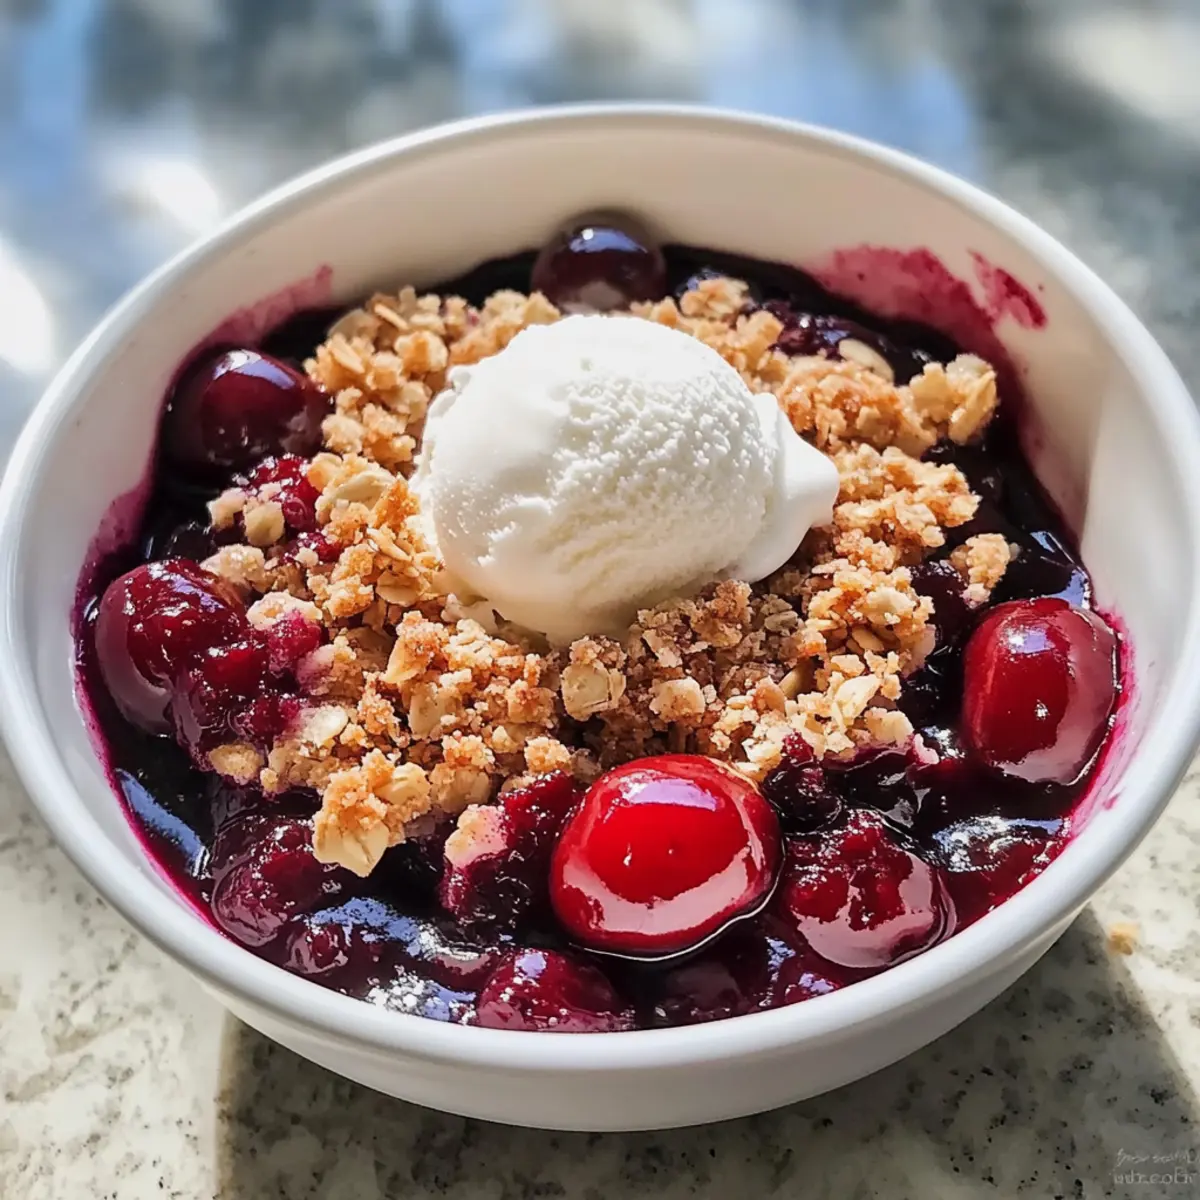
Homemade Cherry Crumble Recipe: Sweet Comfort in Every Bite
Ingredients
Equipment
Method
- Preheat your oven to 350°F (175°C). Grease a medium-sized baking dish with butter.
- In a mixing bowl, combine pitted cherries, sugar, cornstarch, and lemon juice. Toss until cherries are coated and transfer to the baking dish.
- In another bowl, whisk together flour, oats, brown sugar, cinnamon, and salt. Cut cold butter into the dry ingredients until crumbly.
- Sprinkle the crumble topping over the cherry filling evenly. Bake for 35-40 minutes until golden brown and bubbling.
- Allow to cool for 10-15 minutes. Dust with powdered sugar before serving warm with ice cream or whipped cream.
Leave a Reply