
The aroma of freshly baked bread wafting through my kitchen is an experience that never fails to bring a smile. Today, I invite you to embark on a delightful baking journey with my Garlic Herb Dutch Oven Bread. This no-knead recipe is a game changer, perfect for those who crave artisan quality without the fuss. With minimal prep and ingredients that come together in harmony, you can create a golden, crusty loaf that’s ideal for cozy dinners, sandwiches, or just slathering with butter. Plus, this bread is completely customizable, meaning you can experiment with favorite flavors like roasted garlic or a cheesy twist to elevate your baking game. Are you ready to roll up your sleeves and impress everyone with these bakery-worthy loaves? Let’s dive in!
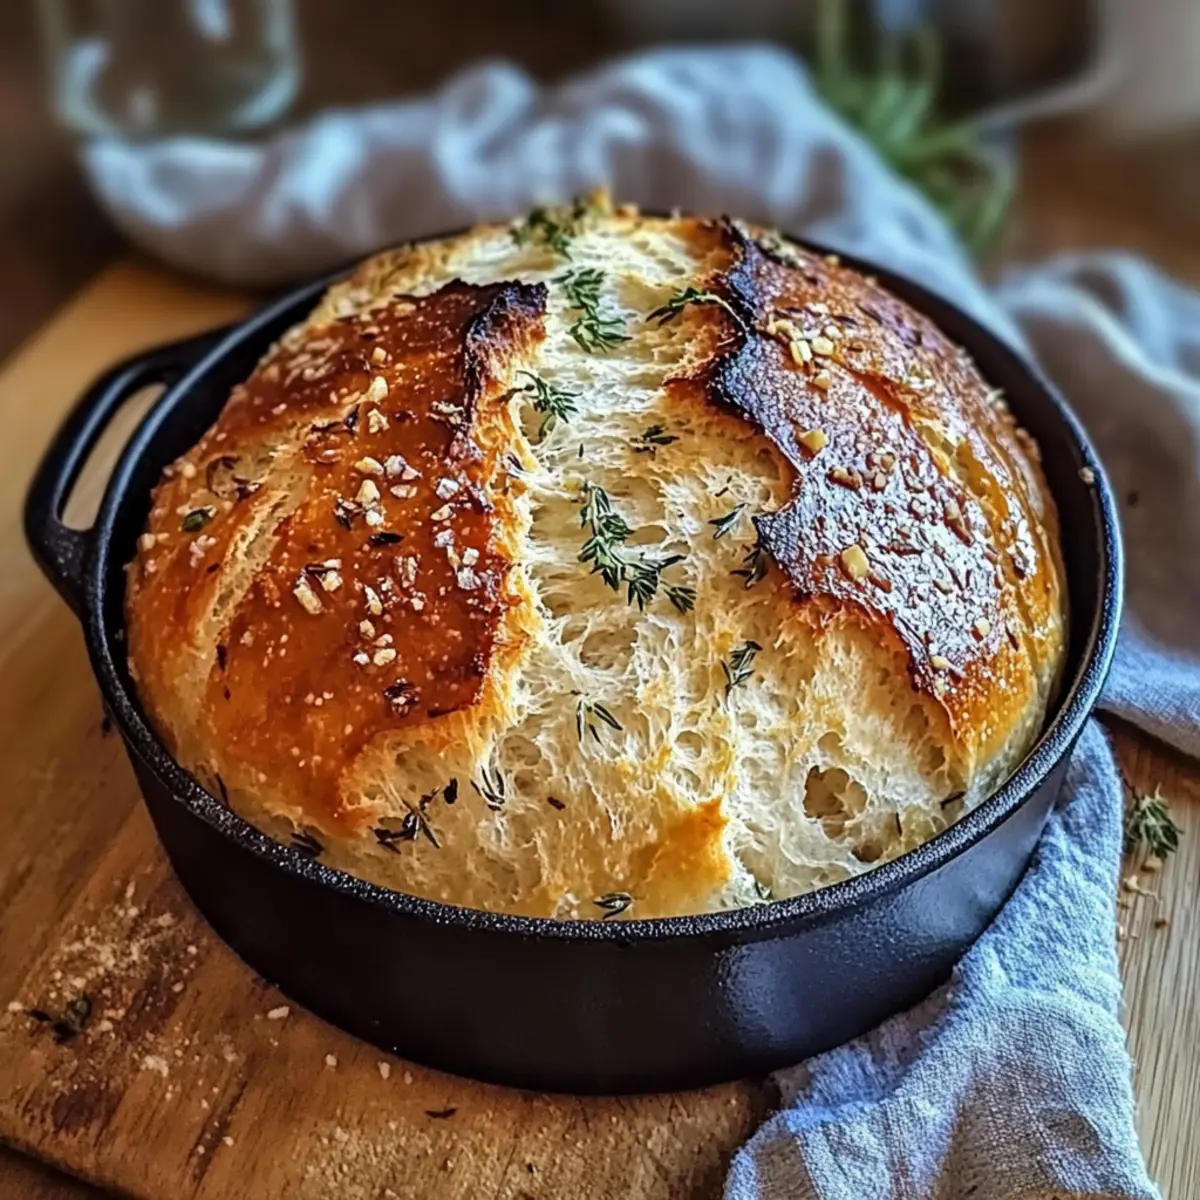
Why is Garlic Herb Bread a Must-Try?
Easy Preparation: This no-knead recipe simplifies baking, requiring just a few basic ingredients and minimal effort.
Incredible Aroma: Enjoy the wonderful scent of garlic and fresh herbs filling your kitchen, making it inviting for all.
Customizable Options: Add your favorite flavors, from roasted garlic to cheese, to tailor the bread to your taste.
Versatile Uses: Perfectly complements soups, makes delightful sandwiches, or serves as a standalone snack with butter.
Impressive Result: Create a golden, artisan-quality loaf that will wow your family and friends at any gathering!
For ideas on enhancing your bread, check out my Cheesy Garlic Chicken Wraps or dive into the rich flavors of my Beef Kofta Garlic recipe.
Garlic Herb Dutch Oven Bread Ingredients
• Get ready to create something special!
For the Bread
- All-Purpose Flour – Forms the structure of the bread; can be partially replaced with whole wheat flour for additional nutrition.
- Salt – Enhances flavor; essential for a well-balanced taste.
- Instant Yeast – Leavens the bread; can substitute with active dry yeast if dissolved in lukewarm water beforehand.
- Minced Garlic – Adds robust flavor throughout the loaf; roasted garlic can be swapped for a sweeter taste.
- Fresh Herbs – Provides bright and fragrant notes; alternatively, use 2 teaspoons of dried herbs for convenience.
- Lukewarm Water – Hydrates the flour and activates the yeast; ensure optimal temperature to support a successful rise.
- Olive Oil (optional) – Aids in shaping the dough and adds richness; consider using it for a more tender crust.
For Serving
- Butter (for serving) – Enhances the bread’s rich flavor; herb-infused butter can elevate it even further.
- Cheese (optional) – Adds creaminess and extra flavor; pair it with your favorite cheese for a delightful twist.
With these ingredients ready, you’re one step closer to baking your own delicious Garlic Herb Dutch Oven Bread! Enjoy the process and the wonderful aroma that will fill your kitchen.
Step‑by‑Step Instructions for Garlic Herb Dutch Oven Bread
Step 1: Mix the Dough
In a large mixing bowl, combine all-purpose flour, salt, instant yeast, minced garlic, and your choice of fresh herbs. Pour in lukewarm water and stir the mixture with a sturdy spoon until all dry flour is incorporated. The dough will appear shaggy and sticky, which is perfect for our Garlic Herb Dutch Oven Bread.
Step 2: First Rise
Cover the bowl tightly with plastic wrap and place it in a warm spot at room temperature for 12-18 hours. This long rise will help the dough double in size and become bubbly. Keep an eye out for a surface that looks puffy and airy—this means your dough is ready for the next step!
Step 3: Shape the Dough
Once risen, lightly flour a clean work surface and gently pour out the dough. Using floured hands, fold the dough over itself a few times to form a round shape. Let it rest for 45 minutes to 1 hour, while you prepare to bake, allowing it to relax and rise slightly more.
Step 4: Preheat Dutch Oven
While the dough rests, place your Dutch oven in the oven and preheat it to 450°F (232°C). This ensures a hot environment for the Garlic Herb Dutch Oven Bread, creating that desirable crispy crust. Allow the Dutch oven to heat for a full 30 minutes.
Step 5: Prepare for Baking
After the dough has rested, transfer it onto a large piece of parchment paper, ensuring it’s easy to lift later. Using a sharp knife, score the top of the dough with a shallow incision; this allows steam to escape and gives the bread a rustic look when baked.
Step 6: Bake Covered
Carefully take the preheated Dutch oven out of the oven (be cautious of the heat) and remove the lid. Gently lift the parchment with the dough and place it inside the hot Dutch oven. Cover with the lid and bake for 30 minutes; the steam created will help the bread rise beautifully.
Step 7: Bake Uncovered
After 30 minutes, remove the lid and continue to bake the Garlic Herb Dutch Oven Bread for an additional 15-20 minutes. Keep an eye on the color—you’re looking for a deep golden-brown crust. To ensure doneness, the internal temperature should reach between 205-210°F.
Step 8: Cool Down
Once baked to perfection, carefully transfer the bread from the Dutch oven to a wire rack. Allow it to cool for at least 30 minutes before slicing. This cooling period is essential for achieving the ideal texture, preventing any gumminess inside your delightful Garlic Herb Dutch Oven Bread.
Make Ahead Options
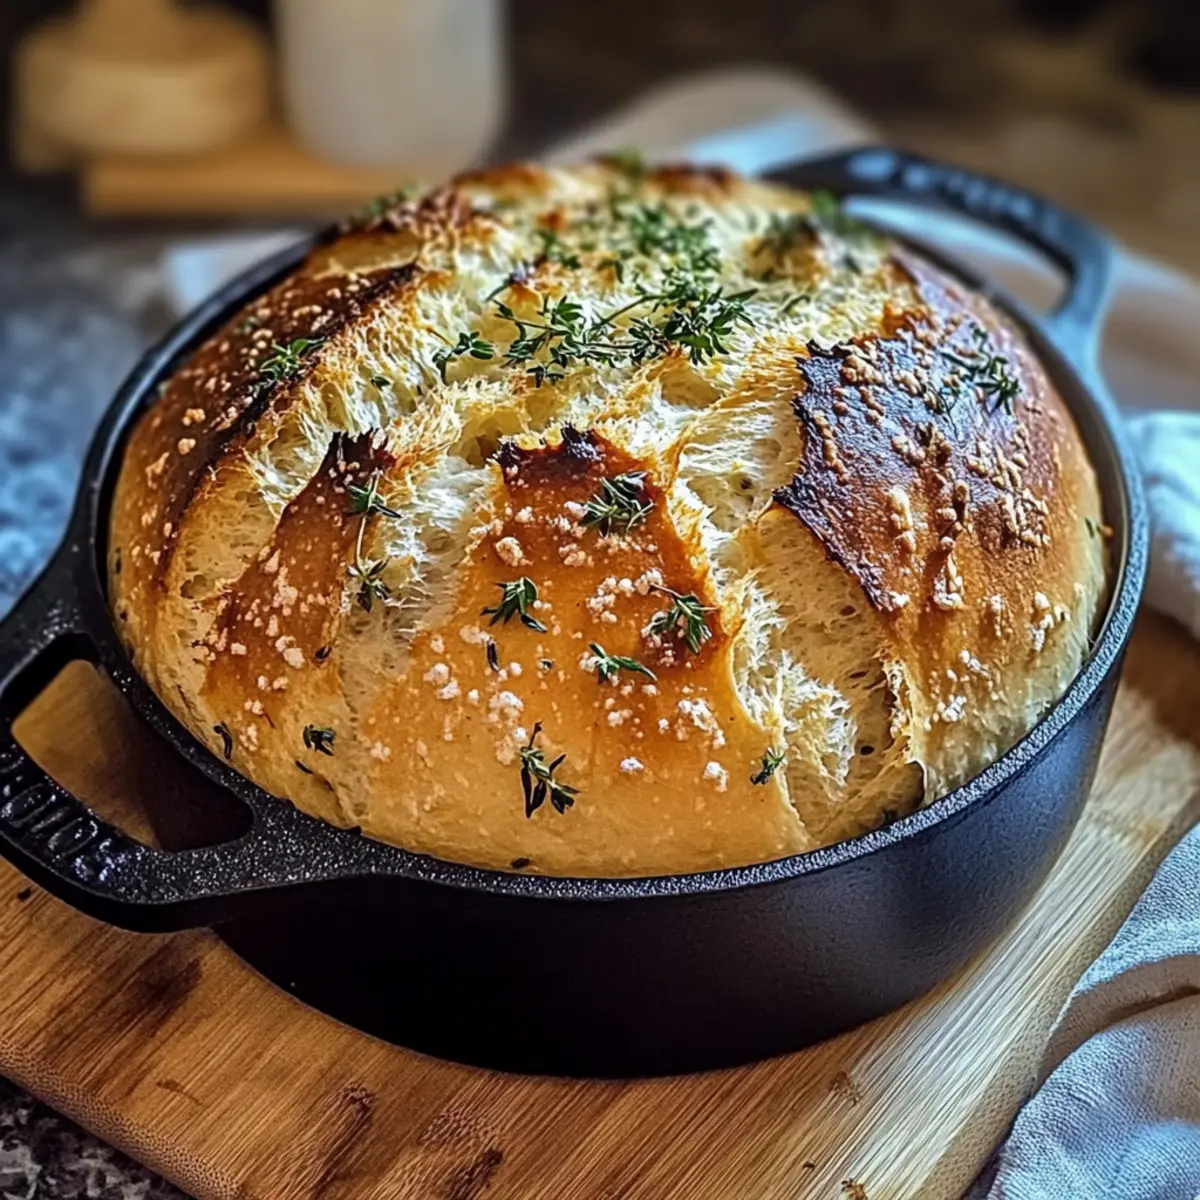
The Garlic Herb Dutch Oven Bread is a fantastic choice for meal prep, as it allows you to enjoy fresh bread with minimal last-minute effort! You can mix the dough and let it rise for up to 24 hours in advance, covering it tightly with plastic wrap at room temperature. Alternatively, after the first rise, you can refrigerate the shaped dough for up to 3 days; just remember to bring it back to room temperature and let it rest for about 1 hour before baking. Maintaining a sticky texture is key to preventing excessive dryness, so avoid adding extra flour during prep. When you’re ready to bake, simply preheat your Dutch oven and follow the regular baking instructions for a warm, artisan-quality loaf that’s just as delicious as the same-day version!
How to Store and Freeze Garlic Herb Dutch Oven Bread
Room Temperature: Store the bread wrapped in a kitchen towel or paper bag for up to 3 days to maintain its crusty exterior. Keep it in a cool, dry place to avoid moisture.
Fridge: If you need to store it longer than 3 days, place it in an airtight container; however, this may soften the crust. Consume within a week for best flavor and texture.
Freezer: Slice the Garlic Herb Dutch Oven Bread and wrap each slice in plastic wrap, then place in a freezer-safe bag. It can be frozen for up to 3 months; simply toast or reheat slices as needed.
Reheating: For the best experience, reheat in a preheated oven at 350°F (175°C) for 10-15 minutes, allowing the crust to crisp up again before enjoying it with butter or your favorite spread.
Garlic Herb Dutch Oven Bread Variations
Feel free to make this bread your own with these delightful twists that awaken your taste buds!
-
Cheese Infusion: Mix in 1 cup of shredded cheese for a rich, cheesy loaf—perfect for indulgent sandwiches. Imagine pulling apart warm, gooey cheese with every bite!
-
Whole Wheat Option: Substitute half of the all-purpose flour with whole wheat flour for added nutrition. This swap offers a nutty flavor while maintaining the bread’s delightful texture.
-
Roasted Garlic: Replace minced garlic with roasted garlic for a sweeter, milder taste. This variation brings a deep, caramelized flavor that enhances the whole loaf.
-
Herbed Varieties: Experiment with fresh herbs like rosemary or thyme for unique flavor combinations. Each herb brings its vibrant personality, transforming every loaf into a new creation.
-
Spicy Kick: Add chili flakes or diced jalapeños for a heat element. This spicy twist is perfect for those who love a little adventure in their bread!
-
Nutty Delight: Stir in your favorite chopped nuts for a delightful crunch. The contrast in textures makes each mouthful even more satisfying.
-
Sweet Surprise: Incorporate honey or maple syrup for a subtle hint of sweetness, perfect for breakfast or tea time treats. This adds a gentle sweetness that pairs beautifully with the savory garlic.
-
Seasonal Fruits: Add sun-dried tomatoes or olives to introduce Mediterranean flavors, making your bread not just a side but a gourmet experience. This gives a burst of flavor with every bite and elevates your meal.
Whether it’s a family dinner or a cozy evening with friends, customize this Garlic Herb Dutch Oven Bread to suit every occasion. Enjoy the process and don’t forget to check out my Garlic Butter Honey BBQ Beef Tacos for a perfect pairing or dive into the richness of my Persian Inspired Herb and Beef Stew that complements this bread beautifully!
Expert Tips for Garlic Herb Dutch Oven Bread
-
Sticky Dough is Key: Maintain a wet and sticky dough to achieve that airy texture; resist the urge to add extra flour during mixing.
-
Preheat Properly: Make sure to preheat your Dutch oven for a full 30 minutes; this creates the crispy crust essential for your Garlic Herb Dutch Oven Bread.
-
Rising Time Matters: Don’t rush the dough’s first rise; cooler kitchens might require additional time, so be patient for the best results.
-
Cooling is Crucial: Allow the bread to cool completely for at least 30 minutes; cutting too soon can lead to a gummy texture.
-
Fresh is Best: Use fresh herbs for maximum flavor impact; however, balance is important—don’t overpower the garlic and bread.
What to Serve with Garlic Herb Dutch Oven Bread?
Warm your heart and elevate your meals with delightful sides that complement this aromatic loaf.
-
Creamy Tomato Soup: The rich, tangy flavors of tomato soup enhance the bread’s herby notes, creating a cozy pairing that’s perfect for chilly days. Imagine enjoying a steaming bowl dipped into the crispy crust—pure bliss!
-
Garlic Butter Mushrooms: Sautéed mushrooms in garlic butter offer an earthy, umami-packed contrast to the bread’s texture. It’s a side that guarantees you’ll savor every bite!
-
Simple Salad: A fresh green salad with a light vinaigrette adds a refreshing crunch that beautifully balances the bread’s warmth, making it a colorful addition to your table.
-
Stuffed Bell Peppers: These vibrant veggies filled with rice, beans, and spices add a hearty element to your meal, complementing the bread’s flavors with a touch of sweetness.
-
Herbed Butter: Whipping up a quick herb-infused butter transforms every slice into an indulgent experience. This spread not only enhances the taste but also creates a comforting moment.
-
Cheese Platter: An assortment of cheeses like sharp cheddar or creamy brie provides a delightful contrast to the crusty bread. Pairing with seasonal fruits elevates the flavors, making it a crowd-pleaser at gatherings.
-
Red Wine: A glass of robust red wine perfectly complements the savory and herby notes of the bread, offering a warm, sophisticated drinking experience with each bite.
-
Apple Crisp: For a touch of sweetness, serve warm apple crisp on the side. The warm cinnamon flavors harmonize with the herbal tones of the bread, creating a memorable meal.
Garlic Herb Dutch Oven Bread Recipe FAQs
How do I know when the garlic and herbs are fresh enough?
Absolutely! Fresh garlic should feel firm and smooth, free of any dark spots or mold. For herbs, look for vibrant green colors and a fragrant smell—if they’re wilted or browning, it’s best to toss them. Using fresh ingredients will enhance the flavor of your Garlic Herb Dutch Oven Bread!
What’s the best way to store the Garlic Herb Dutch Oven Bread?
To keep your bread at its finest, wrap it in a kitchen towel or place it inside a paper bag for up to 3 days at room temperature. If you want to extend its life beyond that, consider freezing it. Just slice the bread, wrap each piece in plastic wrap, and store in a freezer-safe bag for up to 3 months.
Can I freeze the Garlic Herb Dutch Oven Bread?
Definitely! To freeze, slice the bread first for convenience. Wrap each slice individually in plastic wrap, then place them in a freezer-safe bag. When you’re ready to enjoy, simply toast the slices or reheat in a preheated oven at 350°F (175°C) for 10-15 minutes. This will bring back that delightful crust!
What if my bread doesn’t rise as expected?
Very! If the dough doesn’t rise, check the temperature of your environment—cooler spaces can slow the yeast activity. Try letting it rise in a warmer spot or on top of a warm oven. If you used active dry yeast, ensure it was properly activated with water before mixing. Don’t get discouraged; sometimes, a little extra patience is all it needs.
Can I use different herbs in this recipe?
Absolutely! While fresh herbs provide a vibrant flavor, you can easily mix it up. Consider using rosemary, thyme, or even dried herbs—just remember to reduce the quantity to 2 teaspoons if using dried. Each herb sings a different note in your Garlic Herb Dutch Oven Bread, so feel free to get creative!
Are there any dietary considerations to keep in mind?
If you’re concerned about allergies, this recipe is vegetarian and can be made dairy-free by skipping the butter or cheese. Additionally, avoid any herbs to which you or your guests may be allergic. Always check ingredient labels if you’re using packaged products to ensure they’re safe for everyone enjoying the bread.
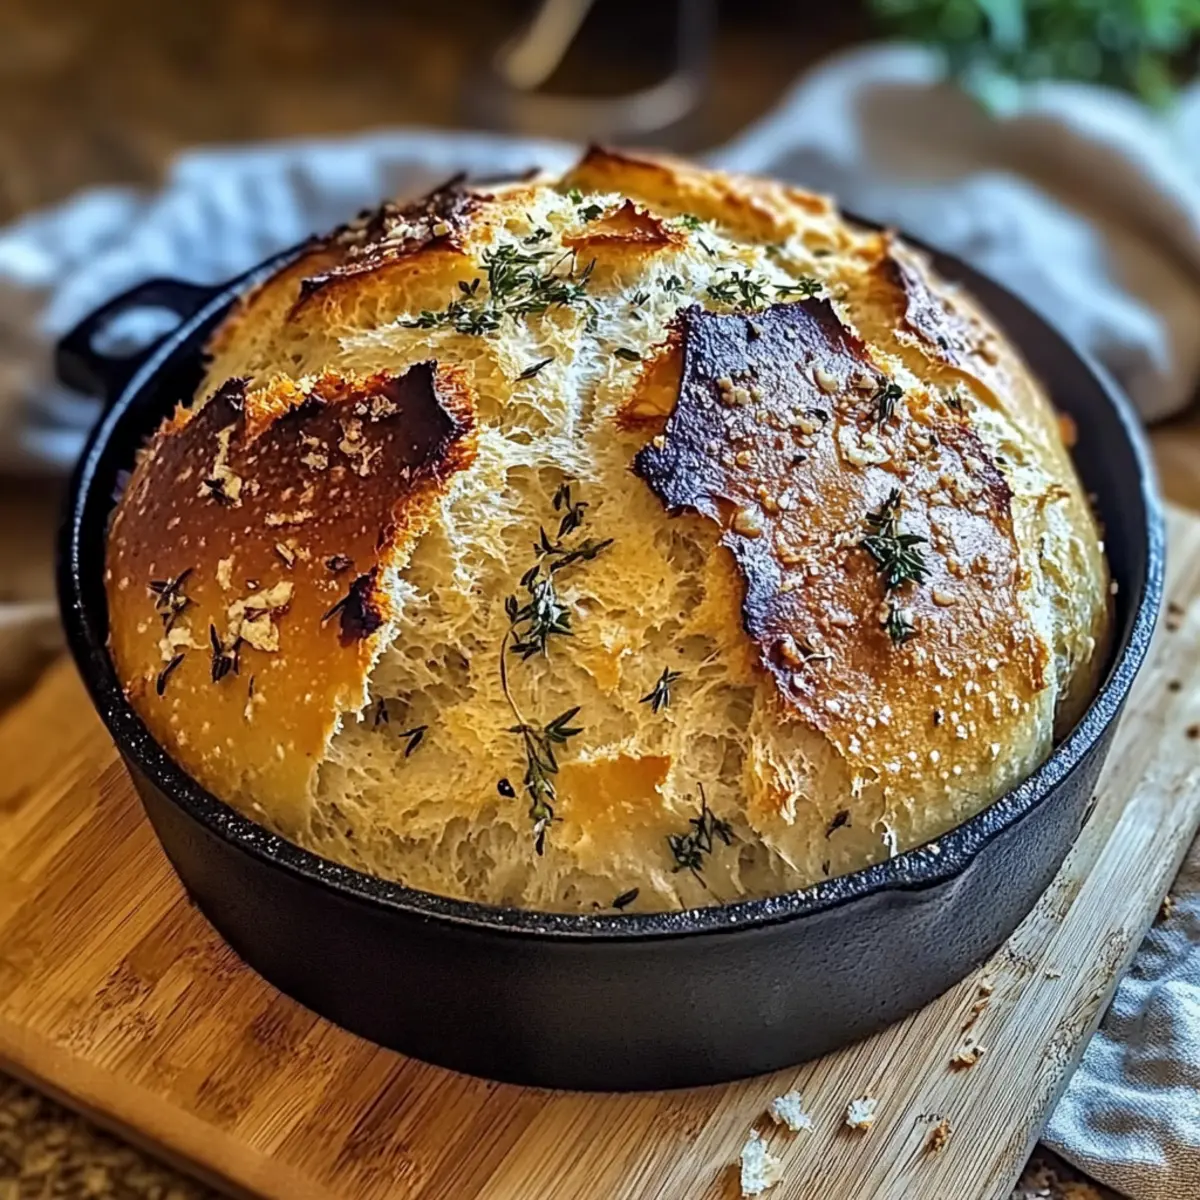
Garlic Herb Dutch Oven Bread: Effortless Artisanal Delight
Ingredients
Equipment
Method
- In a large mixing bowl, combine all-purpose flour, salt, instant yeast, minced garlic, and fresh herbs. Pour lukewarm water and stir until fully combined.
- Cover the bowl with plastic wrap and let it rise in a warm spot for 12-18 hours.
- Lightly flour a work surface and pour out the dough. Fold the dough to form a round shape and let it rest for 45 minutes to 1 hour.
- Preheat your Dutch oven to 450°F (232°C) for 30 minutes.
- Transfer the dough onto parchment paper and score the top with a shallow incision.
- Place the dough in the preheated Dutch oven, cover, and bake for 30 minutes.
- Remove the lid and bake for another 15-20 minutes until deep golden brown.
- Transfer the bread to a wire rack and cool for at least 30 minutes before slicing.
Leave a Reply