
As the sun blazes down and summer festivities unfold, there’s nothing quite like digging into a homemade icy treat. Enter the Festive Red, White & Blue Popsicles—a dazzling no-bake dessert that’s as fun to make as it is to enjoy! Layered with the sweetness of strawberries, the creaminess of coconut milk, and the tang of blueberries, these popsicles are not only a fantastic way to cool off, but they’re also a hit at any party. Plus, they’re completely dairy-free and simple enough for the whole family to join in the fun. So, whether you’re celebrating Independence Day or just soaking up the sun, these vibrant popsicles will bring a burst of color and flavor to your summer days. Ready to brighten your next gathering with a treat that’s both delicious and delightful? Let’s dive into this refreshing recipe!
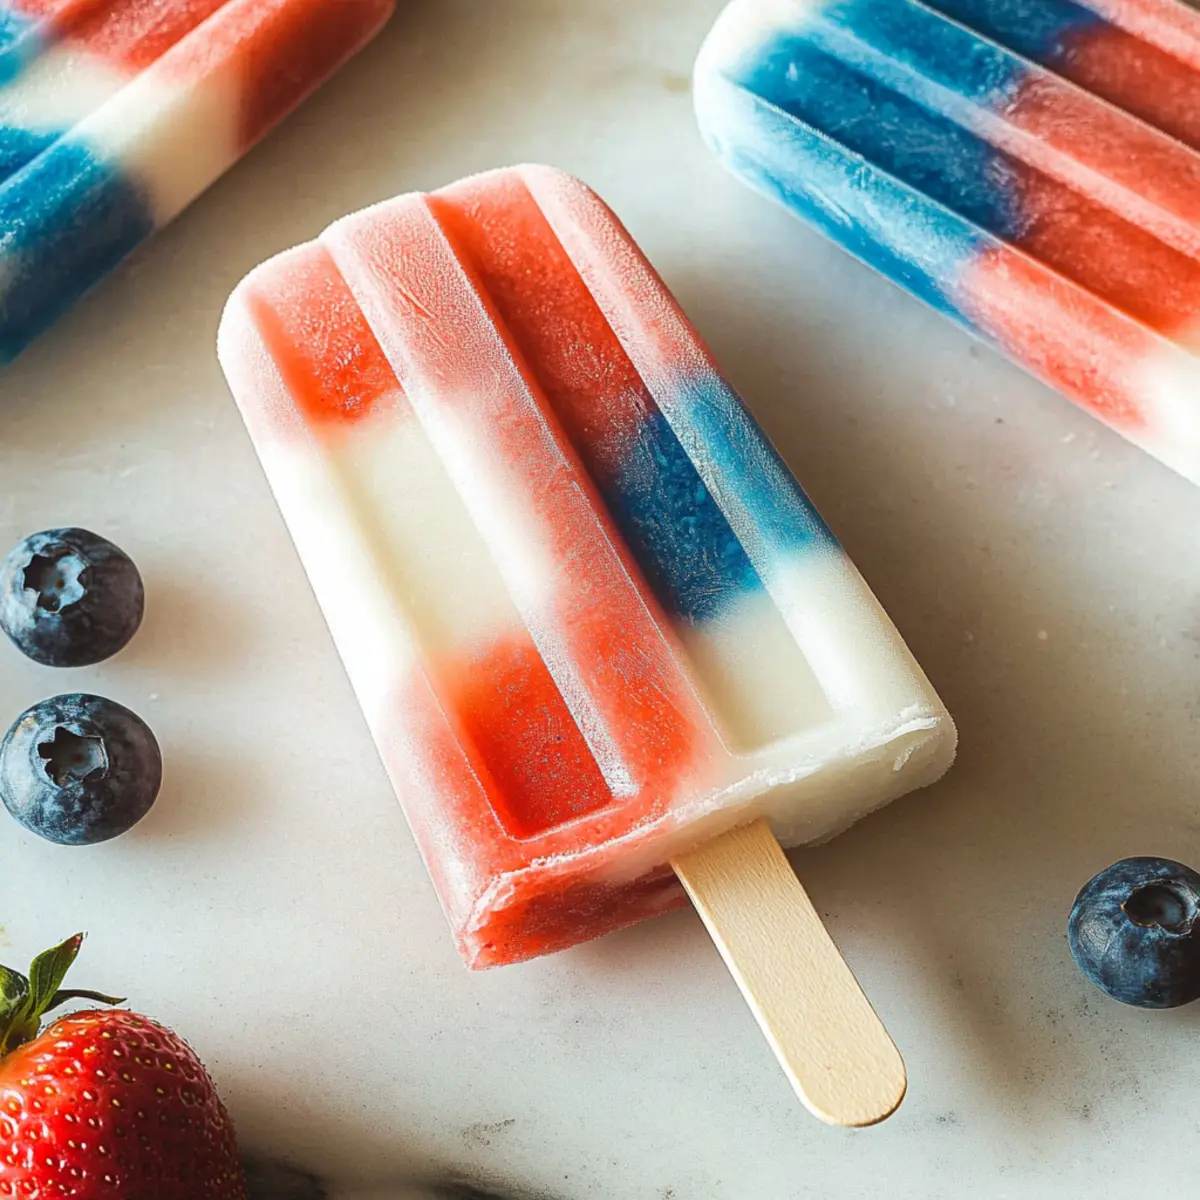
Why Make Festive Popsicles This Summer?
Vibrant Colors: These popsicles are a visual feast, showcasing stunning layers of red, white, and blue that are sure to brighten any gathering.
No-Bake Ease: Perfect for hot days, this simple recipe requires no baking. Just blend, layer, and freeze!
Family Fun: Get the kids involved in making these refreshing treats—it’s a fun way to bond and create lasting summer memories.
Dairy-Free Delight: Made with creamy coconut milk, they are a great option for anyone avoiding dairy, ensuring everyone can enjoy a cool snack.
Party Perfect: Ideal for summer celebrations like picnics or barbecues, these popsicles are bound to impress guests and make a splash at any event.
Healthier Treat: Each pop contains wholesome ingredients, keeping it light and refreshing compared to store-bought alternatives. For similar fruity desserts, be sure to check out Healthy Blueberry Baked.
Festive Red, White & Blue Popsicle Ingredients
For the Red Layer
• Strawberries – Use fresh, hulled strawberries for a naturally sweet and vibrant red layer.
• Honey/Maple Syrup – Sweetens the strawberries; opt for maple syrup for a vegan alternative.
• Lemon Juice – Brightens the flavor of the red layer, adding a zesty kick.
For the White Layer
• Full-Fat Coconut Milk – Creates a rich, creamy white layer; make sure it’s well-shaken or stirred before using.
• Vanilla Extract – Adds depth and warmth to the coconut flavor.
For the Blue Layer
• Blueberries – Provides the blue layer; fresh blueberries yield the best flavor, but frozen will work too.
• Honey/Maple Syrup – Adds sweetness to the blueberry mixture, enhancing its natural taste.
• Lemon Juice – Balances out the sweetness and intensifies the blueberries’ flavor.
These Festive Red, White & Blue Popsicles are not just a treat for the taste buds but a delight for the eyes!
Step‑by‑Step Instructions for Festive Red, White & Blue Popsicles
Step 1: Prepare the Red Layer
Begin by blending fresh hulled strawberries with 2 tablespoons of honey and 1 tablespoon of lemon juice in a blender until smooth. Pour the vibrant mixture evenly into popsicle molds, filling each about one-third full. Place the molds in the freezer for 45-60 minutes, or until the red layer is firm to the touch and holds its shape.
Step 2: Create the White Layer
While the red layer is freezing, whisk together a can of full-fat coconut milk with 1-2 tablespoons of honey and 1/2 teaspoon of vanilla extract in a bowl until smooth and creamy. Once the red layer is set, carefully spoon the coconut mixture onto the frozen strawberry layer, filling the molds to about two-thirds full. Freeze again for another 45-60 minutes, until this layer is solid.
Step 3: Make the Blue Layer
For the blue layer, blend fresh blueberries with 2 tablespoons of honey and 1 tablespoon of lemon juice until you achieve a smooth consistency. After the coconut layer is solid, spoon the blueberry mixture over the white layer, filling the molds to the top. Smooth the surface gently with a spatula, then return the molds to the freezer.
Step 4: Final Freeze
Insert popsicle sticks into each mold, ensuring they are centered in the layers. Freeze the popsicles for at least 4 hours, or until completely solid. This final freeze is crucial for achieving the perfect creamy texture of your Festive Red, White & Blue Popsicles.
Step 5: Serve
To remove the popsicles, gently run the molds under warm water for a few seconds. This will help release the popsicles without damaging their beautiful layered appearance. Once loosened, gently pull them out and serve this delightful summer treat at your next gathering—enjoy the refreshing burst of flavors!
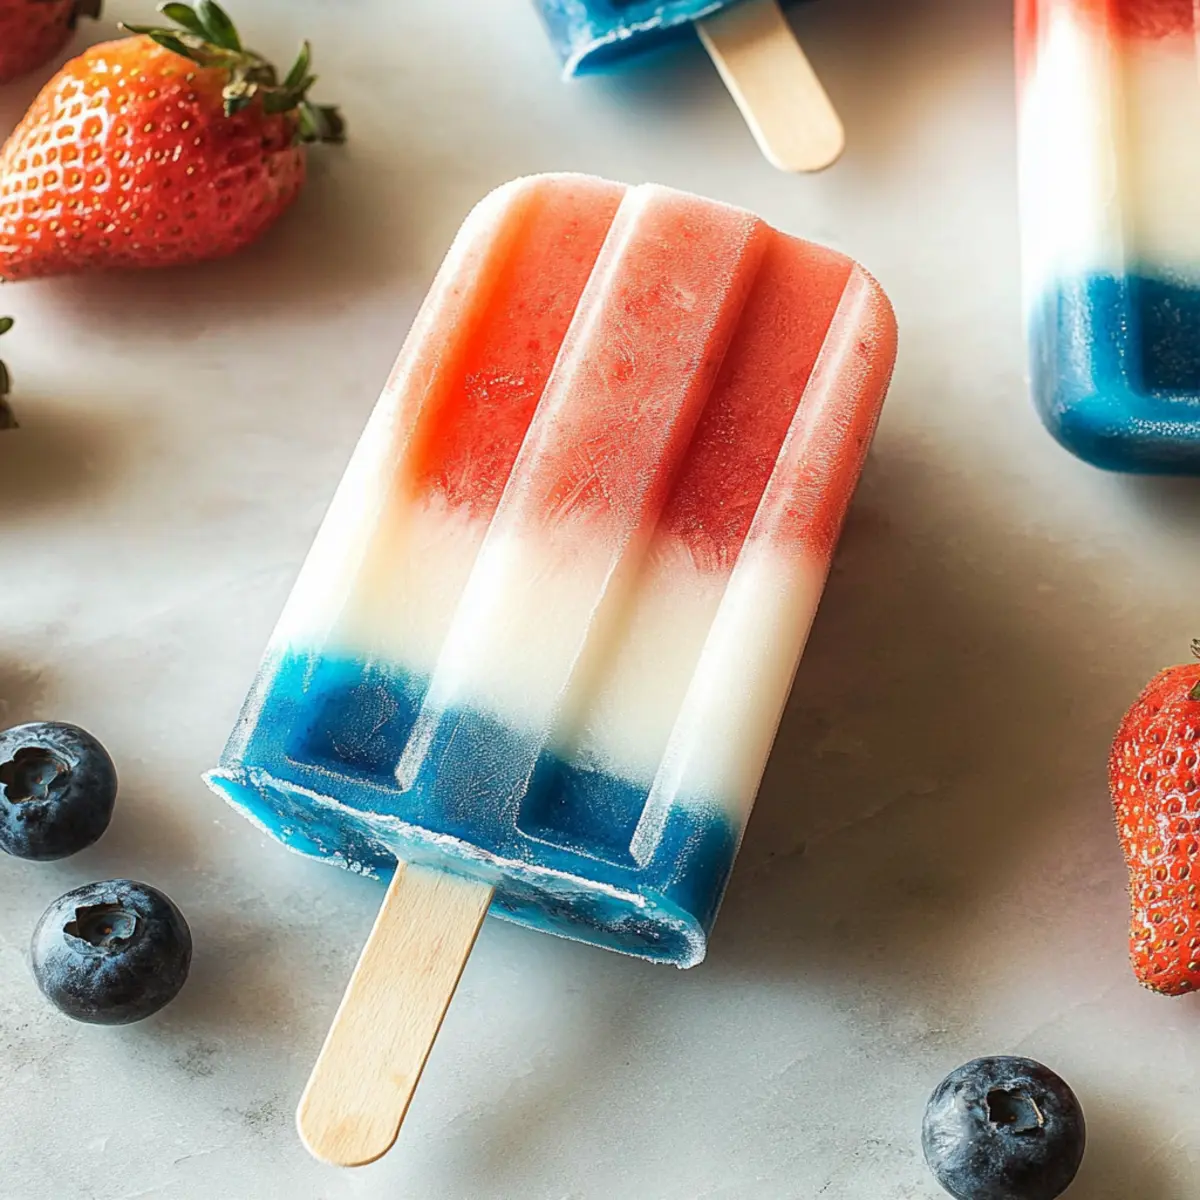
Expert Tips for Festive Red, White & Blue Popsicles
-
Layer Support: Allow each layer to freeze until firm before adding the next to prevent mixing and maintain vibrant colors.
-
Smooth Removal: Run popsicle molds under warm water briefly to loosen, but avoid prolonged exposure which might cause melting or breaking.
-
Flavor Variations: Get creative! Substitute strawberries with raspberries or cherries for a fun twist on the festive red, white & blue popsicles.
-
Fruit Benefits: Use fresh fruit whenever possible for the best flavor and nutritional benefits, enhancing your summer treat even more.
-
Perfect Sweetness: Adjust honey or maple syrup based on your sweetness preference, keeping the popsicles delicious and enjoyable for everyone!
What to Serve with Festive Red, White & Blue Popsicles
Cool off your summer gatherings with delightful pairings that will complement your vibrant popsicles perfectly.
-
Fresh Fruit Salad: A colorful assortment of seasonal fruits can enhance the fruity flavors of the popsicles while adding a refreshing crunch. Think juicy melons, ripe peaches, and tart kiwis—perfect for a sunny day!
-
Grilled Veggies: The smoky, charred taste of grilled vegetables adds a delightful contrast to the sweet popsicles. Consider zesty bell peppers and zucchini to balance the flavors beautifully.
-
Lemonade Spritzers: Serve fizzy lemonade spritzers alongside the popsicles for a refreshing drink that echoes the citrus notes of lemon in your frozen treat. A splash of mint syrup makes it even more inviting!
-
Chocolate Dipped Pretzels: The salty, crunchy texture of pretzels dipped in rich chocolate provides a satisfying counterpoint to the creamy, fruity popsicles. It’s a sweet and salty match made in snack heaven!
-
Coconut Rice Pudding: Creamy, sweet coconut rice pudding highlights the coconut notes in the popsicles. This dessert creates a lovely texture contrast while keeping the tropical appeal alive.
-
Berry Sorbet: A side of berry sorbet not only echoes the fruity layers of your popsicles but also brings a tangy sweetness that pairs wonderfully with the coconut and honey. Refreshing and indulgent all at once!
Choose one or a few of these pairings, and let the summer enjoyment begin!
Variations & Substitutions for Festive Red, White & Blue Popsicles
Feel free to make these popsicles your own with delightful twists and substitutions that will tantalize your taste buds!
- Berry Swap: Try raspberries or cherries instead of strawberries for a unique flavor. The tartness of raspberries adds an exciting contrast to the sweetness.
- Creamy Alternative: Use almond milk instead of coconut milk for a nutty flavor. It gives a wonderful creaminess while keeping your pops dairy-free.
- Fruit-Filled Layers: Mix in small pieces of your favorite fruits between the layers for added texture and flavor bursts. Chopped blackberries would be a delightful surprise!
- Sweetness Guide: Adjust honey or maple syrup to fit your desired sweetness, ensuring a balanced flavor that caters to your family’s taste preferences.
- Flavor Boost: Add a touch of mint or basil into the berry layer for a refreshing herb twist. This adds an unexpected yet appealing depth to your popsicles.
- Coconut Cream: For a richer white layer, replace full-fat coconut milk with coconut cream. It will elevate the creamy texture wonderfully!
- Frozen Fruits: Use frozen strawberries and blueberries if fresh ones are out of season. Just blend them directly, and you’ll still enjoy a refreshing treat.
- Zesty Addition: Include a bit of zest from the lemon in your fruit layers for an extra zing of citrus flavor. This elevates the pops’ bright, summery taste!
These variations are your ticket to a customized experience! Plus, if you’re looking for more delightful desserts, don’t forget to check out Cheesy Garlic Chicken or dive into Healthy Blueberry Baked for fruity inspirations!
Make Ahead Options
Make your summer easy and sweet with these Festive Red, White & Blue Popsicles prepped in advance! You can prepare the red layer up to 24 hours ahead of time. Simply blend the strawberries with honey and lemon juice, pour into molds, and freeze. Once that layer is firm, you can create the creamy white coconut layer and freeze it for another 24 hours. For the blue layer, blend and fill the molds up to 3 days before your celebration, ensuring each layer is solid before adding the next to maintain those gorgeous colors. When you’re ready to serve, simply finish the freezing process and enjoy these delightful treats that are just as refreshing as homemade should be!
How to Store and Freeze Festive Red, White & Blue Popsicles
Freezer: Store your popsicles in an airtight container or resealable plastic bag, where they will keep for up to two weeks without losing flavor or texture.
Removal: To serve, simply run the molds under warm water for a few seconds to loosen. This helps retain the beautiful layers of the festive red, white, and blue popsicles.
Reheating: No reheating is needed for popsicles; just enjoy them directly from the freezer when you crave a refreshing treat!
Prevent Freezer Burn: To ensure the best quality, wrap the popsicles individually in plastic wrap before placing them in the container. This will help avoid freezer burn and maintain their delightful taste.
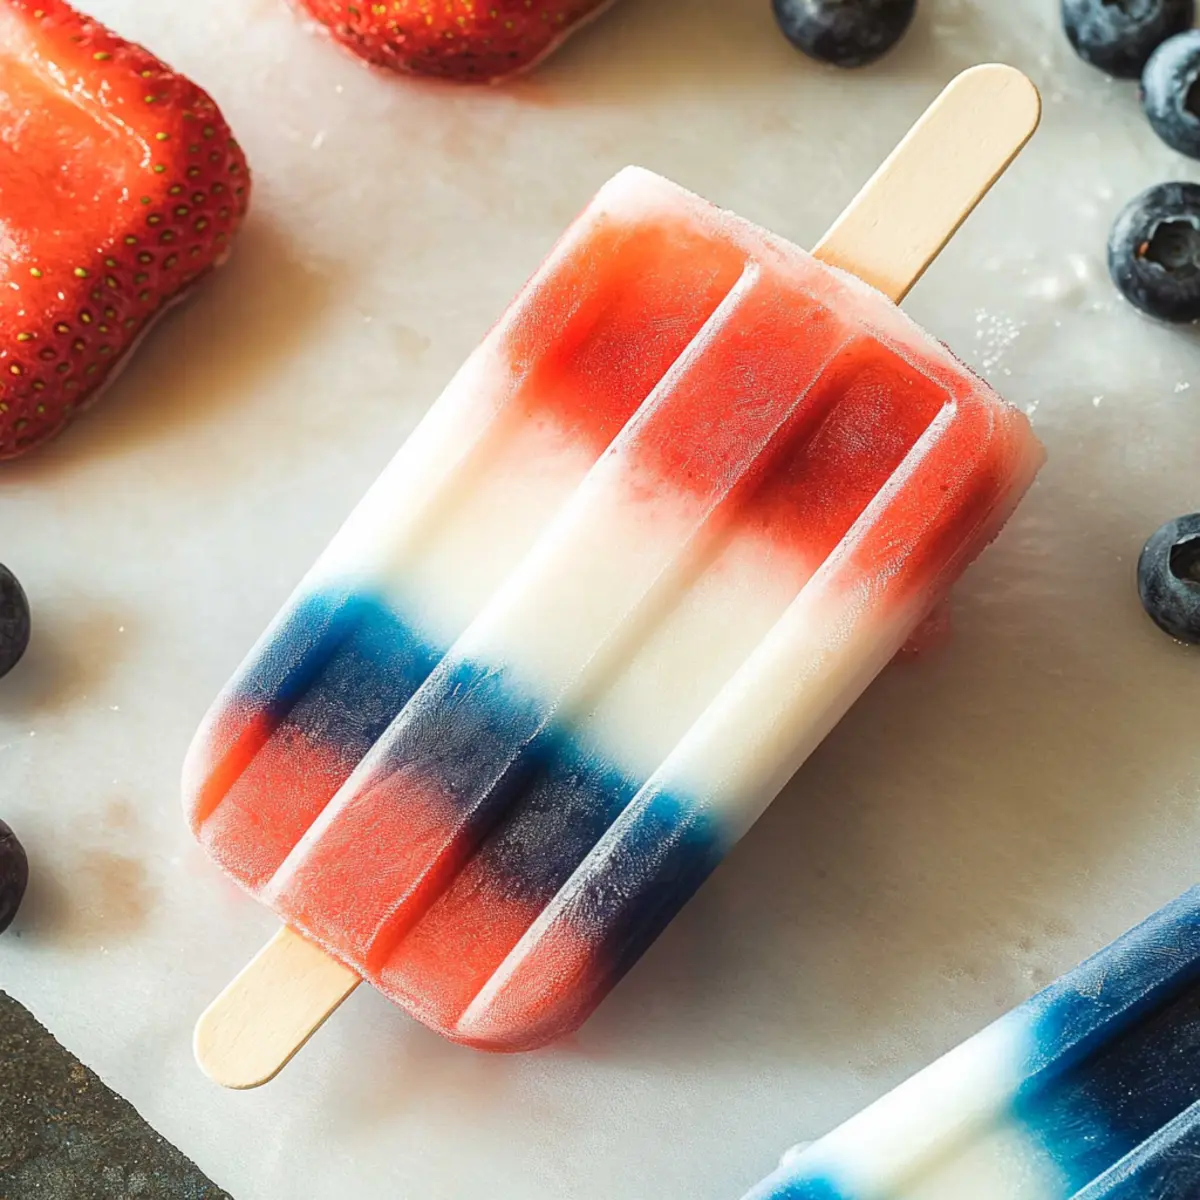
Festive Red, White & Blue Popsicles Recipe FAQs
How do I select ripe strawberries and blueberries for the popsicles?
Absolutely! Choose ripe strawberries that are bright red, free of dark spots, and slightly firm to the touch to ensure sweetness. For blueberries, look for those that are plump and deep blue. If they have a whitish bloom, that’s an indicator of freshness—avoid any with a squishy texture.
What’s the best way to store leftover popsicles?
Very! Store your popsicles in an airtight container or a resealable plastic bag in the freezer. They will maintain their flavor and texture for up to two weeks. If you want to avoid freezer burn, wrap each popsicle individually in plastic wrap before placing them in the container.
Can I freeze these popsicles for a longer duration?
Absolutely! If you want to keep your Festive Red, White & Blue Popsicles for longer, they can be stored in the freezer for up to 3 months. Just ensure they’re tightly wrapped to prevent freezer burn. When you’re ready to enjoy them, simply take them out and let them sit at room temperature for a few minutes before serving.
What should I do if my popsicles stick to the molds?
Don’t worry! If your popsicles stick, try running the molds under warm water for 10 to 15 seconds. This will help them loosen without melting too much. If that doesn’t work, gently wiggle the popsicle stick back and forth until it comes free.
Are there any dietary considerations for these popsicles?
Very! These popsicles are naturally dairy-free due to the use of coconut milk, making them a great option for anyone avoiding dairy. If you’re concerned about allergies, always check the labels of your honey or maple syrup, and ensure no cross-contamination with nuts or other allergens has occurred.
Can my kids help make these popsicles?
Absolutely! Making these popsicles is a fantastic family activity! Kids can help by blending fruits, pouring layers into molds, and decorating them with their favorite toppings like shredded coconut or fruit pieces between the layers for added fun and texture. It’s a wonderful way to bond while creating a cooling treat!
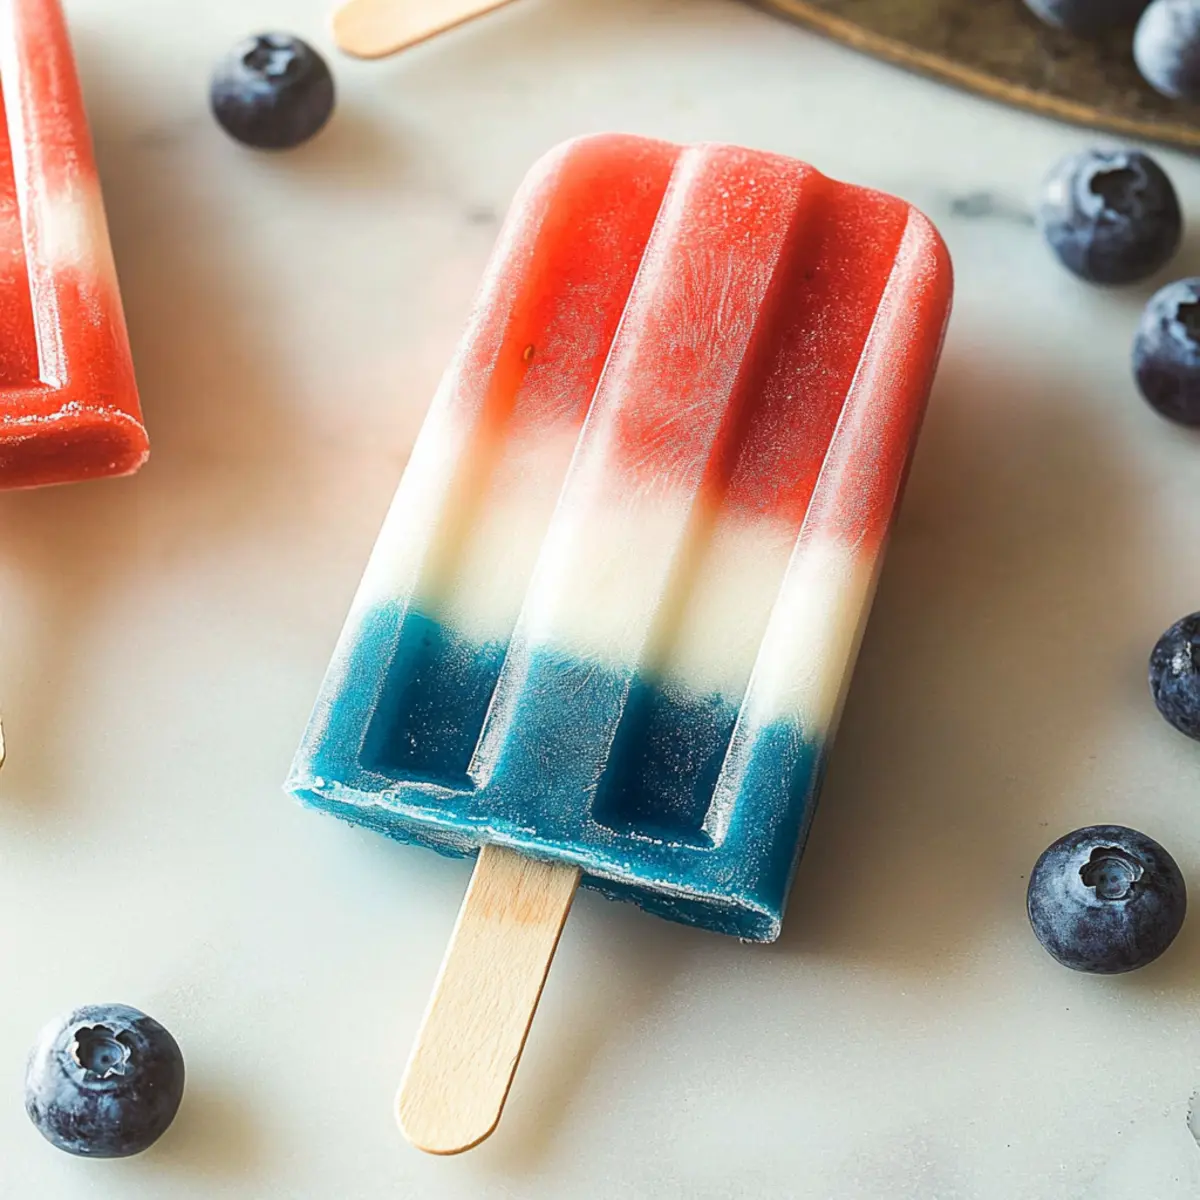
Delightful Festive Red, White & Blue Popsicles for Summer Fun
Ingredients
Equipment
Method
- Blend fresh hulled strawberries with honey and lemon juice until smooth. Pour into popsicle molds, filling each about one-third full. Freeze for 45-60 minutes until firm.
- Whisk together coconut milk, honey, and vanilla extract until smooth. Spoon over the red layer and freeze for another 45-60 minutes until solid.
- Blend fresh blueberries with honey and lemon juice until smooth. Spoon over the white layer, filling molds to the top and smooth the surface. Freeze again.
- Insert popsicle sticks and freeze for at least 4 hours until completely solid.
- Run molds under warm water for a few seconds to remove popsicles and serve immediately.
Leave a Reply