
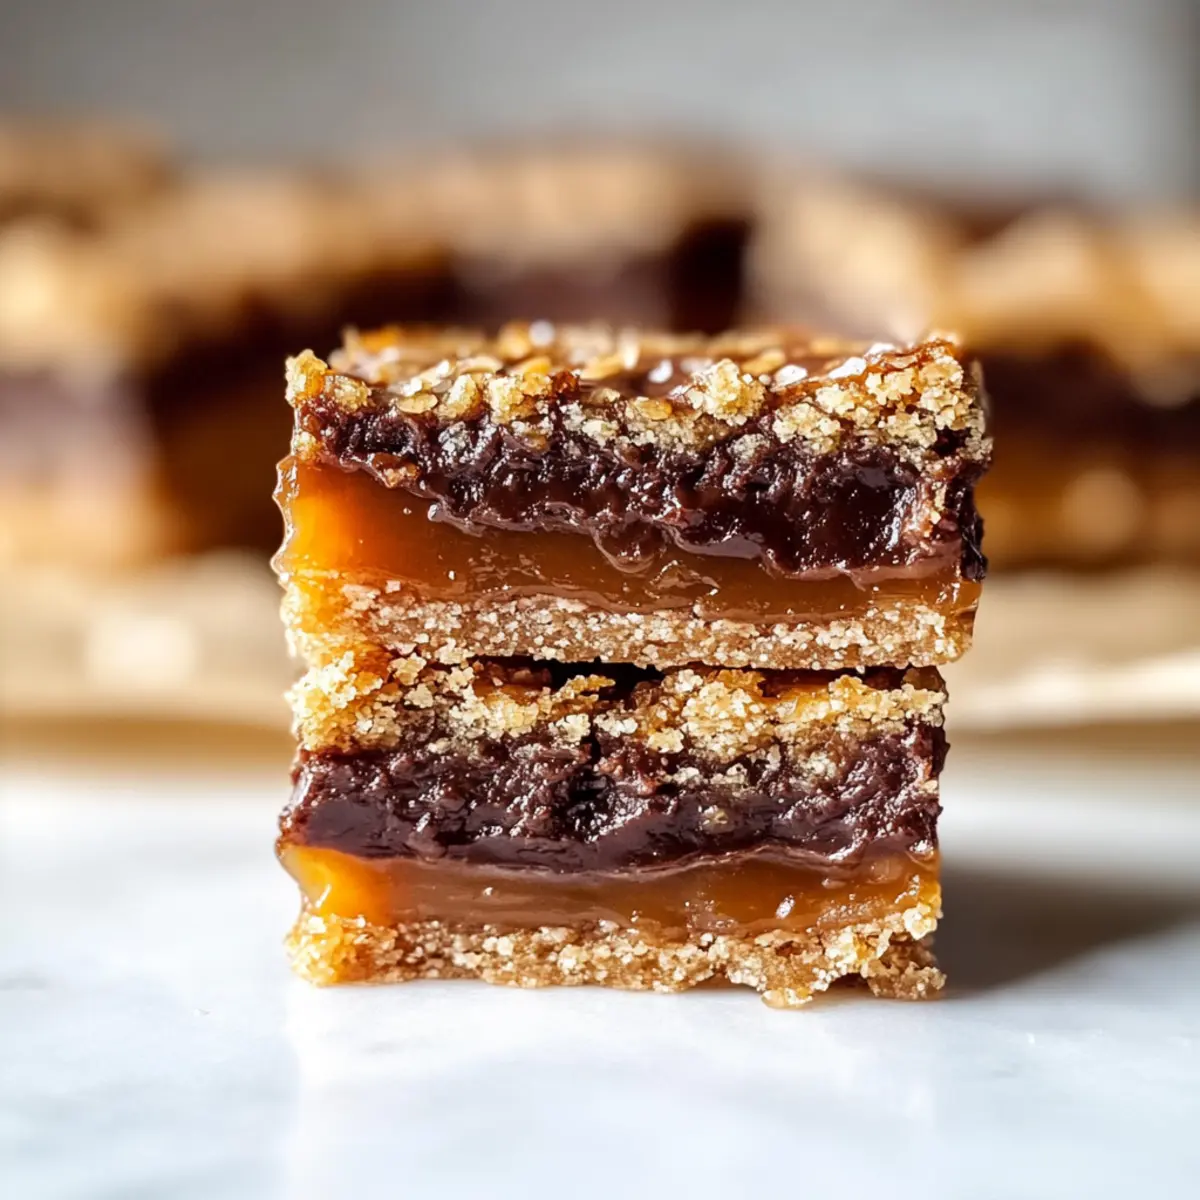
As I pulled the warm, fragrant tray of Carmelitas from the oven, my kitchen felt like a cozy embrace of nostalgia and comfort. These chewy layered dessert bars, with their buttery oatmeal crust and luscious gooey caramel, are a delightful remedy for anyone seeking a sweet escape from the mundane. Not only are they incredibly easy to whip up, making them perfect for a last-minute treat, but these Carmelitas can also easily be customized—think salted caramel or nutty variations! Ideal for sharing at gatherings or indulging by yourself, each bite promises to deliver a satisfying, homey feel that fast food simply can’t replicate. Are you ready to dive into this deliciously simple recipe?
Why are Carmelitas so irresistible?
Simplicity: This recipe is easy to follow, making it perfect for both novice bakers and seasoned chefs.
Decadent Flavor: The combination of buttery oatmeal, rich caramel, and creamy chocolate creates a flavor explosion that will leave your taste buds dancing.
Customizable: Whether you prefer Salted Caramel, Nutty Carmelitas, or even a Gluten-Free version, the possibilities are endless!
Crowd-Pleasing: These dessert bars are perfect for any gathering, as they offer a delightful sweet treat that everyone will adore.
Make-Ahead Option: Prepare them in advance for an effortless dessert. They taste even better after resting, making them a fantastic option for your next event!
Dive into this recipe and experience the joy of homemade Carmelitas that outshine any fast food dessert!
Carmelitas Ingredients
For the Base
• Unsalted Butter – Adds richness to the oat crust and top layer; you can substitute with salted butter but reduce the added salt slightly.
• Brown Sugar – Key for sweetness and caramel flavor; light brown sugar gives a softer taste, while dark brown sugar adds depth.
• All-Purpose Flour – Provides structure to the bars; consider a 1:1 gluten-free flour blend if desired.
• Rolled Oats – Contributes to the chewy texture; opt for old-fashioned oats, as instant oats will not hold up well.
• Baking Soda – Ensures the base remains tender and fluffy, crucial for the right texture.
For the Gooey Layer
• Caramel Sauce or Caramel Candies + Cream – This luscious middle layer can be made with store-bought sauce or melted soft candies with cream for thickness.
• Chocolate Chips (Semi-Sweet or Milk Chocolate) – Provides the sweetness; semi-sweet chips balance the flavors, while milk chocolate adds delightful creaminess.
Final Touch
• Salt (Optional) – Enhances the caramel’s flavor; a pinch can elevate the overall taste of these Carmelitas.
Each of these ingredients comes together to create the ultimate treat. Dive into the sweet world of Carmelitas, and experience a layering of flavors that will turn any time into dessert time!
Step‑by‑Step Instructions for Carmelitas
Step 1: Preheat and Prepare
Preheat your oven to 350°F (175°C). While the oven heats, grab a 9×13-inch pan and line it with parchment paper, allowing some overhang for easy removal later. Grease the paper lightly to prevent sticking, ensuring your Carmelitas release effortlessly after baking.
Step 2: Make the Oat Crust
In a medium saucepan, melt 1 cup of unsalted butter over low heat. Once melted, remove from heat and stir in 1 cup of brown sugar until well combined. Next, add 1 cup of all-purpose flour, 2 cups of rolled oats, and 1 teaspoon of baking soda, mixing until a crumbly dough forms.
Step 3: Press the Base Layer
Take half of your prepared oat mixture and press it firmly into the bottom of the lined pan, creating an even layer. Bake in your preheated oven for about 10 minutes, until the edges are slightly golden and the center is just set. The aroma will start to fill your kitchen, hinting at deliciousness!
Step 4: Assemble the Layers
Once the crust is baked, remove the pan from the oven and sprinkle 1 cup of chocolate chips evenly over the warm base. Next, drizzle 1 cup of caramel sauce (or melted caramel candies mixed with cream) over the chocolate chips, allowing some of it to seep into the gaps.
Step 5: Top with Crumble
Crumble the remaining oat mixture over the caramel layer, spreading it out evenly to cover as much of the caramel as possible. This will create a delicious topping that will bake to a beautiful golden finish.
Step 6: Final Bake
Return the assembled Carmelitas to the oven and bake for 18-22 minutes or until the top is golden brown and the edges are set. Keep an eye on them; you want the center to remain soft for that ideal gooey texture in your Carmelitas.
Step 7: Cool Completely
Once they are done baking, remove the pan from the oven and let the Carmelitas cool at room temperature for at least 2-3 hours. Cooling is crucial for maintaining their structure and achieving clean slices when it’s time to cut and enjoy this delightful dessert!
Storage Tips for Carmelitas
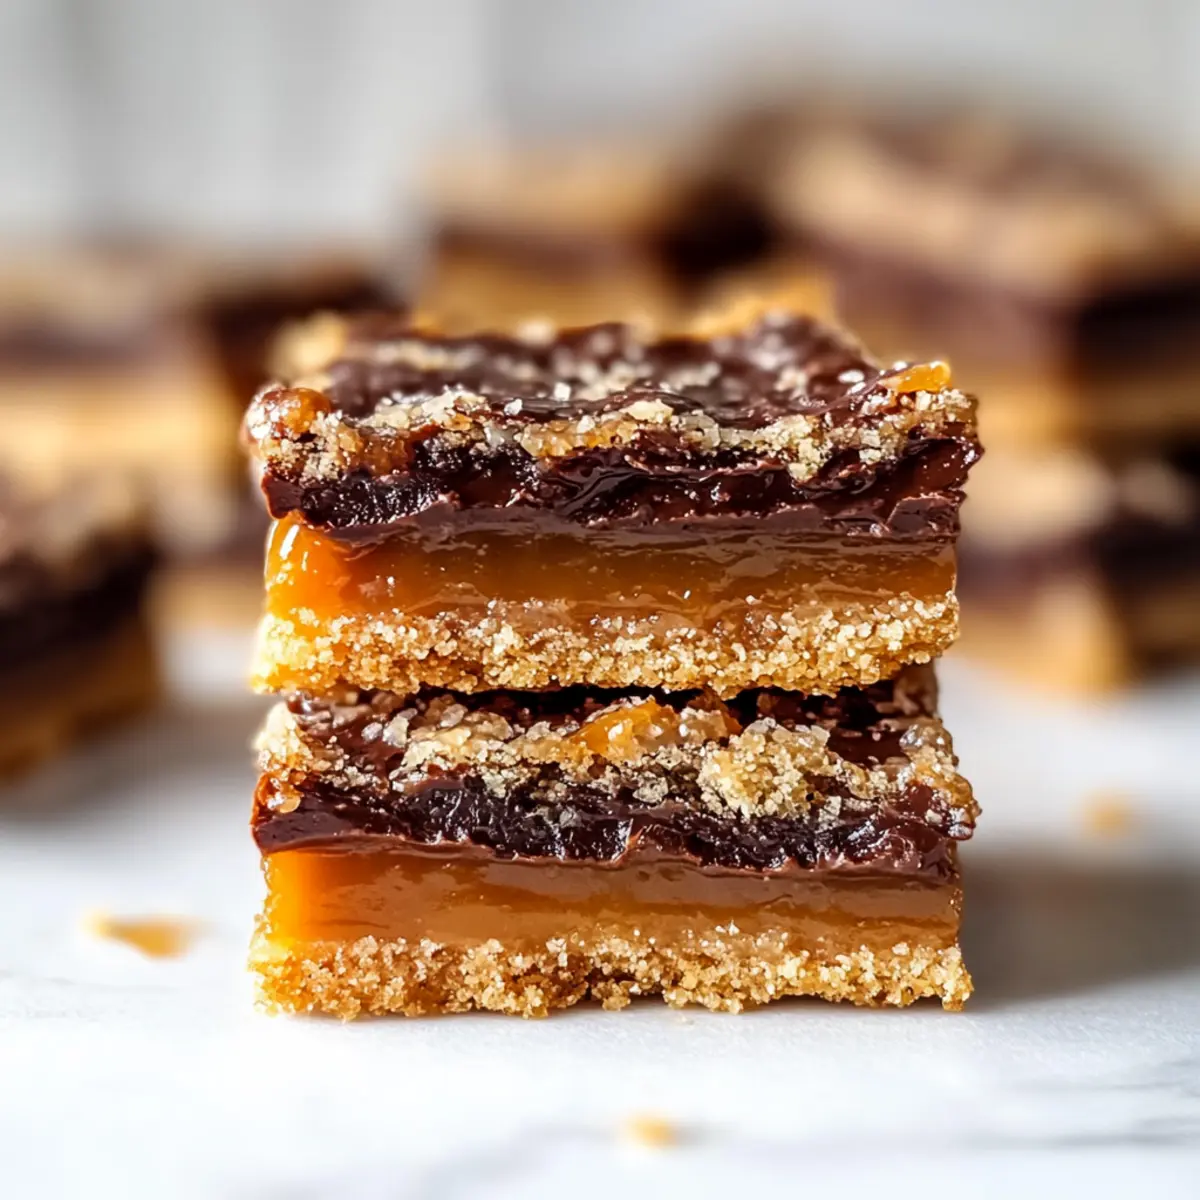
Room Temperature: Allow the Carmelitas to cool completely before storing them at room temperature in an airtight container for up to 3 days.
Fridge: To extend their freshness, keep the Carmelitas in the fridge for up to 1 week, ensuring they are wrapped tightly or stored in an airtight container.
Freezer: For longer storage, freeze individual bars wrapped tightly in plastic wrap and then place in a freezer-safe container. They can last up to 3 months without losing their delightful flavor.
Reheating: When ready to enjoy, simply thaw the bars in the fridge overnight and reheat in the microwave for about 10-15 seconds to restore some of that gooey goodness.
Carmelitas Variations & Substitutions
Feel free to get creative with these delicious Carmelitas, adding your personal touch to this comforting dessert!
-
Salted Caramel: Add a sprinkle of flaky sea salt on top before baking for a delightful sweet-salty contrast that will elevate the flavor profile.
-
Nutty Carmelitas: Stir in chopped pecans or walnuts into the oat mixture for a crunchy texture twist. The added nuts create a beautiful layer of contrast in both taste and crunch.
-
Dark Chocolate Version: Swap semi-sweet chocolate chips for dark chocolate chips for a more intense chocolate flavor that pairs beautifully with the sweetness of caramel.
-
Peanut Butter Carmelitas: Mix in creamy peanut butter with the caramel layer for a nutty twist that complements the sweetness perfectly. The combination creates a satisfyingly decadent treat!
-
Gluten-Free Carmelitas: Use certified gluten-free oats and flour to ensure everyone can enjoy these layered bars while keeping their dietary needs in check. It’s a delicious alternative that doesn’t skimp on flavor!
-
Spicy Kick: Add a pinch of cayenne pepper to the caramel for an unexpected spicy surprise that balances all the sweetness and creates a unique flavor experience.
-
Fruit-Infused: Toss in some dried fruits, like cranberries or chopped figs, into the oat mixture for a fruity twist that adds a great chewiness and bursts of flavor.
-
Coconut Bliss: Incorporate shredded coconut into the oat crust or sprinkle it on top before baking for an added tropical flare that pairs beautifully with the caramel and chocolate.
With these variations, your Carmelitas can become whatever you desire, bringing joy to every bite! For more delightful ideas, check out my expert tips for baking or explore different dessert pairings for an unforgettable treat!
Make Ahead Options
These Carmelitas are perfect for busy home cooks looking to save time without sacrificing flavor! You can prepare the oat crust and drizzle the caramel sauce up to 24 hours in advance. Simply store the crust in an airtight container in the refrigerator and the caramel separately to maintain its gooey texture. When you’re ready to bake, just reassemble by sprinkling the chocolate chips over the crust, topping it with caramel, and crumbling the remaining oat mixture. Bake as directed, and you’ll enjoy this indulgent dessert with minimal effort on the day of your gathering! Make ahead for hassle-free enjoyment, and relish the delightful flavors of these Carmelitas!
What to Serve with Chewy Carmelitas?
Indulging in warm, gooey Carmelitas invites you to consider the perfect accompaniments that elevate your dessert experience.
-
Vanilla Ice Cream: The creamy, cool contrast to the warm bars enhances the dessert’s taste, making every bite a delightful treat.
-
Fresh Berries: Juicy strawberries or tart raspberries add a bright, refreshing note that balances the richness of the Carmelitas beautifully.
-
Chocolate Drizzle: A quick drizzle of melted chocolate over the top will complement the bars’ flavors, adding an extra layer of decadence.
-
Caramel Sauce: Serve alongside extra caramel sauce for those who crave indulgence, inviting everyone to indulge in a gooey dip.
-
Coffee: A cup of freshly brewed coffee provides a warm, robust counterpoint to the sweetness, making it perfect for afternoon tea or a cozy gathering.
-
Nutty Trail Mix: Offer a side of mixed nuts or granola; its crunch can provide texture contrast, enhancing your experience of the chewy Carmelitas.
-
Chai Tea: The warm spices of chai create a comforting pairing that wraps you in warmth, perfect for enjoying a sweet treat on a cool evening.
-
Chocolate Milkshake: Pairing these with a rich, frosty milkshake turns dessert into a delightful, nostalgic experience, recalling the best of childhood treats.
Explore these pairings as you savor your Carmelitas, and let each bite transport you to a comforting, cozy moment!
Expert Tips for Carmelitas
-
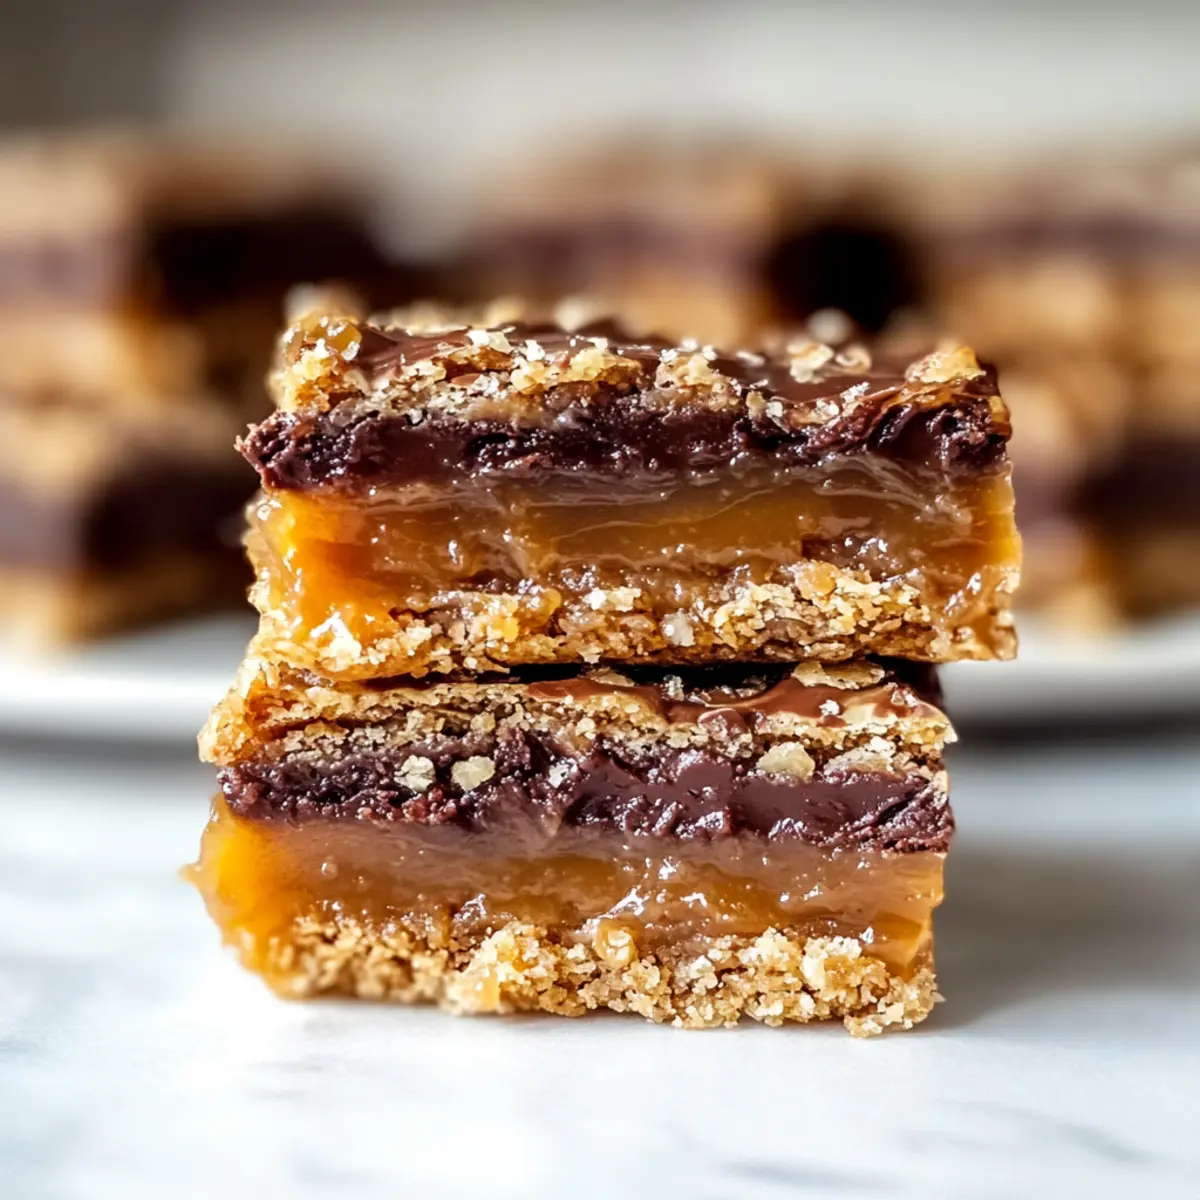
Cool Completely: Allow the bars to cool for at least 2-3 hours before slicing to ensure they hold together and don’t crumble.
-
Choose Your Oats: Use old-fashioned rolled oats for the best texture; avoid instant oats as they make your Carmelitas too soft.
-
Layer Wisely: Sprinkle the chocolate chips over the warm crust before adding caramel, allowing for a smoother melt and enhanced flavor.
-
Baking Time: Keep an eye on your Carmelitas; underbaking will keep the center gooey, but overbaking will result in dryness.
-
Flaky Sea Salt: Consider adding a sprinkle of flaky sea salt just before baking to elevate the caramel flavor in your Carmelitas.
Carmelitas Recipe FAQs
How do I select the best ingredients for my Carmelitas?
Absolutely! When choosing oats, opt for old-fashioned rolled oats for the best chewy texture; avoid instant oats as they can become too soft and mushy. For chocolate chips, semi-sweet has a perfect balance, but you can certainly use milk chocolate for a sweeter experience. Ensure that your butter is at room temperature for easy mixing into the dough, and select high-quality caramel sauce or candies for that gooey layer.
How should I store leftover Carmelitas?
Very! Store your Carmelitas in an airtight container at room temperature for up to 3 days. If you want them to last longer, keep them in the fridge for up to 1 week, remembering to wrap them tightly to prevent drying out. The key is to ensure they are cool before storing, so they maintain their delicious texture.
Can I freeze Carmelitas?
Yes! For freezing, wrap individual bars tightly in plastic wrap, then place them in a freezer-safe container or bag. They can be stored for up to 3 months. To enjoy your frozen Carmelitas, simply thaw them in the fridge overnight, and for an extra gooey treat, microwave for 10-15 seconds before indulging.
What should I do if my Carmelitas are falling apart?
If your Carmelitas are crumbling when you cut them, it might be because they didn’t cool completely. Always allow them to cool for at least 2-3 hours before slicing to ensure they’re set. If they still fall apart, you might want to try pressing the base layer down more firmly next time, or ensure you’re using the correct oat variety, as this impacts texture.
Are there any dietary considerations I should keep in mind for Carmelitas?
Absolutely! If you’re preparing these for someone with gluten sensitivities, you can easily substitute the all-purpose flour and oats with certified gluten-free alternatives. Also, if anyone has a nut allergy, be cautious with the nut variations and ensure that no cross-contamination occurs. Always check the labels of your caramel sauce and chocolate chips too, as they can sometimes contain allergens.
What variations can I try with my Carmelitas?
The more the merrier! You can enjoy a salted caramel version by sprinkling flaky sea salt on top before baking. Consider adding chopped nuts like pecans or walnuts for a delightful crunch in your Nutty Carmelitas. Dark chocolate chips can be used for a richer flavor profile, while swirling in peanut butter within the caramel layer will give you that incredible nutty twist.
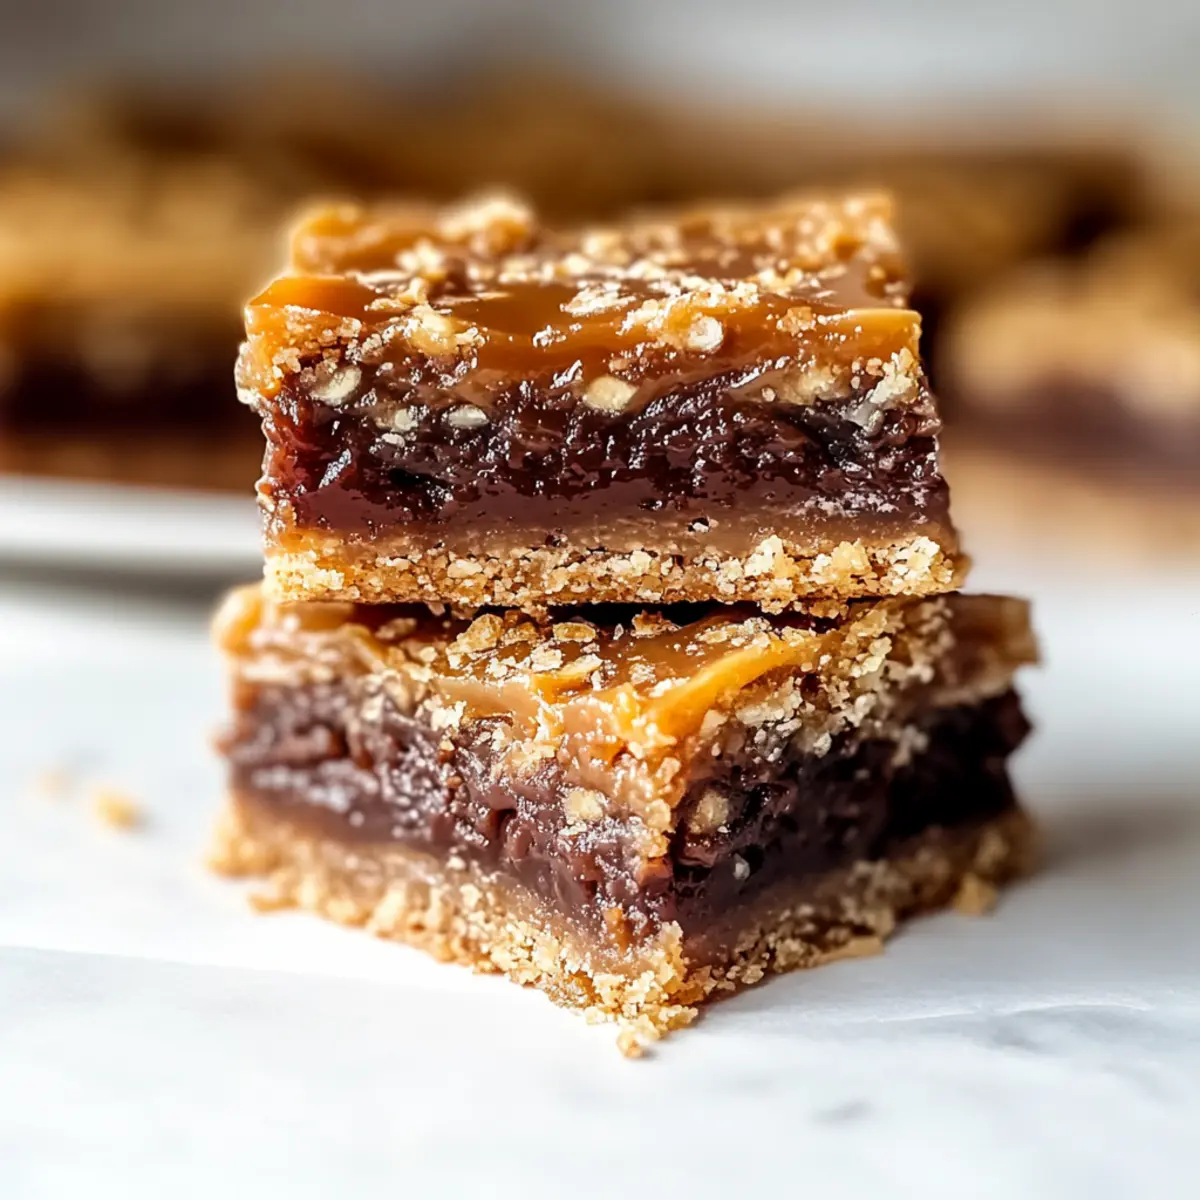
Decadent Carmelitas: Gooey Bars You’ll Love to Make
Ingredients
Equipment
Method
- Preheat your oven to 350°F (175°C). Line a 9x13-inch pan with parchment paper and grease lightly.
- Melt 1 cup of unsalted butter in a medium saucepan over low heat and stir in 1 cup of brown sugar until combined.
- Add 1 cup of all-purpose flour, 2 cups of rolled oats, and 1 teaspoon of baking soda, mixing until a crumbly dough forms.
- Press half of the oat mixture into the bottom of the lined pan and bake for 10 minutes until slightly golden.
- Sprinkle 1 cup of chocolate chips over the warm base, then drizzle 1 cup of caramel sauce over the chips.
- Crumble the remaining oat mixture over the caramel layer to cover as much as possible.
- Return to the oven and bake for 18-22 minutes until the top is golden brown and edges are set.
- Cool at room temperature for 2-3 hours before slicing to maintain structure.
Leave a Reply