
The moment that vibrant green sauce splashes into the jar, I can’t help but savor the aroma of zesty tomatillos and spices wafting through the kitchen. Canning tomatillo sauce has become my go-to way to capture that fresh summer taste and keep it at my fingertips all year long. This easy recipe not only creates a delicious condiment that elevates tacos, enchiladas, and grilled meats, but it also offers a satisfying way to preserve your seasonal bounty. Plus, it’s easily customizable, allowing you to tailor the heat or herb notes to your liking. I can’t wait to share my foolproof method for making this versatile sauce, perfect for meal prep and a true crowd-pleaser. Ready to transform those tomatillos into a flavor-packed delight? Let’s get started!
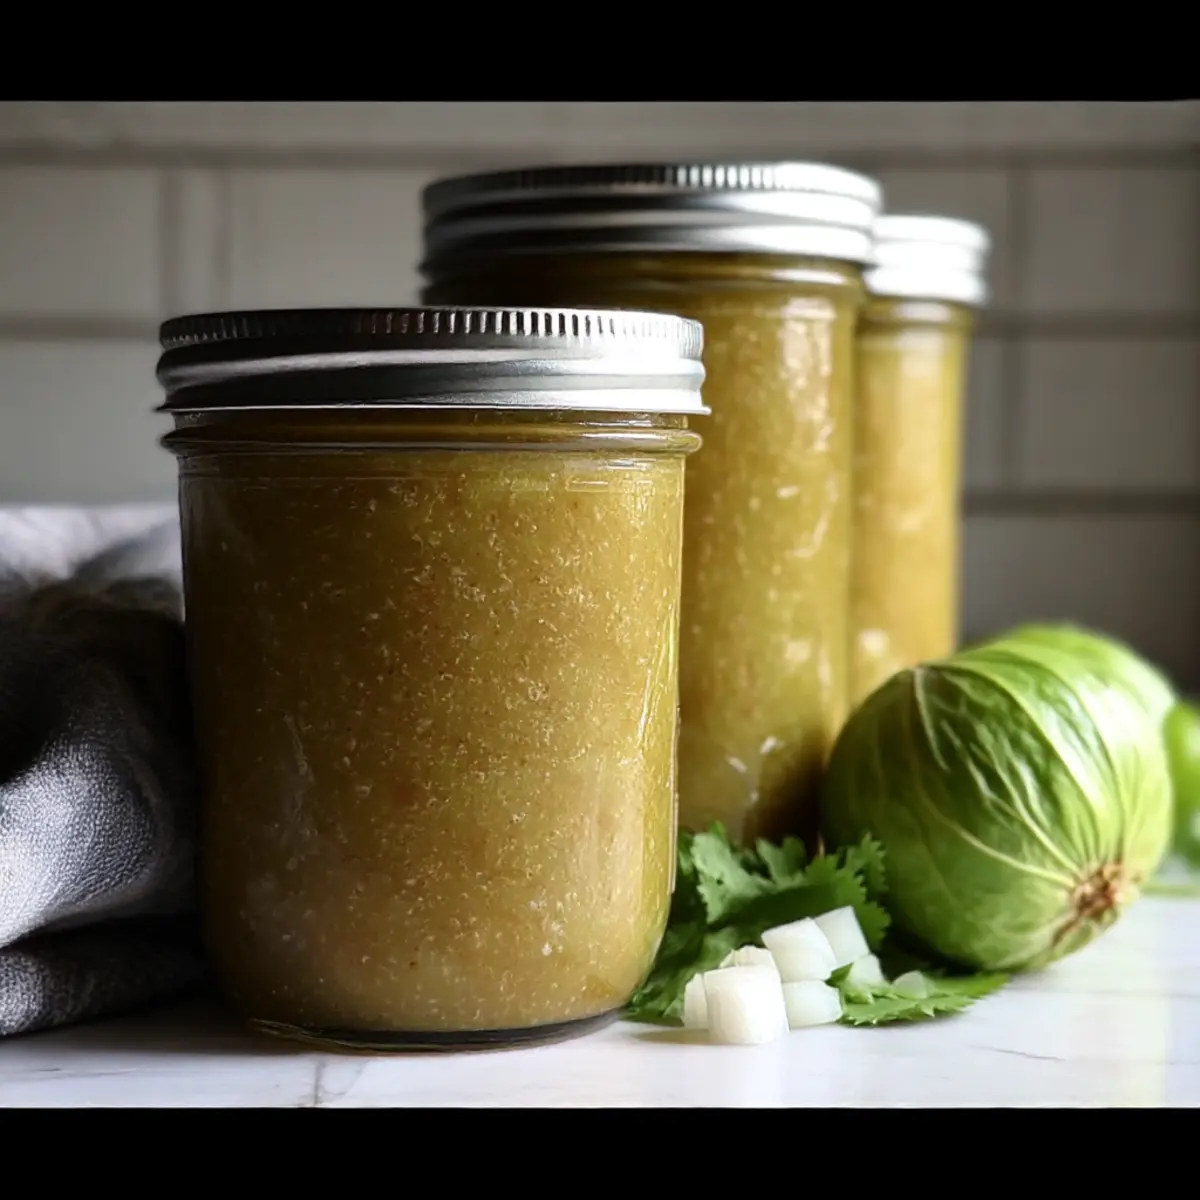
Why Canning Tomatillo Sauce Rocks?
Preserving Flavor: This recipe encapsulates the vibrant zest of tomatillos, letting you enjoy fresh garden flavors year-round.
Quick and Easy: With simple steps, you’ll find canning to be a breeze, even for beginners!
Customizable Heat: Adjust the spice level to your liking, adding more red chile flakes or even jalapeños for an extra kick.
Perfect for Meal Prep: Stock your pantry with jars of this versatile sauce that complements tacos, enchiladas, and grilled meats beautifully.
Nutritional Boost: Low in fat and high in fiber, it’s a guilt-free addition to your meals.
After you master this sauce, consider trying Cajun Steak Sauce or adding a twist with Cheesy Cajun Sauce to keep your cooking exciting!
Canning Tomatillo Sauce Ingredients
• Here’s what you need to create this vibrant sauce!
For the Sauce
- Tomatillos – Fresh, husked, and washed; about 4 quarts/6 lbs is perfect for a zesty base.
- Onion – Yellow onions provide the best flavor; red or white can also be used.
- Garlic – 8 cloves, finely crushed will enhance the aromatic profile of the sauce.
- Lime Juice – Preferably bottled for consistent acidity in your canning tomatillo sauce.
- Cilantro – 4 tablespoons, minced adds bright, herbaceous notes to balance the flavors.
- Ground Cumin – 4 teaspoons contribute warmth, making every bite savory.
- Red Chile Flakes – Use 4 teaspoons (adjust for spice preference) to introduce just the right amount of heat.
- Salt – 4 teaspoons enhance the overall flavor of the sauce.
For Processing
- Water – To fill the canning pot for processing jars.
Remember, each ingredient plays a vital role in creating a tangy and delicious canned tomatillo sauce that you can enjoy all year long!
Step‑by‑Step Instructions for Canning Tomatillo Sauce
Step 1: Sterilize Jars
Begin by sterilizing your jars and lids to ensure safe canning. You can do this by placing them in a pot of boiling water for 10 minutes or running them through a dishwasher cycle. As they heat, gather your other supplies to keep the process moving smoothly.
Step 2: Prepare Sauce
In a large skillet set over medium-high heat, combine the fresh, husked tomatillos, chopped onion, crushed garlic, minced cilantro, ground cumin, lime juice, and water if needed. Stir the mixture well and let it simmer for 15-20 minutes, allowing the flavors to meld and the sauce to thicken. Keep an eye on it, watching for a vibrant green color and a slightly reduced texture.
Step 3: Blend Sauce
Once your tomatillo sauce has thickened, it’s time to blend. Carefully transfer the mixture to a blender, or you can use an immersion blender directly in the skillet. Blend until smooth and creamy, ensuring there are no chunky bits left. This step creates that luscious texture that’s perfect for your canned tomatillo sauce.
Step 4: Jar the Sauce
Using a funnel, carefully ladle the blended tomatillo sauce into your sterilized jars, leaving about 1/2 inch of headspace at the top. Wipe the rims of the jars with a clean cloth to remove any residue, then securely place the lids on top to ensure a tight seal.
Step 5: Process Jars
Fill a canning pot with water, ensuring the jars are submerged, and bring it to a boil. Once boiling, process the jars in the water bath for 15 minutes for pint-sized jars. Adjust the time if you’re at a higher altitude, which ensures proper preservation of your canned tomatillo sauce.
Step 6: Cool and Store
After processing, carefully remove the jars using tongs and place them on a flat, clean countertop. Allow them to cool completely, typically for a few hours, during which you may hear the satisfying “pop” of lids sealing. Once cooled, store your jars in a cool, dark pantry, where they’ll remain delicious for up to a year.
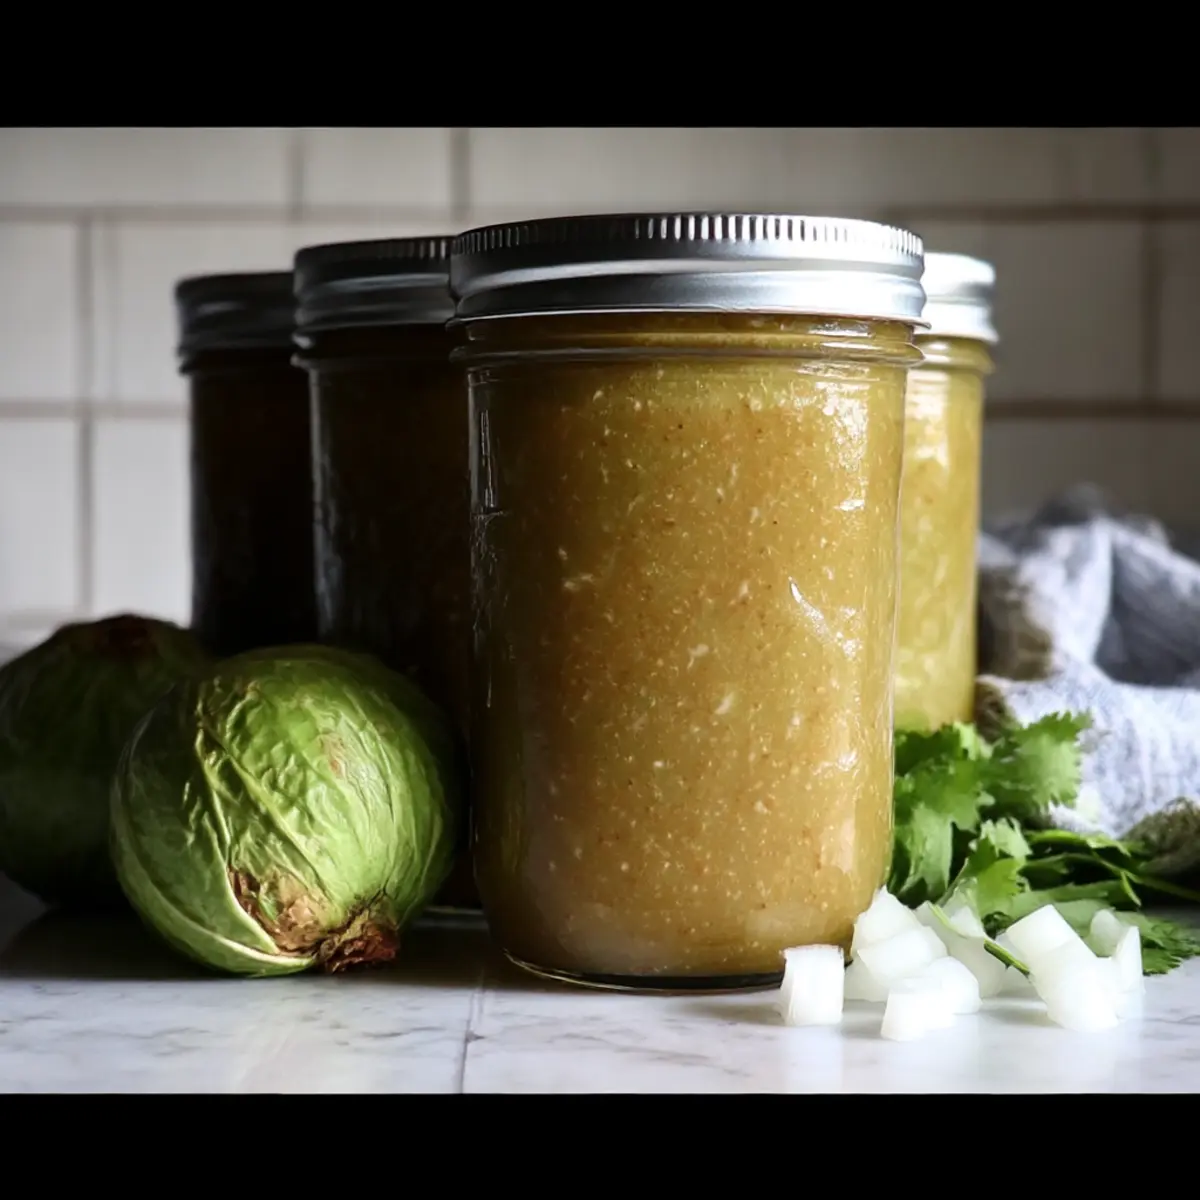
Expert Tips for Canning Tomatillo Sauce
• Choose Fresh Tomatillos: Use the best quality tomatillos for a vibrant flavor; select firm, bright green ones without blemishes.
• Proper Sterilization: Ensure jars and lids are thoroughly sterilized; this prevents spoilage and extends the shelf life of your canned tomatillo sauce.
• Watch Simmering Time: Simmer the sauce until thickened but don’t overcook; this keeps the vibrant color and zesty flavor intact.
• Adjust Spice Mindfully: Increase red chile flakes or add fresh chilies in small increments to control the heat while tasting the sauce.
• Monitor Altitude Adjustments: If you’re canning at a higher altitude, increase processing time to ensure safety and preservation of your tomatillo sauce.
• Cool Completely Before Storing: Allow jars to cool fully on the counter to ensure sealed lids; this helps avoid a second round of spoilage.
How to Store and Freeze Canning Tomatillo Sauce
Fridge: Once opened, store your jar of tomatillo sauce in the refrigerator and enjoy within a week for optimal freshness and flavor.
Cool, Dark Place: Unopened jars can be stored in a cool, dark pantry for up to one year, keeping that flavorful sauce ready for your next meal.
Freezer: For longer storage, freeze the tomatillo sauce in airtight containers or freezer bags for up to six months. Just remember to leave some headspace for expansion.
Reheating: When reheating, gently warm the sauce on the stovetop or in the microwave until heated through, stirring to maintain a smooth texture.
What to Serve with Homemade Canned Tomatillo Sauce
Enhance your meals with delightful sides that will perfectly complement the bright and zesty flavors of this vibrant sauce.
- Crispy Tacos: The crunch of seasoned taco shells paired with tomatillo sauce creates a harmony of textures and flavors to delight your taste buds.
- Grilled Chicken: Marinating chicken in the sauce brings out a smoky, tangy taste that will make every bite burst with flavor.
- Mexican Rice: Serve a fluffy, spiced rice alongside to soak up the sauce’s zestiness while adding a hearty element to your meal.
- Black Bean Salad: Fresh, cold black bean salad balances the warmth of the sauce, creating a refreshing interplay of taste and texture.
- Avocado Slices: Creamy avocado slices will mellow the heat while enhancing the flavor profile; add a squeeze of lime for brightness.
- Corn Tortillas: Warm corn tortillas are perfect for scooping up the sauce or serving as a base for hearty enchiladas—ideal for an authentic touch.
- Quesadillas: Melting cheese with a drizzle of tomatillo sauce creates a rich, gooey delight that is simply irresistible.
- Sangria: A refreshing fruity sangria pairs delightfully with this spicy sauce, balancing out the heat with sweet and citrus notes.
- Churros: For dessert, crispy churros dusted with cinnamon sugar provide a sweet finishing touch, contrasting with the savory meal.
Make Ahead Options
Preparing your homemade canned tomatillo sauce ahead of time is a fantastic way to save those precious minutes during busy weeknights! You can chop your tomatillos, onions, and garlic up to 24 hours in advance, storing them in airtight containers in the refrigerator to keep them fresh. Additionally, you can blend the cooked sauce and jar it, but leave the processing step until the day you intend to use it—this way, it maintains its vibrant flavor and texture. When you’re ready to enjoy, simply process the jars in boiling water for 15 minutes as per the instructions, ensuring quick access to that delicious tangy goodness any time you need it!
Canning Tomatillo Sauce Variations
Feel free to tweak this delicious recipe so you can enjoy custom flavors that delight your taste buds!
-
Sweet Twist: Add honey or agave syrup for a touch of sweetness that balances the tanginess of tomatillos. Just a spoonful can elevate the sauce and introduce a pleasant contrast.
-
Extra Spice: For those who crave heat, incorporate jalapeños or diced serranos right into the sauce. Adjust the amount to meet your heat tolerance, ensuring it stays flavorful without overwhelming your palate.
-
Herb Alternatives: Use fresh parsley instead of cilantro for a different herbaceous twist. It brightens the flavor profile while offering a unique taste that’s great if you’re not a fan of cilantro.
-
Creamy Variation: Stir in a dollop of sour cream or Greek yogurt to set aside a portion of the sauce for a creamy, zesty dip or spread. This addition transforms the texture while adding a delightful creaminess.
-
Smoky Flavor: Introduce smoked paprika or chipotle peppers to infuse a rich, smoky depth into your sauce. This twist gives it a whole new dimension, perfect for grilled meats or roasted veggies.
-
Zesty Lemon: Swap out lime juice for lemon juice for a fresh, citrusy twist that brightens the sauce. There’s something revitalizing about the lemon’s tang, making the sauce even more invigorating.
-
Vegetable Boost: Fold in finely chopped bell peppers or zucchini for added texture and nutrition. Not only does this diversify the flavor, but it also makes the sauce heartier for serving over grains or pastas.
-
Garlic Lovers: Crank up the garlic factor by doubling the amount for a stronger aromatic touch. This is a great way to enhance the flavor profile if you enjoy more robust notes in your sauce.
Once you’re in the groove of canning, consider pairing your tomatillo sauce with a delectable Beef Kofta Sauce or a savory Cajun Steak Sauce to expand your culinary repertoire!
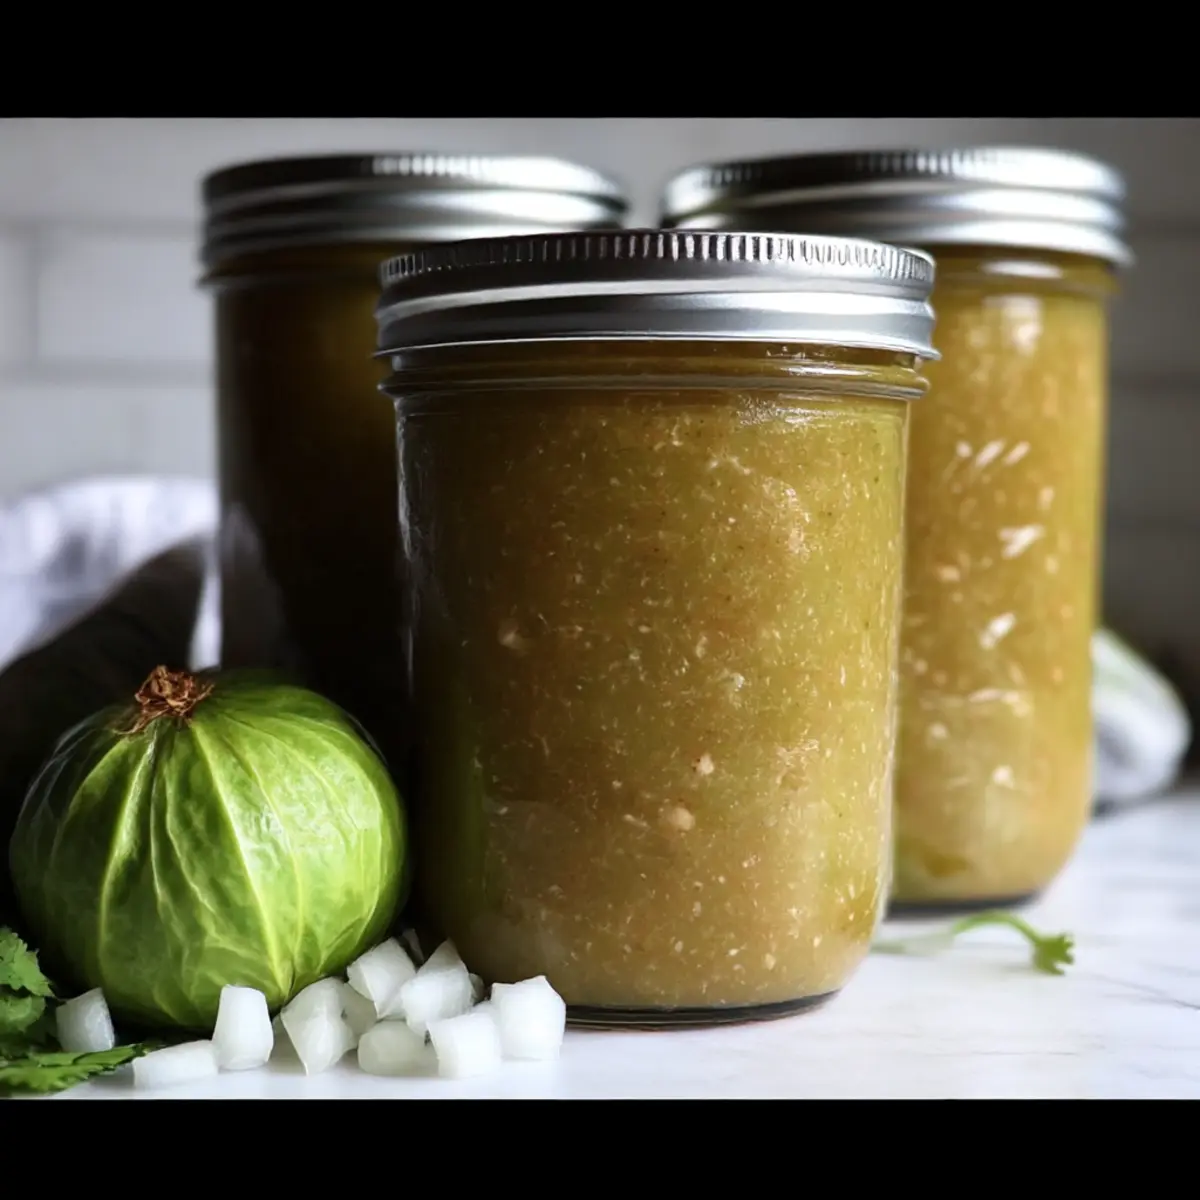
Canning Tomatillo Sauce Recipe FAQs
How do I choose ripe tomatillos?
Absolutely! Look for tomatillos that are firm, bright green, and free from blemishes or dark spots all over. They should have a papery husk that feels dry and crisp, indicating freshness.
What’s the best way to store unopened jars of tomatillo sauce?
Very simple! Once processed, store your unopened jars in a cool, dark place, like a pantry, where they’ll stay delicious for up to one year. Just make sure they remain sealed!
Can I freeze tomatillo sauce? How do I do it?
Of course! To freeze your tomatillo sauce, pour it into airtight containers or freezer bags, leaving about 1 inch of headspace for expansion during freezing. It’ll stay fresh for up to six months in the freezer. When you’re ready to use it, simply thaw in the fridge overnight and reheat gently.
What should I do if my sauce is too thin?
If your tomatillo sauce turns out too thin, don’t worry! Simply return it to the skillet and simmer on medium heat, allowing it to cook down for about 5-10 minutes until it thickens to your desired consistency. Stir frequently to prevent sticking.
Are there any dietary concerns I should be aware of with your tomatillo sauce?
For sure! This recipe is generally safe for most diets, but be careful if you’re serving it to people with cilantro allergies, as it is one of the main ingredients. Additionally, you can adjust the spice levels to accommodate those who may prefer milder flavors.
How long can I keep opened jars of tomatillo sauce in the fridge?
Once opened, store your jar of tomatillo sauce in the refrigerator and use it within a week for the best flavor and freshness. Just be sure to keep it tightly sealed!
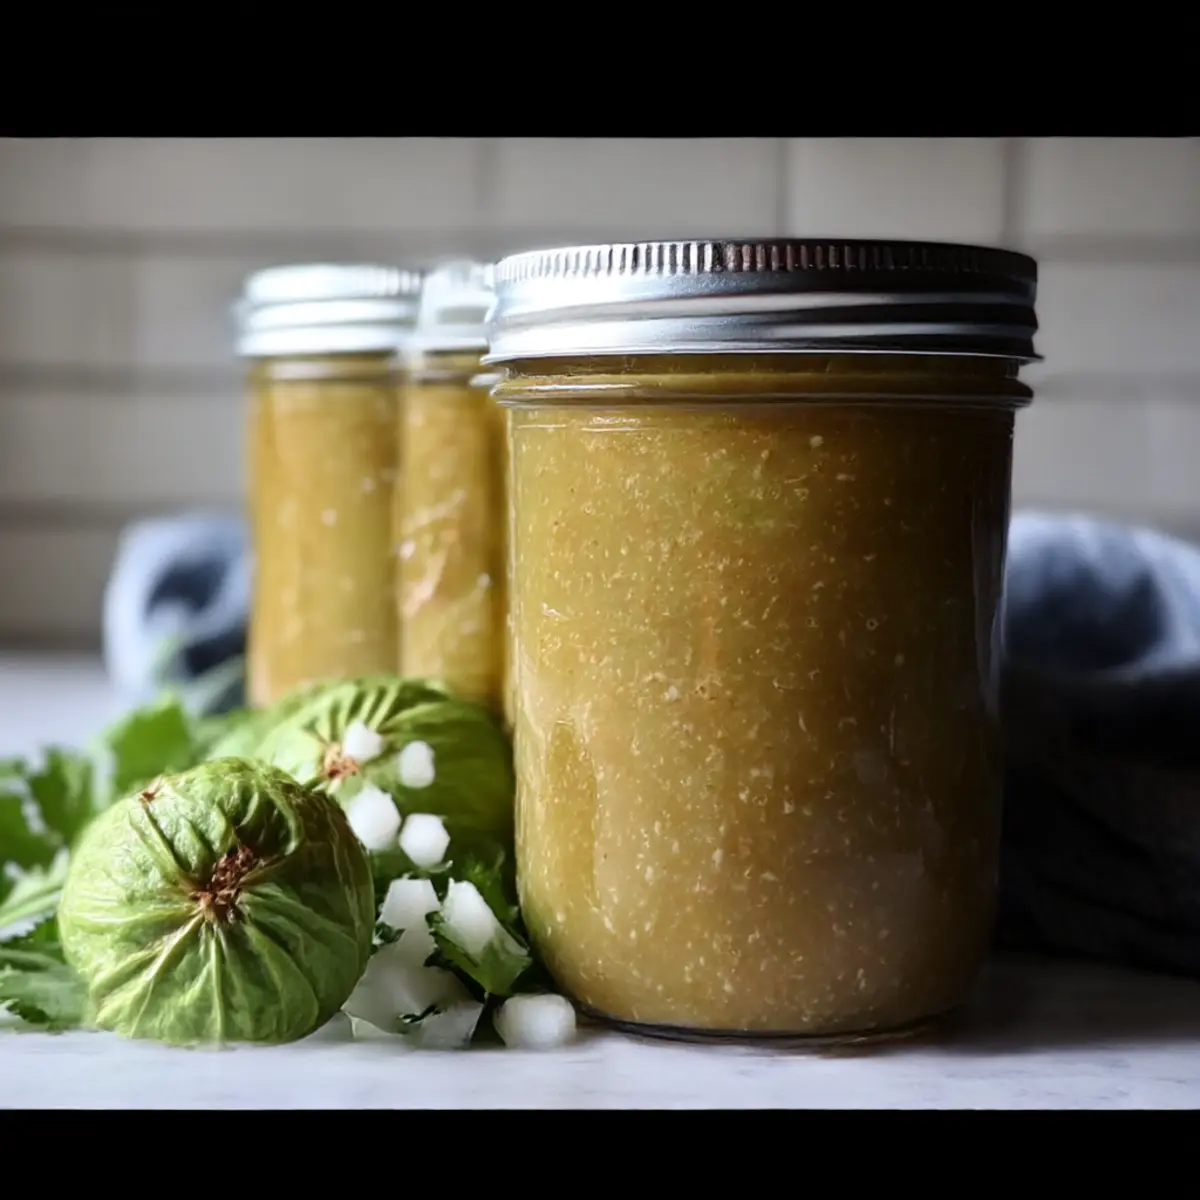
Canning Tomatillo Sauce for Tangy Homemade Goodness
Ingredients
Equipment
Method
- Sterilize jars and lids by placing them in boiling water for 10 minutes or running them through a dishwasher.
- In a skillet, combine tomatillos, chopped onion, crushed garlic, minced cilantro, ground cumin, lime juice, and water. Simmer for 15-20 minutes.
- Blend the mixture until smooth and creamy.
- Ladle the sauce into sterilized jars, leaving 1/2 inch of headspace.
- Process jars in boiling water bath for 15 minutes.
- Remove jars and cool completely on a countertop.
Leave a Reply