
“Can you believe how incredible a simple sandwich can be?” I overheard my friend exclaiming over brunch last week. She was diving into a mouthwatering Brie and Apple Grilled Cheese, and honestly, I was instantly captivated. With just five ingredients and a mere 15 minutes, this delightful combination of gooey brie, crunchy green apples, and a drizzle of honey offers an easy and satisfying lunch option for anyone craving homemade goodness. What’s more, it’s a perfect fall favorite that effortlessly elevates your midday meal without burdening your schedule. As a passionate home chef, I know the joy of quick yet delicious dishes, and this one hits that sweet spot every time. Curious about how to create this mouthwatering sandwich? Let’s dig in!
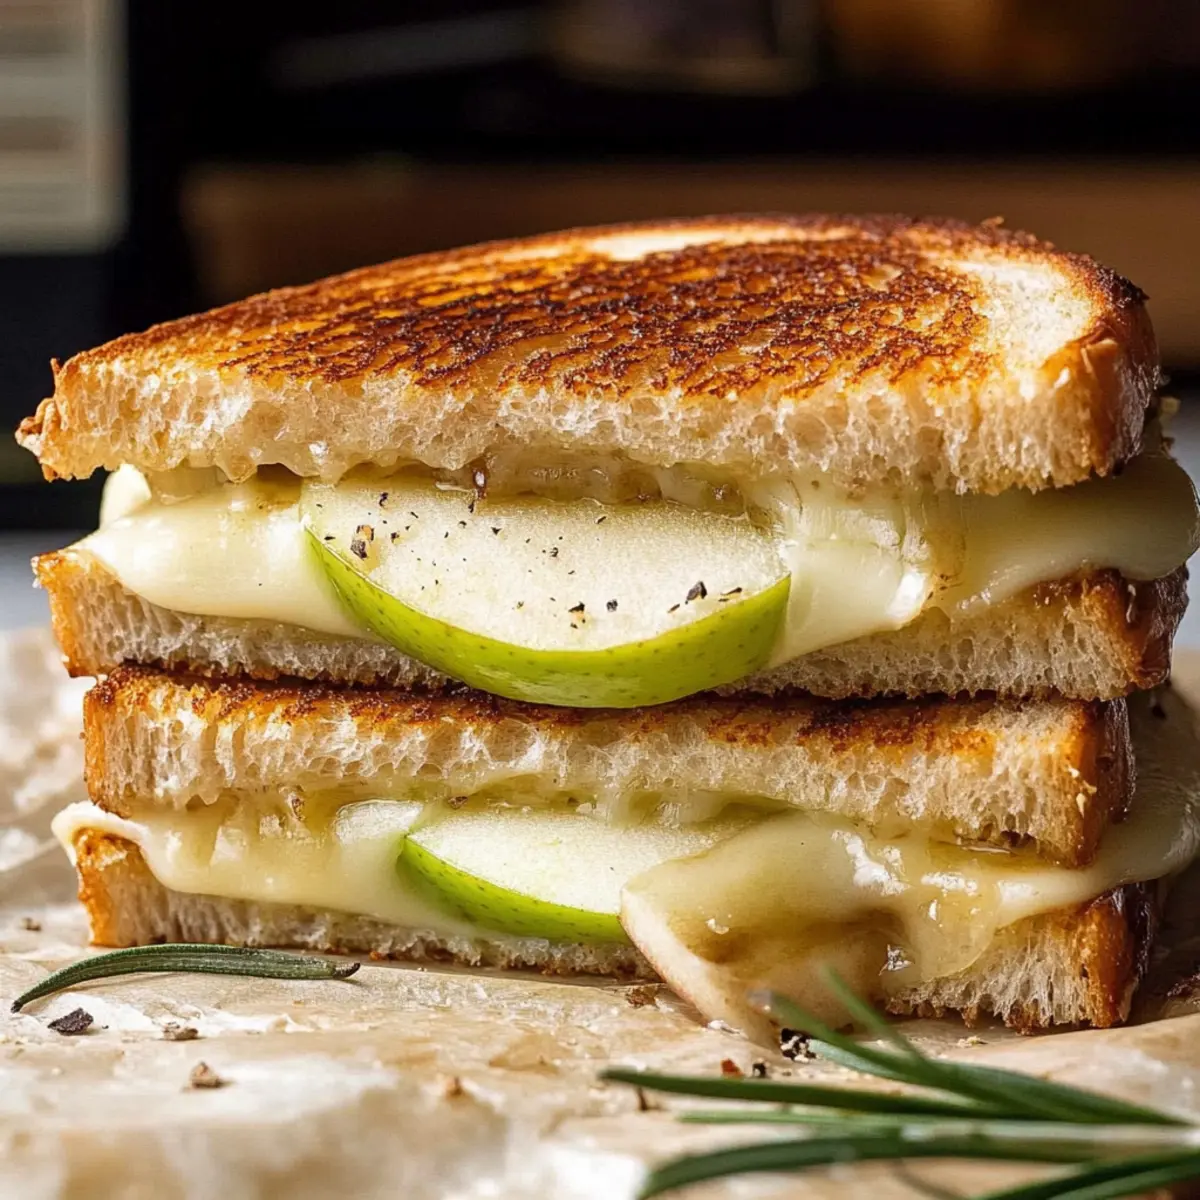
Why is Brie and Apple Grilled Cheese Irresistible?
Simplicity, with just five ingredients, you can whip up this delightful meal in a matter of minutes. Gourmet Taste, the blend of creamy Brie, crunchy apples, and sweet honey brings a restaurant-quality experience to your kitchen. Versatile Options— feel free to experiment with different cheeses or bread types, tailoring it to your preference. Crowd-Pleaser: It’s an instant hit at any gathering, appealing to both kids and adults alike. For a complete meal, pair it with a side salad or soup, just like our Apple Cheddar Sandwich. Enjoy the cozy vibes of fall with this perfect dish!
Brie and Apple Grilled Cheese Ingredients
For the Sandwich
- Sourdough Bread – Provides wonderful structure and a satisfying crunch; feel free to use any bread you have on hand.
- Salted Butter – Adds richness and aids in achieving that golden-brown crust; substitute with unsalted butter if needed.
- Brie Cheese – The creamy, gooey heart of the sandwich; remember to remove the rind for the best melt.
- Honey – Adds a touch of sweetness that balances beautifully with the tartness of the apple; consider using hot honey for an extra kick!
- Green Apple – Delivers a crunchy texture and tart flavor; slice thinly to ensure each bite is perfectly balanced.
Embrace the cozy flavors of fall with this delightful Brie and Apple Grilled Cheese, making your lunchtime a delicious affair!
Step‑by‑Step Instructions for Brie and Apple Grilled Cheese
Step 1: Prepare Your Bread
Start by generously spreading salted butter on one side of each slice of sourdough bread, ensuring an even coat for a golden crust. Once buttered, flip the slices over so that the buttered side is facing down. This setup will lay the foundation for your delicious Brie and Apple Grilled Cheese.
Step 2: Add the Brie Cheese
On the unbuttered side of one bread slice, evenly spread a generous layer of Brie cheese after removing its rind. The creamy, dreamy texture of the Brie will melt beautifully during cooking, so make sure to cover the surface sufficiently to create that delicious ooey-gooey effect we all love in a grilled cheese sandwich.
Step 3: Sweeten the Deal
Drizzle honey over the Brie cheese, letting it work its way into the crevices. This sweet addition will contrast wonderfully with the tartness of the apple to create a mouthwatering balance in your Brie and Apple Grilled Cheese. Be sure to adjust the amount based on your personal sweetness preference!
Step 4: Prepare the Apple Slices
Next, take half of a green apple and carefully core and thinly slice it. The apple’s crunch and tartness are essential for enhancing the flavors of your sandwich. Arrange the apple slices evenly on top of the honey-drizzled Brie, ensuring each bite will deliver a delightful crunch.
Step 5: Assemble the Sandwich
Now, take the second slice of bread and place it on top of the apple layer, ensuring that the buttered side is facing up. Press down gently to help the layers stick together. This secure assembly will keep all of your delicious fillings in place while cooking.
Step 6: Heat the Pan
Preheat a frying pan over medium heat, giving it a couple of minutes to get nice and warm. Once the pan is hot, carefully place your assembled Brie and Apple Grilled Cheese in the center. Cover with a lid to help trap the heat and ensure the cheese melts evenly as the bread gets crispy.
Step 7: Cook Until Golden Brown
Let the sandwich cook for about 2-3 minutes, or until the bottom is golden brown and toasty. You’ll know it’s ready to flip when you can easily lift it without any stickiness. The aroma wafting from the pan will be just tantalizing!
Step 8: Flip and Finish Cooking
Remove the lid and gently flip the sandwich using a spatula, taking care not to spill any ingredients. Cover it again and cook for another 2-3 minutes, until both sides are golden brown and the cheese is perfectly melted. Keep an eye on it to avoid burning!
Step 9: Serve and Enjoy
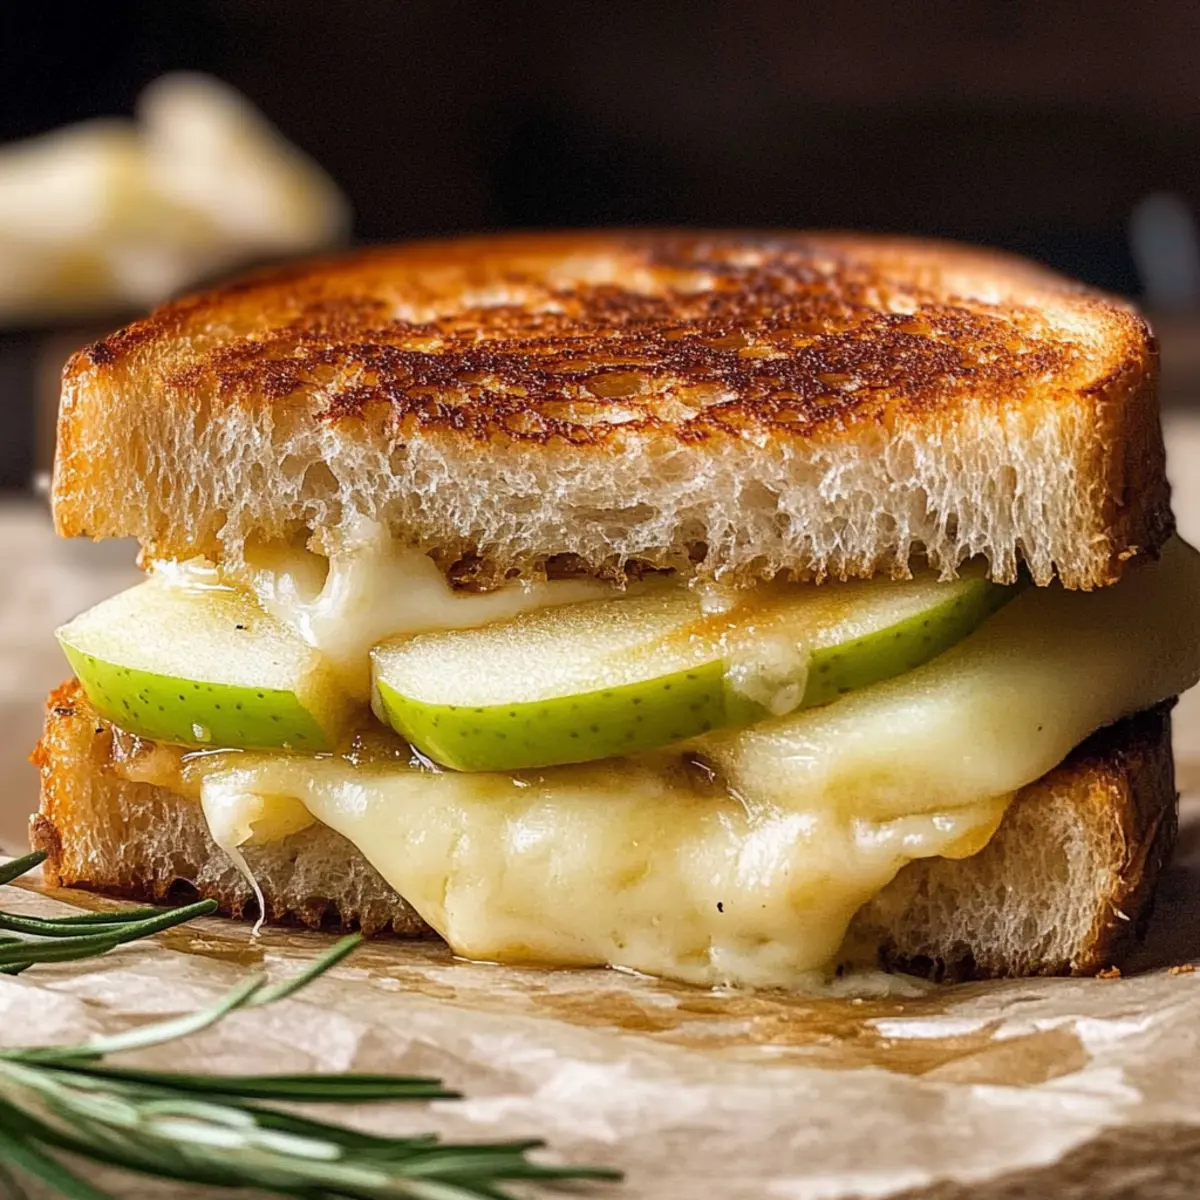
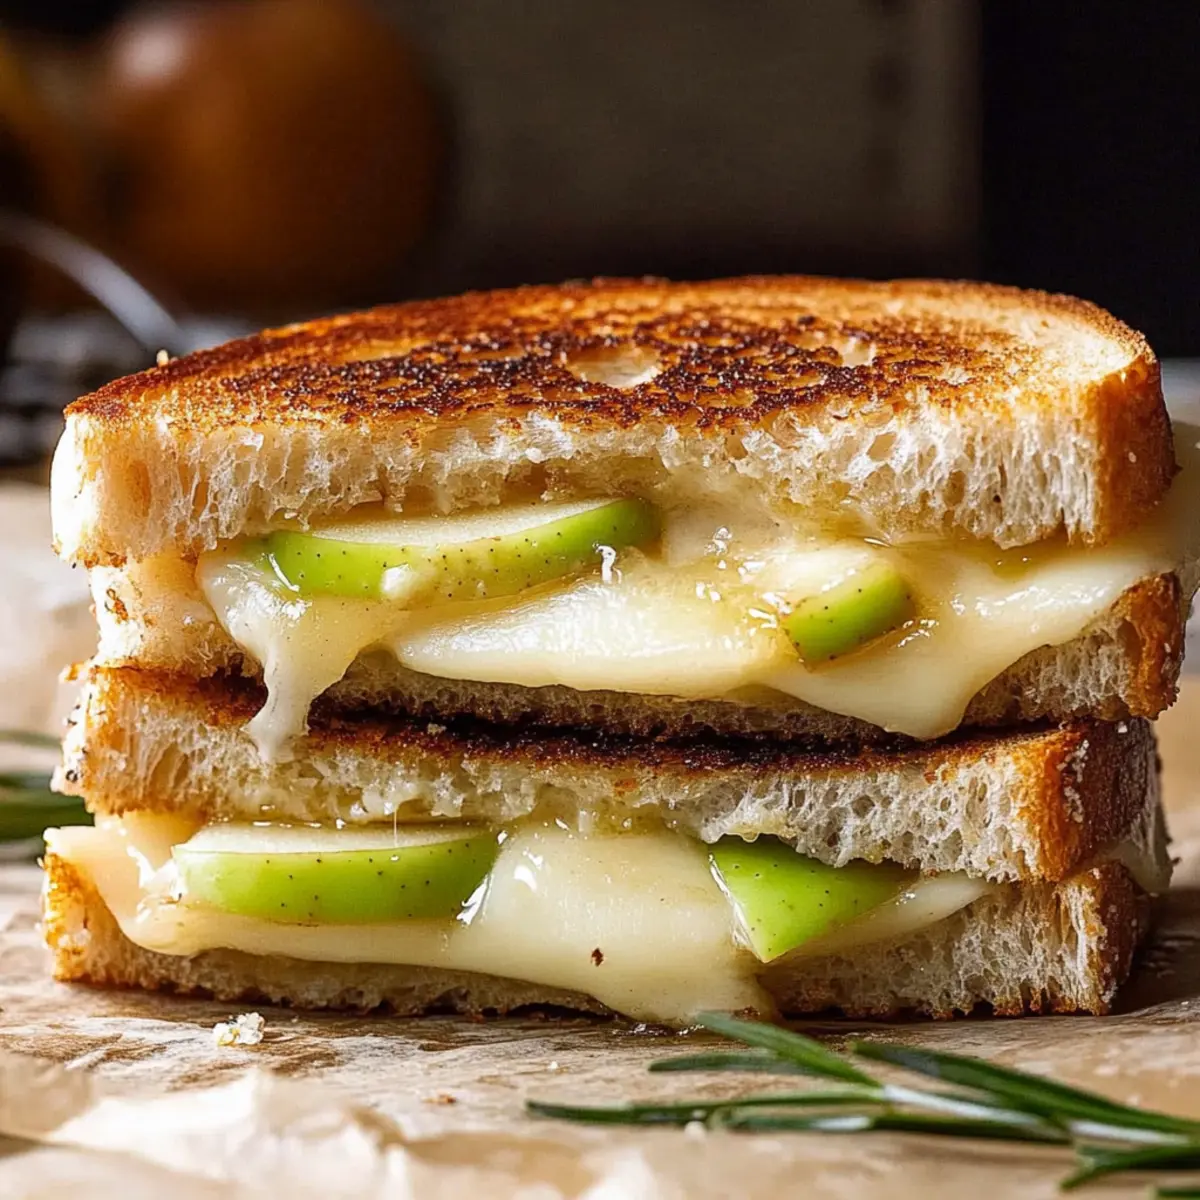
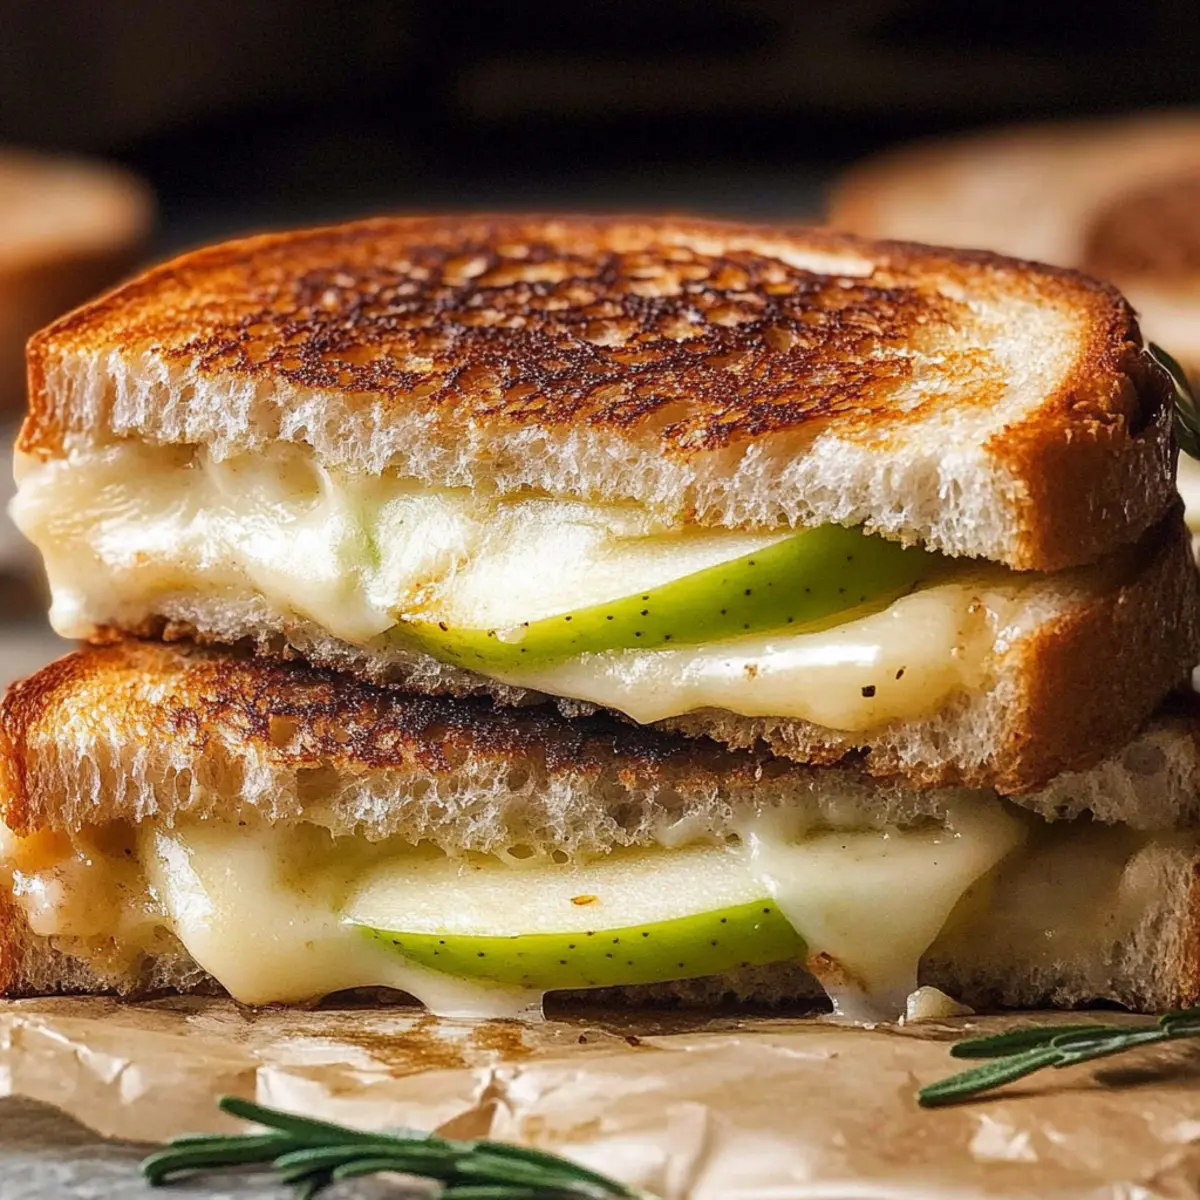
Once cooked to perfection, carefully transfer your Brie and Apple Grilled Cheese onto a cutting board. Slice it in half for easy eating, and garnish with fresh rosemary if desired. Serve hot, allowing everyone to savor the combination of gooey cheese, sweet apples, and crunchy bread!
Expert Tips for Brie and Apple Grilled Cheese
-
Pan Temperature: Ensure the frying pan is hot before adding the sandwich; a cold pan can lead to soggy bread instead of that crispy texture we crave.
-
Cheese Removal: Remember to remove the rind from the Brie before spreading it on the bread. This ensures a smooth melt that enhances the creamy goodness.
-
Honey Drizzle: Don’t be shy with the honey! It melds beautifully with the cheese and apple, providing that sweet-savory contrast that makes this Brie and Apple Grilled Cheese unforgettable.
-
Apple Choice: Opt for a tart green apple; its crispness complements the creamy cheese perfectly. Avoid too-sweet varieties, which might overpower the dish.
-
Garnish Ideas: Consider adding fresh rosemary or a sprinkle of crushed red pepper flakes for a flavorful twist, enhancing both taste and presentation.
-
Serving Fresh: For best results, enjoy your sandwich immediately after cooking. While leftovers can be stored, the freshness and texture are best experienced piping hot!
What to Serve with Brie and Apple Grilled Cheese
Elevate your lunchtime staple with delightful sides that bring balance, freshness, and warmth to the table.
-
Mixed Green Salad:
A light salad with vinaigrette complements the richness of the sandwich, adding brightness to each bite. -
Tomato Basil Soup:
The classic pairing with grilled cheese, this warm and comforting soup enhances the cozy vibes of your meal. -
Crispy Sweet Potato Fries:
Their sweet, crunchy exterior contrasts beautifully with the creamy interiors of the sandwich, offering a satisfying crunch. -
Pickled Vegetables:
The tangy bite of pickles cuts through the richness, providing a refreshing contrast that will awaken your palate. -
Apple Cider:
A chilled glass of apple cider is the perfect fall beverage, echoing the flavors of the grilled cheese and enhancing the seasonal experience. -
Pecan Pie Bars:
Finish off with these sweet treats for a decadent dessert. Their nutty crunch harmonizes with the sandwich’s creamy cheese and fruit. -
Herb-Infused Tea:
An herbal tea, perhaps with mint or chamomile, cleanses the palate while providing a warm, soothing finish to your meal. -
Caramelized Onion Dip:
This creamy dip, served with toasted baguette slices, adds layers of flavor, making it an extravagant way to enjoy your cheese.
How to Store and Freeze Brie and Apple Grilled Cheese
Fridge: Store leftovers in an airtight container for up to 1 day. If you can, wrap the sandwich in parchment paper to help retain its texture.
Freezer: For longer storage, wrap the grilled cheese tightly in plastic wrap and then in aluminum foil. It can be frozen for up to 1 month.
Reheating: To enjoy your Brie and Apple Grilled Cheese, reheat it in a skillet over medium-low heat for 5-7 minutes, covering with a lid to melt the cheese evenly.
Note: While it’s best enjoyed fresh, these tips will help you savor the flavors a bit longer!
Make Ahead Options
These Brie and Apple Grilled Cheese sandwiches are fantastic for meal prep lovers! You can prepare the filling elements—sliced apples, honey drizzle, and Brie cheese—up to 24 hours in advance. Simply store the sliced apples in an airtight container with a bit of lemon juice to prevent browning. When you’re ready to enjoy your sandwich, layer the prepped components on buttered bread. Cook as per the original instructions for golden-brown perfection, keeping in mind that once cooked, these sandwiches are best enjoyed fresh. With this make-ahead plan, you’ll have a cozy and delicious lunch ready in no time, making those busy weekdays just a bit easier!
Brie and Apple Grilled Cheese Variations
Customize your Brie and Apple Grilled Cheese with these delicious twists that will delight your taste buds!
- Gluten-Free Bread: Substitute regular bread with gluten-free varieties like rice or almond flour bread for a safe option.
- Spicy Kick: Add a sprinkle of crushed red pepper flakes to your honey for a sweet and spicy sensation.
- Nuts for Crunch: Toss in some chopped walnuts or pecans along with the apple slices for an extra layer of texture.
- Pears instead of Apples: Swap out the green apple for ripe pears for a sweeter, softer flavor profile that harmonizes beautifully with Brie.
- Flavorful Cheeses: Experiment with gouda or cheddar cheese in place of Brie to give your sandwich a unique flavor twist.
- Herbed Butter: Replace plain butter with herb-infused varieties for added aromatic flavor; think garlic, rosemary, or thyme.
- Savory Add-ins: Layer in fresh spinach or arugula for a peppery note that balances the sweetness of the honey.
- Honey Variations: Try different types of honey, such as lavender or rosemary-infused honey, for a gourmet touch.
Feel free to experiment and adjust the flavors to create your perfect Brie and Apple Grilled Cheese! For some delightful side ideas, consider pairing your sandwich with a light salad or our Cheese Spinach Crustless Quiche for a heartier meal. Enjoy the cozy flavors of fall!
Brie and Apple Grilled Cheese Recipe FAQs
What type of apples are best for this Brie and Apple Grilled Cheese?
I recommend using tart green apples, like Granny Smith. Their crisp texture and acidity perfectly balance the creamy, rich Brie cheese without overpowering it. Avoid overly sweet varieties, which may detract from the delightful contrast you want in this sandwich.
How should I store leftovers of the Brie and Apple Grilled Cheese?
Store any leftover sandwich in an airtight container in the fridge for up to 1 day. To help maintain its texture, it’s best to wrap the sandwich in parchment paper before placing it in the container. When you’re ready to enjoy it again, reheating in a skillet is ideal to bring back that crispy exterior.
Can I freeze Brie and Apple Grilled Cheese?
Absolutely! To freeze, tightly wrap the sandwich in plastic wrap, then place it in a freezer bag or wrap it in aluminum foil. It can be frozen for up to 1 month. When you’re ready to indulge, thaw it in the refrigerator overnight, then reheat in a skillet over medium-low heat for about 5-7 minutes, covering with a lid to ensure the cheese melts beautifully.
What should I do if my grilled cheese isn’t melting well?
If your cheese isn’t melting properly, there are a couple of things you can check. First, ensure your frying pan is adequately preheated! A hot pan is essential for creating that fantastic crust while allowing the cheese to melt. Additionally, you can cover the pan with a lid during cooking; this traps the heat and helps melt the cheese evenly.
Is this Brie and Apple Grilled Cheese suitable for vegetarians?
Yes, indeed! This delightful sandwich is entirely meat-free and perfect for vegetarian diets. You can enjoy it guilt-free while savoring the rich flavors of the cheese and apples. Just be mindful of the type of bread you choose if you’re looking to maintain a strict vegetarian lifestyle, as some bread may contain animal products.
Brie and Apple Grilled Cheese: A Cozy Fall Delight
Ingredients
Equipment
Method
- Spread salted butter on one side of each slice of sourdough bread.
- On the unbuttered side of one slice, spread a generous layer of Brie cheese.
- Drizzle honey over the Brie cheese.
- Core and thinly slice half of a green apple, then arrange on top of the Brie.
- Place the second slice of bread on top, buttered side facing up.
- Preheat a frying pan over medium heat and place the sandwich in the center.
- Cook for about 2-3 minutes until the bottom is golden brown.
- Flip the sandwich and cook for another 2-3 minutes until both sides are golden brown.
- Transfer to a cutting board, slice in half, and serve hot.
Leave a Reply