
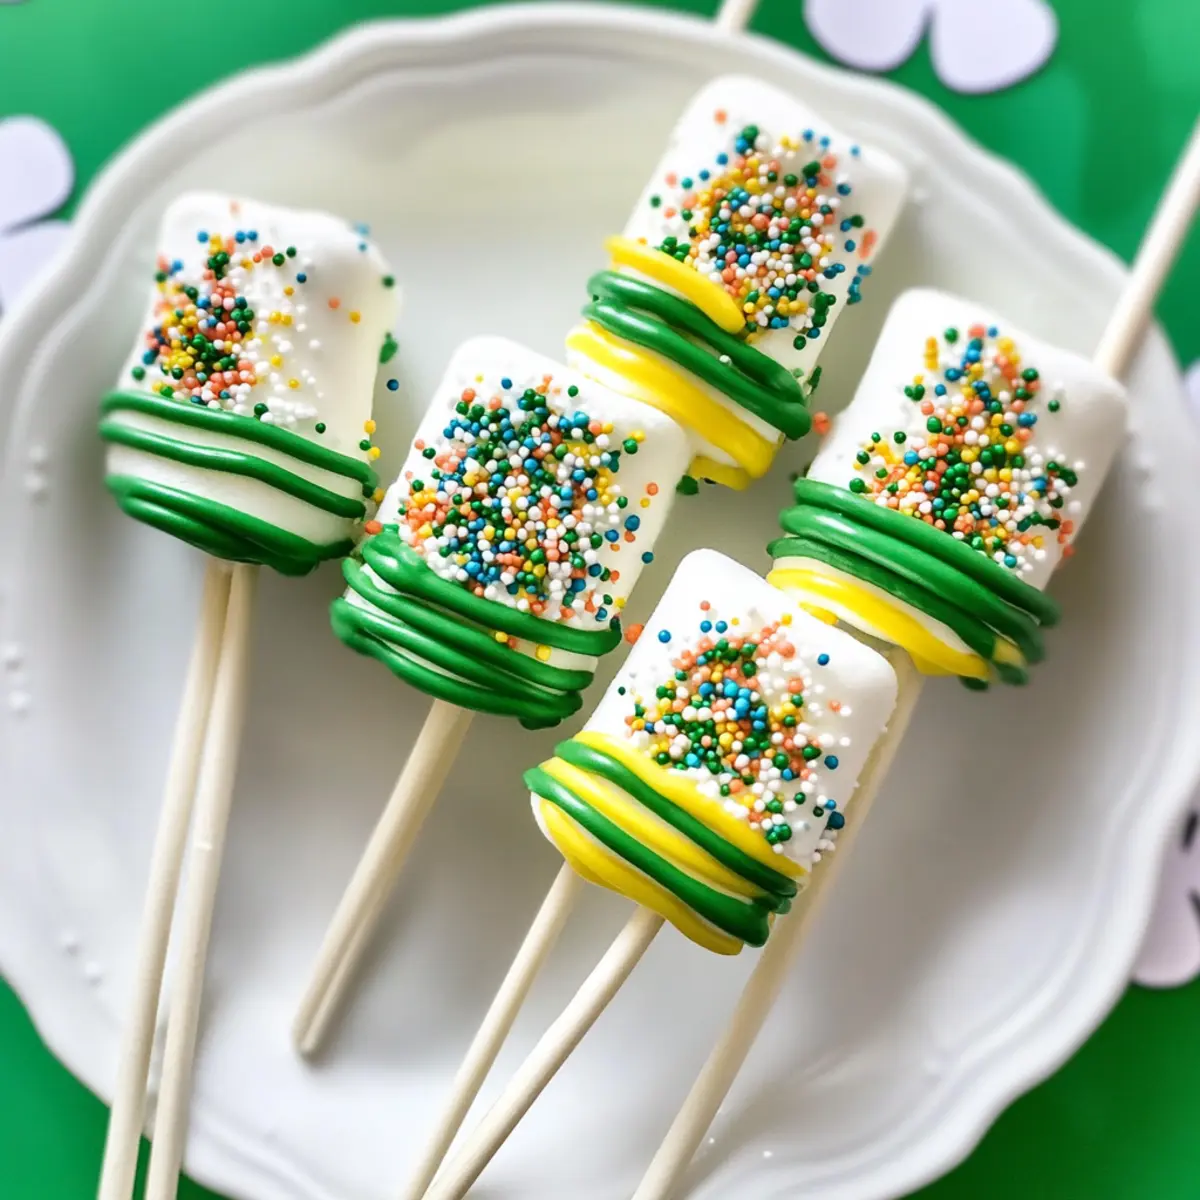
As the first signs of spring peek through, I can’t help but feel a wave of excitement for one of my favorite holidays—St. Patrick’s Day! This year, I’m thrilled to share my recipe for Easy St. Patrick’s Day Marshmallow Pops, a delightful sweet treat that will add a touch of luck to any celebration. These pops are a fantastic way to bring joy to kids and adults alike, with their colorful candy coatings and whimsical design. Plus, they are incredibly simple to whip up, making them a stress-free addition to your festivities. Whether you’re hosting a party, looking for a fun family activity, or sending treats to school, these marshmallow pops will be a hit! Ready to make some magic in your kitchen? Let’s dive into this playful recipe together!
Why are Marshmallow Pops So Fun?
Irresistible appeal: These St. Patrick’s Day Marshmallow Pops are not only adorable but also a delight to eat, making them an instant crowd-pleaser for all ages.
Kid-friendly fun: Get the little ones involved! The simple assembly process makes these pops a perfect family project, great for creating cherished memories together.
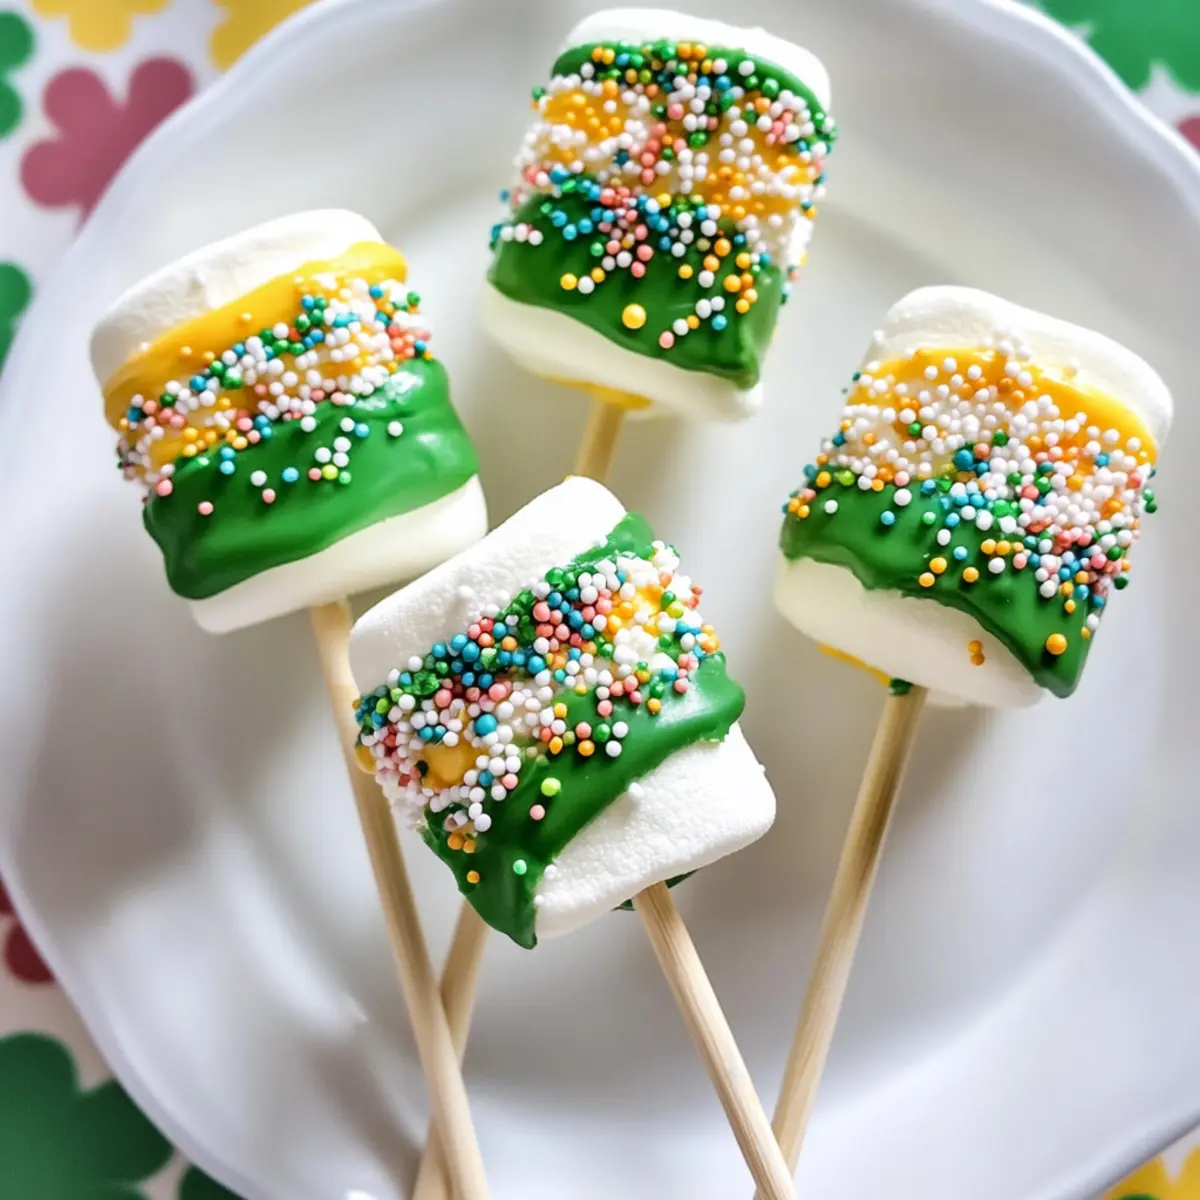
Vivid colors: With their bright green and yellow candy coatings, plus festive sprinkles, these treats bring joyful vibes to your celebrations, capturing the spirit of St. Patrick’s Day beautifully.
Quick to prepare: You’ll love how easy they are to make! In under an hour, you can serve up a batch of these delightful treats—perfect for those impromptu gatherings or school events.
For more sweet inspirations, check out my Nutella Banana Muffins that are just as enticing!
Versatile temptation: Change the colors and decorations for any holiday or event, ensuring that these pops can be enjoyed year-round.
St. Patrick’s Day Marshmallow Pop Ingredients
For the Marshmallow Base
- Regular Size Marshmallows – These are the fluffy sweet treats at the heart of your pops!
- Treat Sticks or Bamboo Skewers – Essential for easily enjoying those delightful marshmallow bites.
For the Candy Coating
- White Candy Melts or Vanilla Flavored Almond Bark – Coating your pops with this adds a rich sweetness and creamy texture.
- Vegetable Oil – A tiny splash will help thin the candy melts for easy drizzling! This is key for your St. Patrick’s Day Marshmallow Pops.
For Decorations
- Green Candy Melts – Use for decorative drizzle, bringing a festive touch of St. Patrick’s Day spirit!
- Yellow Candy Melts – Add contrast and cheerfulness to your pops, elevating their appeal.
- Rainbow Sprinkles – These fun toppings will enhance the visual allure of your pops.
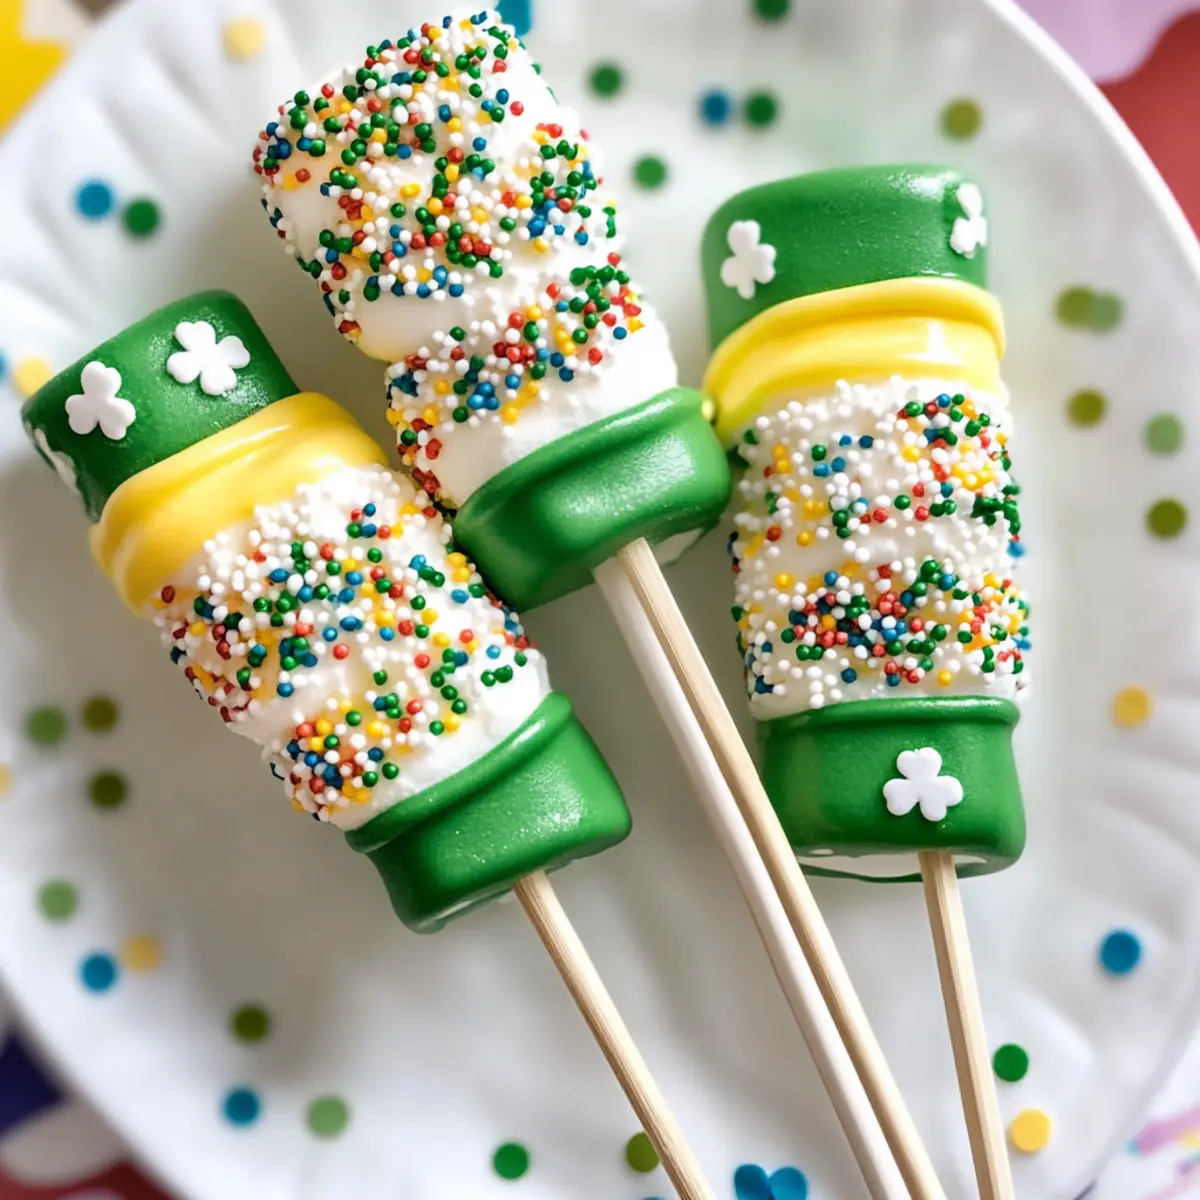
- Shamrock Sprinkles – Perfect for a themed decoration that screams celebration!
With these ingredients, you’re well on your way to crafting a whimsical treat that will make your St. Patrick’s Day celebrations a little sweeter!
Step‑by‑Step Instructions for St. Patrick’s Day Marshmallow Pops
Step 1: Prepare the Baking Sheet
Start by lining a cookie sheet with wax paper, ensuring that the surface is smooth and flat. This will create a non-stick area for your finished St. Patrick’s Day Marshmallow Pops to rest as they set. Make sure the wax paper covers the entire sheet to prevent any sticky mishaps during cooling.
Step 2: Skewer the Marshmallows
Take your treats sticks or bamboo skewers and carefully skewer four marshmallows onto each stick. Repeat this process until you have six sticks prepared, efficiently lining them up on the baking sheet. This assembly step is quick; it should take you just about 5-10 minutes to get everything ready for dipping.
Step 3: Melt the White Candy Coating
In a microwave-safe bowl, melt the white candy melts according to package instructions, typically in 30-second intervals, stirring frequently to avoid overheating. Once melted, you should achieve a smooth, creamy consistency without lumps. This step usually takes about 1-3 minutes; keep your eyes on it to ensure it doesn’t burn.
Step 4: Coat the Marshmallows
Dip each skewer of marshmallows into the melted white candy, swirling to ensure even coverage. Allow any excess candy to drip back into the bowl, creating a smooth and even layer on the marshmallows. Place the coated marshmallows back onto the wax paper; the white coating should create a lovely, shiny surface, setting your St. Patrick’s Day Marshmallow Pops up for decoration.
Step 5: Prepare the Decorative Coatings
Melt the green candy melts in a separate bowl, just like you did with the white candy. To make the consistency manageable, consider adding a teaspoon of vegetable oil. Once melted, transfer the green candy into a piping bag. Repeat this process with the yellow candy melts; having both colors ready will make for easy and quick decorating.
Step 6: Drizzle with Colors
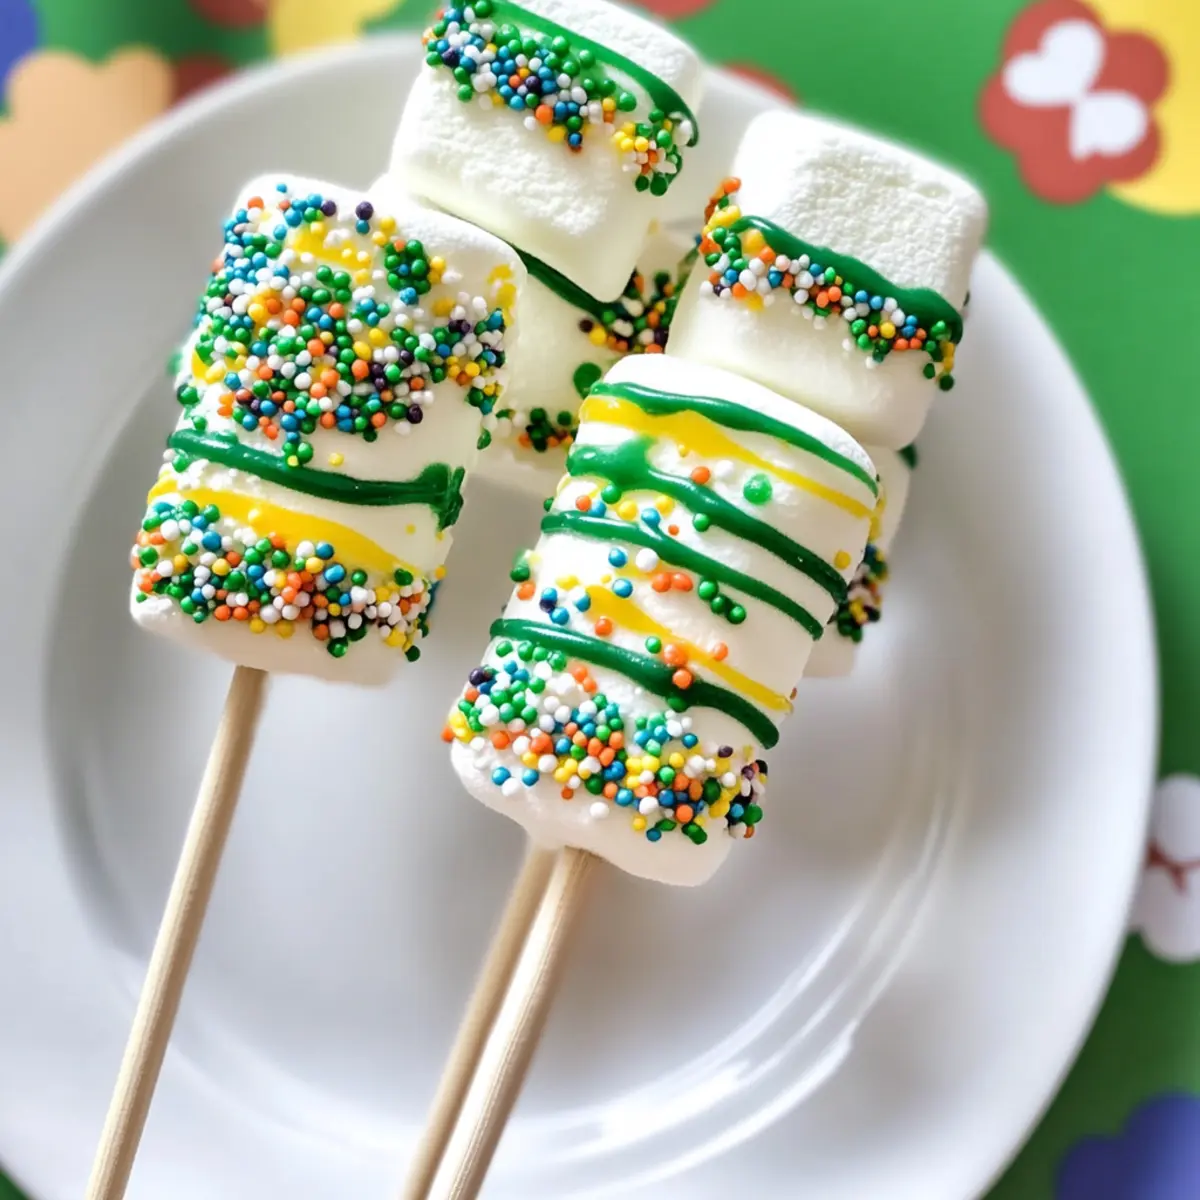
Using the piping bag filled with melted green candy, carefully drizzle over the coated marshmallows in a zigzag pattern. Follow this with the yellow candy drizzle, layering the colors for an eye-catching effect that truly emphasizes the festive theme of your St. Patrick’s Day Marshmallow Pops. This decorative step takes only a couple of minutes but makes a big difference in presentation!
Step 7: Add the Sprinkles
While the drizzle is still warm and pliable, generously add your rainbow and shamrock sprinkles over the marshmallow pops. This step adds a playful touch that enhances the visual appeal. Work swiftly, as the sprinkles need to adhere before the candy sets, typically within a minute, so keep your sprinkles close at hand!
Step 8: Allow to Set
After decorating, let your marshmallow pops sit at room temperature on the wax paper for about 20-30 minutes, or until the candy coating has hardened completely. You’ll know they are ready when the drizzle firms up, giving your St. Patrick’s Day Marshmallow Pops a glossy, festive finish, creating a fun treat for your celebration.
Step 9: Trim Excess Candy
If there’s any excess candy that needs tidying up around the edges of your pops, use a sharp knife to carefully trim it away. This step ensures that your marshmallow pops have clean, polished edges, ensuring they look as delightful as they taste. It only takes a few moments to complete this finishing touch.
Step 10: Store or Serve
Place the finished St. Patrick’s Day Marshmallow Pops in an airtight container and store them in the refrigerator until you’re ready to serve. They can be stored this way for several days, maintaining their festive charm and freshness. When it’s time for your gathering, simply bring them out and let the fun begin!
Expert Tips for St. Patrick’s Day Marshmallow Pops
-
Stir Frequently: Melt your candy melts in 30-second intervals, stirring often to avoid burning and achieve a smooth consistency.
-
Add Vegetable Oil: Incorporating a teaspoon of vegetable oil into your candy melts can help create a thinner coating for more manageable drizzle on your St. Patrick’s Day Marshmallow Pops.
-
Work Quickly: When adding sprinkles, do so while the drizzle is still warm to ensure they adhere properly before the candy sets.
-
Use Quality Ingredients: Opt for high-quality candy melts for the best flavor and appearance, enhancing the overall experience of your festive treats.
-
Store Properly: Keep the finished pops in an airtight container in the refrigerator to maintain freshness and prevent them from becoming sticky.
Variations & Substitutions for St. Patrick’s Day Marshmallow Pops
Feel free to unleash your creativity and tailor these pops to fit your taste buds or occasion!
-
Flavorful Twist: Dip marshmallows in dark or milk chocolate before coating them in candy melts for a rich, decadent flavor. It adds a lovely depth and satisfies chocolate lovers immensely.
-
Color Changes: Swap the colored candy melts for different shades to fit other holidays, like red for Valentine’s Day or orange for Halloween! The possibilities are endless, and this makes them perfect year-round treats.
-
Flavored Marshmallows: Experiment with flavored marshmallows, such as strawberry or raspberry, to enhance the overall taste without changing much about the basic recipe. Each bite will bring a delightful surprise!
-
Nutty Delight: Add chopped nuts to the melted candy coating for an added crunch and flavor dimension. Almonds or pistachios work great and will add a festive green touch.
-
Spicy Heat: Kick it up a notch with a sprinkle of cayenne pepper in the candy melts for those who like a little heat in their sweets. Just a pinch can create a surprising and delightful twist!
-
Creative Sprinkles: Use different sprinkle varieties, like edible glitter or coconut flakes, to bring a new look and texture to your pops. Kids will love these whimsical options, and it’s a fantastic way to celebrate creativity in baking.
-
Mini Marshmallows: For a fun variation, use mini marshmallows to create bite-sized pops. These are perfect for snacks or party platters, allowing guests to sample without the extra sugar overload!
Explore the charm of variations with your own magical touch. And for another fun recipe idea, don’t miss my delightful Nutella Banana Muffins for a treat that is sure to impress!
What to Serve with St. Patrick’s Day Marshmallow Pops
Add a touch of whimsy to your gathering with delightful pairings that elevate your festive treats into a full experience.
-
Mint Chocolate Chip Ice Cream: This creamy, refreshing dessert complements the sweetness of the marshmallow pops and perfectly matches the holiday’s green theme.
-
Lucky Charms Treats: Create a playful connection with these cereal-based bars; their sweetness and crunchy texture pair beautifully with the soft marshmallow pops. Imagine the joy on kids’ faces!
-
Chocolate-Dipped Strawberries: The rich, dark chocolate adds a luxurious element to your dessert table while contrasting nicely with the candy coating of the pops. Their elegant look and taste will impress guests of all ages.
-
Colored Fruit Skewers: Fresh fruit offers a vibrant, healthy balance to the sweet flavors. Thread seasonal fruits like green grapes, strawberries, and kiwi onto skewers to add a refreshing crunch.
-
Themed Cupcakes: Whip up a batch of vanilla or chocolate cupcakes adorned with green frosting and sprinkles to echo the festive decor of your pops. These colorful bites create a fun and cohesive dessert table.
-
Sparkling Lemonade: Serve a chilled, fizzy lemonade garnished with fresh mint to complement the sweetness of the marshmallow pops while contrasting most beautifully with the bright flavors.
Pair these delightful options with St. Patrick’s Day Marshmallow Pops to create an unforgettable celebration that your loved ones will cherish!
Make Ahead Options
These St. Patrick’s Day Marshmallow Pops are perfect for busy cooks looking to save time during the festivities! You can skewer and coat the marshmallows up to 24 hours in advance and store them in an airtight container in the refrigerator. For a festive touch, prepare your drizzle colors (green and yellow candy melts) up to 3 days ahead, and keep them in sealed bags at room temperature until ready to use. When you’re ready to serve, simply drizzle the melted colors over the marshmallow pops, add the sprinkles, and let them set. This make-ahead approach ensures your treats remain just as delicious while minimizing last-minute stress!
How to Store and Freeze St. Patrick’s Day Marshmallow Pops
Fridge: Store your St. Patrick’s Day Marshmallow Pops in an airtight container to keep them fresh for up to 5 days. Make sure they are completely cooled before placing them in to avoid condensation.
Freezer: If you want to store these delightful treats for longer, freeze them individually wrapped in plastic wrap and then in an airtight container for up to 3 months. Thaw in the fridge before serving.
Room Temperature: For brief periods (such as during a party), these pops can be left at room temperature for up to 2 hours. Ensure they’re in a cool place away from direct sunlight.
Reheating: While not typically needed, if the candy coating becomes soft, you can briefly place them in the fridge to restore firmness before serving.
St. Patrick’s Day Marshmallow Pops Recipe FAQs
How do I choose the best marshmallows?
Absolutely! When selecting marshmallows for your St. Patrick’s Day Marshmallow Pops, look for fresh, plump ones that are free from hard spots or dark patches. Fresh marshmallows create that delightful chewy texture we all love, while slightly older ones can become hard and less enjoyable.
What’s the best way to store my marshmallow pops?
To keep your St. Patrick’s Day Marshmallow Pops fresh, store them in an airtight container in the refrigerator for up to 5 days. Ensure they are fully cooled before sealing to prevent condensation, which can make them sticky and ruin the candy coating.
Can I freeze my marshmallow pops?
Absolutely! To freeze your colorful concoctions, individually wrap each St. Patrick’s Day Marshmallow Pop in plastic wrap and place them in an airtight container. They can be stored for up to 3 months. When you’re ready to enjoy, just thaw them in the refrigerator for a few hours before serving – no need to rush the magic!
What if my candy melts start to harden while I’m decorating?
Very often, you’ll want to work quickly while decorating to prevent hardening. If you find your candy melts getting stiff, you can re-melt them briefly in the microwave. Just warm them in 10-second intervals and stir well until they are smooth again. Be sure to add a tiny bit of vegetable oil if needed to restore the consistency for easy drizzling!
Are there any dietary concerns I should consider?
When making St. Patrick’s Day Marshmallow Pops, keep an eye out for potential allergies, particularly to food coloring or certain sprinkles. If you’re making treats for a gathering, it’s helpful to ask about dietary restrictions or preferences, ensuring all guests can indulge in these festive sweets!
How can I make these pops even more festive?
For added festive flair, consider using flavored marshmallows or adding extracts, like vanilla or mint, to the melted candy coating. You can also adjust the colors of candy melts for different holidays, making these pops a delightful treat for any celebration throughout the year!
St. Patrick’s Day Marshmallow Pops for a Sweet Celebration
Ingredients
Equipment
Method
- Prepare the Baking Sheet: Line a cookie sheet with wax paper, ensuring a smooth surface.
- Skewer the Marshmallows: Carefully skewer four marshmallows onto each stick.
- Melt the White Candy Coating: Melt white candy melts in a microwave-safe bowl in 30-second intervals.
- Coat the Marshmallows: Dip each skewer into melted white candy and swirl for even coverage.
- Prepare the Decorative Coatings: Melt the green candy melts with vegetable oil, and transfer to a piping bag.
- Drizzle with Colors: Use melted green and yellow candy to create a zigzag pattern on the marshmallows.
- Add the Sprinkles: While the drizzle is warm, add rainbow and shamrock sprinkles.
- Allow to Set: Let the pops sit at room temperature for about 20-30 minutes to harden.
- Trim Excess Candy: Use a sharp knife to trim excess candy around the edges.
- Store or Serve: Store in an airtight container in the refrigerator until ready to serve.
Leave a Reply