
In just 15 minutes, you can transform simple pantry staples into a sweet and salty delight with my No-Bake Salted Nut Candy Bars. As the comforting aroma of melted peanut butter and butter fills your kitchen, you’ll find yourself basking in nostalgia, recalling memories of indulgent treats shared during holidays. Not only are these bars incredibly easy to whip up, but they also strike the perfect balance between chewy and crunchy, making them a hit at any gathering. Plus, their no-bake nature means you can skip the oven and enjoy a mess-free cooking experience! Curious to discover how just a handful of ingredients can create such an irresistible snack?
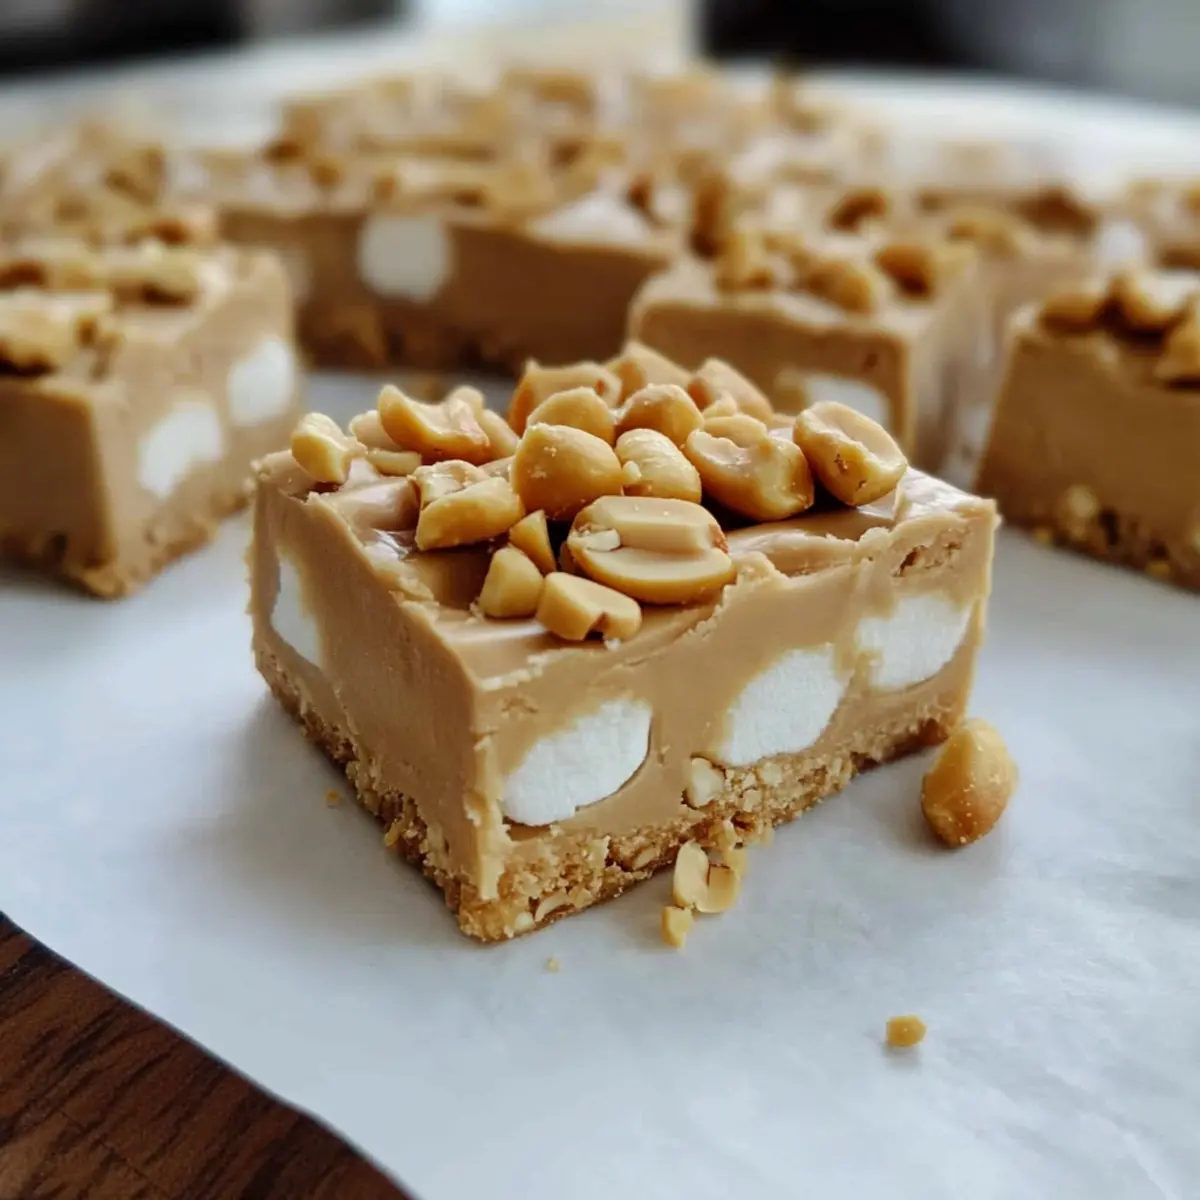
Why You’ll Love These Salted Nut Candy Bars
Quick and Easy: In just 15 minutes, you can create these delightful treats with minimal effort!
Irresistible Flavor: The blend of sweet and salty flavors will satisfy your cravings like no other.
Versatile Snacking: Perfect for holiday gifts, parties, or simply indulging at home with loved ones.
No-Bake Convenience: Skip the oven! These bars require no baking, making cleanup a breeze.
Kid-Friendly Fun: Involve the kids in the kitchen with this simple recipe that’s both fun and delicious.
You’ll want to keep this recipe handy, especially if you love treats that are as easy to make as they are delightful. For other quick sweet treats, check out my Salted Caramel Cracker bites and the comforting Banana Nut Baked oatmeal!
Salted Nut Candy Bars Ingredients
• Get ready to create these delightful creations with some simple pantry staples!
For the Base
- Salted Cocktail Peanuts – Provides crunch and saltiness to balance the sweetness; use unsalted peanuts for a milder flavor.
- Butter – Adds richness and helps bind the ingredients together; substituting with margarine works for a dairy-free option.
- Peanut Butter Chips – Gives a creamy texture and nutty flavor to the bars; can be replaced with regular peanut butter for a different texture.
- Sweetened Condensed Milk – Acts as a sweetener and binder for a chewy consistency; evaporated milk with sugar can be a substitute if needed.
- Mini Marshmallows – Introduces a soft, chewy element; regular marshmallows can be used if chopped into smaller pieces.
These ingredients come together beautifully, creating your very own Salted Nut Candy Bars that are bound to impress!
Step‑by‑Step Instructions for Salted Nut Candy Bars
Step 1: Prepare the Baking Dish
Begin by preparing an 11×7-inch baking dish. Line it with parchment paper, ensuring that it covers the sides as well. This will make it easier to lift the Salted Nut Candy Bars out once they are set. Spread half of the salted cocktail peanuts evenly across the bottom, creating a crunchy base for the bars.
Step 2: Melt the Ingredients
In a 2-quart saucepan, melt ½ cup of butter and 1 cup of peanut butter chips together over low heat. Stir continuously for about 5 minutes until the mixture is completely smooth and well-blended. Once melted, remove the saucepan from the heat and immediately add 2 cups of mini marshmallows and 14 ounces of sweetened condensed milk. Stir until fully combined and melted, creating a creamy filling.
Step 3: Combine the Mixture and Peanuts
Carefully pour the creamy peanut butter mixture over the layer of peanuts in the baking dish. Use a spatula to spread it evenly, making sure every peanut gets coated in the delicious mixture. As a finishing touch, sprinkle the remaining half of the salted peanuts on top. Gently press the peanuts into the mixture to help them adhere.
Step 4: Chill to Set
Cover the baking dish with plastic wrap or a lid and refrigerate for about 1 hour. This chilling time allows the Salted Nut Candy Bars to set and firm up perfectly. After 60 minutes, check the texture; it should be firm enough to cut. If needed, leave it in the refrigerator for a bit longer for a firmer consistency.
Step 5: Cut and Store
Once the bars are firmly set, lift them out of the dish using the parchment paper edges, placing them on a cutting board. Cut into small 1-inch by 2-inch pieces, ensuring even sizes for sharing. Store any leftovers in an airtight container in the refrigerator for up to two weeks, or freeze them for longer enjoyment.
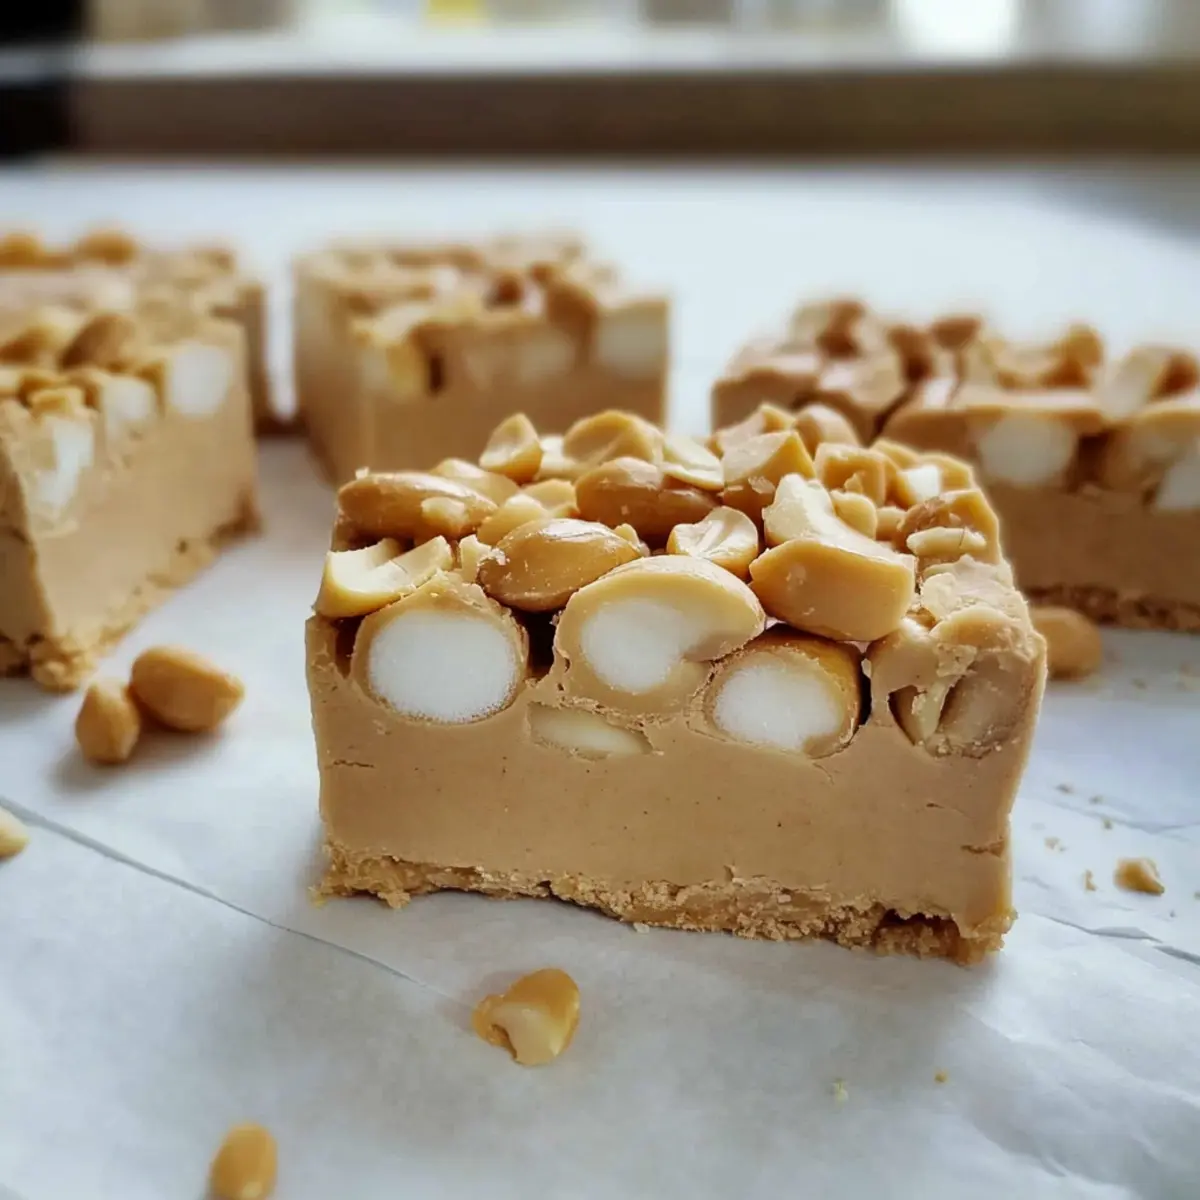
What to Serve with No-Bake Salted Nut Candy Bars
Indulging in these sweet-salty delights opens the door to countless delightful pairings that enhance their flavor.
-
Rich Vanilla Ice Cream: This creamy counterpart perfectly complements the chewy texture, adding a soothing contrast to the bars’ crunch.
-
Fresh Berries Medley: Juicy strawberries, blueberries, and raspberries provide a refreshing burst of flavor, balancing the sweetness of the bars beautifully.
-
Chocolate Dipping Sauce: A drizzle of warm chocolate adds richness, transforming each bite into a luscious experience that chocolate lovers will adore.
-
Crunchy Carrot Sticks: Their crisp texture offers a healthy contrast to the softness of the bars, promoting a balance of treats for the palate!
-
Chilled Milk: Whether plain or chocolate, a glass of cold milk serves as the perfect drink to wash down each decadent bite, enhancing the salty sweetness.
-
Coffee or Espresso: The bitter notes in coffee balance the bars’ sweetness, creating a delightful combination for an afternoon pick-me-up or after-dinner treat.
These pairings bring together various flavors and textures, ensuring an unforgettable treat every time you enjoy your No-Bake Salted Nut Candy Bars!
Make Ahead Options
These No-Bake Salted Nut Candy Bars are perfect for meal prep, allowing you to enjoy their delightful flavors with less fuss on busy days! You can prepare the creamy filling and layer it over the peanuts up to 24 hours in advance; simply cover it and refrigerate until you’re ready to set the bars. Ensure to tightly wrap the baking dish to maintain freshness and prevent any fridge odors from affecting the taste. When you’re set to enjoy, just sprinkle the remaining peanuts on top, press them gently, and let them chill for about an hour before cutting. This way, you’ll have a delicious snack ready to impress, saving time without compromising on quality!
Storage Tips for Salted Nut Candy Bars
-
Room Temperature: Keep Salted Nut Candy Bars at room temperature for up to 3 days in an airtight container if you’re planning to enjoy them quickly.
-
Fridge: For longer freshness, store in the refrigerator in an airtight container. They can last for up to 2 weeks this way, retaining their chewy texture.
-
Freezer: Freeze Salted Nut Candy Bars for up to 3 months. Wrap them tightly in plastic wrap, then place them in a freezer-safe container for optimal protection.
-
Reheating: If you prefer them slightly warm, microwave for 10-15 seconds, allowing them to soften but not melt, enhancing the sweet and salty flavor.
Salted Nut Candy Bars Variations
Feel free to get creative with your No-Bake Salted Nut Candy Bars; after all, the joy of cooking is in the little twists you can add!
-
Nutty Alternatives: Swap out salted peanuts for almonds or pecans to bring new flavors to your bars. Each nut carries its unique taste, adding delightful variety.
-
Choco-Lovers: For an extra chocolatey kick, add chocolate chips to the creamy peanut butter mixture. The contrast of chocolate against the salty peanuts is pure bliss.
-
Fruitful Flavor: Toss in some dried fruits like cranberries or apricots for a chewy, sweet surprise. This not only enhances flavor but also adds a hint of nutritional goodness.
-
Crunchy Seeds: Mix in sunflower or pumpkin seeds for added crunch and nutrition. Not only do they elevate the texture, but they also contribute a satisfying nutty taste.
-
Heat It Up: A pinch of cayenne pepper can turn up the heat, offering a spicy contrast to the sweetness. This unexpected twist will awaken your taste buds in wonderful ways.
-
Different Chips: Instead of peanut butter chips, try using butterscotch or even white chocolate chips. Both variations will create a stunning contrast with the peanuts.
-
Healthy Swaps: Use almond butter instead of regular peanut butter for a healthier, yet still creamy option. The nutty flavor of almond complements the bars beautifully.
For more delicious inspirations, consider checking out the indulgent Malted Peanut Butter cookies or explore flavors with the delightful Banana Nut Baked oatmeal!
Expert Tips for Salted Nut Candy Bars
- Low Heat Matters: Keep the heat low while melting to avoid scorching the peanut butter chips and butter, ensuring a smooth mixture.
- Chilling Time: For firmer Salted Nut Candy Bars, consider refrigerating them for a longer period; this enhances the texture.
- Cutting Technique: Cut the bars in a warm environment to prevent them from sticking together, keeping your pieces intact and presentable.
- Peanut Variations: Feel free to experiment with other nuts like almonds or pecans, but adjust the salt levels accordingly.
- Mix-In Opportunities: Add chocolate chips or dried fruit to customize your bars; just remember to limit additional ingredients to maintain texture.
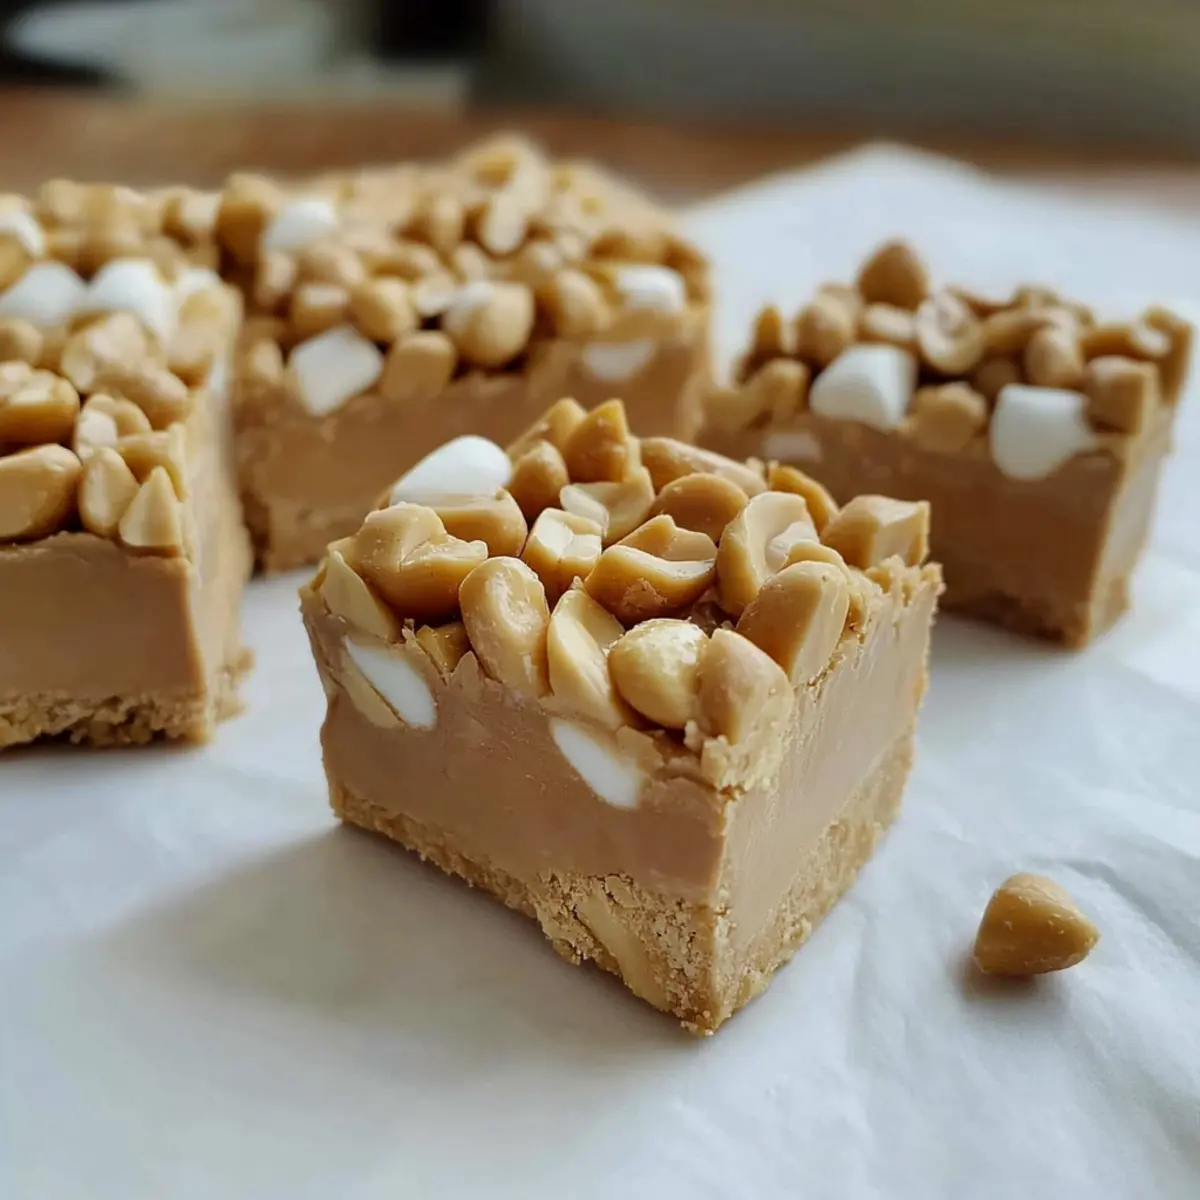
Salted Nut Candy Bars Recipe FAQs
What is the best way to select salted peanuts for this recipe?
When selecting salted cocktail peanuts, look for ones that are crunchy and fresh, without any dark spots or signs of moisture. They should have an appealing aroma and should not feel stale to the touch. If you prefer a less salty flavor, you can opt for unsalted peanuts, but do adjust the salt in the mixture accordingly.
How should I store the Salted Nut Candy Bars to keep them fresh?
To keep your Salted Nut Candy Bars fresh, store them in an airtight container in the refrigerator. They can last for up to two weeks this way, maintaining their chewy texture. If you’d like to enjoy them later, they can be frozen for up to three months, just be sure to wrap them tightly in plastic wrap and place them in a freezer-safe container.
Can I freeze the Salted Nut Candy Bars, and if so, how?
Absolutely! To freeze your Salted Nut Candy Bars, first let them cool completely. Then, cut them into pieces and individually wrap each piece in plastic wrap. Place the wrapped bars in a freezer-safe container or zip-top bag, making sure to remove as much air as possible. They can stay in the freezer for up to three months. To enjoy, just remove the desired amount and let them thaw at room temperature for a few minutes or microwave them for 10-15 seconds to soften a bit.
What should I do if my nut candy bars are too sticky or soft?
If your Salted Nut Candy Bars are too sticky or soft, it might be due to not refrigerating them long enough. I recommend letting them chill for at least one additional hour in the refrigerator. For a firmer texture in future batches, simply increase the chilling time to allow the bars to set properly. Also, make sure the ratios of ingredients are accurate, as too much melted marshmallow can lead to stickiness.
Are Salted Nut Candy Bars suitable for anyone with nut allergies?
It’s essential to note that Salted Nut Candy Bars are not suitable for individuals with nut allergies due to the presence of peanuts and other nuts if added. If you have a similar situation, consider finding nut-free alternatives, like using seeds (sunflower seeds, for example) or puffed rice as the base ingredient, but remember that the flavor and texture will vary. Always consult your healthcare provider for personalized dietary advice.
Can I substitute any ingredients in the Salted Nut Candy Bars?
Yes, you can make a few substitutions in the Salted Nut Candy Bars! If you need a dairy-free option, use margarine instead of butter. You can also swap out the peanut butter chips for regular peanut butter, though this may affect the texture slightly. For a different twist, try mixing in chocolate chips, dried fruits, or using different nuts like almonds or pecans, just be sure to adjust the salt accordingly!
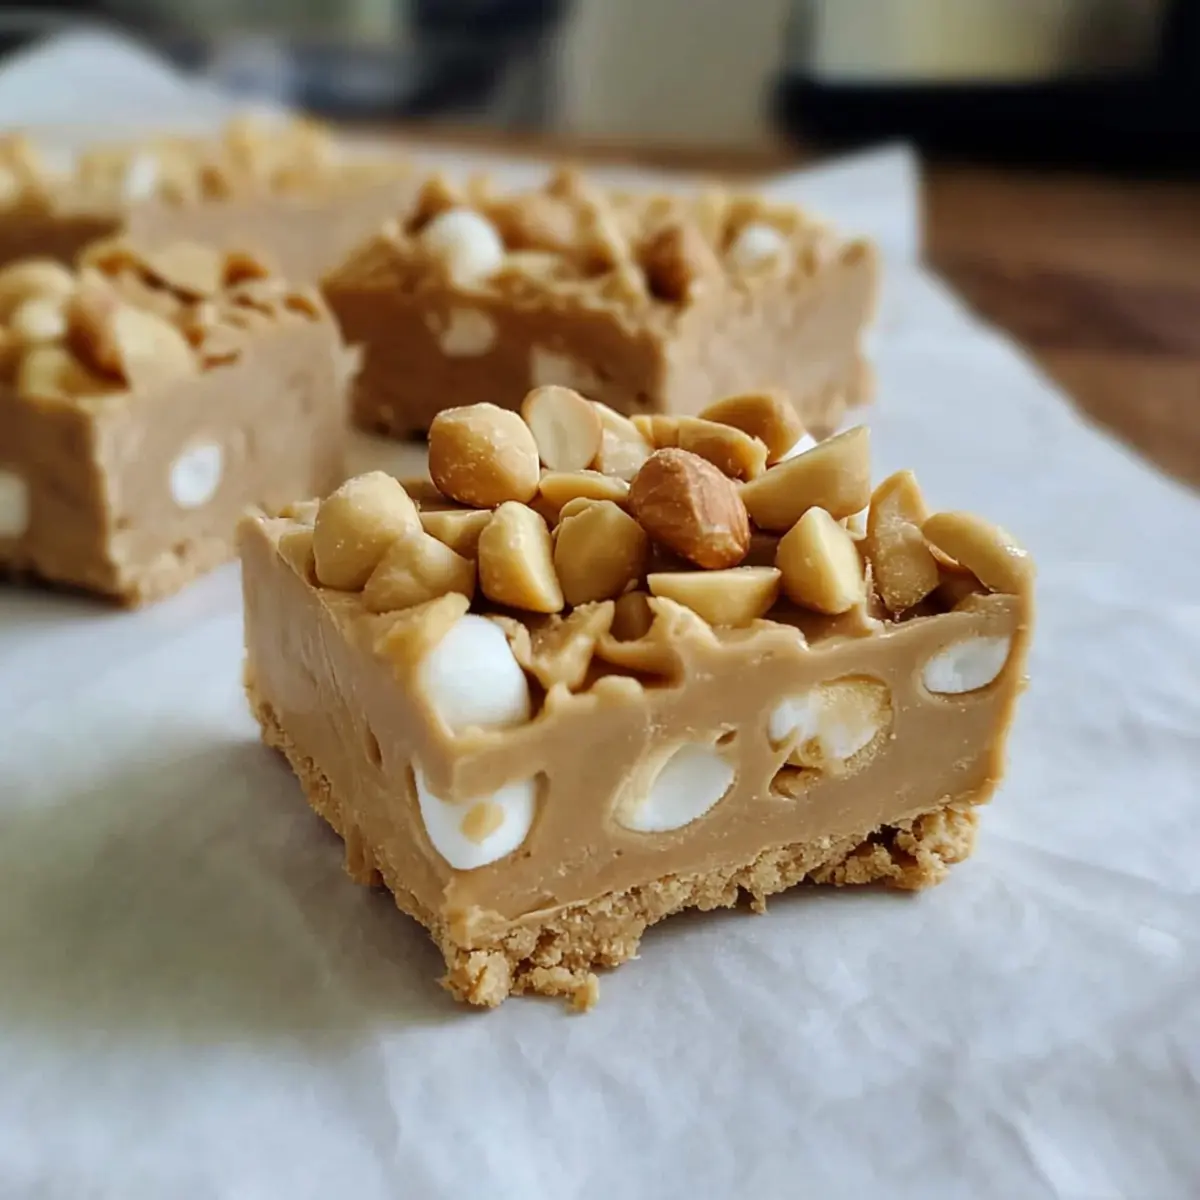
Delicious Salted Nut Candy Bars: Sweet-Salty Bliss Awaits
Ingredients
Equipment
Method
- Prepare the baking dish by lining an 11x7-inch baking dish with parchment paper. Spread half of the salted cocktail peanuts evenly across the bottom.
- Melt ½ cup of butter and 1 cup of peanut butter chips in a 2-quart saucepan over low heat, stirring continuously for about 5 minutes until smooth.
- Remove from heat and add 2 cups of mini marshmallows and 14 ounces of sweetened condensed milk. Stir until fully combined.
- Pour the creamy mixture over the peanuts in the baking dish and spread evenly. Sprinkle the remaining peanuts on top and gently press them in.
- Cover with plastic wrap or a lid and refrigerate for about 1 hour to set. Once firm, lift out using parchment and cut into 1-inch by 2-inch pieces.
Leave a Reply