
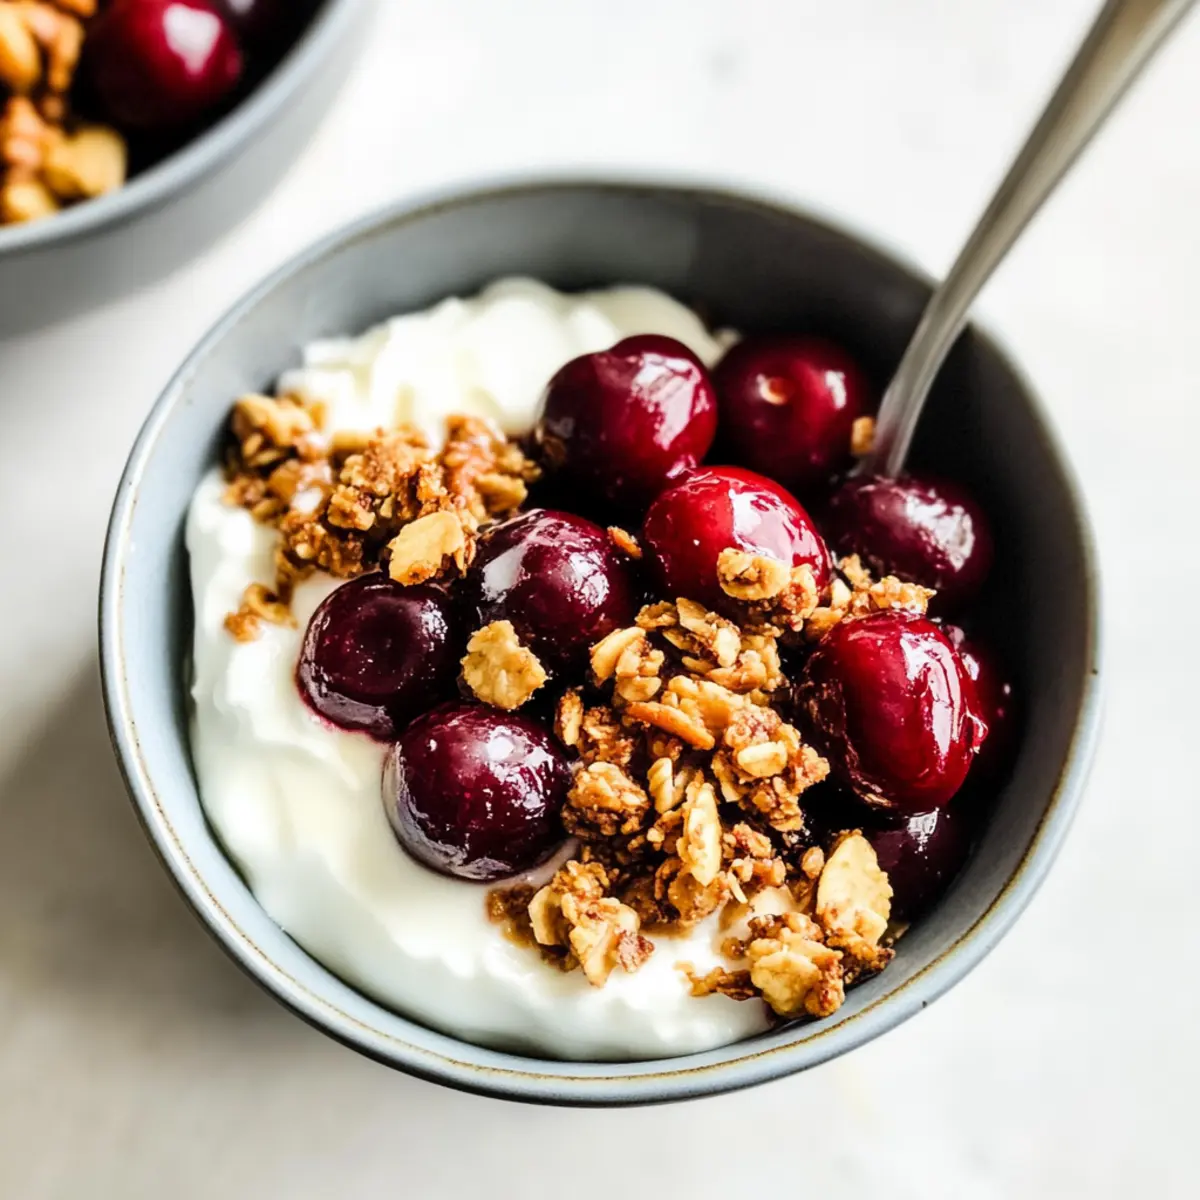
Biting into a warm, caramelized cherry can transport you straight to summer picnics, where juicy fruits and laughter fill the air. For those moments when you need a sweet escape, my Roasted Cherry Yogurt Bowl is the perfect remedy. This delightful dish not only whips up in under 30 minutes, but it also combines the wholesome goodness of antioxidant-rich cherries with the creaminess of Greek yogurt, making it an ideal choice for breakfast, a satisfying snack, or even a light dessert. The roasted cherries become irresistibly sweet and syrupy, transforming plain yogurt into a luxurious treat. And the best part? You can easily customize it based on seasonal ingredients or what’s available in your kitchen. Are you ready to elevate your yogurt game?
Why is this Roasted Cherry Yogurt Bowl special?
Wholesome Goodness: Each bite is packed with antioxidants from the sweet cherries and protein from the Greek yogurt, creating a fulfilling dish that’s both healthy and satisfying.
Quick and Easy: Ready in under 30 minutes, this recipe is a time-saver for busy mornings or a delightful evening snack.
Flavor Explosion: The caramelization process enhances the cherries’ natural sweetness, adding a syrupy richness that elevates an ordinary yogurt bowl to gourmet status.
Customizable Delight: Feel free to swap in seasonal fruits or tweak toppings like granola for a unique twist—try using nuts or even a sprinkle of cinnamon!
Perfect for Any Occasion: Whether it’s breakfast, a refreshing snack, or a light dessert, this bowl is a versatile favorite that will impress family and friends, and is great in any season!
Roasted Cherry Yogurt Bowl Ingredients
For the Roasted Cherries
- Northwest-grown sweet cherries – Fresh fruit providing natural sweetness and flavor; substitute with regular cherries if needed.
- Lime juice – Adds acidity to balance the sweetness of cherries; lemon juice can replace lime if preferred.
- Cane sugar – Enhances the sweetness of the cherries during roasting; alternatives include honey or maple syrup.
- Coconut oil – Helps caramelize the cherries and adds richness; melted butter is a good substitute.
- Vanilla extract – Adds depth and flavor to the cherry mixture.
- Salt – Enhances the overall flavor profile of the dish.
For the Yogurt Bowl
- Plain Greek yogurt – Acts as the creamy base for the bowl; can be replaced with any yogurt, including non-dairy options.
- Granola – Provides vital crunch and texture; consider using chopped nuts like almonds or walnuts for a different crunch.
Get ready to indulge in a delightful Roasted Cherry Yogurt Bowl, where every ingredient works together to create an incredible flavor experience!
Step‑by‑Step Instructions for Roasted Cherry Yogurt Bowl
Step 1: Preheat the Oven
Begin by preheating your oven to 400°F (200°C). While the oven heats up, prepare a baking sheet by lining it with parchment paper to ensure the roasted cherries don’t stick. This step is crucial for achieving that beautiful caramelization that defines your Roasted Cherry Yogurt Bowl.
Step 2: Prepare the Cherries
While the oven is heating, pit the sweet cherries and slice them in half. You can use a cherry pitter for this task, which makes the process quicker and easier. Engaging with these vibrant, fresh cherries sets the stage for transforming ordinary yogurt into an extraordinary treat.
Step 3: Mix the Cherry Ingredients
In a medium-sized bowl, combine the halved cherries with lime juice, vanilla extract, cane sugar, a pinch of salt, and melted coconut oil. Stir the mixture gently until the cherries are evenly coated. This will enhance their natural sweetness and create a syrupy glaze as they roast, adding essential flavor to your Roasted Cherry Yogurt Bowl.
Step 4: Spread Cherries on Baking Sheet
Pour the cherry mixture out onto the prepared baking sheet, spreading it in a single layer to ensure even roasting. This allows the heat to circulate around each cherry, achieving that perfect caramelization. Once spread evenly, it’s time to pop the baking sheet into the oven.
Step 5: Roast the Cherries
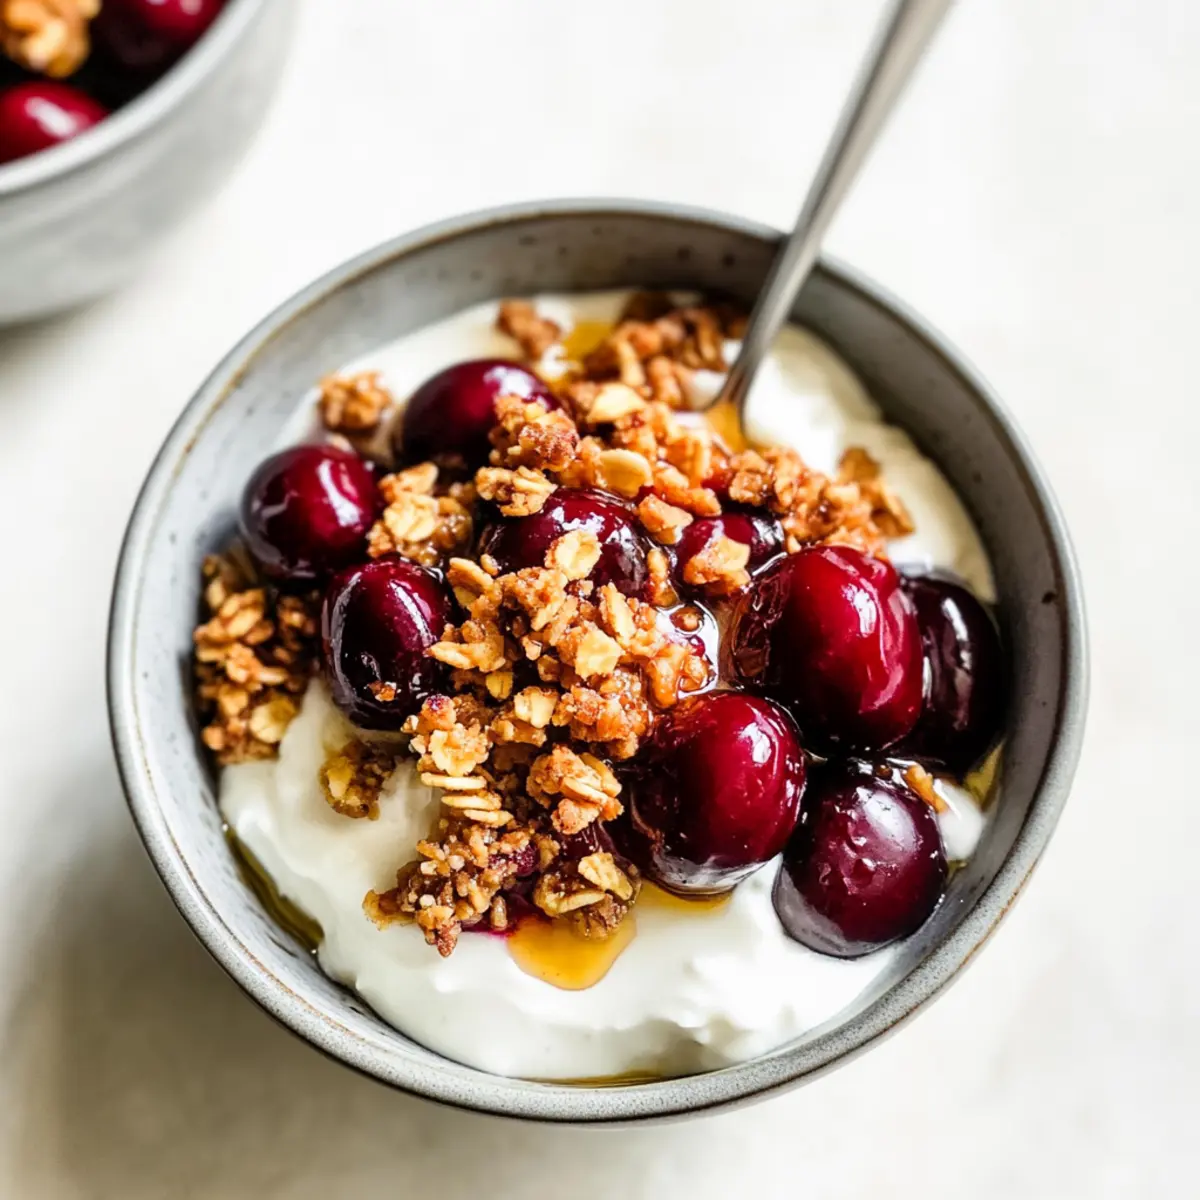
Roast the cherries in the preheated oven for about 18 minutes. You’ll know they’re done when they shrink slightly and develop a lovely golden-brown color, along with a syrupy consistency. The delightful aroma filling your kitchen means your delicious Roasted Cherry Yogurt Bowl is almost ready!
Step 6: Cool the Cherries
After roasting, remove the baking sheet from the oven and let the cherries cool for about 5 minutes. This brief cooling period is important to prevent curdling when combined with the Greek yogurt. Your warm, caramelized cherries will soon become the star of this indulgent dish.
Step 7: Assemble the Yogurt Bowl
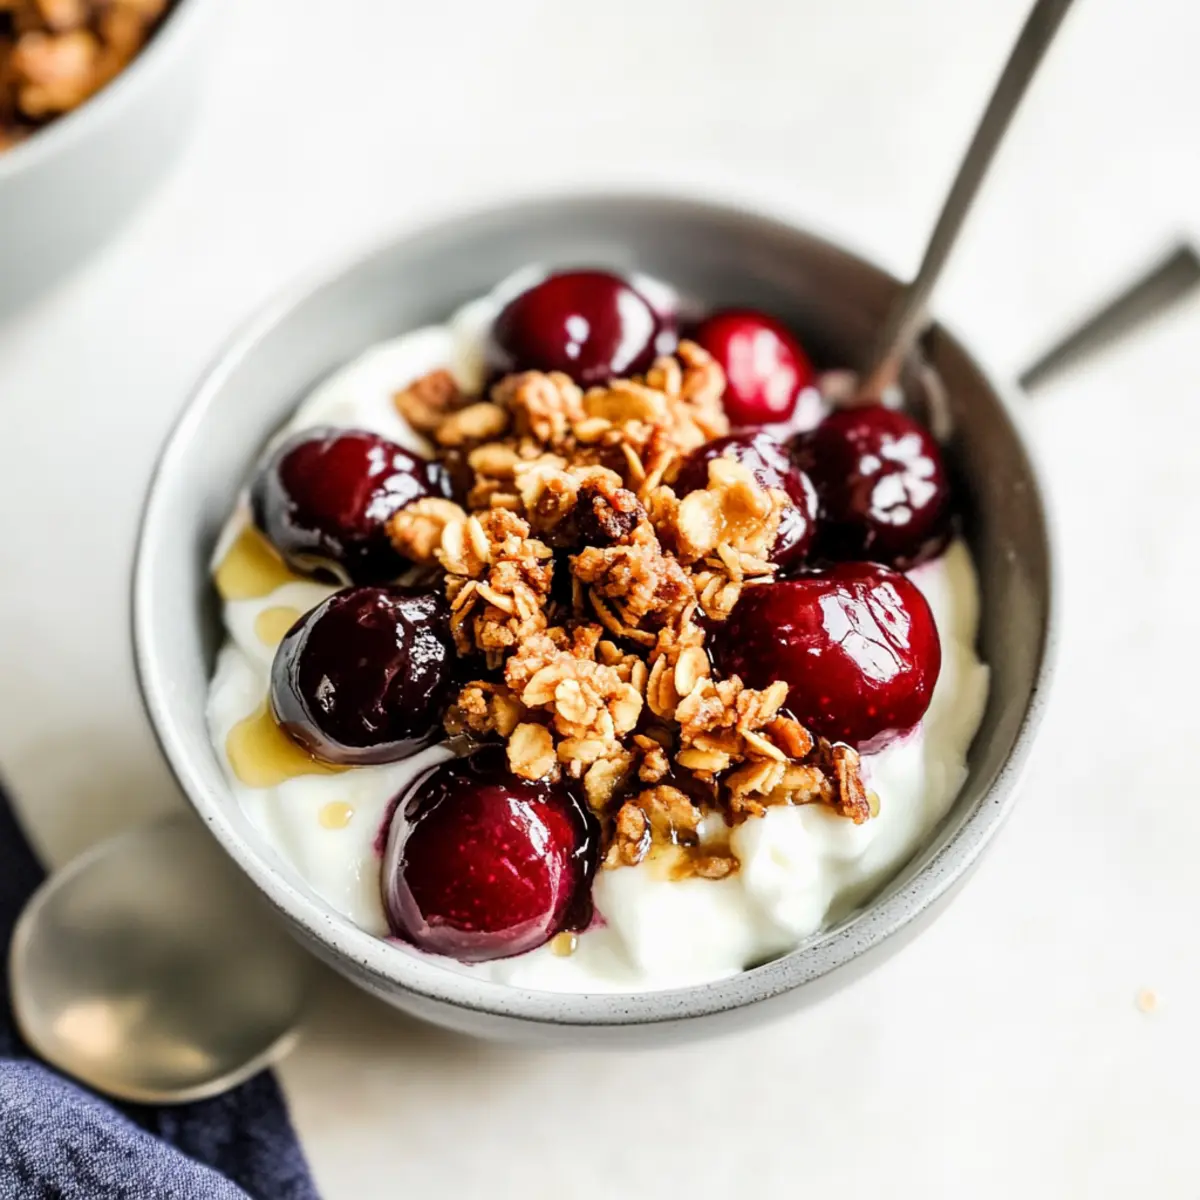
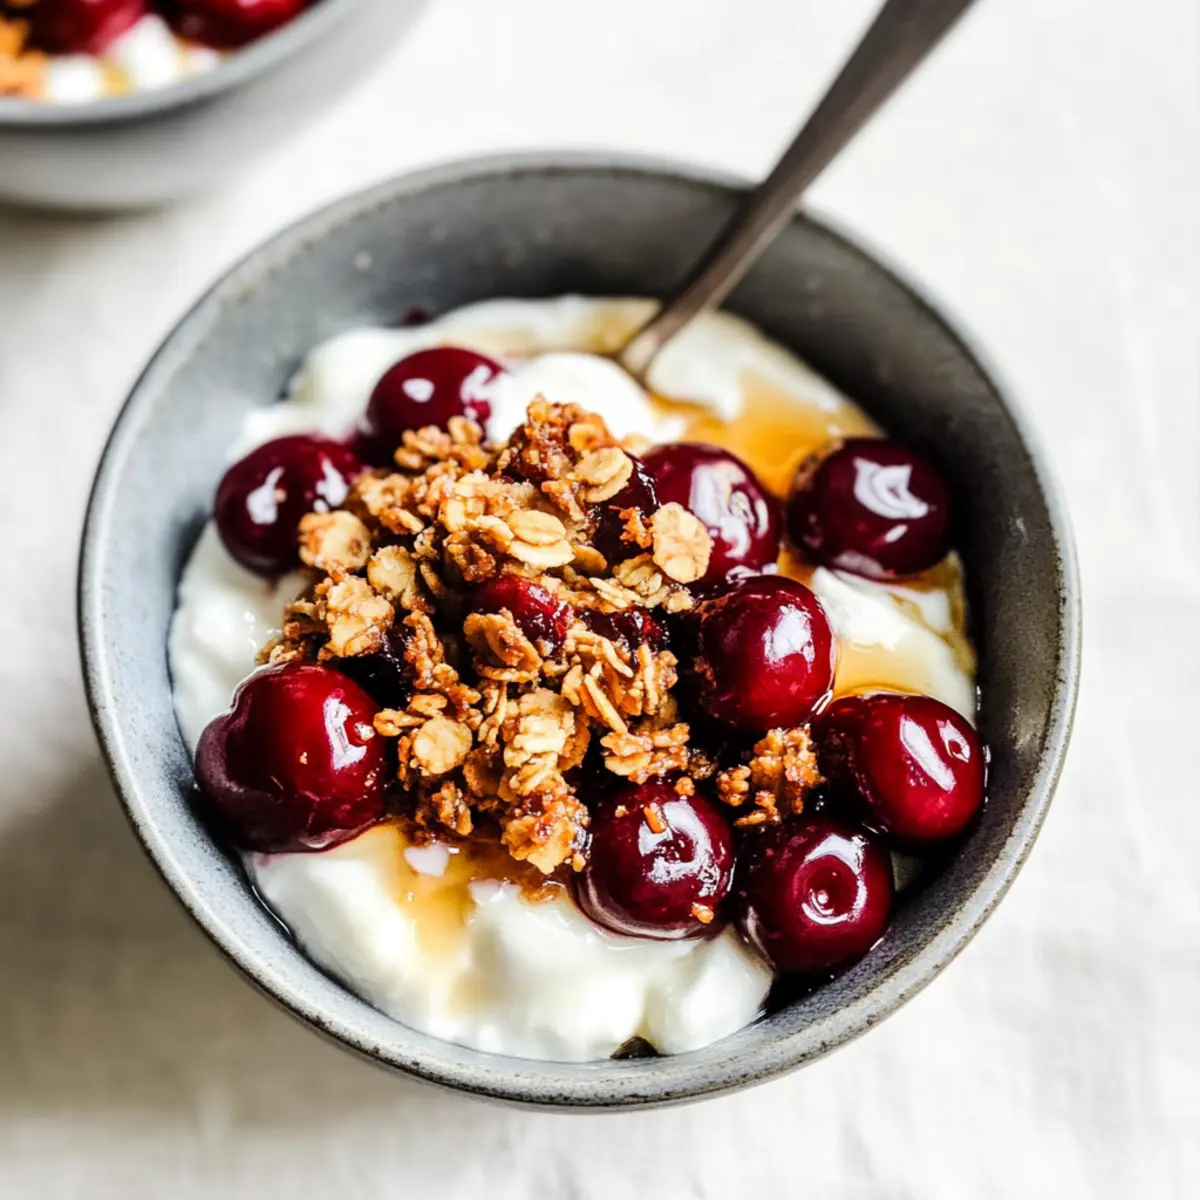
To assemble your Roasted Cherry Yogurt Bowl, scoop creamy Greek yogurt into a serving bowl. Top it generously with the warm roasted cherries, allowing some of the syrup to drizzle down the sides. Add a sprinkle of granola for a satisfying crunch, heightening the indulgence of this delightful breakfast or snack.
Step 8: Serve Immediately
Once assembled, serve your Roasted Cherry Yogurt Bowl immediately, allowing the warm cherries to provide a comforting contrast against the cool yogurt. If you have any leftover roasted cherries, store them in a sealed container in the refrigerator for up to a week to enjoy later!
Roasted Cherry Yogurt Bowl Variations
Feel free to get creative and make this scrumptious Roasted Cherry Yogurt Bowl your own with these delightful twists!
-
Fruit Swap: Substitute sweet cherries with seasonal fruits like ripe peaches or juicy blueberries for a refreshing take.
-
Citrus Delight: Use lemon juice instead of lime juice to give your cherries a zesty flair that brightens the dish beautifully.
-
Natural Sweeteners: Replace cane sugar with honey or maple syrup for a more natural sweetness that complements the fruit’s flavor.
-
Nutty Crunch: Try chopped nuts (almonds, pecans, or walnuts) in place of granola to introduce a protein-packed crunch.
-
Rich and Creamy: Opt for coconut yogurt or almond yogurt for a dairy-free alternative that keeps the bowl luscious and satisfying.
-
Spicy Kick: Add a pinch of cayenne pepper to the cherry mixture before roasting for a surprising touch of heat that balances the sweetness.
-
Savory Twist: Mix in some herb-infused olive oil with your warm cherries for a unique savory flavor profile that pairs surprisingly well with Greek yogurt.
-
Extra Flavor: Drizzle your bowl with vanilla or salted caramel sauce for an extra layer of indulgence that transforms this dish into a gourmet dessert.
If you’re on a flavor quest, try serving it alongside some Kofta Garlic Yogurt for a delightful contrast or enjoy a bowl of Longevity Soup for a refreshing complement to your yogurt treat!
Expert Tips for the Best Roasted Cherry Yogurt Bowl
- Cherry Preparation: Make life easier by using a cherry pitter. If you don’t have one, a metal straw can work as a makeshift alternative, ensuring smooth prep.
- Cooling is Key: Remember to cool the roasted cherries for about 5 minutes before adding them to the yogurt. This helps maintain the great texture and prevents yogurt from curdling.
- Seasonal Swaps: Don’t hesitate to experiment! Seasonal fruits like peaches or blueberries can easily replace cherries, keeping your Roasted Cherry Yogurt Bowl fresh and exciting.
- Yogurt Options: For a creamier richness, stick with Greek yogurt. You can also opt for non-dairy alternatives like almond or oat yogurt if you prefer.
- Perfect Crunch: Choose your favorite granola or nuts for the topping. This adds a delightful contrast to the silky yogurt and sweet cherries, enhancing your bowl’s overall texture and flavor.
Make Ahead Options
These Roasted Cherry Yogurt Bowls are perfect for meal prep, allowing you to savor their deliciousness even on your busiest days! You can prepare the roasted cherries up to 3 days in advance. Simply roast your cherries, let them cool completely, and store them in a sealed container in the refrigerator. This will preserve their delightful texture and sweetness. When you’re ready to enjoy your bowl, just reheat the cherries gently before assembling. Scoop out your Greek yogurt, top it with the warm cherries, and sprinkle with granola for a quick and satisfying meal or snack. With these make-ahead options, you’ll have a gourmet treatment ready in no time!
What to Serve with Roasted Cherry Yogurt Bowl
Enjoying the vibrant flavors of this bowl can be elevated further by pairing it with some delightful accompaniments.
-
Crispy Bacon: The salty crunch of crispy bacon provides a savory contrast to the sweet cherries, balancing the dish beautifully.
-
Toasted Bread Slices: Lightly toasted bread slathered with creamy butter makes for a simple yet comforting side that complements the richness of yogurt.
-
Fresh Mint Tea: A warm cup of mint tea offers a refreshing herbal note, cleansing your palate and enhancing the natural sweetness of the cherries.
-
Almonds: Chopped or slivered almonds bring a nutty crunch that pairs wonderfully with the creamy yogurt and caramelized cherries.
-
Mixed Green Salad: A light salad with a zesty vinaigrette adds a fresh element and texture, creating a colorful and balanced meal.
-
Dark Chocolate Shavings: For those with a sweet tooth, a sprinkle of dark chocolate shavings brings an indulgent touch that resonates with the luscious roasted cherries.
Feel free to mix and match these sides for a delightful, wholesome experience!
Storage Tips for Roasted Cherry Yogurt Bowl
- Fridge: Store leftover roasted cherries in a sealed container in the refrigerator for up to one week. Allow them to cool completely before refrigerating to maintain texture.
- Freezer: If you’re looking to enjoy the roasted cherries later, freeze them in a single layer, then transfer to an airtight container for up to 3 months.
- Reheating: When you’re ready to enjoy your Roasted Cherry Yogurt Bowl, simply reheat the frozen cherries in the microwave for about 30 seconds, or until warm, before serving over yogurt.
- Prep in Advance: You can prepare the roasted cherries in advance and refrigerate them to make your breakfast assembly quick and easy. Just reheat and serve for a delightful, hassle-free meal!
Roasted Cherry Yogurt Bowl Recipe FAQs
What are the best cherries to use for this recipe?
Absolutely! Northwest-grown sweet cherries are fantastic for this dish due to their natural sweetness and vibrant flavor. However, if they’re unavailable, regular sweet cherries will do just fine. Just ensure they are ripe with no dark spots to guarantee the best taste.
How do I store leftover roasted cherries?
To keep your roasted cherries fresh, allow them to cool completely before placing them in a sealed container. They will stay good in the refrigerator for up to one week. Remember, the cooler they are before you seal them, the better the texture will remain!
Can I freeze roasted cherries?
Yes, you can! To freeze roasted cherries, spread them in a single layer on a parchment-lined baking sheet and freeze until solid, about 2 hours. Then transfer them to an airtight container and store for up to 3 months. When you’re ready to use them, just reheat in the microwave for about 30 seconds.
What should I do if my cherries aren’t caramelizing well?
If your cherries aren’t caramelizing properly, ensure you’re using enough sugar and coconut oil to promote caramelization. It’s also important to spread them in a single layer on the baking sheet so they roast evenly without steaming. If they’re still not browning after the full roasting time, consider increasing the oven temperature by 25°F for the last few minutes.
Is this recipe suitable for those with dairy allergies?
Very! You can easily substitute the Greek yogurt with any non-dairy yogurt alternative, such as almond or coconut yogurt. This way, everyone can enjoy the deliciousness of a Roasted Cherry Yogurt Bowl without worrying about dairy allergies.
How long will the roasted cherries last in the fridge?
The roasted cherries can be stored in a sealed container in the refrigerator for up to one week. Just remember to cool them thoroughly before refrigeration to maintain their delightful texture!
Indulge in a Roasted Cherry Yogurt Bowl Bliss
Ingredients
Equipment
Method
- Preheat the oven to 400°F (200°C) and line a baking sheet with parchment paper.
- Pit the sweet cherries and slice them in half.
- In a medium bowl, combine halved cherries, lime juice, vanilla extract, cane sugar, salt, and melted coconut oil, stirring gently until coated.
- Spread the cherry mixture in a single layer on the baking sheet.
- Roast the cherries in the preheated oven for about 18 minutes until golden-brown and syrupy.
- Remove from the oven and let cherries cool for about 5 minutes.
- Scoop Greek yogurt into a serving bowl and top with warm roasted cherries and a sprinkle of granola.
- Serve immediately.
Leave a Reply