
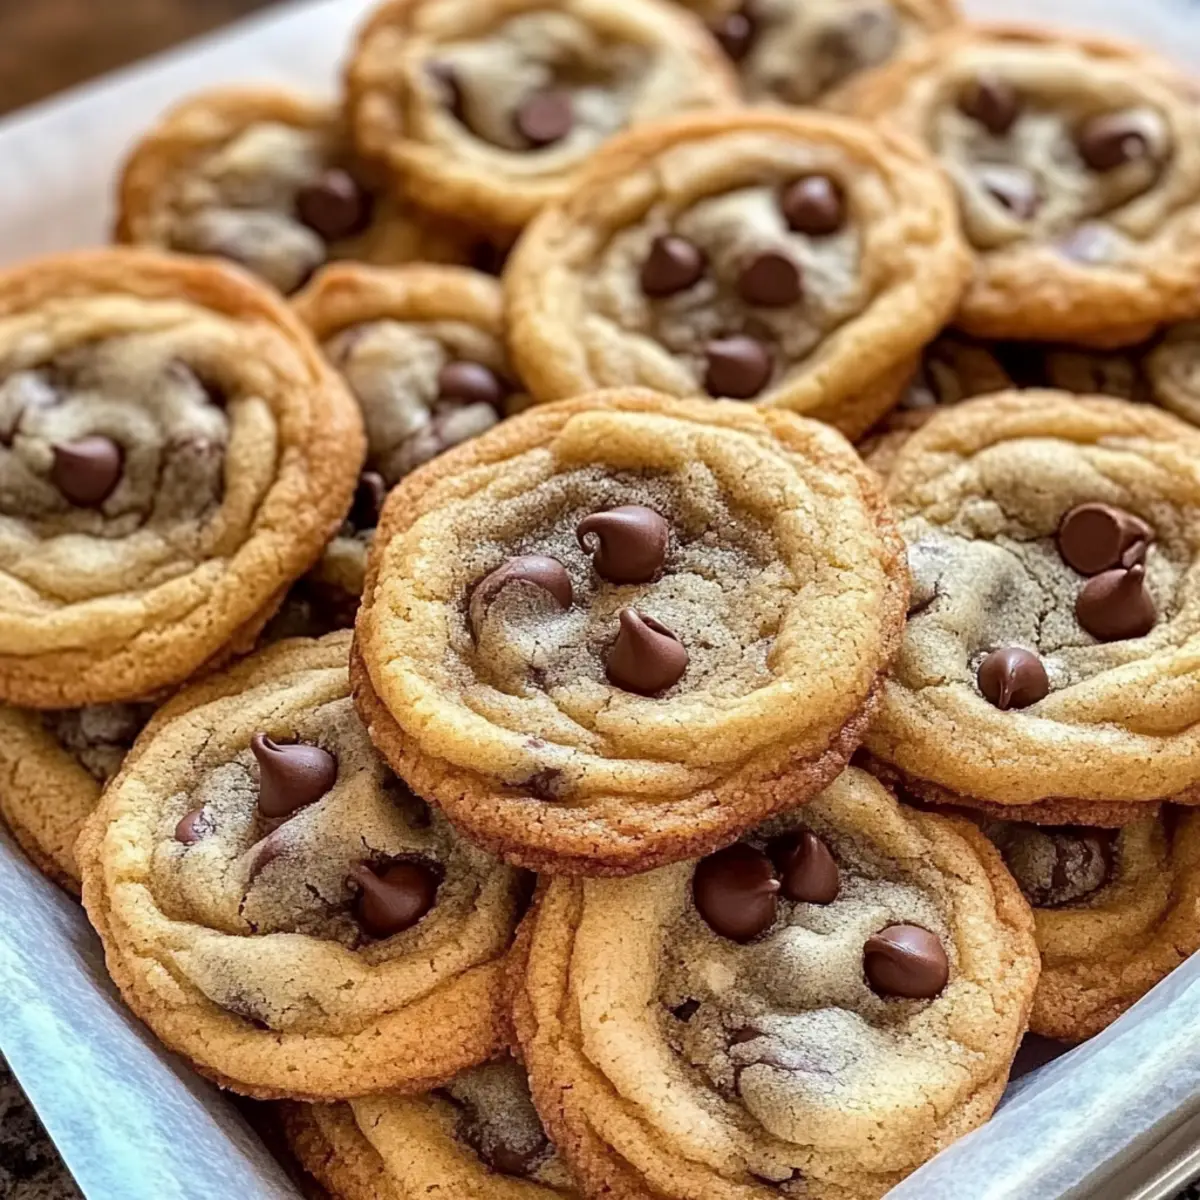
As I pulled a tray of Chewy Rippled Chocolate Chip Cookies from the oven, the nostalgic scent of baking filled my kitchen, instantly whisking me back to my childhood. There’s something magical about cookies that meld soft centers with crisp edges, and these delightful treats do just that, showcasing a signature “ripple” surface that makes them irresistibly unique. Not only are they a quick weeknight escape from the humdrum of takeout, but they also stand out as a show-stopping dessert for any gathering. With mini chocolate chips nestled throughout that melt deliciously, it’s hard to have just one. Do you think your friends and family can resist this tempting twist on a classic?
What Makes These Cookies Stand Out?
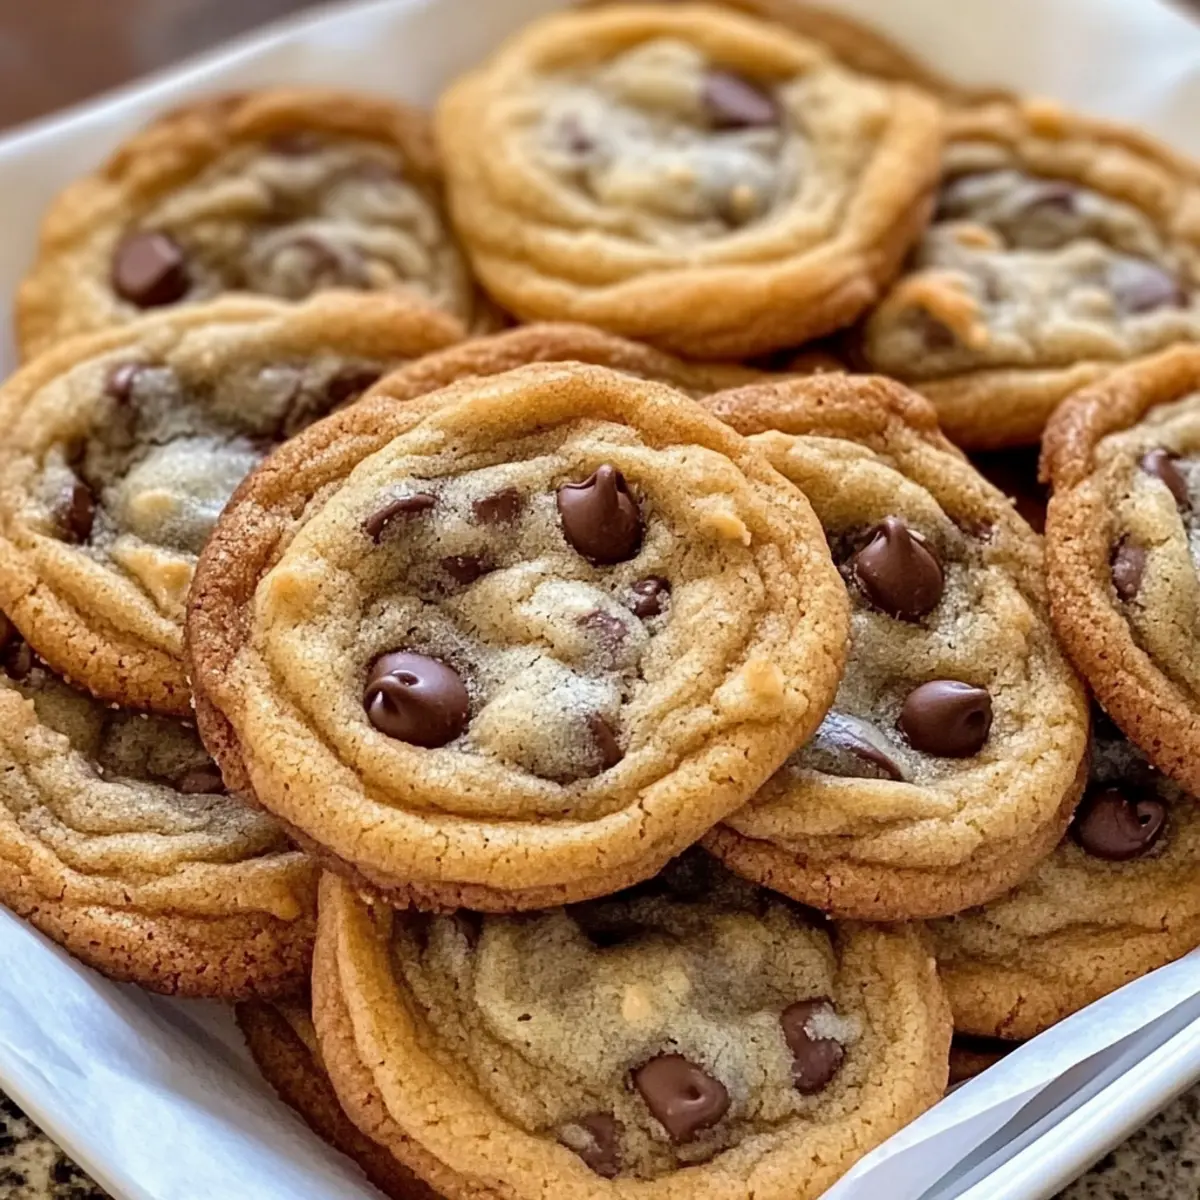
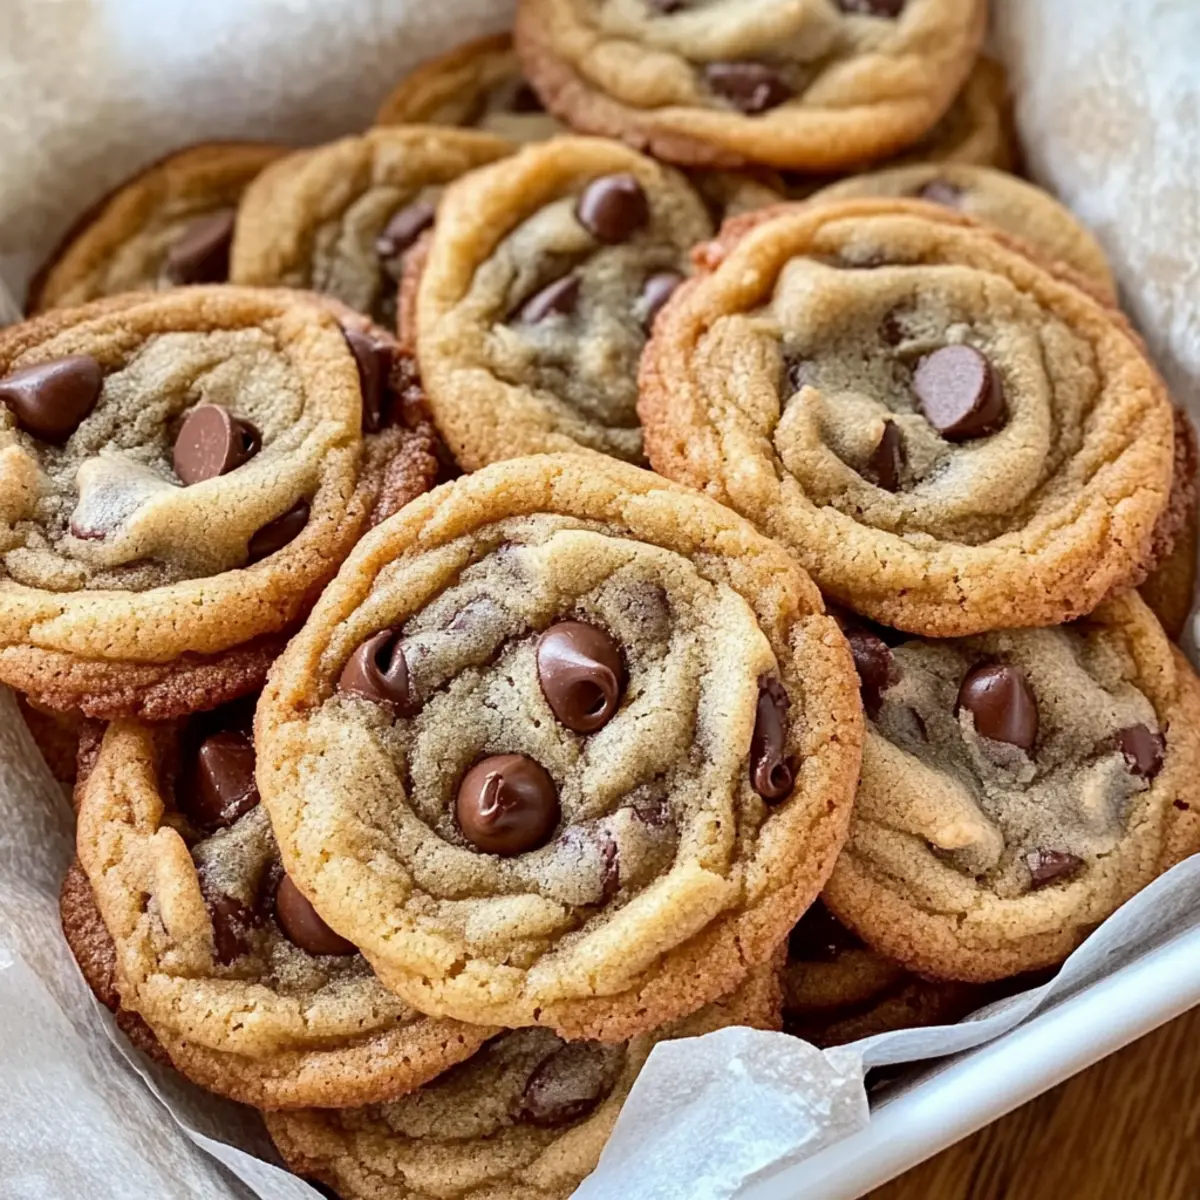
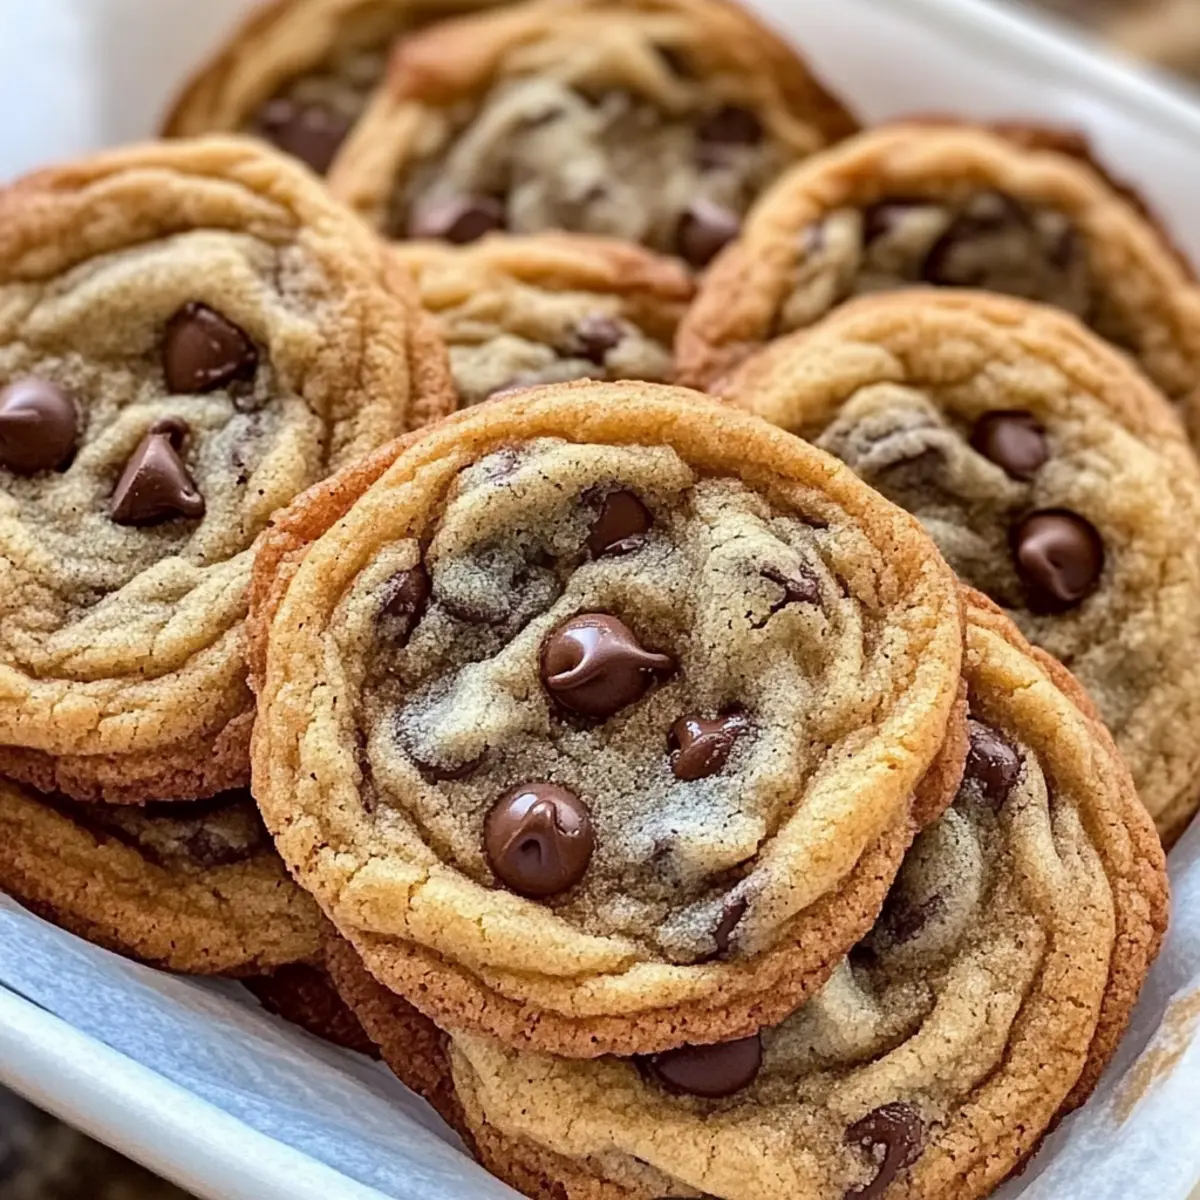
Uniqueness: The signature ripple creates a stunning texture, turning an ordinary cookie into a show-stopper.
Flavor Explosion: Packed with mini chocolate chips, every bite is a delightful burst of chocolate goodness that melts in your mouth.
Easy to Make: Don’t worry if you’re a beginner; this simple recipe requires just a few common ingredients and straightforward steps.
Perfect for Sharing: These Chewy Rippled Chocolate Chip Cookies are ideal for gatherings or a cozy night in—everyone will love them! Pair with a glass of milk for the ultimate treat or check out other variations like my Ferrero Rocher Cookies for more chocolatey inspiration.
Versatile Options: Feel free to experiment with different chocolate chips or even add nuts for an extra crunchy twist.
Rippled Chocolate Chip Cookies Ingredients
• Let’s get baking with the essentials!
For the Cookie Batter
- All-Purpose Flour – Provides the structure needed for your cookies. Optional: Weigh for best results.
- Salt – Balances the sweetness beautifully; it’s essential for enhancing flavor.
- Baking Soda – Helps the cookies rise and spread evenly for that perfect texture.
- Light Brown Sugar – Adds moisture and a deliciously chewy texture when packed.
- Granulated Sugar – Contributes to those delightful crisp edges.
- Unsalted Butter – Creates that signature soft texture; be sure it’s properly softened. Substitution: Dairy-free butter can work but may alter texture.
- Vanilla Extract – Elevates the flavor profile, making these cookies even more delightful.
- Large Eggs – Adds both moisture and richness for that chewy bite.
- Mini Chocolate Chips – The star of the cookie, providing melt-in-your-mouth chocolate goodness.
Get ready to whip up these delicious Rippled Chocolate Chip Cookies!
Step‑by‑Step Instructions for Chewy Rippled Chocolate Chip Cookies
Step 1: Dough Prep
In a large mixing bowl, begin by creaming together 1 cup of softened unsalted butter with ¾ cup of light brown sugar and ¾ cup of granulated sugar using an electric mixer on medium speed for about 2-3 minutes until the mixture is fluffy and light in color. Add in 2 large eggs and 1 teaspoon of vanilla extract, mixing until just incorporated, creating a rich and smooth cookie base.
Step 2: Combine Dry Ingredients
In a separate medium bowl, whisk together 2 ¼ cups of all-purpose flour, 1 teaspoon of baking soda, and ½ teaspoon of salt until thoroughly mixed. This dry mixture is crucial for the structure of your Chewy Rippled Chocolate Chip Cookies, so make sure there are no lumps. Set this dry mixture aside as you prepare to combine it with the wet ingredients.
Step 3: Mix Wet and Dry
Gradually add the dry ingredients to the buttery mixture, mixing on low speed until just combined—about 30 seconds. Be careful not to overmix, as this can affect the texture of your cookies. Gently fold in 1 cup of mini chocolate chips with a spatula, ensuring they’re evenly distributed throughout the dough for that melty chocolate goodness in every bite.
Step 4: Shape Cookies
Line a baking sheet with parchment paper to prevent sticking. Using a cookie scoop or a rounded tablespoon, scoop dough balls and place them on the prepared baking sheet, leaving about 2 inches of space between each to allow for spreading. You should have around 12 dough mounds per standard baking sheet, creating the perfect setup for your Rippled Chocolate Chip Cookies.
Step 5: Bake
Preheat your oven to 375°F (190°C) and when ready, place the baking sheet in the center of the oven. Bake the cookies for 8-10 minutes, watching closely until the edges are golden and firm while the centers appear slightly soft and underbaked—a sign they’ll continue to cook while cooling.
Step 6: Create Ripples
With about 2-3 minutes left on the timer, carefully pull the baking sheet from the oven and gently tap it against the countertop 3-4 times. This will create the signature rippled effect on the surface of your cookies, resulting in an attractive texture that makes your Chewy Rippled Chocolate Chip Cookies stand out.
Step 7: Cool
Allow the cookies to cool on the baking sheet for 5 minutes, letting them firm up slightly. Then, using a spatula, transfer the cookies to a wire rack to cool completely. This finishing step is essential to ensure the cookies maintain their chewy centers and crisp edges, perfect for an irresistible treat.
Make Ahead Options
These Chewy Rippled Chocolate Chip Cookies are perfect for meal prep enthusiasts! You can prepare the cookie dough up to 4 days in advance, storing it in an airtight container in the refrigerator. Alternatively, you can also freeze the dough for up to 3 months; simply scoop the dough balls onto a baking sheet, freeze until solid, then transfer to a zip-top bag. When you’re ready to bake, just preheat your oven and bake the frozen dough for an extra minute or two. This way, you can enjoy fresh, warm cookies without the hassle of last-minute baking. Trust me, they will be just as delicious when baked from the chilled or frozen state!
Rippled Chocolate Chip Cookies Variations
Feel free to explore these fun twists to make your cookies truly unique and catered to everyone’s taste!
-
Sea Salt: Sprinkle flaky sea salt on top right before baking for a delightful sweet-salty contrast that will elevate every bite.
-
Nutty Texture: Add ½ cup of chopped nuts such as pecans or walnuts to the dough for a crunchy surprise and a nuttier flavor profile.
-
Dark Chocolate: Swap out the mini chocolate chips for dark chocolate chunks to deepen the flavor and add a touch of richness with every bite.
-
Dairy-Free Delight: Use dairy-free butter substitutes to make these cookies suitable for those sensitive to dairy. Keep in mind that this may slightly alter the texture.
-
Flavored Extracts: Try adding a splash of almond or coconut extract along with the vanilla for a unique twist that will surprise your taste buds.
-
Spicy Kick: Incorporate a pinch of cayenne pepper or cinnamon into the dough for a warm, spicy undertone that contrasts beautifully with the sweetness.
-
Cookie Sandwiches: For an indulgent treat, create cookie sandwiches using your favorite frosting or ice cream between two cookies, and serve a delicious twist at gatherings.
-
Check Out More: Don’t stop here! If you love the chocolate factor, you’ll want to try my Ferrero Rocher Cookies or Neiman Marcus Cookies for additional inspiration.
What to Serve with Chewy Rippled Chocolate Chip Cookies
Pairing these delightful cookies with the right accompaniments can transform your treat into a breathtaking dessert experience.
- Cold Milk: The classic pairing elevates the cookie experience, as the creamy milk perfectly complements the rich chocolate flavors.
- Vanilla Ice Cream: A scoop of this creamy delight transforms your cookies into an indulgent dessert sundae with delicious melt-in-your-mouth moments.
- Fresh Berries: Bright, juicy strawberries or raspberries provide a refreshing contrast to the sweet, rich cookies, adding a burst of tartness.
- Hot Chocolate: Cozy up with a steaming cup of hot chocolate, amplifying the chocolatey goodness of the cookies while keeping you warm on chilly days.
- Whipped Cream: A dollop of fluffy whipped cream on the side makes for a luxurious texture that pairs beautifully with the cookies’ chewy goodness.
- Espresso or Coffee: The rich, bold flavors of coffee enhance the sweetness of the cookies, creating a delightful afternoon pick-me-up.
- Flaky Sea Salt: Sprinkling a dash of flaky sea salt on top balances the sweetness and intensifies the chocolate flavors in each bite.
- Caramel Sauce: Serve with a drizzle of warm caramel for an added layer of richness and indulgence that elevates the cookie experience.
- Cheesecake Dip: A creamy cheesecake dip makes for a fun, interactive treat where you can casually dip your cookies to savor every bite.
How to Store and Freeze Rippled Chocolate Chip Cookies
Room Temperature: Keep baked cookies in an airtight container for up to 3-5 days to maintain their delicious texture and flavor.
Fridge: If you prefer to store them longer, pop them in the fridge in an airtight container for up to 1 week. Just allow them to come to room temperature before enjoying!
Freezer: For long-term storage, freeze the cookies in a zip-top bag for up to 3 months. Ensure they’re completely cool before sealing to prevent freezer burn.
Reheating: To enjoy your frozen Rippled Chocolate Chip Cookies, simply thaw them at room temperature, or pop them in a 350°F oven for a few minutes to warm up and regain their delightful chewiness.
Tips for the Best Rippled Chocolate Chip Cookies
-
Butter Softening: Make sure your butter is soft but not melted. Properly softened butter creates that desired texture for your Rippled Chocolate Chip Cookies.
-
Mixing Technique: Avoid overmixing once you add the flour. Gently combine ingredients to maintain a tender, chewy cookie that doesn’t become dense.
-
Cookie Spacing: Give your cookies adequate space when scooping them onto the baking sheet. This promotes even baking and allows them to spread properly.
-
Ripple Effect Timing: Remember to tap the baking pan against the counter just a few minutes before the cookies finish baking. This step is key for achieving the beautiful rippled surface.
-
Storage Tips: For ultimate freshness, store your cookies in an airtight container with a slice of bread or a paper towel. This helps keep them soft and delicious for days!
Rippled Chocolate Chip Cookies Recipe FAQs
What is the best way to choose ripe ingredients for these cookies?
Absolutely! When selecting ingredients, ensure your butter is soft but not greasy or melted, as this is crucial for the cookie’s texture. Look for large eggs that are fresh, and choose flour that’s free of lumps and properly measured—using a kitchen scale can be helpful for precision.
How should I store my baked Rippled Chocolate Chip Cookies?
For the best texture and freshness, store your baked cookies in an airtight container at room temperature for up to 3-5 days. If you want to keep them a bit longer, you can refrigerate them in an airtight container for up to a week, but let them warm to room temperature before you indulge!
Can I freeze my Rippled Chocolate Chip Cookies?
Certainly! Freezing your cookies is a great way to save them for later. Once they are completely cooled, place them in a zip-top bag, ensuring all the air is pressed out, and freeze for up to 3 months. When you’re ready to enjoy them, simply thaw them at room temperature or heat them in a 350°F oven for a few minutes to bring back their fresh-baked goodness.
What should I do if my cookie dough is too dry?
If your dough seems too dry, don’t worry! You can simply add a tablespoon of milk or water to the mixture, mixing gently until it holds together better. Remember, it’s essential to avoid overmixing, as this can alter the texture of your cookies. Sometimes, it helps to use room temperature butter, which can create a smoother dough.
Are these cookies safe for people with nut allergies?
Yes! The basic recipe for Rippled Chocolate Chip Cookies is generally nut-free; however, always check the labels on your chocolate chips and vanilla extract to ensure they do not contain any nut traces. If you serve these to individuals with allergies, it’s best to specify that they are made without nuts or any nut-containing ingredients.
Irresistibly Chewy Rippled Chocolate Chip Cookies Recipe
Ingredients
Equipment
Method
- Cream together the butter, light brown sugar, and granulated sugar for 2-3 minutes until fluffy.
- Whisk together the flour, baking soda, and salt in a separate bowl. Set aside.
- Gradually combine the dry ingredients with the creamed mixture, then fold in the mini chocolate chips.
- Scoop dough balls onto a lined baking sheet, leaving space between each.
- Preheat the oven to 375°F (190°C) and bake for 8-10 minutes until edges are golden.
- Tap the baking sheet against the countertop a few times to create ripples.
- Cool on the baking sheet for 5 minutes, then transfer to a wire rack to cool completely.
Leave a Reply