
The scent of buttery graham crackers wafted through my kitchen, instantly transporting me to sunny family gatherings filled with laughter and joy. This is what makes my Easy Philadelphia Cheesecake Bars an absolute must-try for any celebration. They are the epitome of dessert simplicity that packs a punch—delightfully creamy, perfectly sweet, and ready to charm your guests’ taste buds. With minimal prep time, even novice bakers can impress their loved ones without a hitch. Plus, the fun of customizing toppings makes each batch uniquely yours. So, are you ready to create a dessert that’s bound to be the star of your next party?
Why Are These Cheesecake Bars So Special?
Creaminess, these Philadelphia Cheesecake Bars boast a velvety texture that simply melts in your mouth, making every bite a delightful experience. Customization allows you to add your favorite toppings, whether it’s fresh fruits, chocolate, or caramel sauce—truly a dessert that fits any palate! Ease of Preparation means even beginners can whip these up in no time, while crowd-pleasing flavors make them a hit at any gathering. Finally, these bars are not just delicious; they’re also versatile, inviting you to experiment with ingredients—for example, swap the crust to try Pumpkin Cheesecake Cinnamon or add a zesty twist inspired by Caramel Brownie Cheesecake.
Philadelphia Cheesecake Bars Ingredients
For the Crust
• Graham Cracker Crumbs – Provides a crunchy and sweet base; feel free to substitute with any cookie crumb for a different flavor.
• Melted Butter – Binds the crust together; replacing it with coconut oil creates a dairy-free option that works beautifully.
For the Cheesecake Filling
• Cream Cheese (softened) – The star of the filling, offering richness and creaminess; ensure it’s softened for easy blending.
• Sugar – Sweetens the cheesecake; brown sugar can be used to add a deeper flavor and a touch of caramel.
• Vanilla Extract – Enhances the overall flavor with its lovely aroma; for gourmet flair, consider swapping it with vanilla bean paste.
• Large Eggs – Adds structure and stability to the cheesecake; using room-temperature eggs helps achieve a smooth mixture.
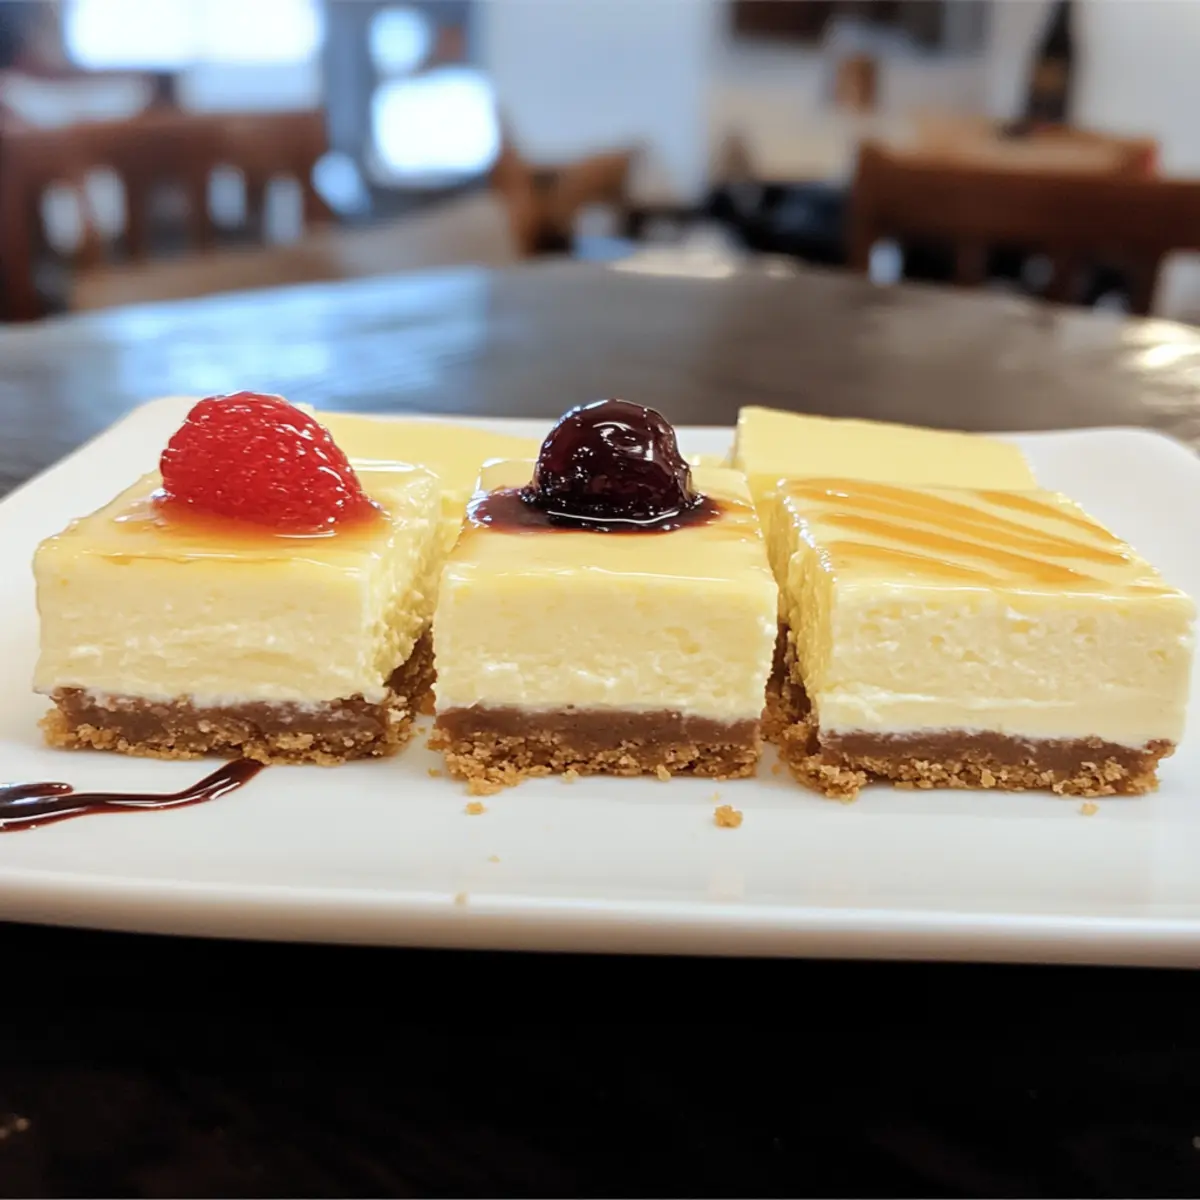
Optional Toppings
• Cherry Pie Filling – Add a burst of fruity flavor on top for a classic twist.
• Raspberry Pie Filling – Offers a deliciously tart contrast to the sweetness of the cheesecake bars.
• Chocolate Sauce – Drizzle on for those who crave a little extra indulgence.
• Caramel Sauce – Brings a sweet and buttery complexity, perfect for personalizing your dessert.
Embrace the magic of Philadelphia Cheesecake Bars—perfect for your next celebration!
Step‑by‑Step Instructions for Philadelphia Cheesecake Bars
Step 1: Preheat Your Oven
Begin by preheating your oven to 350°F (175°C). This temperature ensures your Philadelphia Cheesecake Bars will bake evenly and set perfectly. While the oven is heating up, gather your equipment: a 9×13 inch baking pan and parchment paper, which will make for easy removal later.
Step 2: Prepare the Baking Pan
Line your baking pan with parchment paper, allowing some overhang on the sides for easy lifting later on. This step is essential for successfully removing your cheesecake bars after they have cooled. Press the parchment securely into the corners of the pan to ensure it stays in place as you fill it.
Step 3: Make the Crust
In a mixing bowl, combine graham cracker crumbs with melted butter until the mixture resembles wet sand. Pour this mixture into the lined baking pan and press it firmly into an even layer using the bottom of a measuring cup or your hands. Bake the crust in the preheated oven for about 10 minutes or until lightly golden, then remove it to cool slightly.
Step 4: Prepare the Cheesecake Filling
In a large mixing bowl, beat softened cream cheese with sugar, vanilla extract, and eggs until the mixture is smooth and creamy, about 2-3 minutes using an electric mixer. Ensure there are no lumps for a silky filling that will spread evenly over the crust. This rich cheesecake filling is what makes your Philadelphia Cheesecake Bars truly delightful.
Step 5: Combine and Pour
Once the filling is smooth, pour it over the pre-baked graham cracker crust in the pan. Use a spatula to gently spread the filling evenly, reaching all corners of the crust. You should see a lovely contrast between the creamy filling and the golden crust—this visual cue indicates you’re ready for baking!
Step 6: Bake the Cheesecake Bars
Place the pan back into the oven and bake for 40 minutes, or until the center is just set and slightly jiggles when you move the pan. You want the edges to appear firm while the middle remains soft—this is key to achieving that melt-in-your-mouth texture.
Step 7: Cool and Refrigerate
After baking, remove the cheesecake bars from the oven and let them cool to room temperature. This cooling step is crucial for setting the texture. Once cooled, place the pan in the refrigerator for at least 1 hour to allow the cheesecake to firm up before serving.
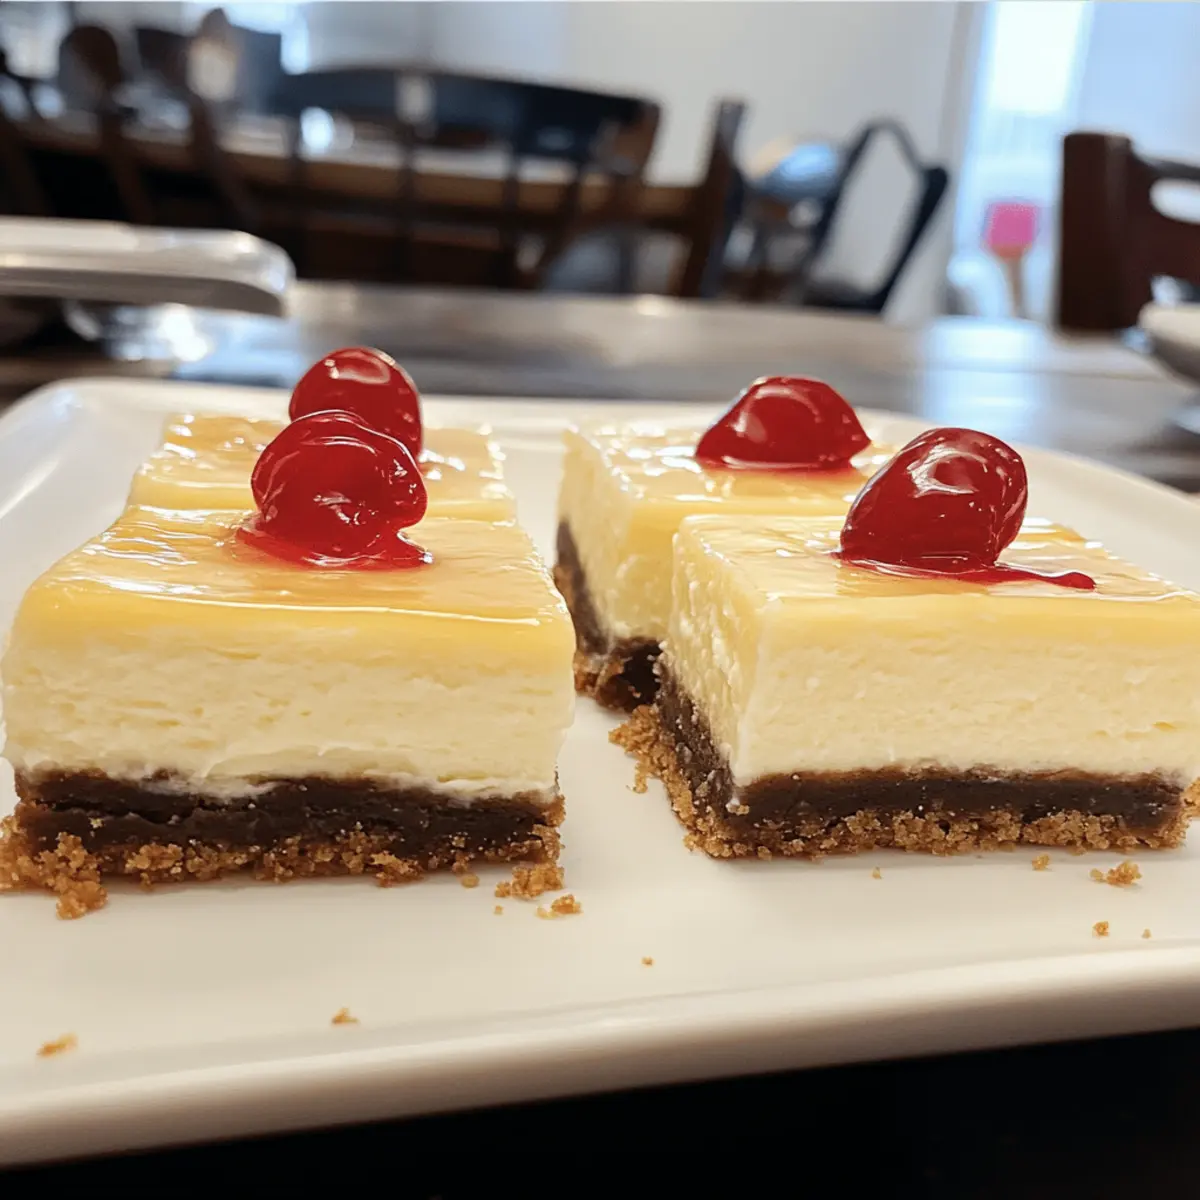
Step 8: Cut Into Squares
Using the edges of the parchment paper, lift the cheesecake out of the pan onto a cutting board for easy slicing. Cut your Philadelphia Cheesecake Bars into squares with a sharp knife for even portions. Wipe the knife between cuts to maintain clean edges, and make these bars as visually appealing as they are delicious.
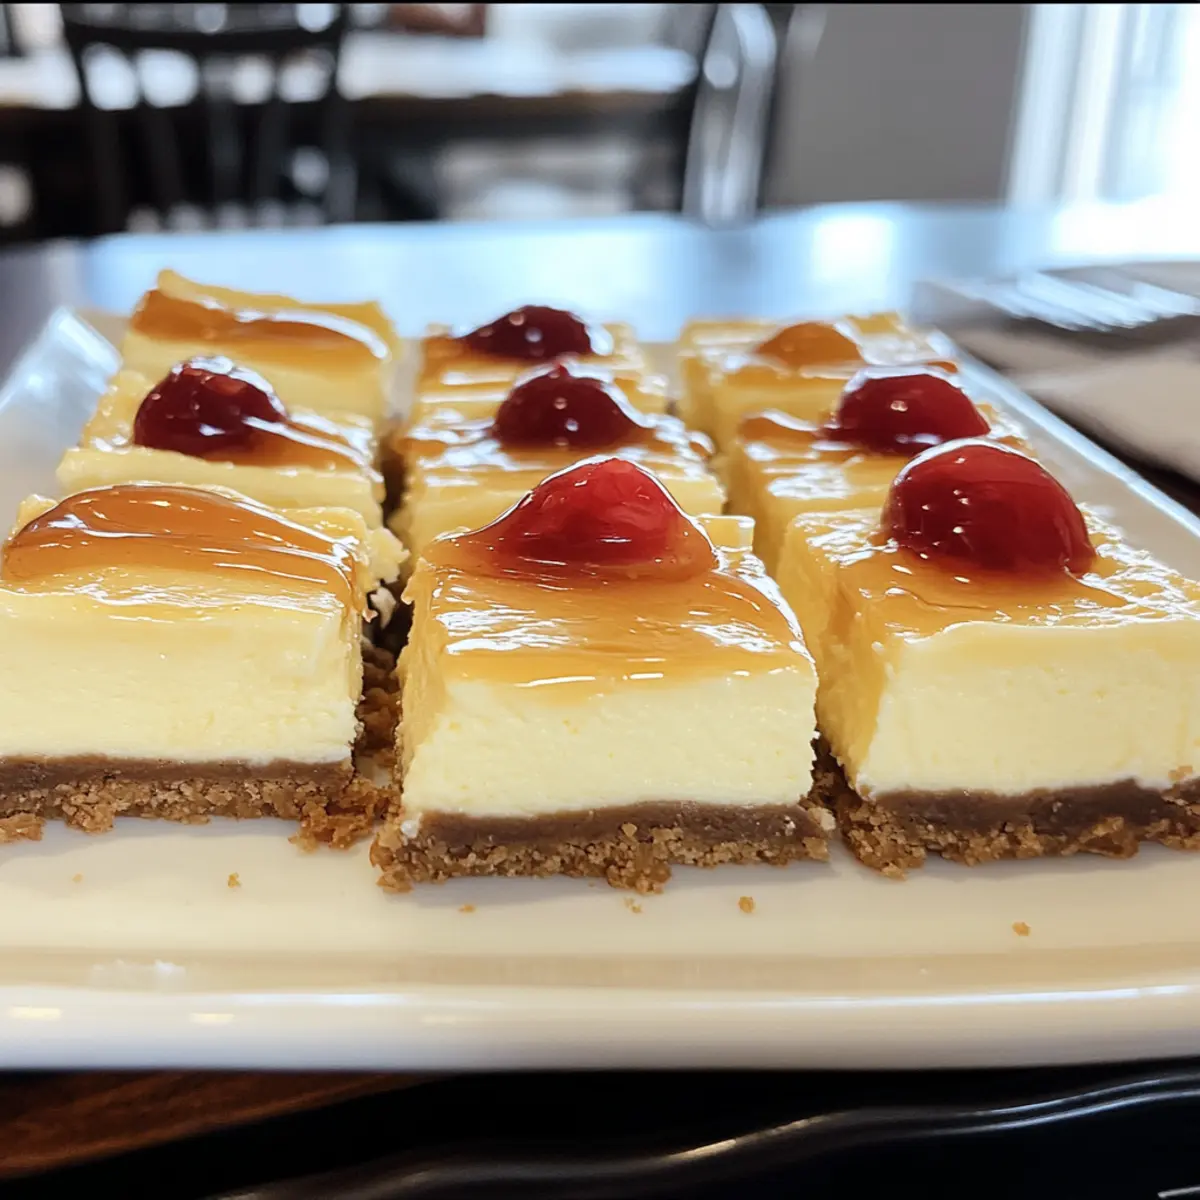
Step 9: Serve with Toppings
Your Philadelphia Cheesecake Bars are now ready to enjoy! Feel free to serve them plain or add your favorite toppings such as cherry pie filling, chocolate sauce, or caramel drizzle. Each topping offers a unique twist to elevate your dessert experience at any celebration.
Philadelphia Cheesecake Bars Variations
Feel free to explore these delightful tweaks that will make your Philadelphia Cheesecake Bars even more exciting!
-
Gluten-Free: Use gluten-free graham cracker crumbs or crushed nuts for the crust to keep everyone happy.
-
Chocolate Lovers: Fold in mini chocolate chips into the filling for that double-chocolate delight. It’s an indulgent twist that’s sure to please!
-
Fruity Freshness: Add a layer of fresh fruit like blueberries or strawberries beneath the cheesecake filling before baking to infuse a burst of flavor.
-
Nutty Crunch: Top the cheesecake with chopped nuts like pecans or walnuts for a delightful crunch and added texture.
-
Dairy-Free: Substitute cream cheese with a non-dairy alternative like vegan cream cheese to cater to dietary preferences without sacrificing taste.
-
Lemon Zest: Incorporate freshly grated lemon zest into the filling for a refreshing citrusy kick that brightens the whole dessert.
-
Dessert Nachos: Cut bars into triangles and serve with a drizzle of chocolate or caramel sauce alongside fresh fruit for a fun dessert nacho experience.
-
Layered Delight: Create a layered dessert by adding a fruit sauce between the crust and cheesecake, enhancing color and flavor, bringing your creation to a new level.
These variations are your invitation to personalize this classic dessert, turning it into something uniquely yours. If you’re in the mood for even more delicious inspirations, why not take a stroll over to my delightful Pumpkin Cheesecake Cinnamon or the rich and indulgent Caramel Brownie Cheesecake? There’s a world of flavors waiting for you!
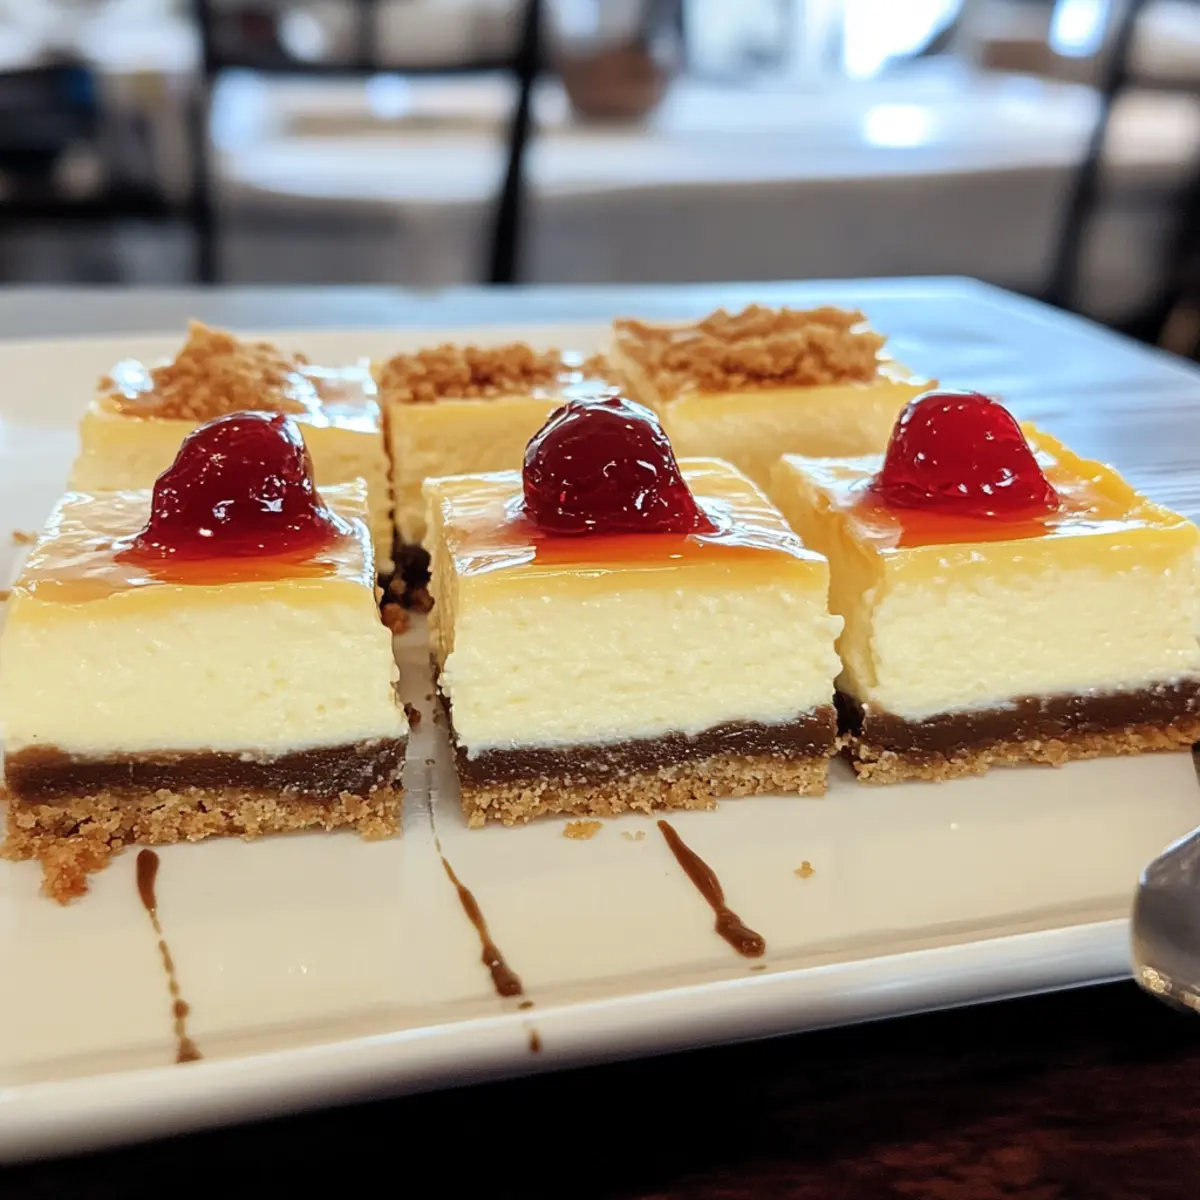
What to Serve with Easy Philadelphia Cheesecake Bars
Indulge your senses by creating a delightful spread that perfectly complements the creamy sweetness of these dessert bars.
- Fresh Berries: Serve a medley of strawberries, blueberries, and raspberries for a refreshing, tart contrast that brightens each bite.
- Whipped Cream: This light and airy topping adds a luscious finish, enhancing the dessert’s creaminess and making every square feel indulgent.
- Chocolate-Dipped Strawberries: For a touch of elegance and decadence, these sweet treats pair beautifully with the rich cheesecake flavor while providing a fun texture.
- Coffee or Espresso: The warm, robust notes of coffee offer a delightful balance to the sweetness, making it an ideal pairing for a cozy gathering.
- Caramel Sauce Drizzle: Elevate your cheesecake bars with a rich, buttery drizzle; the sweetness of caramel enhances the dessert while adding a luxurious touch.
- Vanilla Ice Cream: A scoop of creamy vanilla ice cream transforms each bar into a show-stopping dessert duo, perfect for warming up and cooling down your palate.
- Mint Leaves: A simple garnish not only beautifies the plate but also adds a refreshing pop of flavor that cuts through the richness beautifully.
- Nutty Granola: Sprinkling granola adds a delightful crunch, offering a wonderful texture contrast with the smooth cheesecake and buttery crust.
- Lemon Curd: This tart and creamy spread introduces a zesty brightness that can elevate the flavors of your cheesecake bars and tantalize your taste buds.
Make Ahead Options
These Philadelphia Cheesecake Bars are perfect for meal prep enthusiasts! You can prepare the crust and cheesecake filling up to 24 hours in advance. Simply follow the first three steps of the recipe, then cover the unbaked crust tightly with plastic wrap and refrigerate it. For the filling, mix it as instructed and store it in an airtight container in the fridge. When you’re ready to bake, pour the filling over the chilled crust and proceed with the baking steps. This not only saves time for busy weeknights but ensures your bars are just as delicious when you serve them fresh out of the oven!
Expert Tips for Perfect Philadelphia Cheesecake Bars
-
Room Temperature Ingredients: Ensure all dairy ingredients, especially cream cheese and eggs, are at room temperature for a smoother filling and better mixing.
-
Cutting Cleanly: Before cutting your bars, wipe your knife with a damp cloth between slices. This ensures neat edges and a more professional appearance for your Philadelphia Cheesecake Bars.
-
Check for Doneness: The center of the cheesecake should jiggle slightly when the bars are done baking. Avoid overbaking for that perfect melt-in-your-mouth texture.
-
Plan Ahead: For the best flavor, consider making your cheesecake bars a day ahead. This allows them to set properly and enhances their taste.
-
Experiment with Flavors: Don’t hesitate to try new toppings or variations, like adding lemon zest to the filling or using crushed Oreos for the crust, to personalize your Philadelphia Cheesecake Bars.
How to Store and Freeze Philadelphia Cheesecake Bars
-
Fridge: Store your cheesecake bars in an airtight container in the refrigerator for up to 1 week, ensuring they remain fresh and delicious for all those sweet cravings.
-
Freezer: For longer storage, wrap the bars individually in plastic wrap and then in aluminum foil before placing them in a freezer-safe container. They can be frozen for up to 3 months.
-
Thawing: To enjoy frozen Philadelphia Cheesecake Bars, transfer them to the fridge and allow them to thaw overnight before serving. This helps maintain their creamy texture.
-
Reheating: If you prefer a warm dessert, you can reheat the bars in the microwave for 10-15 seconds, just until the filling is slightly warm. Enjoy with your favorite toppings!
Philadelphia Cheesecake Bars Recipe FAQs
What ingredients should I choose for the cheesecake filling?
Absolutely! When selecting cream cheese, look for high-fat varieties, as they offer the best texture. Ensure it’s softened to room temperature; this prevents lumps and ensures a silky filling. For sugar, granulated white sugar is common, but brown sugar can add a delightful caramel undertone.
How long can I safely store my Philadelphia Cheesecake Bars?
You can keep your cheesecake bars in an airtight container in the refrigerator for up to 1 week. Just make sure to cover them well to prevent any absorption of other odors or flavors in your fridge.
Can I freeze the cheesecake bars, and how?
Yes, you can freeze them! Wrap each cheesecake bar individually in plastic wrap and then in aluminum foil to prevent freezer burn. Place them in a freezer-safe container or a zip-lock bag. They can be frozen for up to 3 months. To enjoy, just move them to the refrigerator a day prior to serving and let them thaw overnight.
What should I do if my cheesecake bars crack during baking?
Very often, cracks appear due to overbaking or sudden temperature changes. To avoid this, make sure to bake them at the correct temperature and not overbake—look for just a slight jiggle in the center when it’s done. If your bars do crack, don’t worry! You can cover them with a luscious topping like chocolate sauce or fresh fruit to make them look beautiful again.
Are these cheesecake bars suitable for people with dietary restrictions?
Definitely! To adapt for dietary needs, you can substitute ingredients such as using coconut oil in place of butter for a dairy-free version. Additionally, if someone has a gluten intolerance, using gluten-free cookie crumbs for the crust is also a great option.
How can I make my cheesecake bars even more flavorful?
I recommend adding lemon zest to the filling mix for a refreshing citrus twist or using flavored extracts like almond or hazelnut. These simple enhancements really elevate your Philadelphia Cheesecake Bars and make them uniquely yours!
Creamy Philadelphia Cheesecake Bars for Your Next Party
Ingredients
Equipment
Method
- Preheat your oven to 350°F (175°C).
- Line your baking pan with parchment paper, allowing some overhang for easy lifting.
- Combine graham cracker crumbs with melted butter until it resembles wet sand. Press into the lined pan and bake for about 10 minutes.
- Beat softened cream cheese with sugar, vanilla extract, and eggs until smooth.
- Pour the filling over the pre-baked crust and spread evenly.
- Bake for 40 minutes, until the center jiggles slightly.
- Let cool to room temperature, then refrigerate for at least 1 hour.
- Lift out of the pan, cut into squares, and serve with toppings.
Leave a Reply