
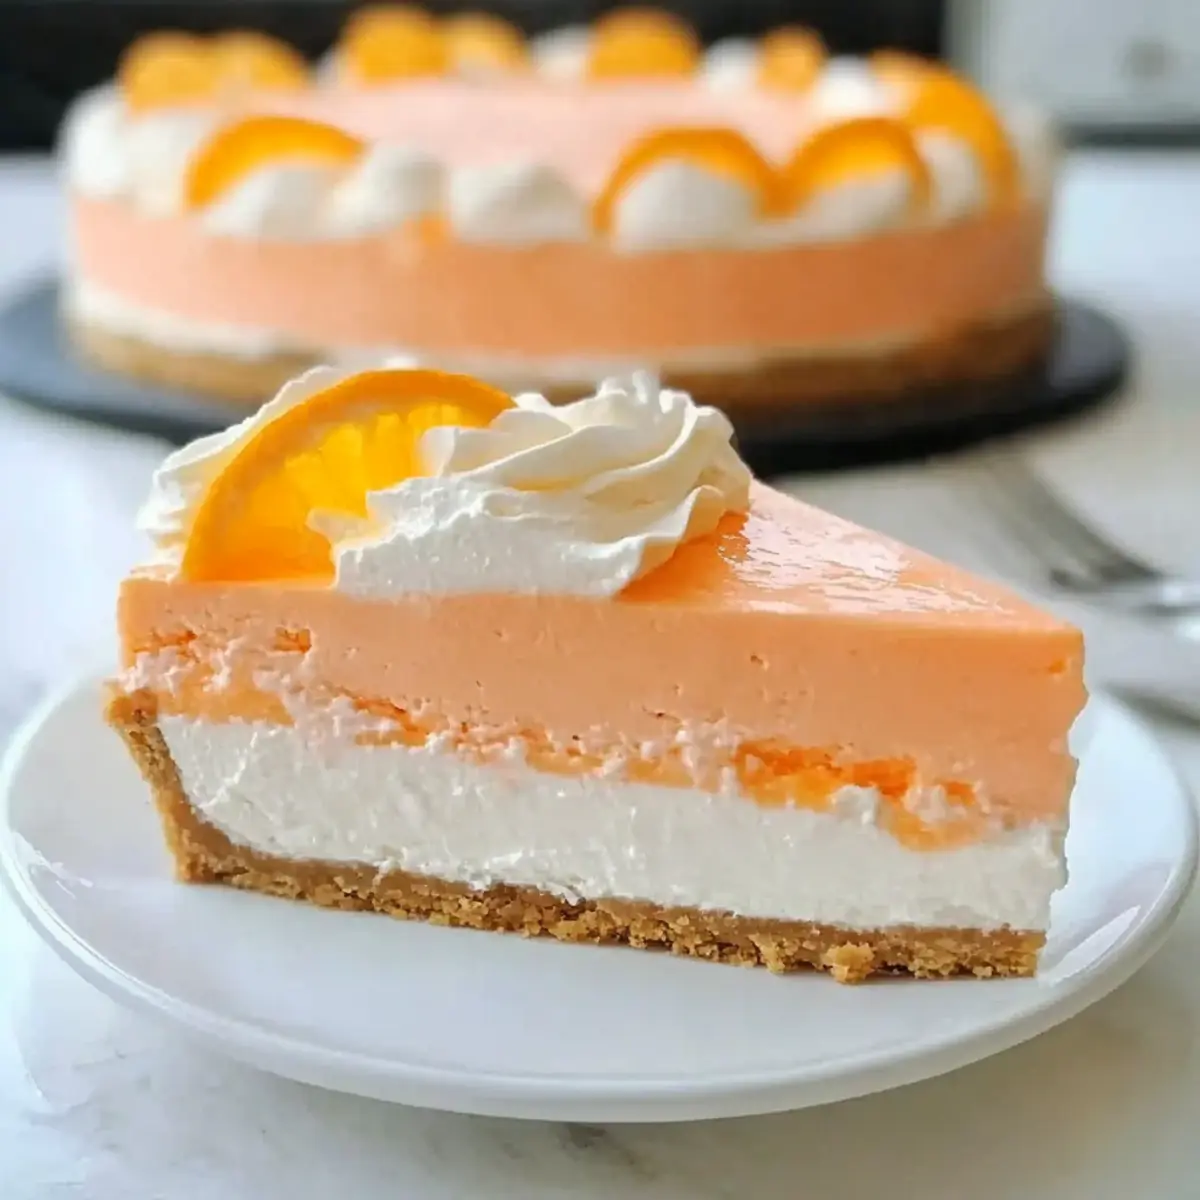
As the sun shines brighter and the days grow warmer, I find myself craving something cool and refreshing to cap off those long summer evenings. Enter the No Bake Orange Creamsicle Cheesecake! This delightful dessert captures the essence of a classic creamsicle, combining creamy orange flavors with a deliciously crunchy Nilla Wafer crust. Not only is this cheesecake a breeze to whip up—no oven needed—but it’s guaranteed to be the star of any potluck or BBQ gathering. Perfect for those who want to impress without spending hours in the kitchen, this light and fruity treat is a testament to what summer desserts should be. Curious to learn how to make this summer delight? Let’s dive into the recipe!
Why is this cheesecake a summer must-try?
Simplicity at its finest: This No Bake Orange Creamsicle Cheesecake comes together effortlessly—no baking skills required!
Refreshing flavors: The combination of creamy orange and crunchy Nilla Wafers creates a perfect balance that is a hit for all ages.
Versatile options: Whether you choose Nilla Wafers or graham crackers for the crust, this dessert can easily cater to your preferences.
Crowd-pleaser: With its vibrant colors and irresistible taste, it’s sure to be the talk of your next picnic or barbecue.
Time-saving: Ready in no time, you’ll have more hours to enjoy your summer days and less time stressed in the kitchen.
For other easy, no-bake desserts, check out these Pumpkin Cheesecake Cinnamon rolls and Caramel Brownie Cheesecake that are perfect for any gathering!
Orange Creamsicle Cheesecake Ingredients
For the Crust
• Vanilla Wafer Cookies – Acts as the base crust, providing sweetness and crunch; can substitute with graham cracker crumbs if preferred.
• Sugar – Balances the tartness of the orange flavor; 3/4 cup for the crust and 3/4 cup for the filling.
• Butter – Binds the crust together; melted for easy mixing.
For the Filling
• Cream Cheese – The primary filling ingredient; ensures a rich, creamy texture; must be softened for blending.
• Heavy Cream – Adds lightness and body to the cheesecake; whipped until stiff peaks form.
• Orange Gelatin – Provides the distinctive orange flavor and helps set the filling; ensure to use 3.3 oz as required.
• Boiling Water – Activates the gelatin to create the proper texture.
• Orange Zest – Enhances the orange flavor profile, adding brightness to the cheesecake.
• Vanilla Extract – Provides depth of flavor; a small amount adds lovely sweetness.
• Powdered Sugar – Sweetens and stabilizes the whipped cream for perfect texture.
Step‑by‑Step Instructions for No Bake Orange Creamsicle Cheesecake
Step 1: Prepare the Crust
Begin by crushing the vanilla wafer cookies in a food processor until they resemble fine crumbs. In a mixing bowl, combine the crushed cookies with 3/4 cup sugar and melted butter, stirring until the mixture is well combined. This should form a crumbly texture that binds together when pressed.
Step 2: Form the Crust
Grease a 9-inch springform pan with non-stick spray to ensure easy removal of the cheesecake later. Press the crumb mixture evenly into the bottom and slightly up the sides of the pan, creating a sturdy crust. Once completed, place the crust in the freezer for 30 minutes to allow it to firm up nicely.
Step 3: Prepare the Gelatin
In a small bowl, dissolve the orange gelatin in 1 cup of boiling water, whisking until completely combined. Once dissolved, set the mixture aside to cool slightly while continuing with the cheesecake preparation. This step is crucial for achieving the proper texture of your No Bake Orange Creamsicle Cheesecake.
Step 4: Beat the Cream Cheese
In a large mixing bowl, beat the softened cream cheese and the remaining 3/4 cup of sugar using an electric mixer on medium speed until the mixture is creamy and smooth, about 2-3 minutes. Make sure there are no lumps remaining for a velvety filling. Set this mixture aside while you whip the heavy cream.
Step 5: Whip the Cream
In another bowl, pour in the heavy cream and add powdered sugar along with a splash of vanilla extract. Whip on high speed until stiff peaks form, which should take about 4-5 minutes. This lightened cream will give the cheesecake its airy texture, so be careful not to overwhip.
Step 6: Combine Ingredients
Fold half of the whipped cream into the cooled gelatin mixture, ensuring the gelatin is not too hot to prevent melting the cream. Gently combine until well incorporated. This mixture will add that delightful orange flavor to your No Bake Orange Creamsicle Cheesecake.
Step 7: Mix Remaining Cream
Next, carefully fold the remaining whipped cream into the cream cheese mixture, blending until no streaks remain. Be gentle during this process to maintain the airy texture, which is the hallmark of a successful no-bake cheesecake.
Step 8: Layer the Cheesecake
Start layering your cheesecake by spreading half of the cream cheese mixture evenly over the set crust. Then, pour two cups of the orange-flavored cream over this layer. Follow that with the remaining cream cheese mixture and finish off with the rest of the orange whipped cream on top.
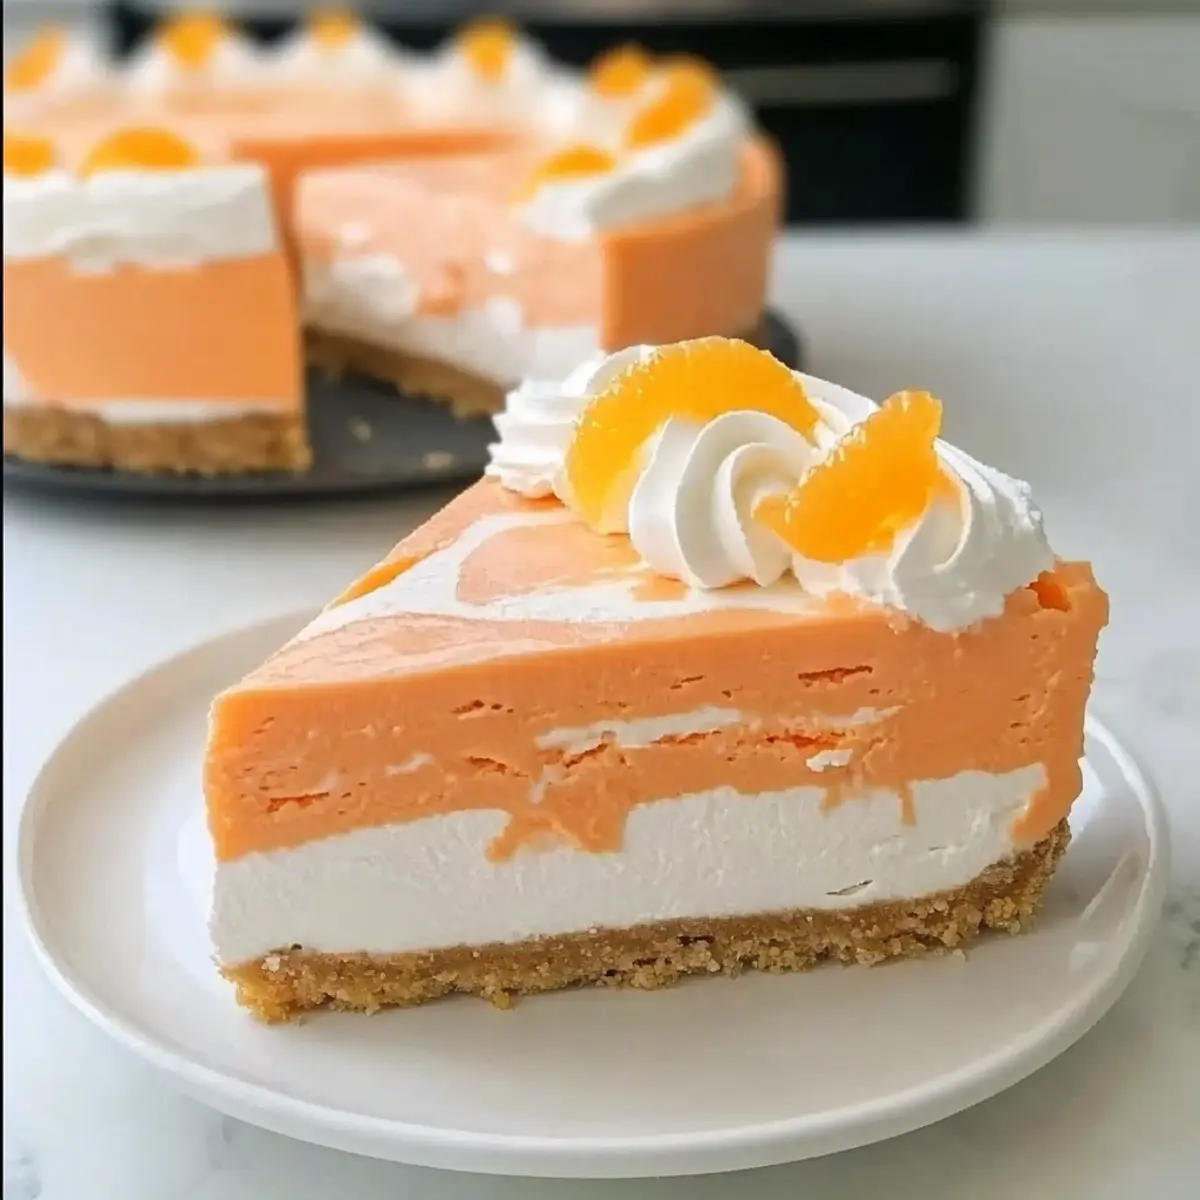
Step 9: Swirl for Effect
For an artistic touch, you can use a knife to swirl the layers together slightly, creating a marbled effect that looks as good as it tastes! This step is optional but adds a beautiful visual element to your No Bake Orange Creamsicle Cheesecake.
Step 10: Chill to Set
Cover the cheesecake with plastic wrap and refrigerate it for at least 6 hours, or overnight if possible. This chilling time is essential for setting the filling and enhancing the flavors, leading to the perfect summertime dessert that will delight everyone.
Step 11: Serve and Enjoy
Once set, carefully remove the sides of the springform pan. Slice into wedges and serve chilled, optionally garnished with orange slices or a dollop of whipped cream for a special touch. Each creamy bite of your No Bake Orange Creamsicle Cheesecake will transport you to summer bliss!
Orange Creamsicle Cheesecake Variations
Feel free to explore these fun twists on your No Bake Orange Creamsicle Cheesecake, each option adding its own vibrant flair!
-
Graham Cracker Crust: Swap the Nilla Wafer crust for graham cracker crumbs for a deliciously different base that adds a touch of classic flavor.
-
Gluten-Free Option: Use gluten-free cookies to make the crust, ensuring everyone can indulge in this delightful dessert without missing out.
-
Tropical Twist: Mix in crushed pineapple or coconut flakes to the filling for a tropical vibe that brings summer to every bite.
-
Chocolate Drizzle: Add a rich chocolate drizzle on top before serving; the combination of chocolate and orange makes for a delightful flavor contrast.
-
Fruit Garnishes: Top with fresh berries like strawberries or blueberries; their tartness beautifully balances the sweet orange flavors.
-
Flavor Variation: Experiment with different flavored gelatins, like strawberry or peach, to create a new fruity version of the cheesecake.
-
Cream Cheese Swap: For a bit of tanginess, replace half the cream cheese with sour cream or Greek yogurt, giving the cheesecake a slightly different zest.
-
Maple Infusion: Substitute vanilla extract with maple syrup for a warm, earthy undertone that complements the orange beautifully.
Pair your Orange Creamsicle Cheesecake with other no-bake delights like these Pumpkin Cheesecake Cinnamon rolls, or opt for a decadent Caramel Brownie Cheesecake for a fun mix at your next gathering!
Storage Tips for Orange Creamsicle Cheesecake
Fridge: Store leftovers covered in the refrigerator for up to 3 days to maintain freshness.
Freezer: If you want to save it for later, you can freeze the cheesecake wrapped tightly in plastic wrap for up to 2 months; just know that the texture may change slightly upon thawing.
Reheating: When ready to enjoy, thaw in the fridge overnight for the best texture, then serve chilled directly from the refrigerator.
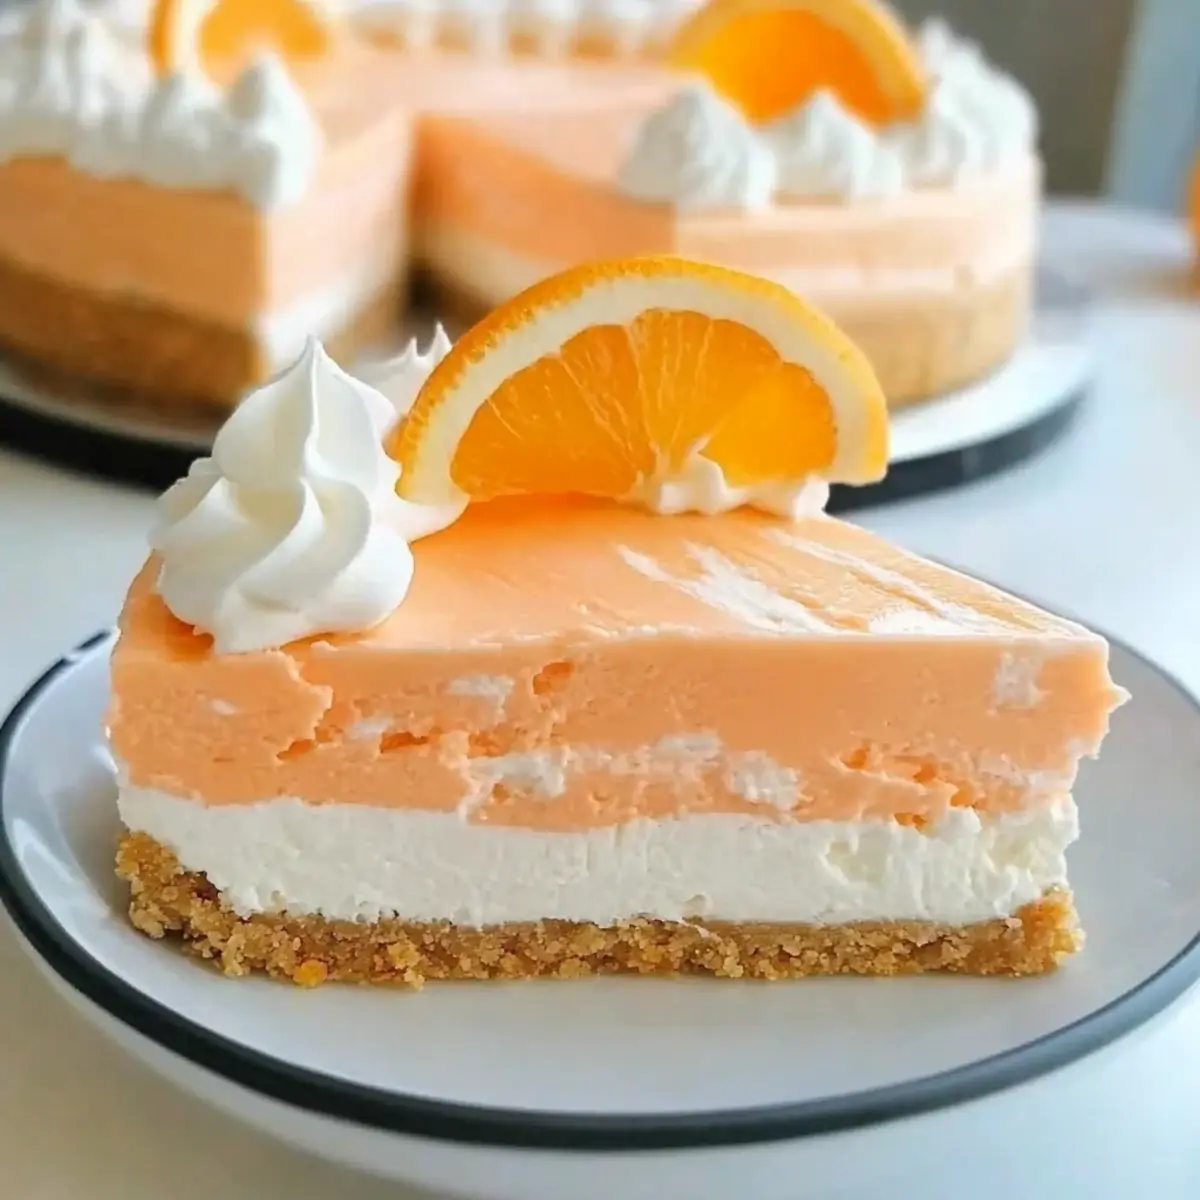
Serving: Garnish with fresh orange slices or a dollop of whipped cream for an elegant touch that enhances the visual appeal and flavor of your Orange Creamsicle Cheesecake.
Expert Tips for No Bake Orange Creamsicle Cheesecake
Softened Cheese: Ensure your cream cheese is softened to room temperature for easy blending, which prevents lumps in your cheesecake.
Crust Consistency: If the crust crumbles when pressed, add more melted butter until you achieve a mixture that holds together well.
Gelatin Precision: Be precise with your gelatin measurements. Using too little can result in a runny filling; always use the specified 3.3 oz for the perfect texture.
Chill Time Matters: Allow the cheesecake to refrigerate for at least 6 hours to set properly. Patience leads to the best-tasting Orange Creamsicle Cheesecake.
Layering Technique: When layering, be gentle to avoid deflating the whipped cream. This preserves the light and airy texture that makes this dessert special.
What to Serve with No Bake Orange Creamsicle Cheesecake
As you prepare to cool down and indulge in the creamy bliss of this delightful dessert, let’s enhance your plate with some perfect pairings that complement its refreshing flavors.
-
Fresh Berries: Juicy strawberries, blueberries, or raspberries add a vibrant burst of flavor that beautifully contrasts the creamy cheesecake.
-
Minty Green Salad: A light salad with fresh mint leaves and citrus vinaigrette brings a bright, herbal note that complements the orange.
-
Sparkling Water with Citrus: Serve chilled sparkling water infused with lime or orange slices for a refreshing drink that’s both zesty and hydrating.
-
Chocolate Whipped Cream: A dollop of chocolate whipped cream drizzled on top provides a fun and decadent twist to the citrusy cheesecake.
-
Grilled Peaches: Warm grilled peaches drizzled with honey can enhance the fruitiness while introducing a lovely charred sweetness.
-
Coconut Macaroons: The chewy, sweet texture of coconut macaroons shares a delightful contrast to the creamy, smooth cheesecake.
-
Iced Tea or Lemonade: A glass of iced tea or lemonade will keep things refreshing, balancing out the richness of the cheesecake perfectly.
-
Vanilla Ice Cream: A scoop of vanilla ice cream on the side offers a classic comfort that enhances the dessert experience.
With these pairings, your No Bake Orange Creamsicle Cheesecake will shine in all its summer glory, setting the scene for a delightful gathering!
Make Ahead Options
These No Bake Orange Creamsicle Cheesecake creations are ideal for meal prep, allowing you to save time on busy days! You can prepare the crust and store it in the refrigerator for up to 3 days before filling. Simply press the crumb mixture into your pan and keep it covered. The filling can also be made a day in advance; just mix the cream cheese and whipped cream separately, then combine them an hour before serving to ensure a light texture. When it’s time to serve, layer the fillings over the crust and chill for at least 6 hours to set. This way, you can quickly enjoy a refreshing dessert without the fuss!
No Bake Orange Creamsicle Cheesecake Recipe FAQs
What type of oranges should I use for the zest?
Absolutely! For the best flavor, use fresh navel oranges. Their sweet and juicy essence pairs perfectly with the cheesecake. Avoid using oranges with dark spots or that feel soft to the touch, as they may affect the overall flavor.
How should I store leftover No Bake Orange Creamsicle Cheesecake?
Store any leftovers covered in the refrigerator for up to 3 days. Make sure it’s in an airtight container or tightly wrapped to preserve its freshness. If you have a lot left, you can freeze it wrapped securely in plastic wrap for up to 2 months. Just remember, the texture might change slightly once thawed.
Can I freeze this cheesecake for later enjoyment?
Yes! To freeze the No Bake Orange Creamsicle Cheesecake, wrap it tightly with plastic wrap or aluminum foil, ensuring no air is trapped inside. When you’re ready to enjoy it again, place it in the refrigerator overnight to thaw before slicing and serving it chilled.
What should I do if my cheesecake filling turns out too runny?
No worries! If your filling is runny, this often points to not using enough gelatin. To correct it, you can dissolve another packet of gelatin in boiling water (about 1/4 cup) and gently fold it into the mixture. Make sure to keep stirring until it’s fully combined and thickened. But, for future attempts, ensure you measure 3.3 oz of gelatin for perfect results!
Is this cheesecake suitable for people with nut allergies?
Very much so! The No Bake Orange Creamsicle Cheesecake does not contain any nuts, making it a safer option for those with nut allergies. However, always check the ingredient labels, especially for pre-packaged ingredients like cookies and whipped cream, to ensure there are no traces of nuts.
What can I do if my crust is too crumbly?
If your crust falls apart, don’t fret! Simply add a bit more melted butter—about 1 tablespoon at a time—until it holds together nicely when pressed. A well-combined crust will ensure a sturdy base for your creamy cheesecake.
No Bake Orange Creamsicle Cheesecake for Ultimate Summer Bliss
Ingredients
Equipment
Method
- Crush the vanilla wafer cookies in a food processor until fine.
- Combine the crushed cookies with sugar and melted butter, mixing until well combined.
- Grease a springform pan and press the crumb mixture into the pan and freeze for 30 minutes.
- Dissolve orange gelatin in boiling water and let it cool slightly.
- Beat the softened cream cheese with sugar until creamy and smooth.
- Whip the heavy cream with powdered sugar and vanilla until stiff peaks form.
- Fold half of the whipped cream into the cooled gelatin mixture.
- Gently fold the remaining whipped cream into the cream cheese mixture.
- Layer half of the cream cheese mixture over the crust, add the orange cream, and then top with the remaining cream cheese mixture.
- Swirl the layers with a knife for a marbled effect.
- Cover and refrigerate for at least 6 hours or overnight to set.
- Serve chilled, garnished with orange slices or whipped cream.
Leave a Reply