
As the warm sun filters through the kitchen window, the sweet scent of ripe peaches fills the air, instantly transporting me to lazy summer afternoons. There’s something wonderfully nostalgic about making homemade peach jam, and this easy 4-ingredient peach jam recipe is a delightful tribute to those sun-soaked moments. With no pectin required, this small-batch jam ensures you can savor summer’s best flavors in every spoonful. Plus, it’s incredibly versatile—perfect for elevating your breakfast spread or adding a luscious topping to desserts. Are you ready to bring a taste of summer into your kitchen? Let’s dive into this simple, satisfying jam-making adventure together!
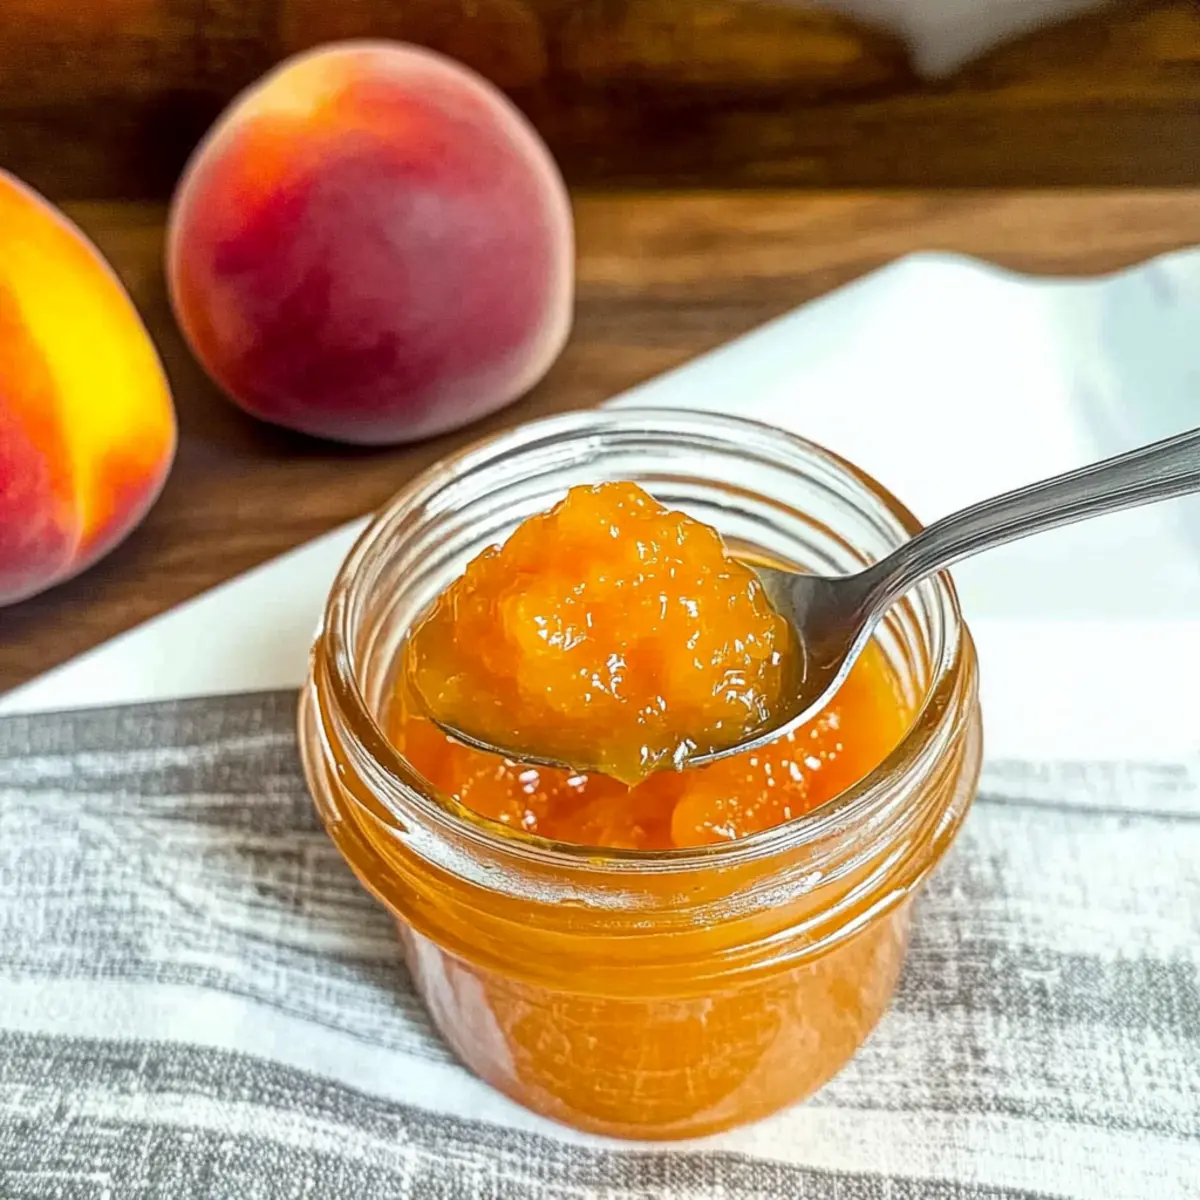
Why Is Homemade Peach Jam Special?
Uniqueness, this homemade peach jam captures the essence of summer with every jar, offering a fresh taste that store-bought products can’t replicate.
Simplicity, with just four ingredients and no added pectin, even novice cooks can whip this up easily.
Versatility, enjoy it on morning toast, swirl it into yogurt, or even drizzle over pancakes for a delicious twist.
Time-saving, this quick recipe lets you create a delectable treat in under an hour, making it the perfect weekend project.
Crowd-pleaser, share a jar with friends, and watch them rave about its vibrant flavor! For more delightful recipes, consider trying Peach Fritters Sweet or whipping up Homemade Pizza Pockets for your next gathering!
Homemade Peach Jam Ingredients
- For the Jam
- Fresh Peaches – 4-5 cups, peeled, pitted, and chopped; the main ingredient that brings the fresh, summer flavor.
- Granulated Sugar – 1 cup; acts as the sweetener and preservative to enhance the taste of your homemade peach jam.
- Apple Juice – 3 tablespoons; adds natural sweetness and helps the jam set, though you can use white grape juice for a unique flavor twist.
- Lemon Juice – 1 tablespoon; balances sweetness and enhances the overall flavor, with fresh juice recommended for the best taste.
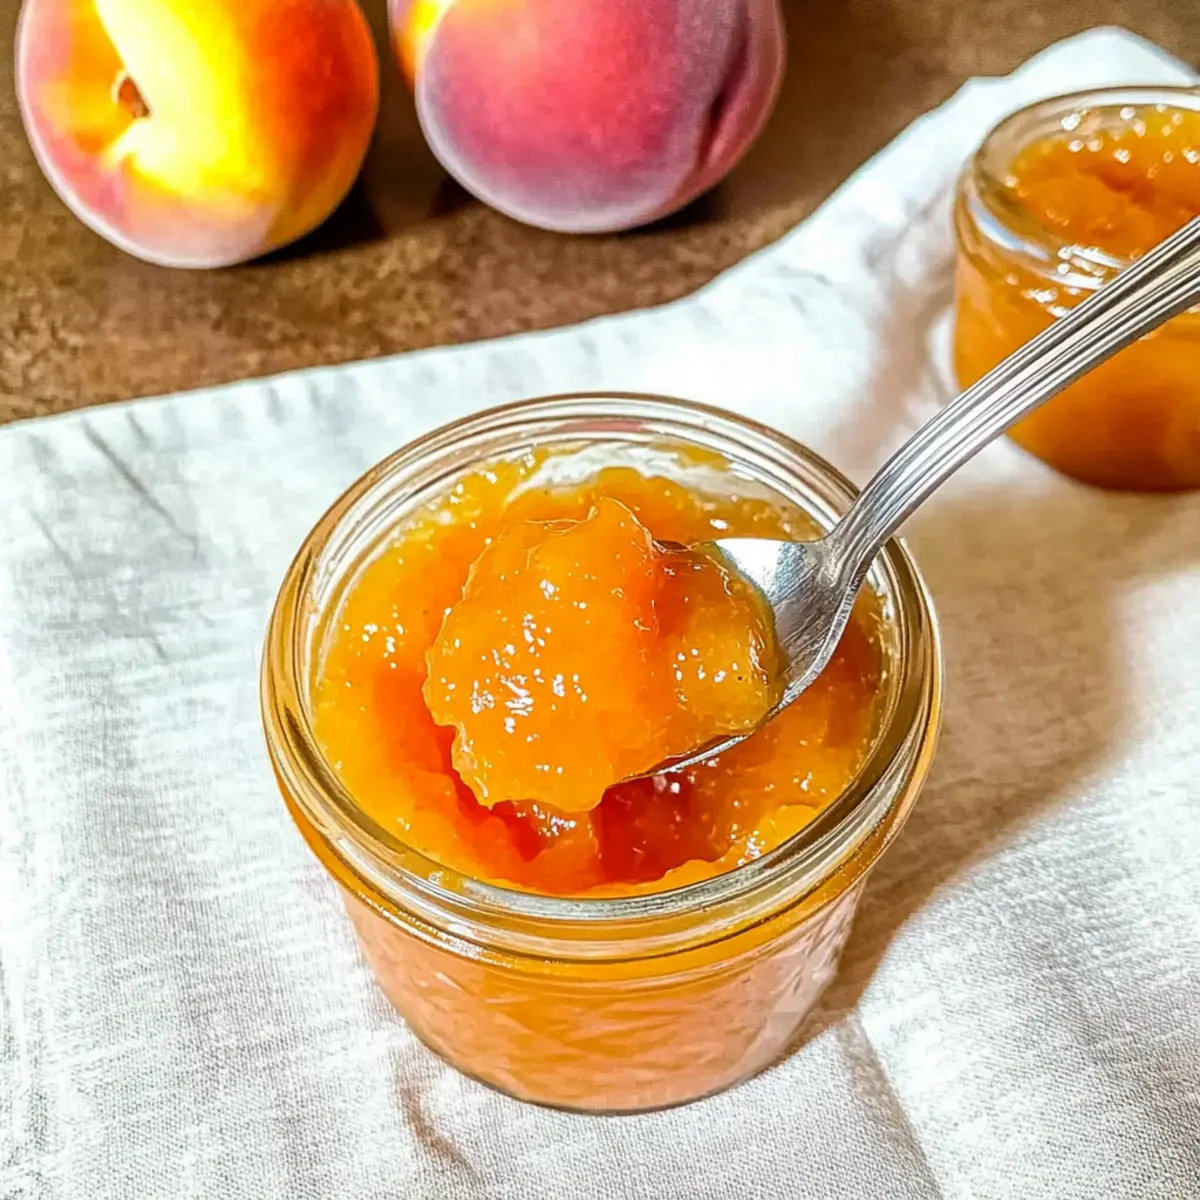
Enjoy the joy of making your very own Homemade Peach Jam!
Step‑by‑Step Instructions for Homemade Peach Jam
Step 1: Prep the Peaches
Begin by prepping your fresh peaches for the homemade peach jam. Score the bottom of each peach with an ‘X’ and blanch them in boiling water for 1 minute. This will help loosen the skins. Immediately transfer the peaches to an ice bath to cool for easy peeling. Once cooled, remove the skins, pit the peaches, and chop them into small pieces.
Step 2: Mix Ingredients
In a large saucepan, combine the chopped peaches, 1 cup of granulated sugar, 3 tablespoons of apple juice, and 1 tablespoon of lemon juice. Stir the mixture thoroughly until the sugar is evenly distributed and begins to dissolve. Allow it to sit for around 10 minutes so the peaches can release their delicious juices, which is essential for developing that rich homemade peach jam flavor.
Step 3: Cook the Jam
Place the saucepan over medium heat and bring the mixture to a gentle simmer. Continuously stir to ensure the sugar is fully dissolved and the peaches are cooking evenly. After about 5 minutes, reduce the heat to medium-low and allow the jam to cook uncovered for 30 to 40 minutes. As it cooks, the jam will thicken and should start to coat the back of a spoon. Keep stirring occasionally to prevent sticking.
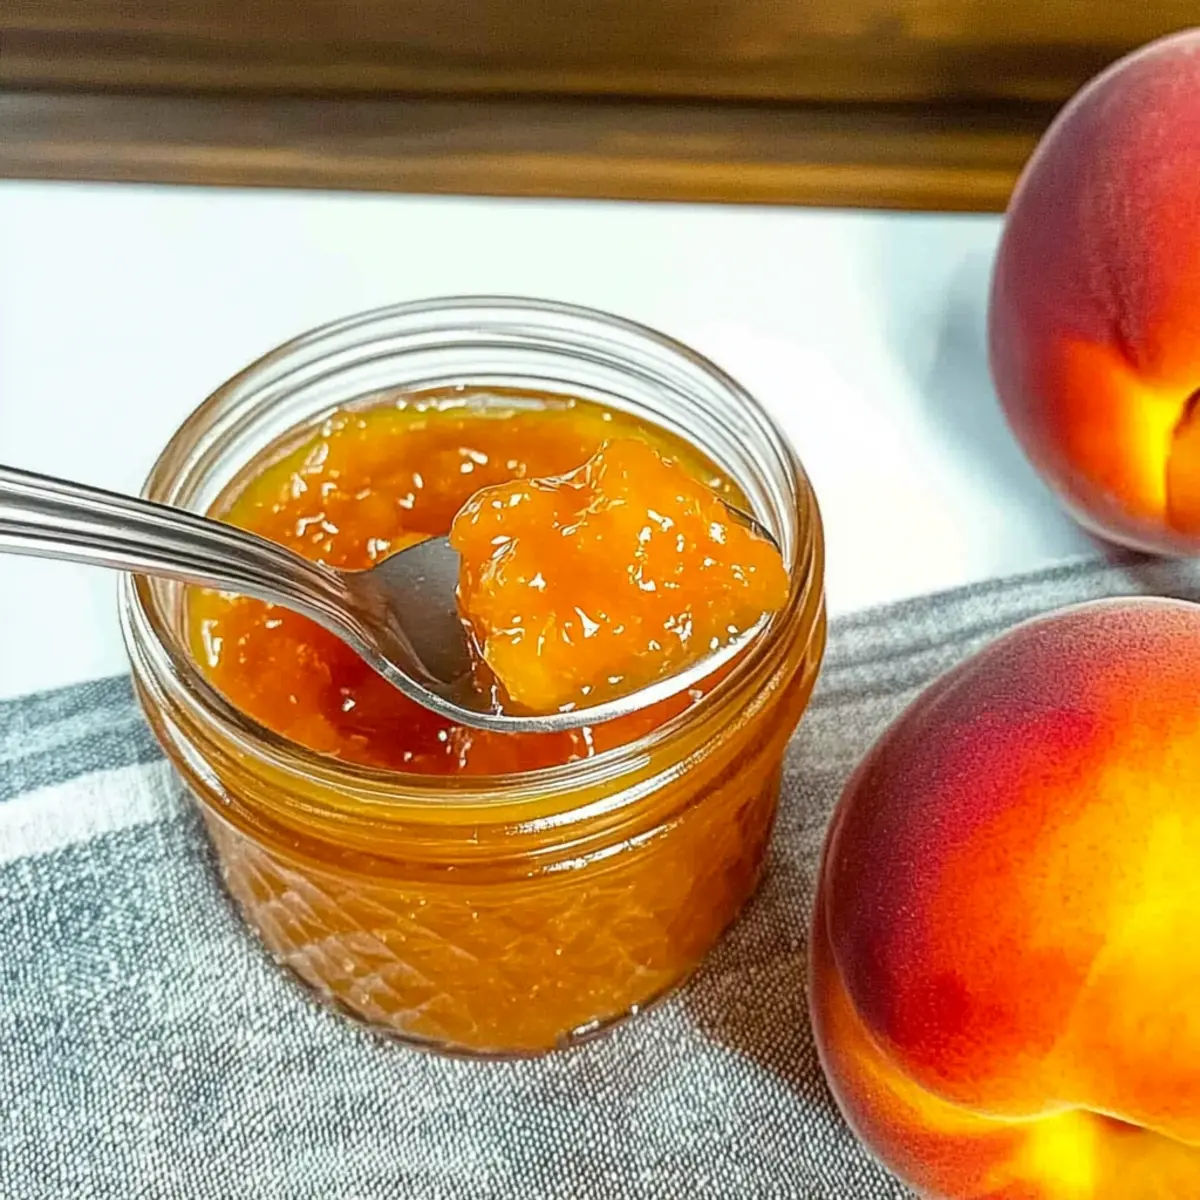
Step 4: Test for Doneness
To check if your homemade peach jam is ready, use the plate freezer method. Take a teaspoon of jam and place it on a cold plate for 1 minute. Push it gently with your finger; if it wrinkles and holds its shape, it’s done. If not, keep cooking for a few more minutes, testing every 3 to 5 minutes until you achieve the desired thickness.
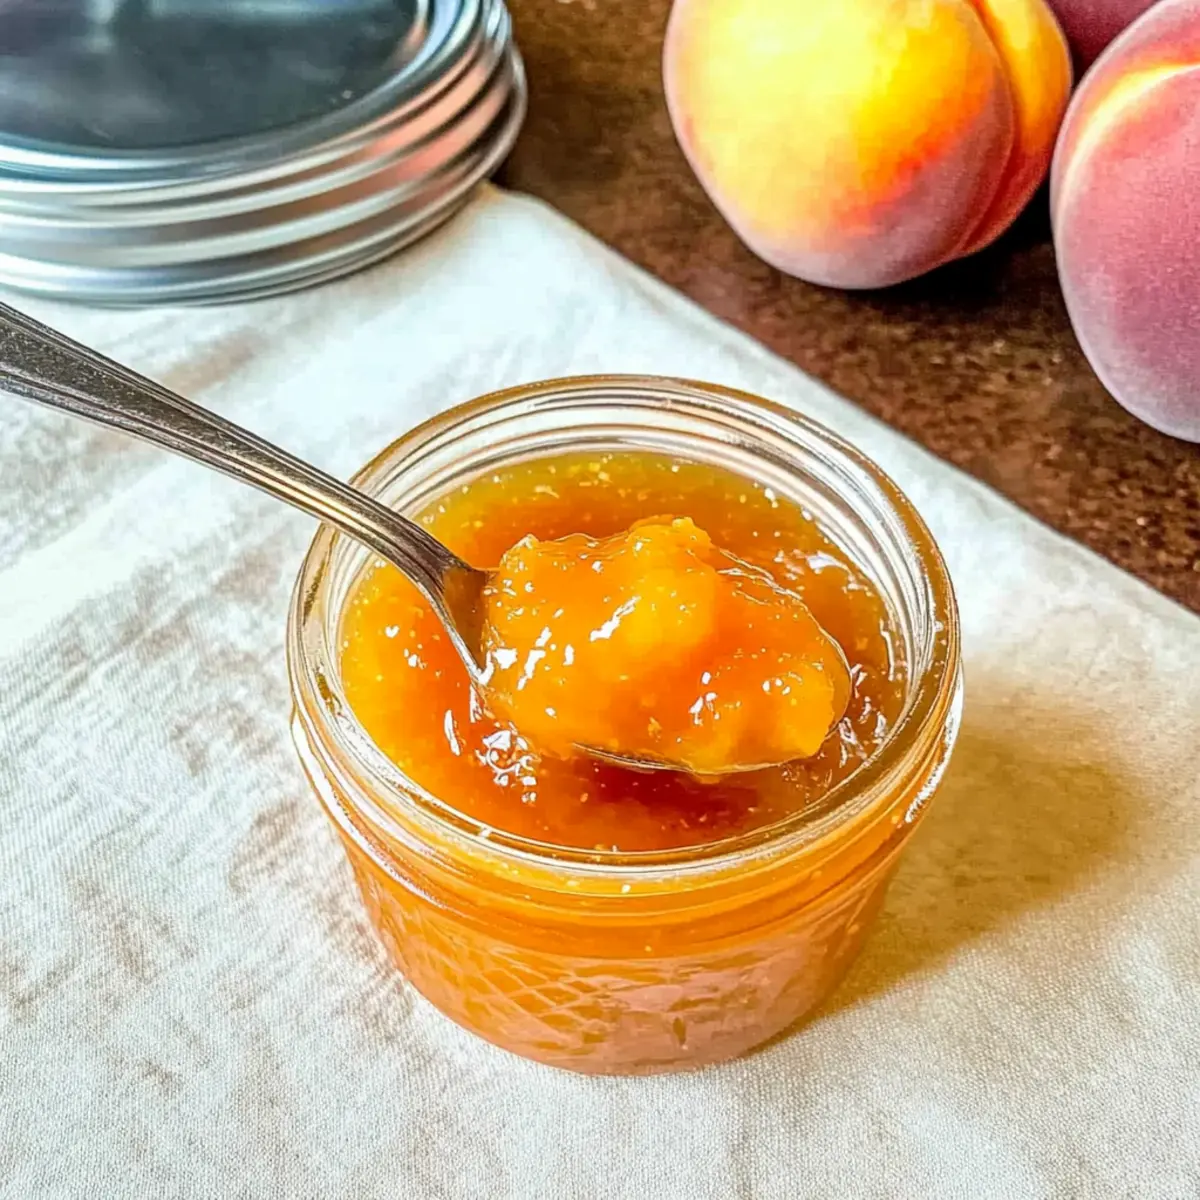
Step 5: Fill the Jars
Once your peach jam has thickened, remove it from the heat and prepare your sterilized jars. Using a ladle, fill each jar with the hot jam, leaving about 1 inch of headspace at the top to allow for expansion. Ensure the rims of the jars are clean to help create a proper seal. Wipe away any excess jam on the outside.
Step 6: Cool and Store
Allow the filled jars of homemade peach jam to cool at room temperature for about 1-2 hours. Once cooled, securely cap each jar. Store them in the refrigerator for up to 3 weeks, or for longer preservation, freeze the jars (just be sure to leave enough headspace for expansion). Enjoy the taste of summer all year long!
How to Store and Freeze Homemade Peach Jam
Refrigerator: Store the homemade peach jam in the refrigerator for up to 3 weeks. Make sure the jars are tightly sealed to maintain freshness.
Freezer: For longer preservation, freeze the jam for up to 6 months. Use freezer-safe jars, leaving about 1 inch of headspace to accommodate expansion.
Thawing: To use frozen jam, simply transfer it to the refrigerator and let it thaw overnight. Stir well before serving to restore texture.
Shelf Life Tips: Always check for signs of spoilage before use. If the jam develops an off smell or appearance, it’s best to discard it.
What to Serve with Easy 4-Ingredient Peach Jam?
Experience the delightful flavors of summer preserved in a jar, and discover the perfect companions for enjoying your homemade peach jam.
- Freshly Baked Biscuits: The fluffy texture of warm biscuits contrasts beautifully with the smooth jam, creating a classic breakfast delight.
- Creamy Greek Yogurt: Spoon some jam over creamy yogurt for a refreshing and healthy breakfast or snack that feels indulgent.
- Fluffy Pancakes: Drizzle your jam over stacks of pancakes for a sweet twist that will brighten up your family’s morning routine.
- Vanilla Ice Cream: A generous scoop of peach jam over vanilla ice cream transforms a simple dessert into a summer celebration in every bite.
- Whole Grain Toast: The nutty flavor of whole grain toast pairs perfectly with the sweet and fruity notes of the jam, making for a wholesome breakfast option.
Imagine enjoying toast slathered with your peach jam while sipping a hot cup of tea—a moment to savor.
- Fresh Fruit Salad: Layer your jam atop a bowl of seasonal fruits for a refreshing dessert that enhances the sweetness of fresh produce.
- Cheese Platter: Serve your peach jam with a selection of cheeses for an elegant appetizer that balances savory and sweet flavors beautifully.
- Sparkling Water or Iced Tea: Refresh yourself with a chilled beverage that complements the fruity notes of the jam, elevating your perfect summer day.
Make Ahead Options
These homemade peach jam preparations are a dream come true for busy home cooks! You can prep the chopped peaches and mix them with sugar, lemon juice, and apple juice up to 24 hours in advance—simply refrigerate the mixture in an airtight container. When you’re ready to make your jam, just bring the mixture to room temperature, cook it as instructed, and you’ll have fresh, vibrant jam that’s just as delicious. Additionally, once the jam is made, it can be stored in the refrigerator for up to 3 weeks or frozen for up to 6 months. This way, you can enjoy a delightful taste of summer anytime!
Homemade Peach Jam Variations
Feel free to personalize your homemade peach jam to suit your taste or dietary needs—each tweak offers a unique twist!
- Nectarine Swap: Substitute fresh peaches with nectarines for a slightly different flavor and texture that’s equally delicious.
- Frozen Peaches: Use frozen peaches instead of fresh; just be ready to simmer longer to achieve the right thickness.
- Citrus Twist: Add orange juice in place of apple juice for a zesty kick that brightens the overall flavor.
- Spiced Delight: Stir in a pinch of cinnamon or ginger to infuse a warm, comforting spice element to your jam.
- No Sugar: Try using a natural sweetener like honey or agave syrup to create a sugar-free version, adjusting to taste for sweetness.
- Berry Blend: Mix in some crushed strawberries or raspberries for a mixed berry jam that adds a delightful tartness to the sweetness of peaches.
- Heat Kick: For a touch of heat, incorporate a pinch of crushed red pepper flakes to create a sweet and spicy concoction.
- Herb Infusion: Add fresh basil or mint during the cooking process for a subtle herbal note that pairs beautifully with the fruitiness.
Let your imagination run wild with these ideas! And while you’re in the jam-making spirit, consider whipping up some Jamaican Curry Chicken to enjoy alongside your homemade creations for a full culinary adventure.
Expert Tips for Homemade Peach Jam
-
Fresh Fruit Matters: Use ripe, in-season peaches for optimal sweetness and flavor. Overripe or underripe peaches can affect the taste and texture of your homemade peach jam.
-
Sugar Adjustment: If your peaches are exceptionally sweet, feel free to reduce the sugar slightly. Too much sugar can make the jam overly sweet and mask the lovely peach flavor.
-
Avoid Overcooking: Stir the jam frequently to prevent it from sticking or burning. If it bubbles too vigorously, reduce the heat for a smoother result.
-
Testing for Thickness: Always use the plate freezer method to confidently check your jam’s doneness. This simple trick will save you from ending up with runny jam!
-
Proper Jar Sealing: Clean the jar rims after filling to ensure a tight seal. This helps prevent spoilage and keeps your homemade peach jam fresh longer.
-
Small Batches: Consider making smaller batches if you’re new to canning. This allows you to master the technique without the pressure of a large quantity!
Homemade Peach Jam Recipe FAQs
How do I select the best peaches for my homemade peach jam?
Absolutely! Look for peaches that are ripe but still firm—this helps balance sweetness and texture. A slight give when you gently press on a peach indicates ripeness, while vibrant color is essential. Avoid any with dark spots all over or wrinkled skin, as they may be overripe or damaged.
How should I store homemade peach jam?
Homemade peach jam can be kept in the refrigerator for up to 3 weeks. Store it in tightly sealed jars to maintain freshness. If you want to keep it longer, you can freeze the jam for up to 6 months using freezer-safe containers, but ensure you leave about 1 inch of headspace for expansion.
What’s the best way to freeze homemade peach jam?
Great question! To freeze, first, make sure you use clean, dry, freezer-safe containers or jars. After filling them with jam, allow it to cool to room temperature. Then, secure the lids but leave about 1 inch of space at the top to allow for expansion. Label each jar with the date and contents before placing them in the freezer. To use, simply transfer the jam to the refrigerator to thaw overnight before serving.
What if my jam doesn’t thicken properly?
If your homemade peach jam isn’t thickening, don’t worry! Sometimes, a little adjustment is needed. To help it along, increase the heat slightly while stirring continuously. You can also mix in a small amount of additional lemon juice at this stage, as the acidity can help the jam set. Keep testing for doneness using the plate freezer method every few minutes until it reaches that perfect, jammy consistency.
Is this peach jam suitable for everyone?
Yes! This homemade peach jam is a delightful treat, but always check for allergies. Those with allergies to peaches or citrus should steer clear. Additionally, given its sugar content, consider moderation if anyone is managing dietary sugar intake. It’s always wise to provide ingredient details to guests, especially in gatherings.
Can I use frozen peaches instead of fresh for my jam?
Very! If you’re using frozen peaches, simply thaw them first and drain any excess liquid before cooking. You may need to simmer the jam a little longer to achieve the desired thickness due to the extra moisture in frozen fruits. This is a fantastic way to enjoy peach jam year-round!
Homemade Peach Jam That Captures Summer in a Jar
Ingredients
Equipment
Method
- Begin by prepping your fresh peaches. Score the bottom with an 'X' and blanch in boiling water for 1 minute. Transfer to an ice bath and peel.
- In a large saucepan, combine the peaches, sugar, apple juice, and lemon juice. Stir thoroughly and let sit for 10 minutes.
- Place the saucepan over medium heat, bring to a simmer, and stir until sugar dissolves. Reduce heat and cook uncovered for 30-40 minutes.
- Check doneness using the plate freezer method. If jam wrinkles when pushed, it’s done.
- Fill sterilized jars with hot jam, leaving 1 inch of headspace. Clean rims and seal.
- Let jars cool for 1-2 hours before refrigerating or freezing.
Leave a Reply