
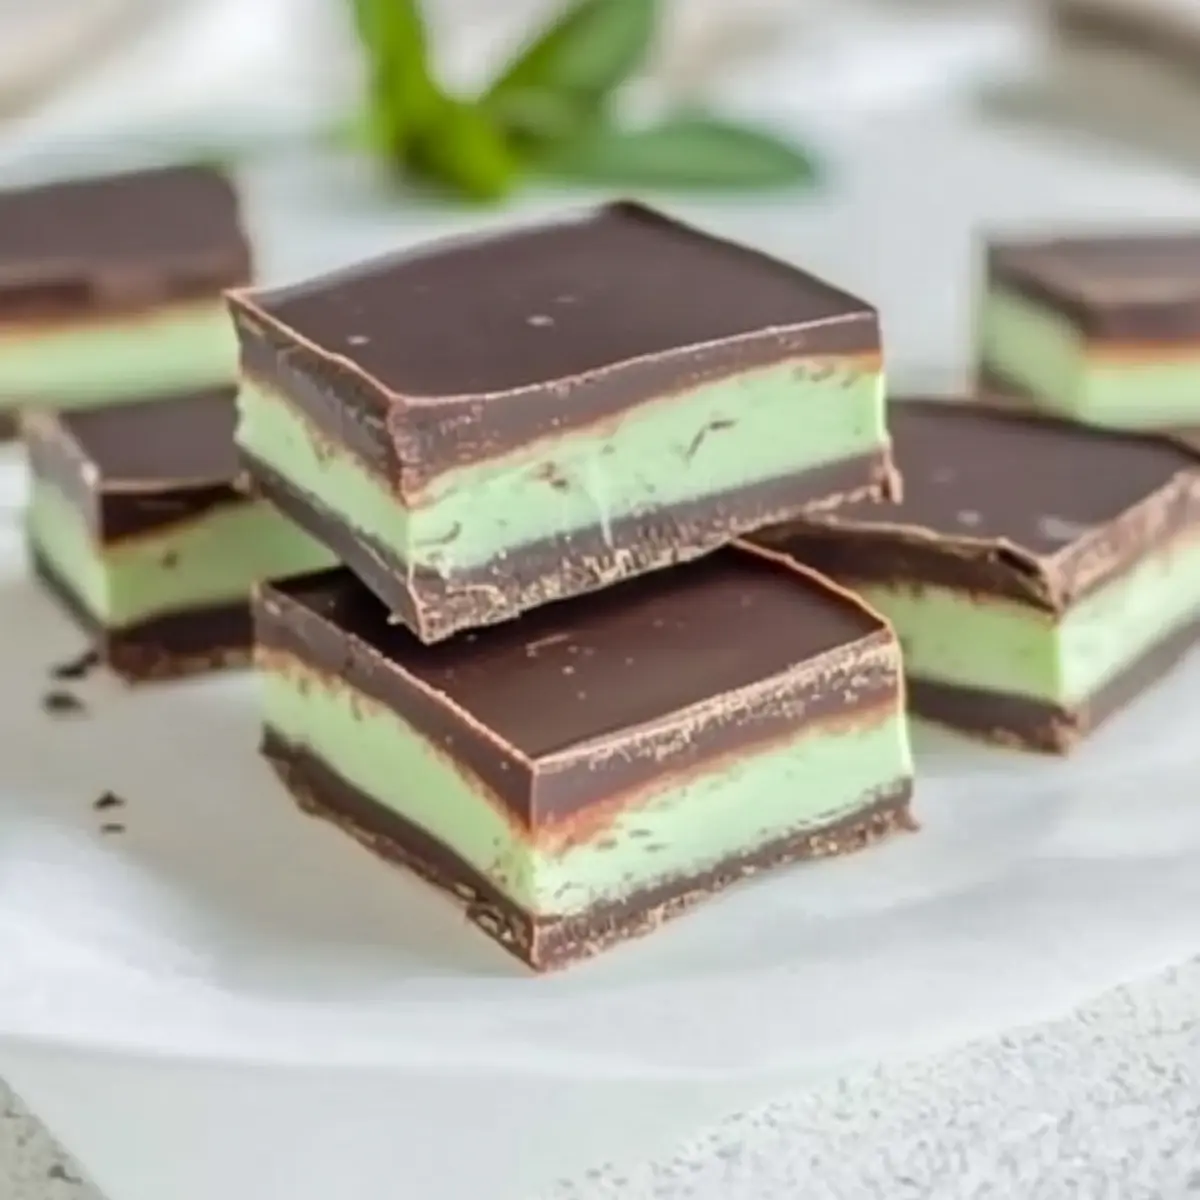
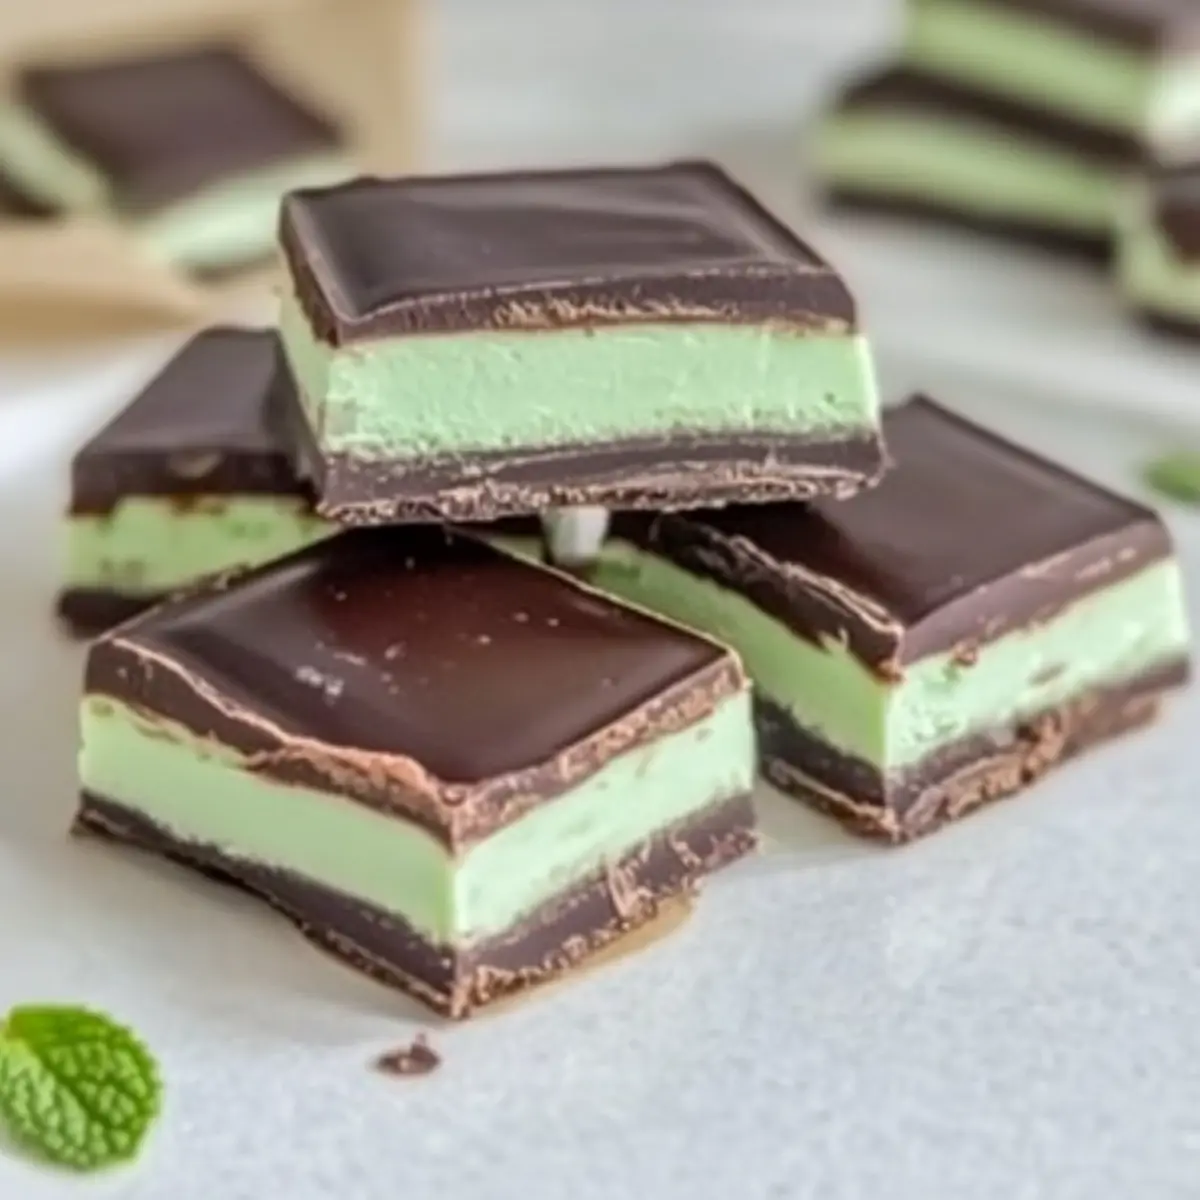
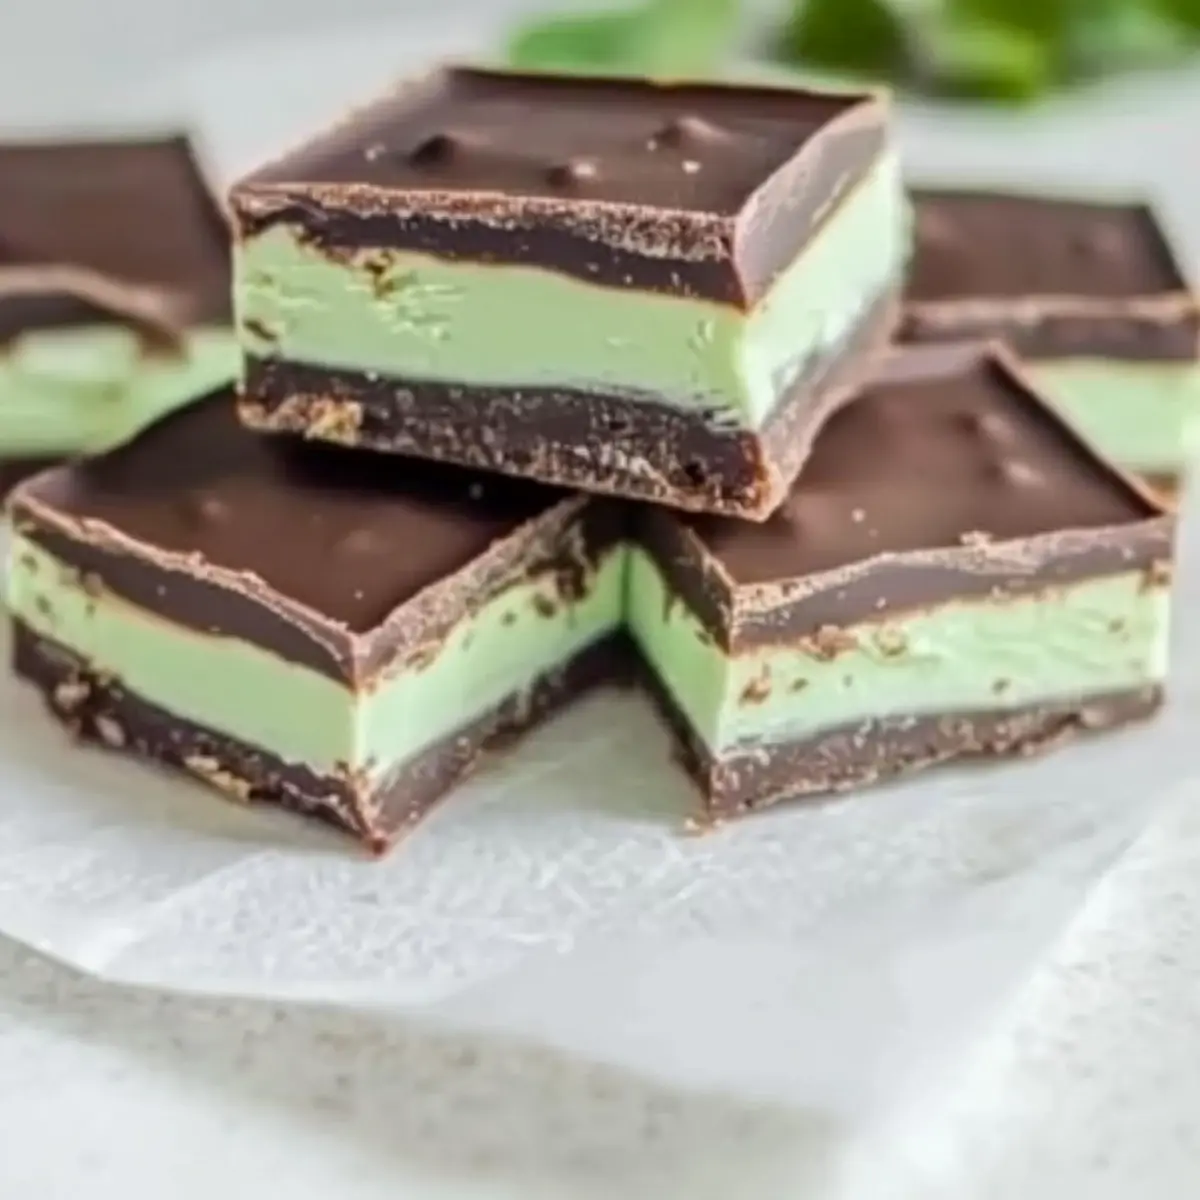
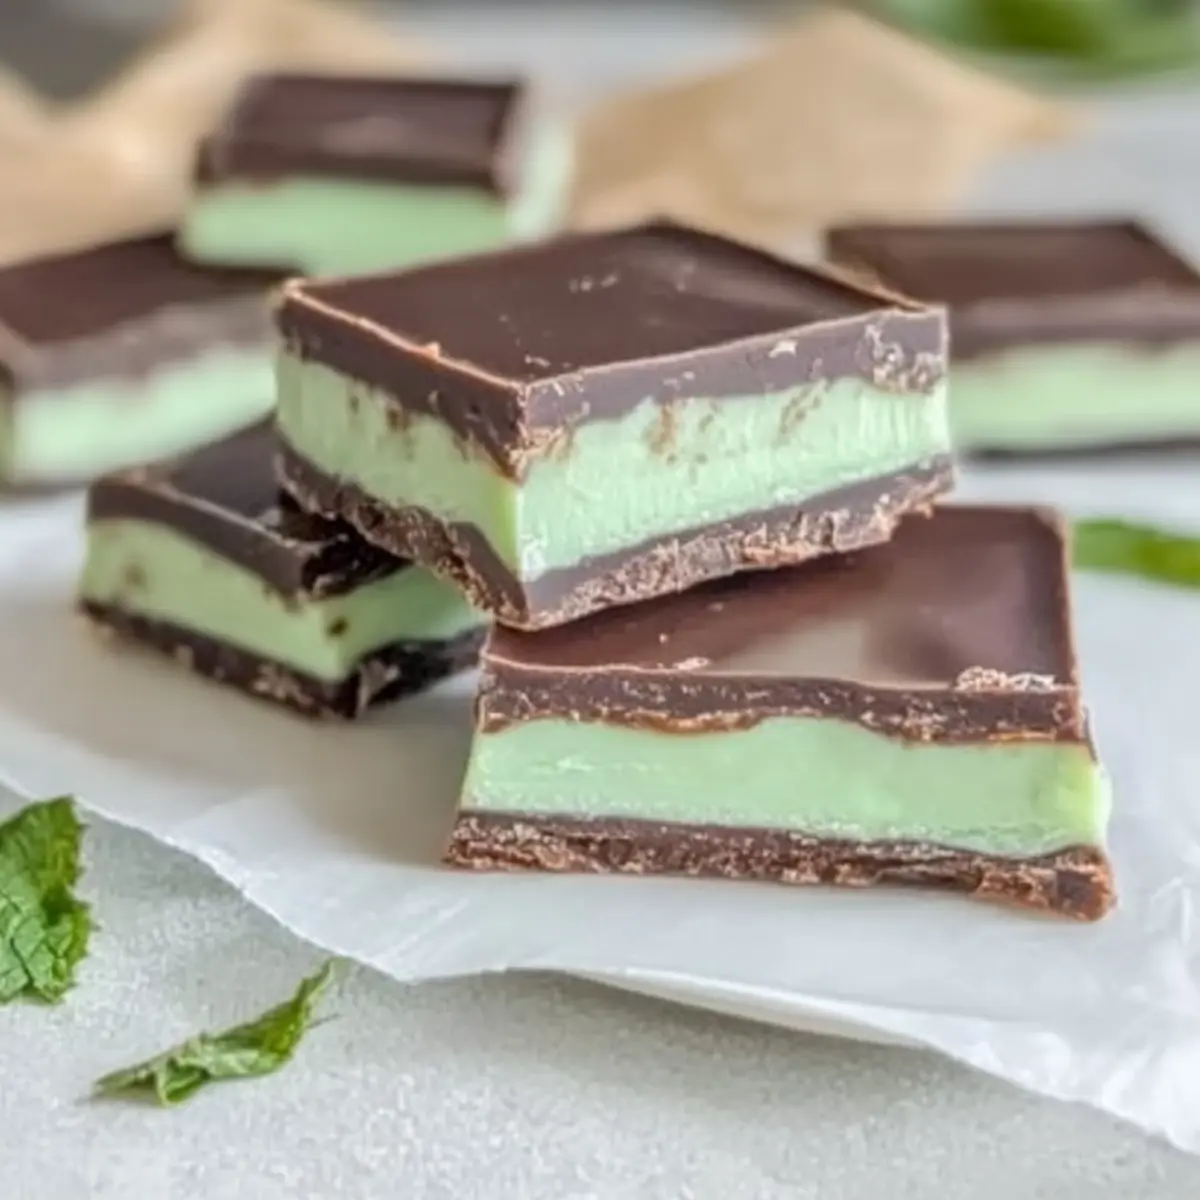
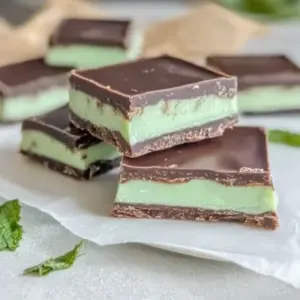
As I stood in my kitchen, the rich aroma of melting chocolate wafted around me, bringing back memories of childhood favorites. Today, I’m whipping up Homemade Andes Mints, a delightful no-bake dessert that captures the essence of those beloved minty treats. With just four ingredients, these luscious mints are not only easy to make but also incredibly customizable. You can play with flavors to make them your own, whether it’s a dash of almond extract for a twist or a fun festive color for special occasions. They’re perfect for sharing with loved ones or keeping as a sweet snack for yourself. What flavor combination will you try first?
Why Make Homemade Andes Mints?
Indulgence at Home: Experience the luxurious taste of chocolate and mint without ever leaving your kitchen.
No-Bake Simplicity: This recipe is effortless and quick, making it ideal even for kitchen novices.
Customizable Flavors: Explore endless variations, from festive colors to unique flavor profiles.
Perfect for Sharing: These mints make an impressive gift for friends and family, bringing smiles with every bite.
Versatile Treat: Whether you’re snacking solo or hosting a gathering, these mints fit all occasions. Looking for more fun and flavorful recipes? Try customizing your Homemade Pizza Pockets for even more delightful homemade creations!
Homemade Andes Mints Ingredients
For the Chocolate Layers:
- Dark Chocolate – Use premium chocolate for the richest flavor and best results.
- White Chocolate – Provides creaminess; swap with milk chocolate for a sweeter touch.
For the Mint Filling:
- Peppermint Extract – Essential for that refreshing mint flavor; consider vanilla extract or almond extract for a unique twist.
- Vegetable Oil – Ensures a silky-smooth melting chocolate; you can omit it if using high-quality chocolate.
Feel free to get creative and make your Homemade Andes Mints uniquely yours!
Step‑by‑Step Instructions for Homemade Andes Mints
Step 1: Melt the Dark Chocolate
Begin by breaking your dark chocolate into small pieces and placing it in a microwave-safe bowl or a double boiler. Heat the chocolate in short 30-second intervals, stirring in between until it’s completely melted and silky smooth. This should take about 2-3 minutes total. Once melted, let it cool slightly before pouring it into your prepared pan.
Step 2: Prepare the Mint Layer
In a separate bowl, melt the white chocolate using the same method as before, taking care not to overheat it. Stir in the peppermint extract until fully combined, allowing the mixture to take on a delightful minty fragrance. Pour the mint layer over the cooled dark chocolate, spreading it evenly while still warm, so the layers will bond beautifully.
Step 3: Top with Dark Chocolate
Carefully return to your melted dark chocolate, ensuring it has a smooth texture. Pour this layer over the mint layer, making sure to cover it completely. Use a spatula to smooth it out and create an even top layer. This final touch adds richness and helps seal in the minty deliciousness of your Homemade Andes Mints.
Step 4: Chill and Slice
Place your layered chocolate creation in the refrigerator for at least 4 hours, or overnight if you can wait! This allows the chocolate to set completely. Once firm, take it out and use a sharp, warm knife to slice into squares. The contrast of smooth dark chocolate and creamy peppermint will entice everyone who tries it!
How to Store and Freeze Homemade Andes Mints
Fridge: Store your Homemade Andes Mints in an airtight container in the refrigerator for up to 2 weeks to maintain their freshness and avoid any odors.
Freezer: For longer storage, you can freeze the mints for up to 3 months. Just be sure to separate the layers with parchment paper to prevent them from sticking together.
Thawing: When ready to enjoy, simply transfer them to the fridge for a few hours or let them sit at room temperature for about 15 minutes, allowing that delightful mint flavor to shine through.
No Need to Reheat: These mints are perfect straight from the fridge, or you can let them warm slightly for a softer bite—a delightful treat in any form!
Make Ahead Options
These Homemade Andes Mints are perfect for busy home cooks looking to save time during the week! You can prepare the chocolate layers (both dark and white) up to 24 hours in advance, allowing them to set overnight for maximum convenience. Simply melt and layer as instructed, then store the assembled mints in the refrigerator to keep them fresh. For optimal quality, ensure each layer is sufficiently cooled before adding the next to promote bonding and prevent separation. When you’re ready to slice and serve, just take them out of the fridge, slice into squares, and enjoy that melt-in-your-mouth experience with minimal effort!
What to Serve with Homemade Andes Mints?
Leave your taste buds tingling with these delightful pairings that make for the perfect indulgent experience.
-
Creamy Hot Chocolate: Serve it alongside a rich, velvety hot chocolate for a cozy, warm treat that complements the mints beautifully. Experience the comforting blend of warmth and coolness in every sip and bite.
-
Chocolate Dipped Strawberries: Fresh berries provide a sweet contrast, their tartness balancing the rich chocolate. The juicy, refreshing flavor of strawberries cuts through the sweetness, making them a perfect addition.
-
Peppermint Tea: This soothing drink enhances the minty taste of the mints, creating a harmonious vibe. The warm infusion of peppermint will embrace you, making it a charming choice for any occasion.
-
Vanilla Ice Cream: The creamy, mellow sweetness of vanilla ice cream pairs wonderfully with the intense mint flavor. Imagine taking a bite of the mint, followed by a cool scoop of ice cream—pure bliss!
-
Spiced Coffee: A cup of coffee with a touch of cinnamon or nutmeg creates an inviting flavor pairing. The warm spiciness of the coffee complements the coolness of the mints, making it a delightful end to a meal.
-
Chocolate Truffles: For the serious chocoholics, serve with assorted chocolate truffles. These rich, decadent bites will elevate your dessert experience, offering varied textures and irresistible flavors.
-
Whipped Cream: A dollop of fresh whipped cream adds a light and airy element to your plate. Its slight sweetness can enhance your experience, allowing the mint to shine even more.
-
Red Wine: For an adult twist, pair your mints with a glass of rich red wine. The fruity notes will elevate the chocolate’s richness, creating a beautiful balance of flavors.
-
Nutty Biscotti: The crunchiness of biscotti adds a satisfying textural contrast, making each bite even more enjoyable when paired with your mints. Soak them in coffee for an extra indulgent experience.
Elevate your homemade Andes mints with these delightful companions, ensuring every moment spent savoring your treats is both tasty and memorable!
Homemade Andes Mints Variations
Dive into the joy of customizing your homemade Andes Mints with delightful twists and substitutions that elevate every bite!
-
Vegan Version: Replace the dark and white chocolate with dairy-free chocolate chips for a creamy, vegan treat. You won’t miss the dairy at all!
-
Nutty Flavor: Add a few tablespoons of almond butter to the mint layer for a nutty richness that complements the chocolate beautifully. This twist brings a delicious depth of flavor.
-
Spicy Kick: Stir in a pinch of cayenne pepper or crushed red pepper flakes to the dark chocolate layer for a surprising heat. The combination of chocolate and spice is simply irresistible!
-
Festive Colors: Use tinted white chocolate for special occasions, creating holiday-themed mints with red or green swirls. It’s a fun visual twist that makes your mints even more inviting.
-
Mint Chocolate Swirl: Instead of distinct layers, swirl the mint filling into the dark chocolate before it sets for a marbled effect. This adds a creative touch and ensures minty goodness in every piece!
-
Caramel Delight: Introduce a layer of homemade or store-bought caramel beneath the mint layer for an extra hint of sweetness. This decadent addition makes for a truly indulgent treat.
-
Herbal Infusion: Consider infusing your dark chocolate with a sprinkle of fresh herbs like basil or lavender. This unexpected flavor combo creates a refreshing, aromatic touch to your mints.
-
Perfect Pairings: Enjoy your Homemade Andes Mints with a cup of hot cocoa or coffee for a cozy snack time! The rich flavors complement each other beautifully.
With all these variations, the possibilities are endless! Don’t hesitate to explore and let your creativity shine. If you’re keen on more homemade delights, check out my delicious Homemade Pizza Pockets for another way to satisfy your cravings!
Expert Tips for Homemade Andes Mints
-
Quality Matters: Use premium quality chocolate for both layers to ensure a smooth texture and rich flavor in your Homemade Andes Mints.
-
Layer Softness: Do not let layers completely harden before adding the next. This slight softness helps in achieving a strong bond between the layers.
-
Chill Time: Be patient—allow the mints to chill for at least 4 hours or overnight. This ensures the layers set properly and slice beautifully.
-
Knife Technique: When slicing, use a sharp, warm knife. Warming the knife under hot water makes cutting easier and cleaner.
-
Flavor Experiments: Feel free to experiment with flavor variations. Adding almond extract or using colored chocolate for festive occasions can make your mints special.
Homemade Andes Mints Recipe FAQs
How do I select the right chocolate?
Absolutely! For the best flavor in your Homemade Andes Mints, opt for premium dark chocolate and white chocolate. Look for brands that list cocoa percentage; a higher percentage typically indicates better quality. Avoid chocolate with a lot of added ingredients, as this can affect texture and flavor.
What’s the best way to store these mints?
Very simply! Store your Homemade Andes Mints in an airtight container in the refrigerator for up to 2 weeks. Ensure no strong-smelling foods are nearby to prevent them from absorbing odors.
Can I freeze my Homemade Andes Mints?
Yes! You can freeze your mints for up to 3 months. Just make sure to layer them with parchment paper between the slabs to prevent sticking. When ready to enjoy, let them thaw in the fridge for a few hours or at room temperature for about 15 minutes.
What should I do if my chocolate is grainy?
If you notice a grainy texture, it’s likely that the chocolate has been overheated or has come into contact with moisture. To fix it, try stirring in a bit of vegetable oil to smooth out the texture. If it’s not salvageable, I recommend starting over with fresh chocolate and melting it in short intervals.
Are these mints suitable for various dietary needs?
The more the merrier! For a vegan version, replace dairy chocolate with dairy-free chocolate chips. If anyone has specific allergies, always check ingredient labels for potential allergens, such as nuts or gluten. For a keto-friendly alternative, you can find sugar-free chocolate options that work beautifully.
How do I make the mint layer extra vibrant?
If you want a pop of color in your Homemade Andes Mints, consider using food coloring in your melted white chocolate. Add it a drop at a time until you reach your desired shade. This is especially fun for holidays or themed gatherings!
Homemade Andes Mints: Melt-in-Your-Mouth Refreshing Delights
Ingredients
Equipment
Method
- Melt the Dark Chocolate by breaking it into pieces and heating in a microwave-safe bowl or double boiler for 2-3 minutes until smooth.
- Prepare the Mint Layer by melting the white chocolate and mixing in the peppermint extract, then pour over the dark chocolate layer.
- Top with more melted dark chocolate, smoothing it out to create an even layer and sealing in the minty deliciousness.
- Chill the layered chocolate in the refrigerator for at least 4 hours, then slice into squares with a warm knife.
Leave a Reply