
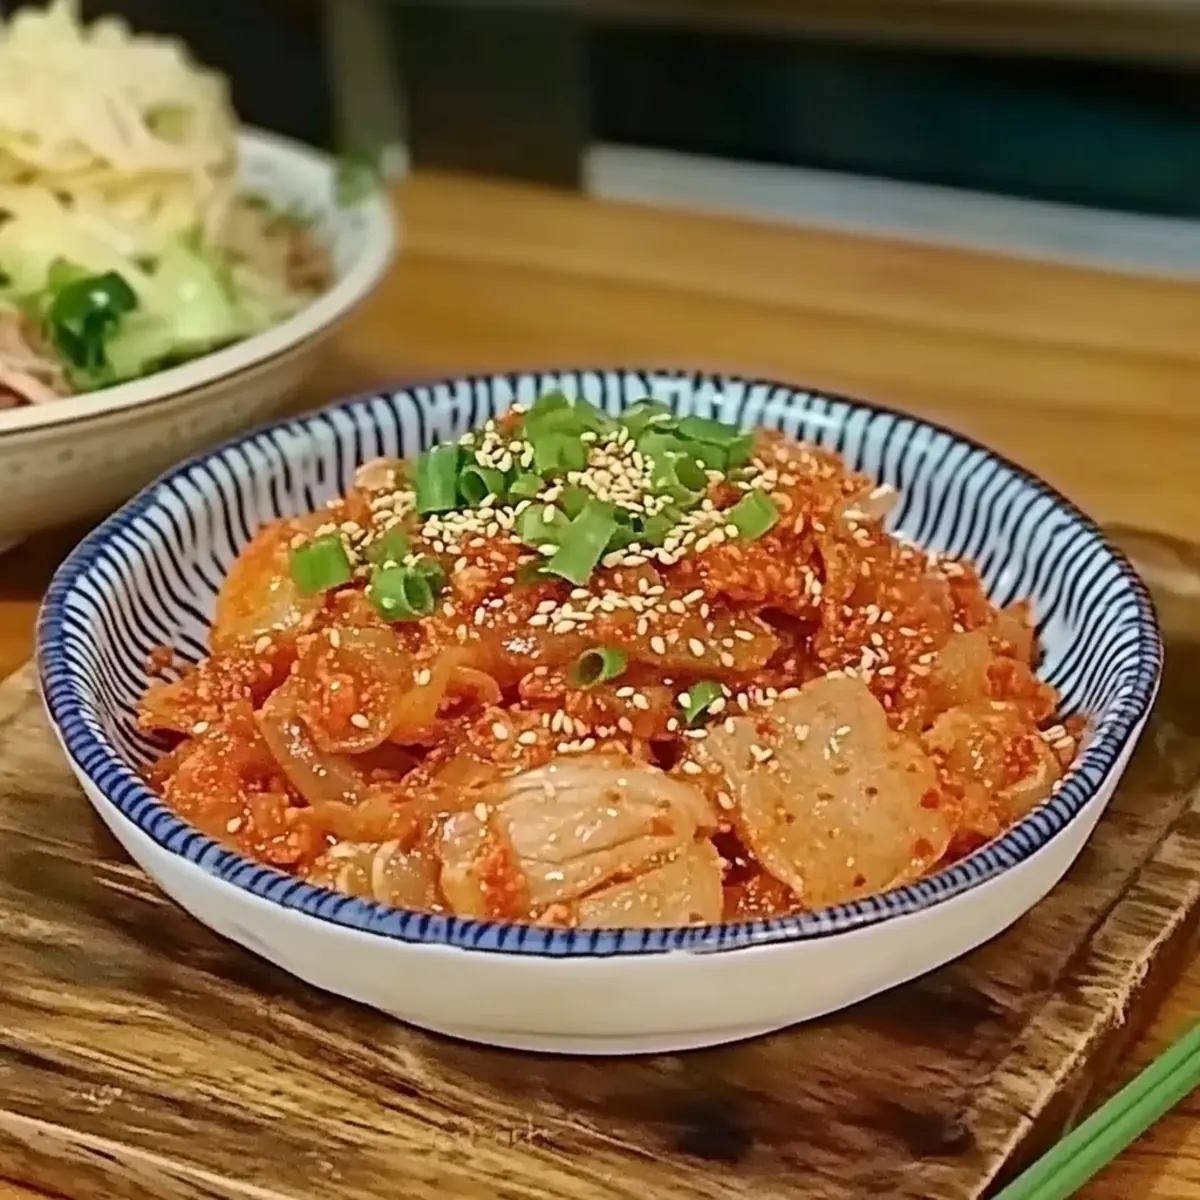
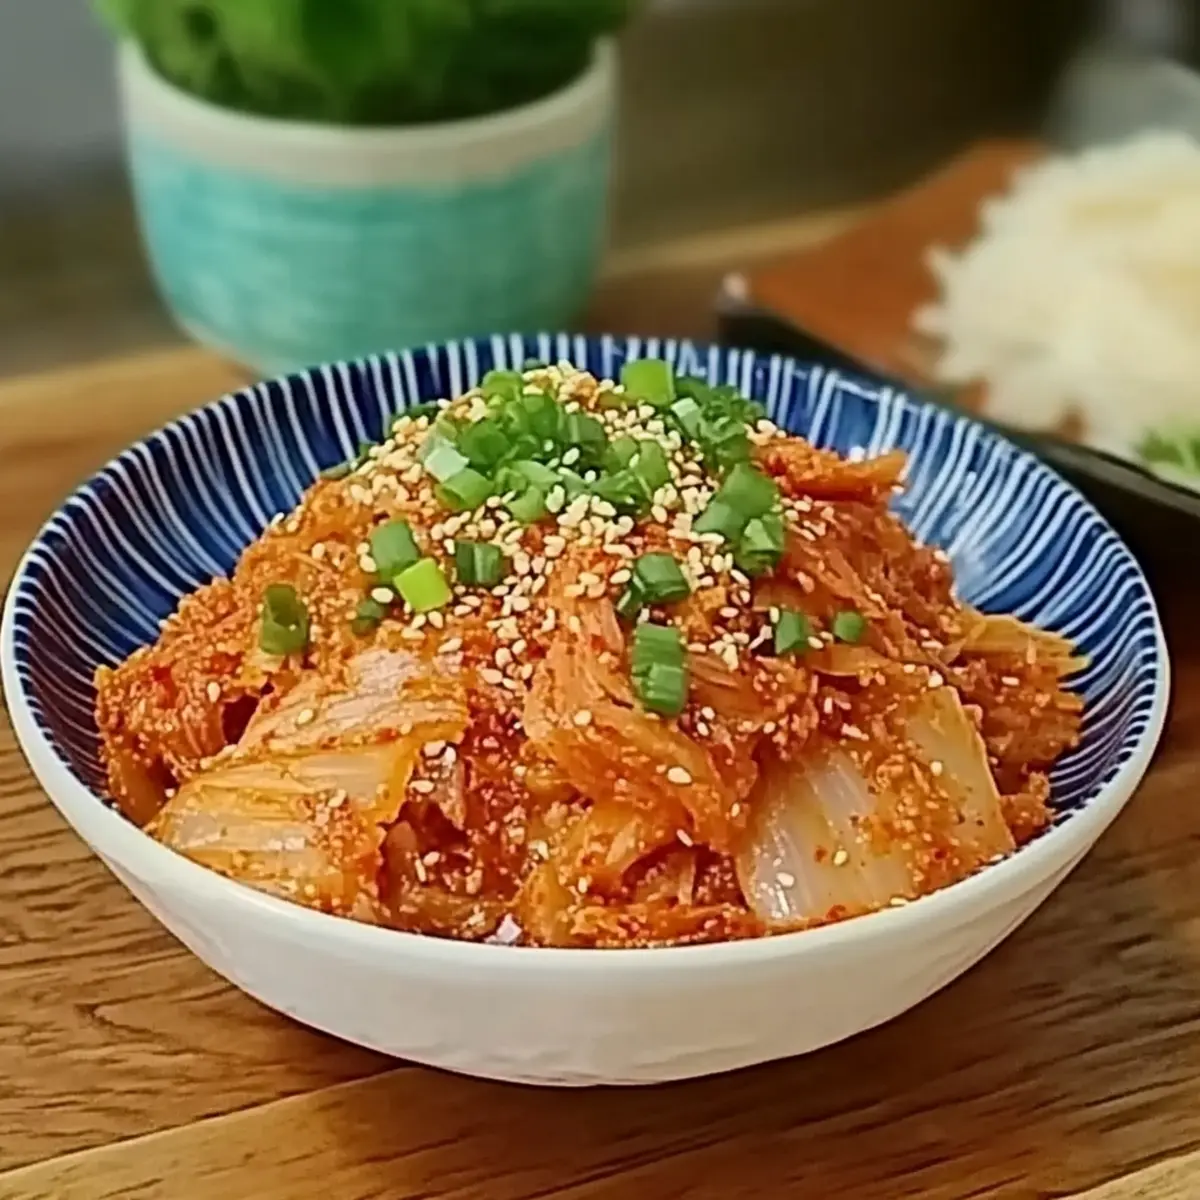
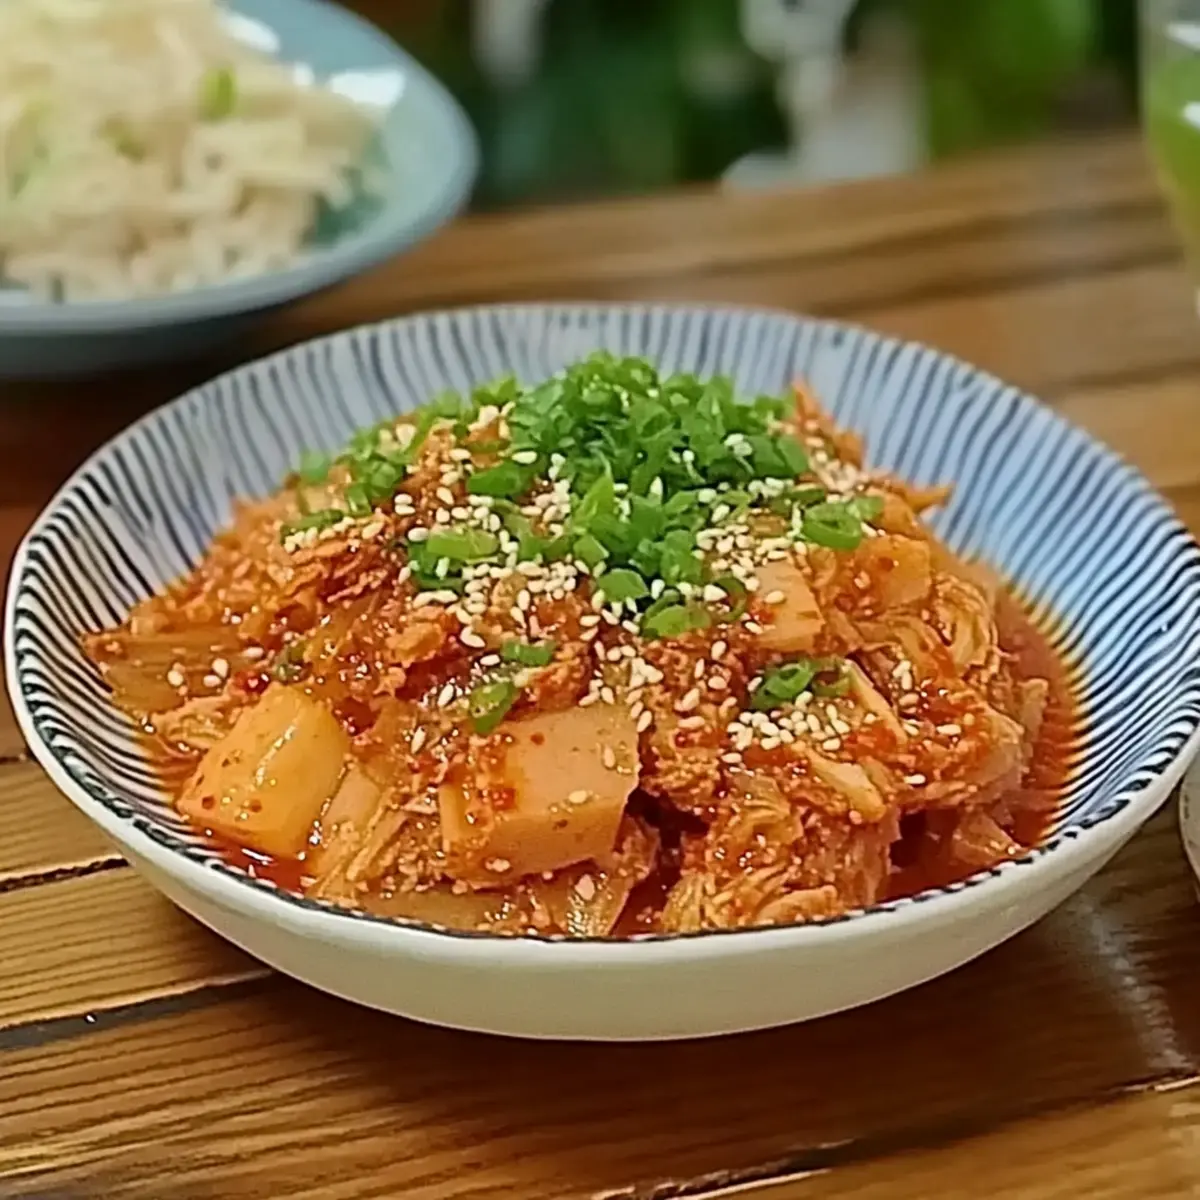
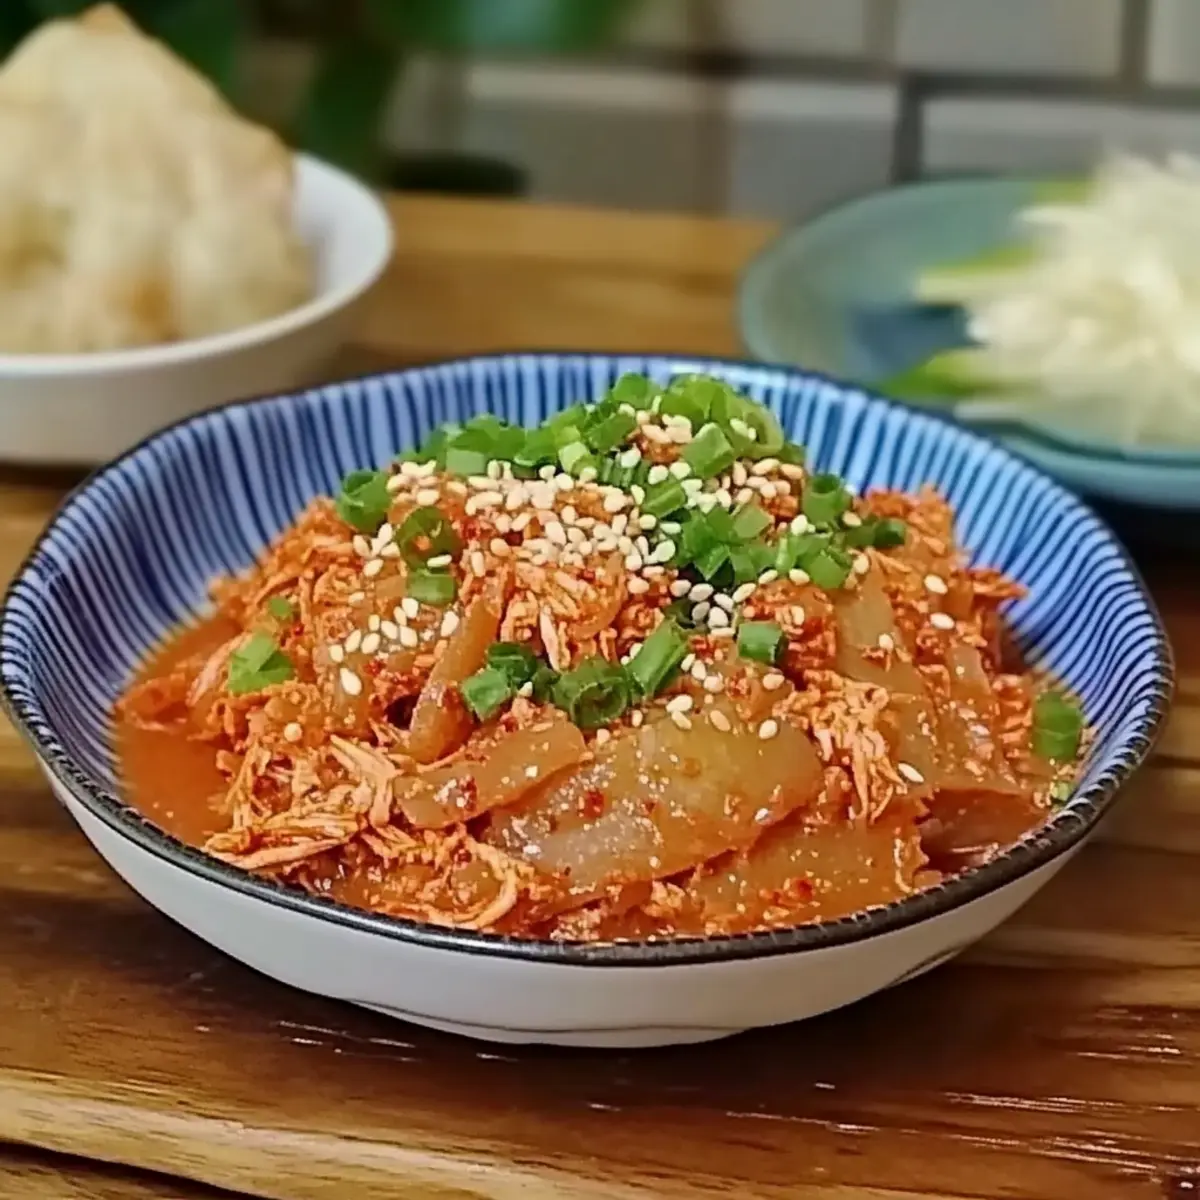
I’ll never forget the first time I tasted Kimchi Tuna Bokkeum; it was a cozy afternoon, and the rich scent of sautéed kimchi and savory tuna spinning together filled my kitchen. This quick, home-style stewed kimchi tuna is a game-changer, bringing a delightful fusion of spicy and umami flavors right to your table in just 10 minutes! Perfect for those busy weeknights when takeout just won’t do, this recipe makes use of pantry staples, ensuring you won’t have to venture out in search of ingredients. Whether served over steaming rice or mixed into noodles for a twist, this dish is both a comfort food classic and a flavorful escape to Korean cuisine. So, are you ready to whip up this deliciously quick kimchi tuna masterpiece? Let’s get started!
Why is Kimchi Tuna Bokkeum a Must-Try?
Quick Cooking: Get your taste buds ready! This dish takes just 10 minutes to prepare, making it an ideal choice for busy weeknights.
Flavor Explosion: Packed with the unique blend of spicy kimchi and tender tuna, this recipe promises a delightful fusion of umami that will leave you craving more.
Pantry Staples: No need for a specialty store trip! You probably have the ingredients on hand already, making it a perfect last-minute dinner solution.
Versatile Dish: Enjoy it over rice for a hearty meal or toss it with noodles for an exciting twist—this dish can fit any meal occasion!
Crowd-Pleasing: Perfect for family dinners or when hosting friends, you can easily impress everyone with this Korean delight that’s both satisfying and comforting.
Embrace the joyous flavors of Korean cuisine with this easy-to-follow recipe and make your mealtime transformative!
Home-Style Stewed Kimchi Tuna Ingredients
For the Dish
• Onion – Offers sweetness and depth; yellow or white onions work best for flavor.
• Kimchi – The star ingredient that adds spiciness and tang; choose any variety based on your heat preference.
• Canned Tuna – A heartiness that enhances the dish; don’t drain the juices for more flavor.
• Neutral Oil – Used for sautéing; vegetable or canola oil are good substitutes.
• Gochugaru – Korean red chili flakes that provide a vibrant color and heat; adjust to your spice level.
• Dashi Powder – Boosts umami flavor; can be swapped with chicken or vegetable broth if needed.
• Sesame Oil – Adds a delightful nuttiness and richness to the dish.
• Sugar – Balances the acidity of kimchi; you can replace it with honey or omit it for a less sweet variant.
For Garnishing
• Sesame Seeds – Adds a lovely texture; sprinkle to enhance the presentation.
• Green Onion – Chopped for freshness and a pop of color; use generously for extra flavor.
Embrace the delightful world of Home-Style Stewed Kimchi Tuna with these simple ingredients; you’re just a few steps away from savoring a quick and comforting meal!
Step‑by‑Step Instructions for Home-style Stewed Kimchi Tuna
Step 1: Heat the Pan
Start by placing a large frying pan over medium heat. Add about two tablespoons of neutral oil and allow it to warm for a minute or so until it shimmers slightly. This step is crucial for the sautéing process as it helps to release the flavors you’re about to incorporate into your home-style stewed kimchi tuna.
Step 2: Sauté Onion and Kimchi
Once the oil is heated, add in one medium chopped onion along with one cup of chopped kimchi. Stir frequently for about 2-3 minutes until the onions become soft and translucent while the kimchi releases its tangy aroma. This fragrant mixture sets the stage for deep, bold flavors in your dish!
Step 3: Incorporate Tuna
Next, gently stir in one can of drained canned tuna, making sure to include the juices for added flavor. Break up any large chunks of tuna with your spatula while mixing everything well. Cook this combination for another 1-2 minutes, letting the tuna absorb the savory notes from the sautéed onion and kimchi.
Step 4: Season with Spices
Sprinkle in a tablespoon of gochugaru, one teaspoon of dashi powder, and a drizzle of sesame oil. Mix thoroughly to ensure every bite is full of flavor. The gochugaru will give your home-style stewed kimchi tuna a beautiful color and kick, while the dashi enhances the umami essence.
Step 5: Balance the Flavors
Add in about a teaspoon of sugar to the mixture, stirring well to combine all the ingredients. This little touch will help balance the acidity of the kimchi. Continue to cook for another minute, and taste it to adjust the spice levels according to your preference.
Step 6: Simmer the Mixture
Reduce the heat to low and allow the kimchi tuna to simmer for 3-5 minutes. Stir occasionally as it cooks, allowing the ingredients to meld together into a rich, umbrella of flavors. You’ll see a saucy consistency forming—this is when your home-style stewed kimchi tuna is at its best!
Step 7: Garnish and Serve
Finally, turn off the heat and transfer your comforting dish into serving bowls. Garnish with a sprinkle of sesame seeds and chopped green onions for an added crunch and fresh burst of color. This delightful combination takes your home-style stewed kimchi tuna from simple to spectacular, enhancing both taste and presentation!
What to Serve with 10-Minute Korean Kimchi Tuna Bokkeum
Elevate your meal experience with delightful pairings that complement the vibrant flavors of this Korean dish.
-
Steamed Rice: A classic companion, fluffy rice absorbs the rich kimchi tuna sauce, balancing the spicy kick perfectly. Serve it in a bowl for a cozy feel.
-
Noodle Salad: Light and refreshing, cold noodles tossed with sesame oil and veggies provide a delightful contrast in temperature and texture, keeping the meal interesting.
-
Korean Pickled Radishes: These crunchy, tangy bites cleanse the palate between bites, adding a burst of freshness that enhances the overall experience.
-
Egg Drop Soup: Warm, savory, and comforting, this soup offers a soothing counterpart to the spicy kimchi tuna, making for a well-rounded meal.
-
Vegetable Stir-Fry: Incorporating colorful bell peppers and snap peas, this quick side dish adds a crisp texture and mild flavor, balancing the dish’s heat.
-
Korean Soju: For a drink pairing, this smooth rice liquor complements the umami flavors of the kimchi tuna, making every sip a delightful experience alongside your meal.
-
Fruity Sorbet: To round out the meal, a light, refreshing sorbet makes for a perfect dessert, cleansing the palate after the rich, spicy dish.
Expert Tips for Home-Style Stewed Kimchi Tuna
- Maximize Flavor: Always include the canned tuna juices for a flavor boost; draining them will deprive your dish of essential taste.
- Adjust Spice Level: For an extra kick, feel free to increase the gochugaru amount. If you prefer milder flavors, go easy on it!
- Watch the Heat: While simmering, keep an eye on the heat to prevent burning. A low flame allows flavors to meld perfectly without getting scorched.
- Use Fresh Kimchi: The best flavor comes from kimchi that’s well-fermented but not overly sour. Trust your taste buds to find the perfect balance!
- Garnish Generously: Don’t skimp on sesame seeds and green onions; they not only add lovely texture but also elevate the visual appeal of your home-style stewed kimchi tuna.
Storage Tips for Home-Style Stewed Kimchi Tuna
Fridge: Store leftover home-style stewed kimchi tuna in an airtight container for up to 2 days. This ensures it stays fresh while retaining its delightful flavors.
Freezer: If you want to keep it longer, freeze the kimchi tuna in a freezer-friendly container for up to 1 month. Be sure to label the container for easy identification!
Reheating: When ready to enjoy, thaw in the fridge overnight, then reheat gently on the stove over medium-low heat, stirring occasionally until warmed through.
Serving Suggestion: Pair reheated leftovers with fresh steamed rice or noodles for a quick and satisfying meal any time!
Home-Style Stewed Kimchi Tuna Variations
Feel free to play around with this recipe and tailor it to your liking—let your creativity shine in the kitchen!
- Dairy-Free: Swap coconut oil for neutral oil to infuse a subtle richness without any dairy.
- Protein Boost: Substitute canned tuna with cooked shrimp or crab for a luxurious twist that seafood lovers will adore.
- Vegetarian Option: For a plant-based version, replace tuna with crumbled tofu and add extra spices for flavor depth.
- Extra Crunch: Toss in some chopped bell peppers or water chestnuts while sautéing for an satisfying texture contrast.
- Heat it Up: Add a tablespoon of Sriracha or Thai chili paste to amp up the spice level for those who crave fiery flavors.
- Umami Kick: Mix in a teaspoon of miso paste during cooking to enhance the savory notes and add complexity.
- Flavorful Broth: Instead of water, use a homemade or store-bought chicken broth for an added depth of flavor for the dish.
- Sweet Twist: For a different taste, swap sugar for maple syrup or honey, giving a unique glaze to your kimchi tuna.
Explore these variations to discover new dimensions in your home-style stewed kimchi tuna!
Make Ahead Options
These quick and flavorful Home-Style Stewed Kimchi Tuna dishes are perfect for meal prep enthusiasts! You can chop the onions and kimchi and store them in an airtight container in the refrigerator for up to 3 days. Additionally, you can portion out the canned tuna so that it’s ready to mix whenever you’re set to cook. When you’re ready to enjoy your meal, simply sauté the prepped ingredients, add in the tuna, season, and simmer as directed. Following these steps will ensure your meal is just as delicious with minimal effort, providing you with a comforting dish that’s ready to savor on busy weeknights!
Home-Style Stewed Kimchi Tuna Recipe FAQs
What kind of kimchi should I use?
You can use any variety of kimchi that suits your heat preference, from mild napa cabbage kimchi to spicy radish kimchi. I often recommend using well-fermented kimchi, as it provides a richer and more complex flavor profile, enhancing your home-style stewed kimchi tuna.
How do I store leftovers?
Leftover home-style stewed kimchi tuna can be stored in an airtight container in the refrigerator for up to 2 days. To maintain the best flavor and texture, ensure the container is sealed tightly. Before serving, simply reheat it on the stove over medium-low heat, stirring occasionally until heated through.
Can I freeze Kimchi Tuna Bokkeum?
Absolutely! To freeze your home-style stewed kimchi tuna, place it in a freezer-friendly container or a zip-top freezer bag, ensuring you remove as much air as possible. It can be frozen for up to 1 month. When you’re ready to enjoy it, thaw in the refrigerator overnight and reheat on the stove, taking care to stir it occasionally until it’s warmed through.
What should I do if my dish is too spicy?
If your home-style stewed kimchi tuna ends up spicier than you expected, consider adding a bit of sugar—this helps to balance out the heat! Alternatively, you can introduce more canned tuna or a bit of broth to dilute the spiciness, creating a milder flavor.
Is this dish safe for pets or people with allergies?
It’s essential to consider allergies when preparing home-style stewed kimchi tuna. Ingredients like fish (tuna) and sesame oil can pose allergy risks for some individuals. Always check with your guests or family members if they have specific allergies before serving. For pets, it’s generally advisable to avoid sharing human food that includes onions or spices, as they can be harmful to them.
What if I don’t have dashi powder?
No worries! If you don’t have dashi powder, you can replace it with an equal amount of chicken or vegetable broth to maintain that savory umami flavor in your home-style stewed kimchi tuna. Alternatively, adding a splash of soy sauce can also enhance the overall taste.
Quick & Flavorful Home-Style Stewed Kimchi Tuna Delight
Ingredients
Equipment
Method
- Heat a large frying pan over medium heat and add the neutral oil, warming until it shimmers.
- Sauté the chopped onion and kimchi for 2-3 minutes until onions are soft and kimchi is aromatic.
- Incorporate the canned tuna, mixing well and breaking up any large chunks, cooking for another 1-2 minutes.
- Season with gochugaru, dashi powder, and sesame oil, mixing thoroughly.
- Add sugar, stirring to combine, and cook for another minute, adjusting spice levels as needed.
- Reduce heat to low and let the mixture simmer for 3-5 minutes, stirring occasionally.
- Garnish with sesame seeds and green onions before serving.
Leave a Reply