
As I stood in my kitchen, the enticing aroma of peanut butter wafted through the air, taking me back to childhood treats. It’s amazing how a simple desire for something sweet can lead us to reinvent classic favorites, like these Healthy Homemade Butterfingers. With only 7 straightforward ingredients, this recipe is not just a healthier take on the nostalgic candy; it’s also gluten-free and dairy-free, making it accessible for almost everyone. Whether you’re looking for a guilt-free indulgence to enjoy after dinner or a unique dessert to impress at gatherings, these bars are the perfect solution. Who knew that satisfying candy cravings could be this delightful and easy? Curious how to whip up these scrumptious treats? Let’s dive in!
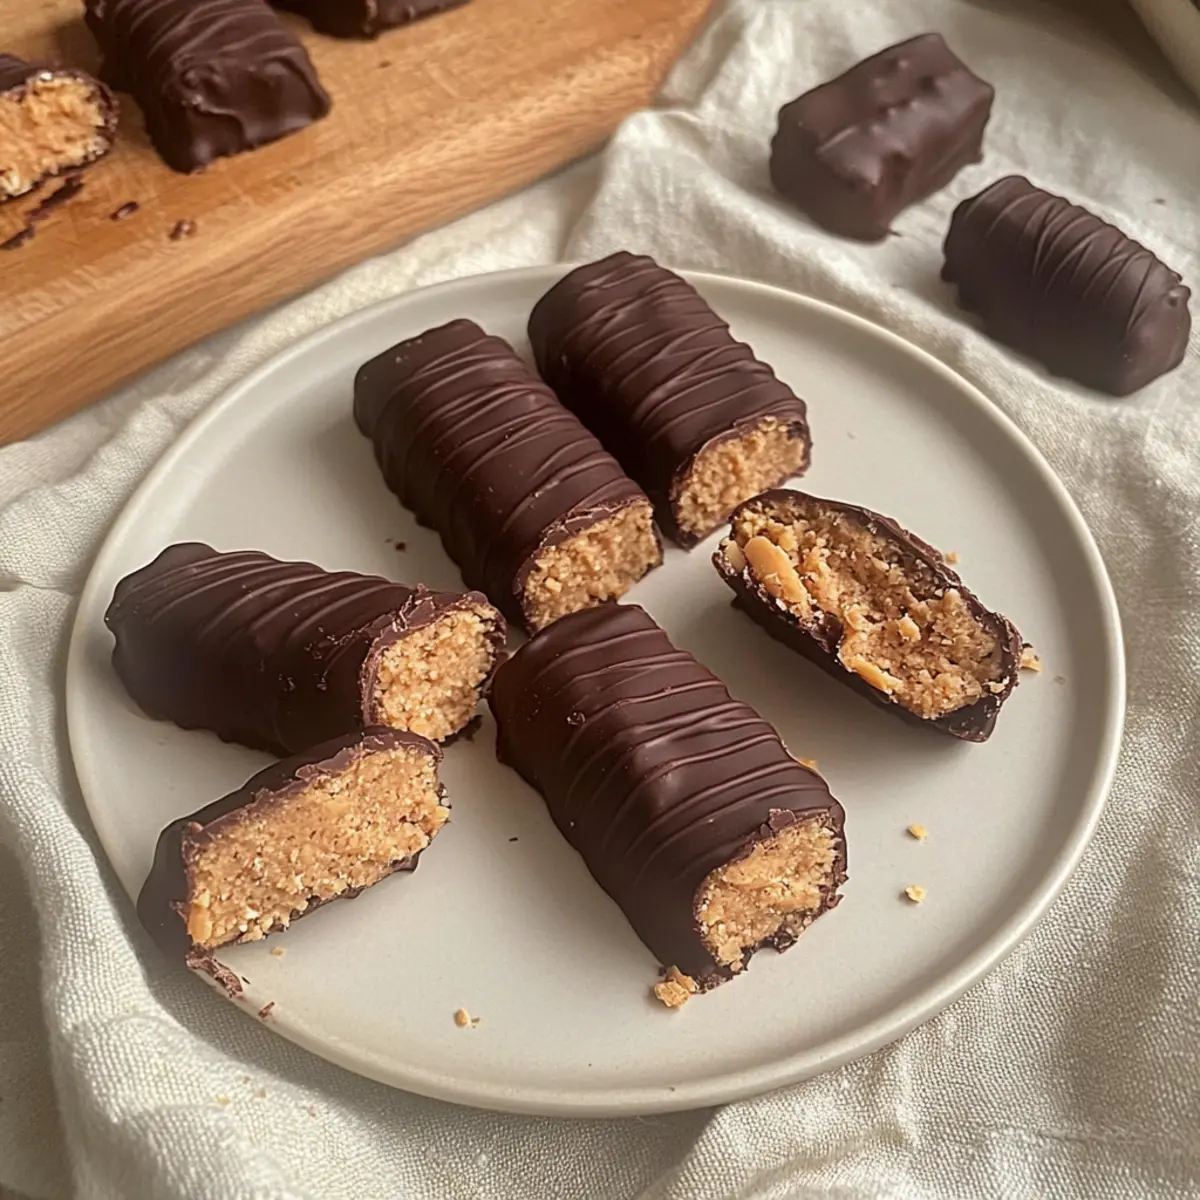
Why Are These Butterfingers Special?
Healthier Twist: Unlike store-bought versions, these Butterfingers are gluten-free and dairy-free, allowing everyone to enjoy a sweet treat without the guilt.
Quick Prep Time: With just 7 simple ingredients, you can whip these up in no time, making them perfect for last-minute dessert cravings or a sweet snack.
Versatile Options: Feel free to swap ingredients like almond butter for peanut butter or rice cereal for corn flakes, ensuring every bite suits your dietary needs.
Crowd-Pleasing: These treats are sure to be a hit at any party or gathering, just like my beloved Healthy Blueberry Baked Oatmeal or Homemade Pizza Pockets.
Sweet Indulgence: The delightful balance of crunchy peanut butter, sweet honey, and smooth dark chocolate creates a decadent treat that satisfies your sweet tooth without compromising on health.
Easy to Store: Make a batch and keep them in your freezer for up to 3 months—you’ll always have a healthy dessert ready to go!
Healthy Homemade Butterfinger Ingredients
• Get ready to create a scrumptious treat!
For the Butterfingers
- Peanut Butter – Provides flavor and creaminess; substitute with almond butter if there are nut allergies.
- Honey – Acts as a natural sweetener and binds ingredients; can replace with maple syrup for a vegan option.
- Corn Flakes – Adds crunch and structure; ensure you use certified gluten-free corn flakes for a gluten-free option.
- Coconut Oil – Adds richness and helps smooth out the chocolate layer; this can be substituted with dairy-free butter if preferred.
- Vanilla Extract – Enhances the overall flavor profile; using pure vanilla will yield the best results.
- Sea Salt – Balances sweetness; adjust to your taste for a perfect flavor combination.
- Dark Chocolate Chips – For coating the bars; opt for dairy-free chocolate chips to keep the dessert fully dairy-free.
Step‑by‑Step Instructions for Healthy Homemade Butterfingers
Step 1: Mix Peanut Butter Mixture
In a large mixing bowl, combine 1 cup of creamy peanut butter, 1/2 cup of honey, 1 teaspoon of vanilla extract, and a pinch of sea salt. Use a spatula to stir the mixture until it is smooth and evenly blended, taking about 2-3 minutes. This peanut butter mixture serves as the flavorful base for your Healthy Homemade Butterfingers.
Step 2: Add Corn Flakes
Gently fold in 1 cup of corn flakes into the peanut butter mixture. Use a spatula to carefully coat each flake, ensuring they are evenly distributed without crushing them. This step takes around 1-2 minutes, and you should see the mixture become thicker and chunkier, creating the essential crunch in your bars.
Step 3: Shape Bars
With clean hands, scoop portions of the mixture and shape them into bars, about 1 inch thick, then place them on a parchment-lined baking sheet. Continue until all the mixture is formed into bars, which should yield about 8-10 pieces. These will become the base of your Healthy Homemade Butterfingers, so make sure they are compact and uniform in size.
Step 4: Freeze
Place the shaped bars in the freezer and let them chill for approximately 1 hour or until they are firm to the touch. This step is crucial as it helps the bars hold their shape and makes them easier to coat in chocolate later. You’ll know they are ready when they feel solid and firm rather than soft.
Step 5: Melt Chocolate
In a microwave-safe bowl or double boiler, combine 1 cup of dark chocolate chips with 1 tablespoon of coconut oil. Heat gently, stopping to stir every 30 seconds until the mixture is completely smooth and melted, which should take about 1-2 minutes in the microwave. The coconut oil helps to create a shiny coating for your Healthy Homemade Butterfingers.
Step 6: Coat and Freeze Again
Carefully dip each frozen bar into the melted chocolate, ensuring they are fully coated. Place them back on the parchment-lined baking sheet. Once all bars are coated, return them to the freezer for another 30 minutes, allowing the chocolate to harden and set completely. This will give your Healthy Homemade Butterfingers that delightful chocolate shell!
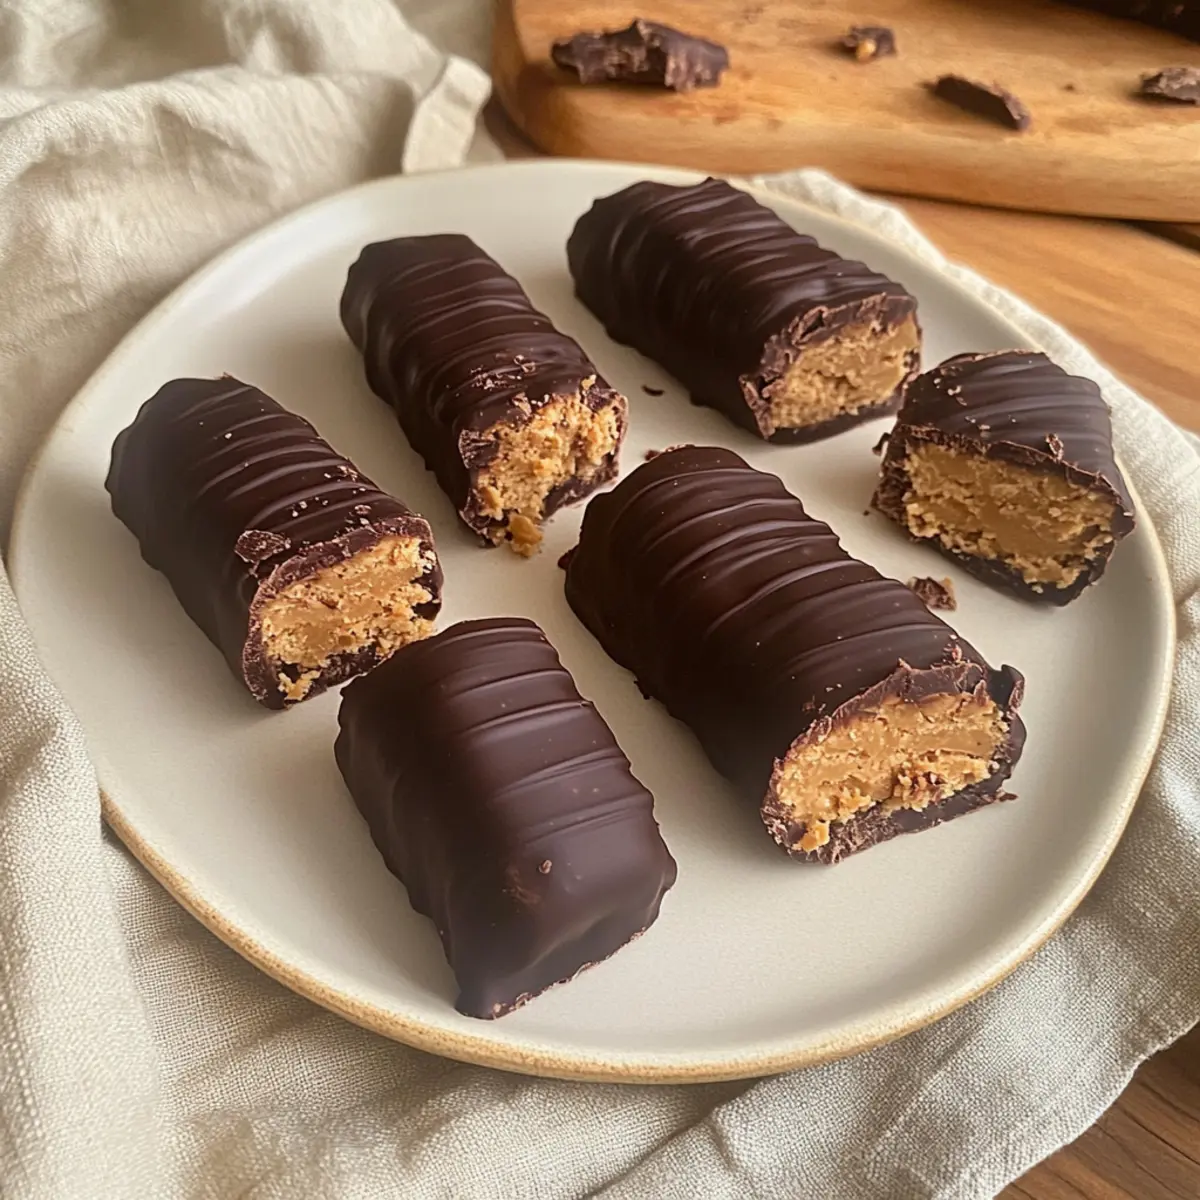
What to Serve with Healthy Homemade Butterfingers
Serve these delightful treats alongside comforting pairings that enhance their nostalgic charm and satisfy your sweet tooth.
-
Creamy Almond Milk: A glass of this smooth beverage complements the sweet and salty flavors, balancing the richness of the bars beautifully. Sipping it alongside your Butterfingers is a delightful experience, creating a cozy and indulgent moment.
-
Fresh Fruit Skewers: Colorful and juicy, fresh fruit adds a refreshing contrast to the dense sweetness of the Butterfingers. Think strawberries, apples, or bananas for a vibrant touch on your dessert plate. The natural sweetness of the fruit perfectly offsets the chocolaty goodness.
-
Chocolate Dipped Strawberries: Enhance the chocolate experience with some extra indulgence! These sweet berries echo the chocolate coating of the Butterfingers, making for a romantic and delicious pairing that’s perfect for special occasions or cozy nights at home.
-
Pineapple Coconut Sorbet: This tropical treat brings a refreshing, icy texture to your dessert spread. The light, fruity flavors contrast nicely with the rich peanut butter, making it a perfect palate cleanser in between snacking on the Butterfingers.
-
Nutty Granola Bars: Pair these treats with homemade or store-bought granola bars for a satisfying crunch and extra fiber. The nutty flavors can resonate with the peanut butter notes in the Butterfingers, creating a comforting and filling snack.
-
Vanilla Ice Cream: Serve alongside a scoop of creamy vanilla ice cream for an indulgent experience. Melting ice cream drizzled over a Butterfinger brings pure delight, bridging the gap between nostalgia and modern treats.
-
Chia Seed Pudding: Healthy yet indulgent, chia pudding can be flavored with cocoa or vanilla to complement the flavors of the Butterfingers. With its creamy texture and nutritional boost, this pairing keeps dessert satisfying and wholesome.
-
Sparkling Water with Lime: For a light drink option, sparkling water adds fizz and a refreshing citrus note. The acidity of lime cuts through the sweetness wonderfully, making this a fantastic accompaniment to your treat. Enjoy sipping as you nibble away!
-
Homemade Fruit Roll-Ups: Add a chewy, fruity element to the mix that not only looks enticing but also offers a fun texture contrast to the crunchy Butterfingers. This simple treat is a great way to level up your dessert platter.
-
Coffee or Espresso: A robust cup of coffee or a shot of espresso goes hand-in-hand with sweet treats. The bitterness of the coffee balances the sweet chocolate beautifully, making for an enjoyable and sophisticated finish to your dessert adventure.
How to Store and Freeze Healthy Homemade Butterfingers
Fridge: Place your Healthy Homemade Butterfingers in an airtight container and store them in the fridge for up to 1 week. This keeps them fresh and ready to enjoy anytime!
Freezer: For longer storage, these Butterfingers can be frozen for up to 3 months. Wrap each bar individually in plastic wrap to maintain freshness before placing them in an airtight container.
Thawing: When you’re ready to indulge, simply let the bars thaw slightly at room temperature for about 10-15 minutes. This will give them a soft yet firm texture that’s delightful to bite into.
Reheating: There’s no need to reheat these bars; just enjoy them chilled! However, if you prefer them warm, a quick 10-second microwave zap will soften the chocolate coating nicely.
Healthy Homemade Butterfingers Variations
Feel free to get creative and personalize your Healthy Homemade Butterfingers with these delightful twists!
-
Nut-Free: Use sunbutter instead of peanut butter for a nut-free alternative, perfect for school lunches. It still packs a delicious flavor without the allergens!
-
Vegan Delight: Swap honey for maple syrup to make these bars entirely vegan. This not only caters to dietary preferences but also brings a new depth of flavor.
-
Flavored Crunch: Try using flavored rice cereal or corn flakes, like cinnamon or chocolate varieties, to give your Butterfingers an extra kick of taste. It’s a fun way to jazz up a classic recipe!
-
Protein Boost: Add a scoop of your favorite protein powder to the peanut butter mixture for a satisfying post-workout snack. This can enhance both the texture and flavor while boosting nutrition.
-
Chocolate Lovers: For a richer chocolate flavor, mix 1–2 tablespoons of cocoa powder into the peanut butter before adding the corn flakes. This twist creates an even more indulgent treat!
-
Spicy Kick: Add a pinch of cayenne pepper or chili powder to the chocolate coating for a spicy surprise. This unexpected heat will delight those who love a little adventure in their treats!
-
Coconut Twist: Fold in some shredded coconut into the mixture for tropical flair. The coconut will add both flavor and an irresistible chewiness to each bite.
-
Miniatures for Munchies: Shape the bars into bite-sized pieces instead of full bars. This way, you can enjoy a little indulgence without overdoing it. Perfect for sharing at gatherings, akin to my Healthy Sesame Chicken for those lighter party snacks!
Let your kitchen creativity shine, and enjoy these delicious customizations that make your Healthy Homemade Butterfingers uniquely yours!
Expert Tips for Healthy Homemade Butterfingers
• Use Gloves: Wearing gloves while handling the mixture prevents it from becoming sticky and messy. This simple tip keeps things cleaner and easier!
• Even Coating: Make sure to dip each bar thoroughly into the melted chocolate. This ensures a beautiful, evenly coated finish with a wonderful chocolate flavor in every bite.
• Adjust Crunchiness: If using natural peanut butter, consider increasing the corn flakes to 2 cups for a crunchier texture, especially if your mixture appears too soft.
• Storage Solution: Store the bars in an airtight container in the freezer for up to 3 months. Let them thaw slightly for the best texture before biting in!
• Sweetness Balance: Adjust the amount of sea salt to your preference; a tiny pinch enhances the sweetness and makes your Healthy Homemade Butterfingers truly shine.
• Experiment Flavor: Feel free to incorporate flavor variations, such as adding cocoa powder to the peanut butter mixture for a richer chocolate taste.
Make Ahead Options
These Healthy Homemade Butterfingers are a fantastic option for meal prep, making your busy weeknights a breeze! You can prepare the peanut butter mixture and shape the bars up to 24 hours in advance; simply store them in the freezer on a parchment-lined baking sheet. Additionally, you can melt the chocolate and keep it in an airtight container for up to 3 days—this prevents any separation or drying out. When you’re ready to finish, just take the bars from the freezer, dip them in the melted chocolate, and freeze again until set. This way, you’ll have delicious, homemade treats ready to enjoy with minimal effort!
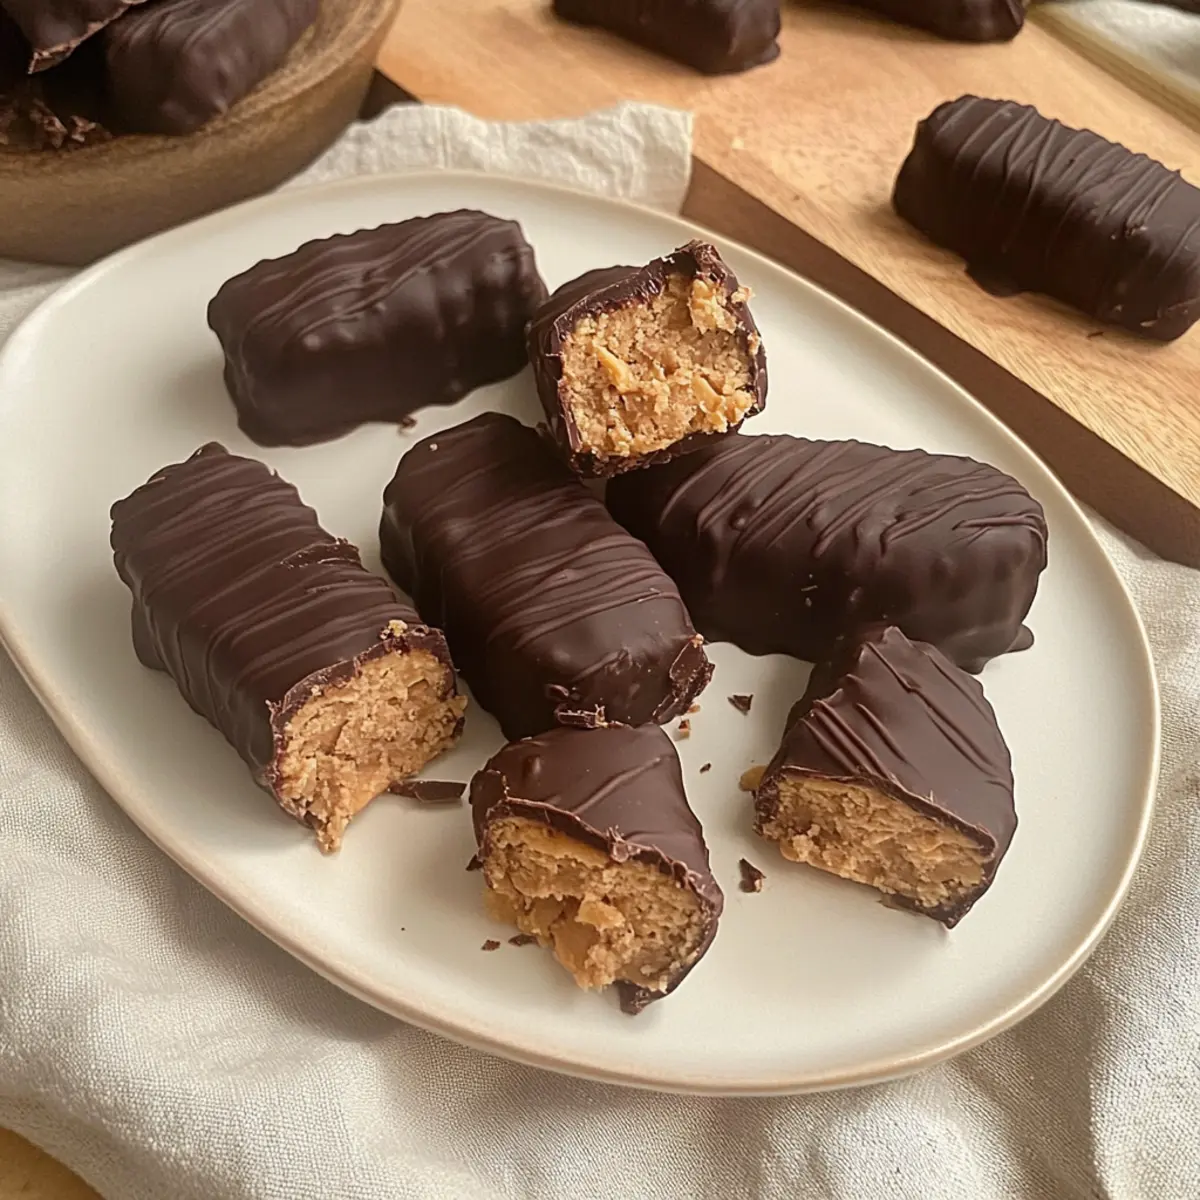
Healthy Homemade Butterfingers Recipe FAQs
How do I select the best peanut butter for this recipe?
Absolutely! When choosing peanut butter, look for a creamy, natural variety with minimal added sugars or hydrogenated oils. If you have nut allergies, almond butter or sunflower seed butter also works wonderfully as a substitute for that satisfying taste and texture.
How should I store my Healthy Homemade Butterfingers?
These tasty treats can be stored in an airtight container in the fridge for up to 1 week. For longer storage, pop them in the freezer, where they’ll last up to 3 months. Just make sure to wrap each bar individually in plastic wrap before placing them in an airtight container to preserve their freshness.
Can I freeze these Butterfingers? If so, how?
Yes! Freezing these Healthy Homemade Butterfingers is a great option. After preparing and cooling them, wrap each bar in plastic wrap and store in an airtight container. They will stay fresh for up to 3 months. When you’re ready to enjoy, let them thaw for 10-15 minutes at room temperature before serving to achieve the perfect texture.
What if the mixture is too soft?
If your peanut butter mixture is too soft to hold shape, don’t worry! Simply add an additional 1-2 cups of corn flakes to increase the crunch, ensuring that it helps bind the ingredients together. This will create a firmer texture for your bars, making them easier to shape and coat.
Are there any common allergies to consider?
Definitely! If you’re making these Healthy Homemade Butterfingers for those with allergies, be cautious about using peanut butter. You can swap it out for almond butter or sunflower seed butter. Additionally, be sure to choose certified gluten-free corn flakes if gluten sensitivity is a concern. Always check labels when selecting other ingredients like chocolate chips and coconut oil to ensure they meet dietary needs.
Can I customize the flavor of the Butterfingers?
Very! Feel free to experiment by incorporating other flavors like cocoa powder into the peanut butter mixture for a chocolatey twist or adding dried fruits or nuts for added texture. The more the merrier when it comes to personalizing these treats to your taste!
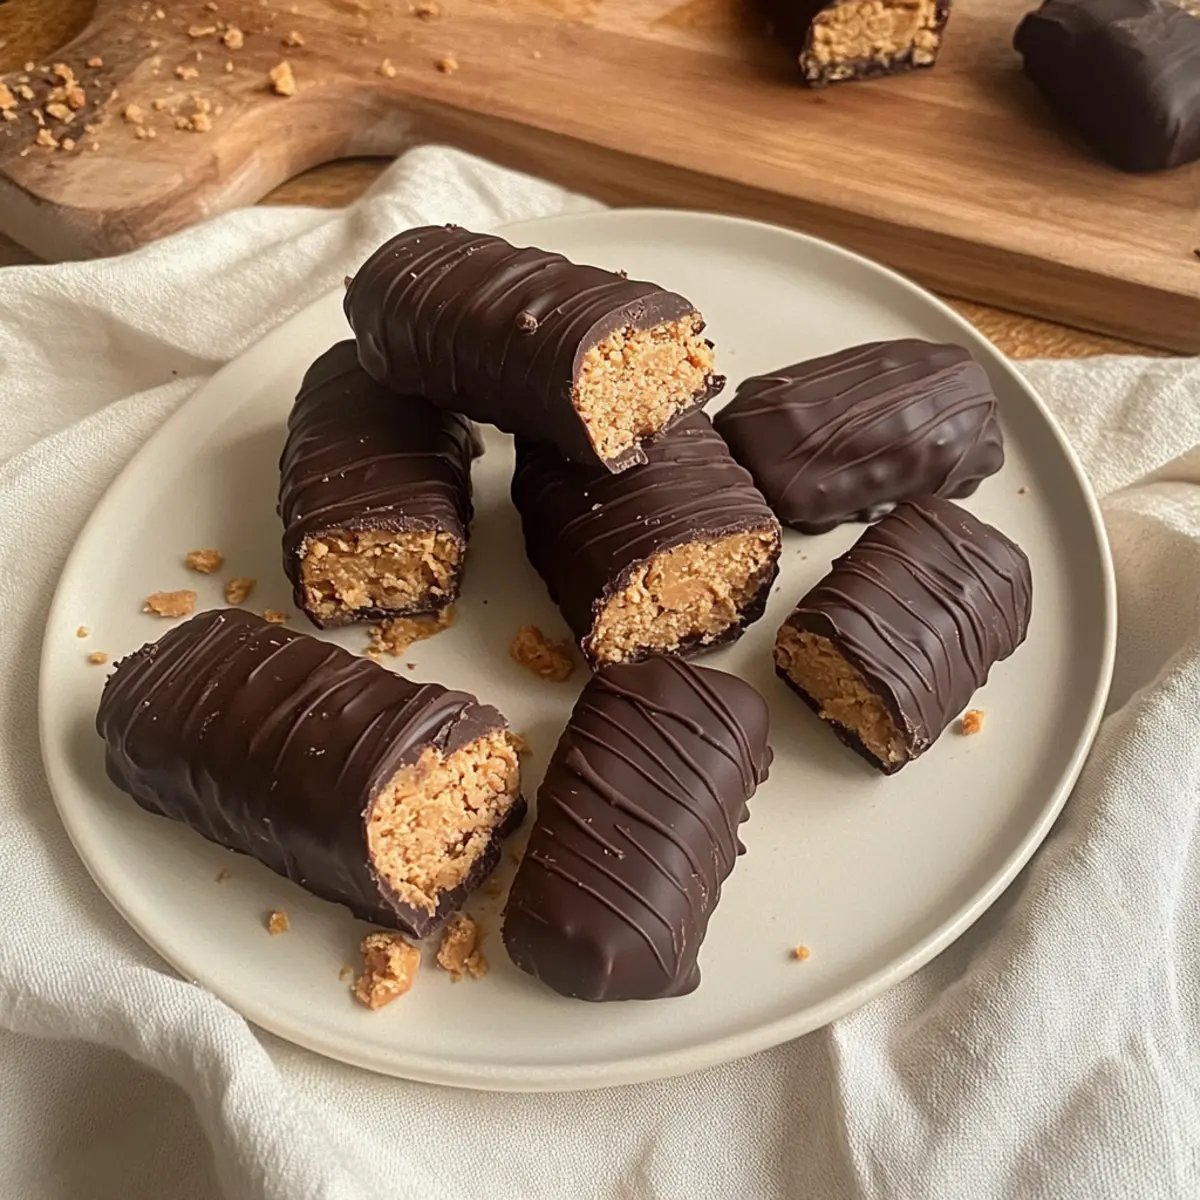
Irresistibly Crunchy Healthy Homemade Butterfingers Delight
Ingredients
Equipment
Method
- In a large mixing bowl, combine peanut butter, honey, vanilla extract, and sea salt. Stir until smooth and well blended, about 2-3 minutes.
- Gently fold in corn flakes into the peanut butter mixture until evenly coated.
- Shape the mixture into bars, about 1 inch thick, and place on a parchment-lined baking sheet.
- Freeze the bars for about 1 hour or until firm.
- Melt dark chocolate chips and coconut oil together in a microwave or double boiler until smooth.
- Dip each frozen bar into the melted chocolate, ensuring they are fully coated, and return to the parchment-lined baking sheet.
- Freeze the coated bars for another 30 minutes to allow the chocolate to harden.
Leave a Reply