
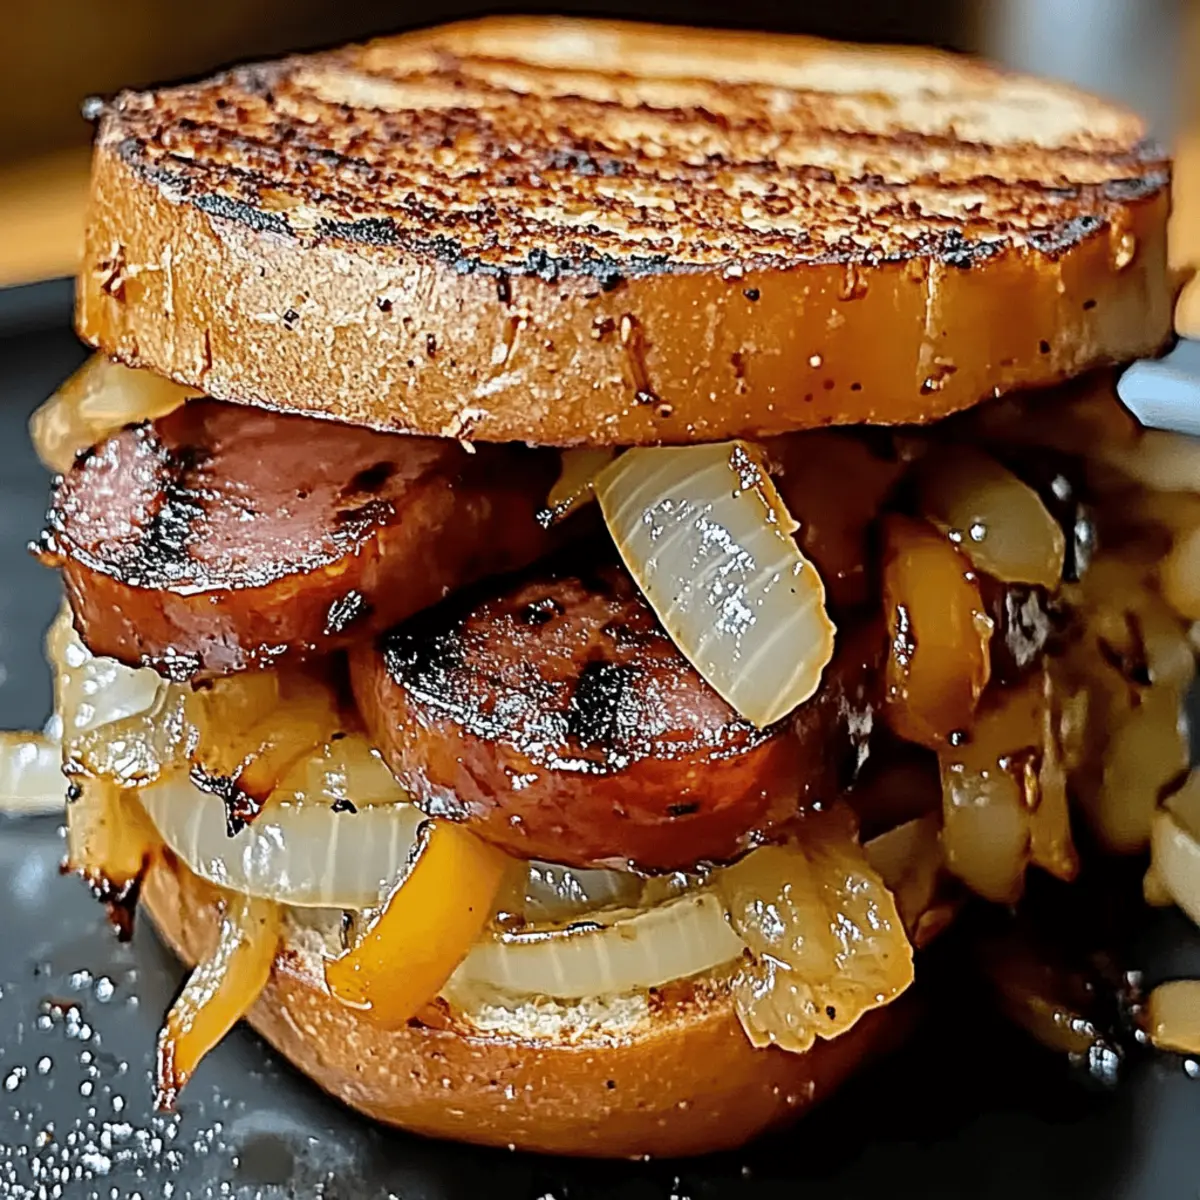
As the grill hisses to life, the tantalizing aroma of sizzling kielbasa wafts through the air, instantly transporting me to sunny summer gatherings. Today, I’m thrilled to share my recipe for Grilled Kielbasa Sandwiches with Sweet Onion Flavor, which are not just simple to prepare but also customizable to suit any palate! Whether you’re tossing them onto the grill for an outdoor barbecue or whipping them up for a cozy dinner, these sandwiches are bound to impress friends and family alike. With sweet, caramelized onions and vibrant bell peppers melding beautifully with the juicy kielbasa, you’ll enjoy an irresistible combination of flavors and textures that can be tailored with your favorite toppings and breads. Ready to bring a slice of summer into your kitchen? Let’s dive into this delicious adventure!
Why are Grilled Kielbasa Sandwiches a Must-Try?
Bold flavor: The rich, smoky kielbasa paired with sweet, caramelized onions elevates your taste buds to new heights!
Customization galore: With various toppings and bread options, you can make this sandwich your own every time.
Quick prep: Ready in under 30 minutes, these sandwiches are perfect for a weeknight dinner or spontaneous grill sessions.
Crowd-pleaser: Serve them at your next gathering, and watch everyone come back for seconds, just like with my Cranberry Apple Twice-Baked Sweet Potatoes or Disney’s Grilled Cheese.
Ultimate texture: The combination of juicy sausage and crunchy veggies creates a delightful bite you won’t forget.
Treat yourself and your guests to this whimsical sandwich experience!
Grilled Kielbasa Sandwich Ingredients
For the Sandwich
• Beef Kielbasa Sausage – A rich, smoky flavor that’s the heart of this dish; substitute with chicken sausage for a lighter alternative.
• Hoagie or Sandwich Rolls – Provides the perfect vessel for the delicious fillings; consider pretzel rolls or ciabatta for a fun twist.
For the Grilled Vegetables
• Olive Oil – Keeps the veggies from sticking to the grill; vegetable oil is a suitable substitute.
• Red Bell Pepper – Adds natural sweetness and vibrant color; you can replace it with orange or yellow peppers for a different flair.
• Yellow Bell Pepper – Enhances flavor and visual appeal; green bell pepper works just as well if that’s what you have.
• Green Bell Pepper – Offers a satisfying crunch; feel free to swap with any bell pepper based on your preference.
• Large Onion – Caramelizes beautifully, imparting sweetness; sweet varieties like Vidalia are perfect for extra flavor.
• Garlic Powder – Infuses depth into the veggies; fresh garlic can provide an even bolder taste if you prefer.
• Italian Seasoning or Dried Oregano – Elevates the flavor profile; fresh herbs can be a delightful substitution if available.
• Salt and Black Pepper – Adjust to taste for that perfect level of seasoning.
With this Grilled Kielbasa Sandwich recipe, you’ll impress your guests and indulge in savory flavors perfect for any occasion!
Step‑by‑Step Instructions for Grilled Kielbasa Sandwiches with Sweet Onion Flavor
Step 1: Preheat the Grill
Begin by preheating your outdoor grill or a stovetop grill pan to medium-high heat, around 400°F (200°C). This ensures a perfect sear for your kielbasa and vegetables. As the grill heats, gather your ingredients, and get excited for the delicious grilled kielbasa sandwiches with sweet onion flavor you’re about to create!
Step 2: Prepare the Vegetables
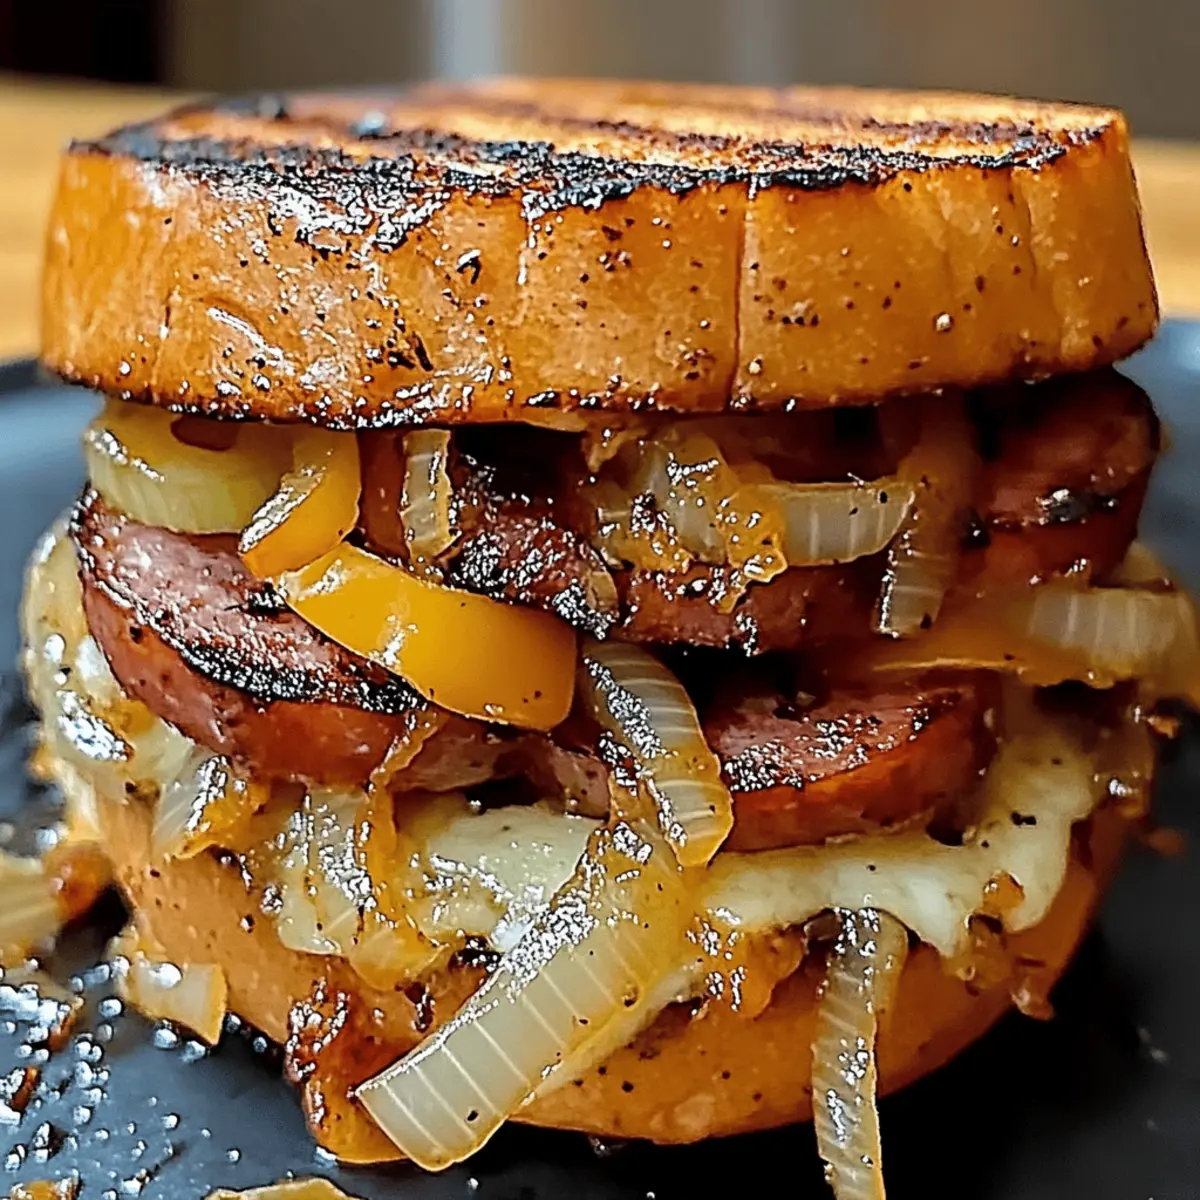
In a mixing bowl, toss together the sliced red, yellow, and green bell peppers, along with the large onion. Drizzle with olive oil and season with garlic powder, Italian seasoning, salt, and black pepper. Ensure the vegetables are well coated for optimal flavor. This mix will add vibrant colors and sweet notes to your sandwiches, enhancing the overall experience.
Step 3: Grill the Vegetables
Once the grill is hot, add the seasoned vegetable mix. Grill for 8–10 minutes, stirring occasionally, until they soften and achieve a beautiful char. You want them lightly caramelized and slightly crispy, adding a smoky depth to your grilled kielbasa sandwiches. After grilling, transfer the vegetables to a plate and keep warm.
Step 4: Grill the Kielbasa
Place the beef kielbasa on the grill, cooking for 4–5 minutes on each side. Look for a deeply browned exterior and ensure the sausage is heated through and juicy. The enticing aroma will fill the air, showing you’re on your way to a flavorful masterpiece! Once done, remove the kielbasa from the grill and let it rest briefly.
Step 5: Toast the Rolls
Optional but recommended, toast your hoagie or sandwich rolls on the grill for 1–2 minutes. This creates a warm, crispy shell that enhances the texture of your grilled kielbasa sandwiches. Monitor carefully to avoid burning, and as soon as they have a light golden color, take them off the grill.
Step 6: Assemble the Sandwiches
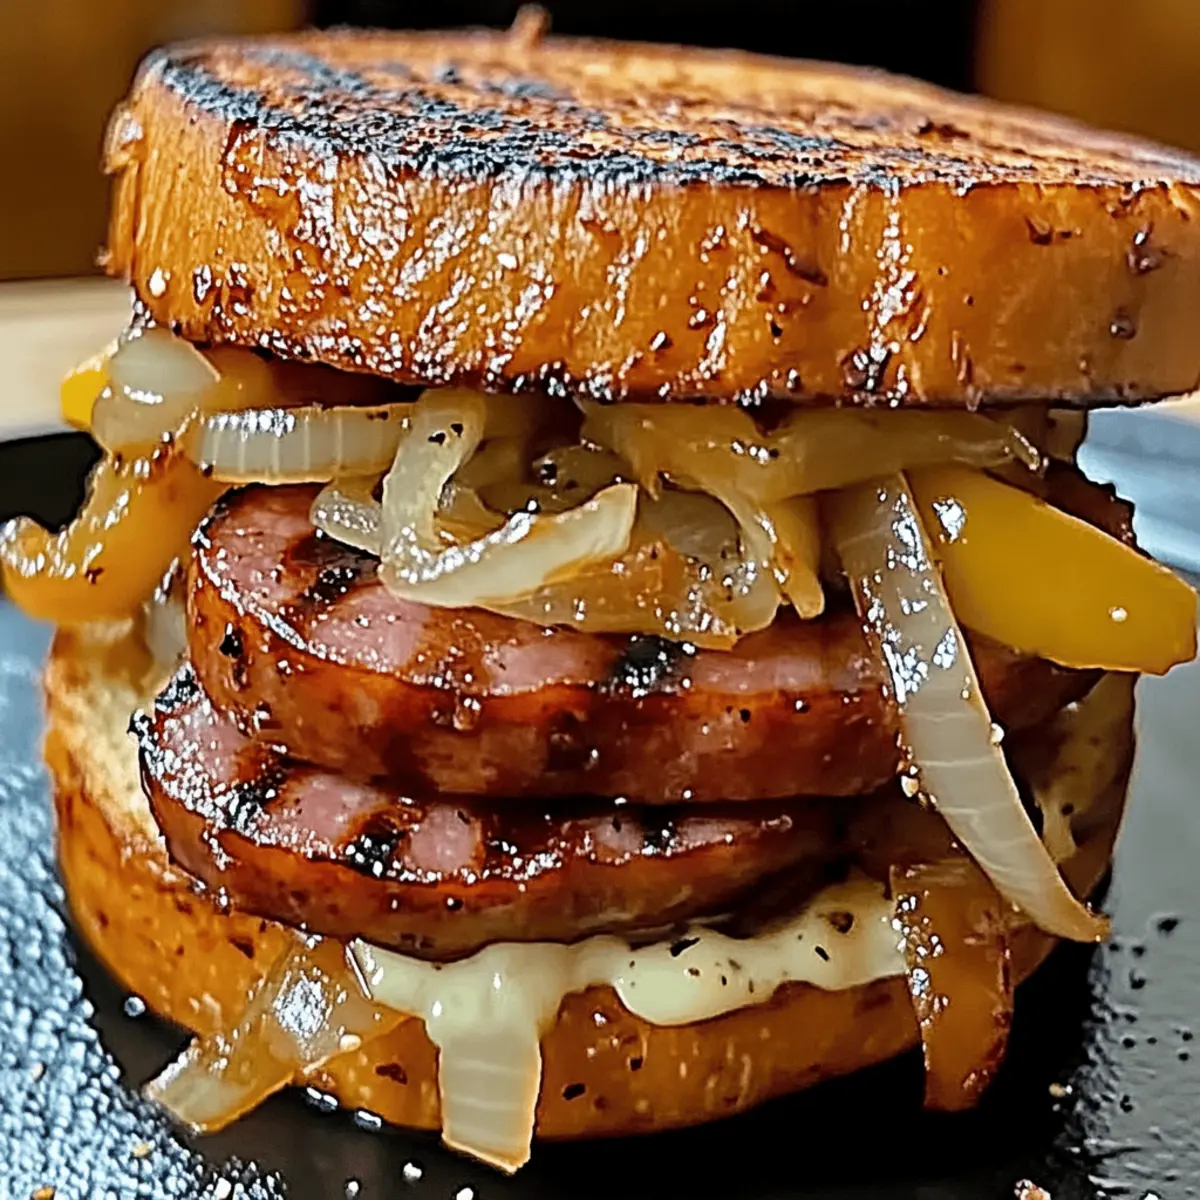
Now it’s time to create your flavorful grilled kielbasa sandwiches! Start by placing the grilled kielbasa in each toasted roll. Layer your delicious grilled vegetables on top, adding a pop of color and flavor. Feel free to customize with additional toppings like cheese, spicy aioli, or sauerkraut for a personal touch.
Step 7: Serve and Enjoy
Serve your grilled kielbasa sandwiches warm for the best flavor experience. The melted cheese and hearty vegetables combined with the savory kielbasa make for a delightful meal! Pair with your favorite BBQ sides like coleslaw or potato salad, and revel in the smiles your cooking will bring!

Grilled Kielbasa Sandwiches Variations
Feel free to get creative and make these grilled kielbasa sandwiches your own with these delightful variations!
- Cheese Swap: Use provolone, mozzarella, or sharp cheddar to elevate your sandwich with gooey, melty goodness.
- Spicy Kick: Add sriracha or your favorite hot sauce for a fiery twist that fire up your taste buds.
- Zesty Toppings: Layer on some spicy aioli or tangy mustard to bring a zesty burst of flavor.
- Veggie Meld: Incorporate sautéed mushrooms or zucchini for a hearty addition that complements the sausage beautifully.
- Bread Variety: Sub different breads like pretzel rolls or ciabatta for a unique twist that adds character.
- Fresh Greens: Toss in fresh arugula or spinach for a refreshing crunch that lightens up each bite.
- Sweet and Sour: Add a spoonful of tangy sauerkraut for that perfect sweet-and-sour flavor balance.
- Avocado Extravaganza: Sliced avocado brings creaminess, while offering a nutritious boost to your sandwich creation.
These variations will not only satisfy your cravings but also impress your family and friends. Don’t hesitate to explore and pair these ideas with other recipes, like my delicious Beef Kofta with Garlic Yogurt Sauce or to accompany with timeless sides like French Onion Butter Rice!
Make Ahead Options
Preparing Grilled Kielbasa Sandwiches with Sweet Onion Flavor in advance is a fantastic way to save time on busy weeknights. You can chop and refrigerate the bell peppers and onions up to 3 days ahead; just toss them with olive oil and seasonings right before grilling to keep them fresh. Additionally, the kielbasa can be cooked and stored in the refrigerator for up to 24 hours. When you’re ready to serve, simply heat the kielbasa on the grill for about 5 minutes and toast the rolls as instructed. This preparation method ensures that your sandwiches are just as delicious, minimizing cooking time and maximizing flavor for those spontaneous gatherings!
How to Store and Freeze Grilled Kielbasa Sandwiches
Fridge: Store leftover assembled sandwiches in an airtight container for up to 3 days; however, keep ingredients separate for best freshness and texture.
Freezer: To freeze, wrap individual sandwiches tightly in plastic wrap, then place in a freezer-safe bag. They’ll keep well for up to 2 months; thaw in the fridge overnight before reheating.
Reheating: Reheat grilled kielbasa sandwiches in the oven at 350°F (175°C) for about 10-15 minutes or until heated through, ensuring a crispy bun without sogginess.
Assembly Tip: If you’ve stored individual components, assemble sandwiches just before serving to enjoy the optimal flavor and texture, especially with those delicious grilled vegetables!
What to Serve with Grilled Kielbasa Sandwiches?
As the sizzling sound of the grill fills the air, think of delicious sides that will turn your meal into an unforgettable feast!
-
Creamy Coleslaw: The crunch of cabbage paired with creamy dressing provides a refreshing contrast to the smoky kielbasa.
-
Garlic Bread: This warm, buttery treat adds a delightful crunch and complements the savory flavors of the sandwiches perfectly.
-
Potato Salad: A classic BBQ staple, its creaminess balances the bold flavors of the grilled kielbasa and caramelized vegetables.
-
Corn on the Cob: Sweet, juicy corn grilled to perfection brings a playful sweetness that harmonizes beautifully with the savory sausage.
-
Sweet Potato Fries: These crisp, tender fries add a hint of sweetness and a satisfying crunch with every bite, enhancing your meal’s diversity.
-
Pale Ale or Wheat Beer: Pairing these refreshing beers with your sandwiches can intensify the flavors and keep the warm summer vibe alive!
Creating balance with various textures and flavors will elevate your meal, making these grilled kielbasa sandwiches an absolute delight!
Expert Tips for Grilled Kielbasa Sandwiches
-
Choose Prime Sausage: Select high-quality beef kielbasa for the best flavor. A good sausage guarantees a juicy and satisfying sandwich experience.
-
Veggie Balance: Make sure to toss your vegetables evenly in olive oil and seasonings. This prevents some from burning while others remain undercooked, ensuring a perfect bite every time.
-
Toast for Texture: Always toast your hoagie rolls on the grill! This not only adds flavor but also creates a barrier that keeps your grilled kielbasa sandwiches from getting soggy.
-
Slice Smartly: For a quicker cook and better fit, slice the kielbasa lengthwise. This allows faster grilling and enhances caramelization.
-
Prep Ahead: Chop veggies and prepare seasonings ahead of time. This makes assembly a breeze when you’re ready to grill, keeping the sandwiches fresh and delightful!
Grilled Kielbasa Sandwiches with Sweet Onion Flavor Recipe FAQs
How do I choose ripe ingredients for the grilled vegetables?
Absolutely! For the freshest bell peppers and onions, look for produce with vibrant colors and firm textures. Avoid any that have dark spots or wrinkles, as these can indicate overripeness. Sweet onions should feel heavy for their size and have a smooth skin. I often recommend Vidalia onions for their exceptional sweetness when grilled!
What is the best way to store leftover grilled kielbasa sandwiches?
Great question! For the best results, store leftover sandwiches in an airtight container in the fridge and enjoy them within 3 days. However, for optimal freshness, keep the ingredients separate until you’re ready to eat. This way, you can maintain the delightful texture of the grilled vegetables and bread.
Can I freeze grilled kielbasa sandwiches?
Certainly! To freeze, wrap each assembled sandwich tightly in plastic wrap, then place them in a freezer-safe bag. They will remain tasty for up to 2 months. When you’re ready to enjoy, thaw them in the refrigerator overnight. To reheat, oven bake at 350°F (175°C) for about 10-15 minutes or until heated through, keeping the bun crispy.
What should I do if my kielbasa is burnt?
If you find that your kielbasa is burnt on the grill, don’t panic! First, try slicing it lengthwise next time before grilling to encourage even cooking. If the sausage is already charred, you can carefully cut away the burnt edges. The inside should still be flavorful and juicy, so don’t hesitate to serve it with plenty of grilled veggies and toppings to enhance the taste!
Are there any dietary considerations I should keep in mind for guests?
Very! For guests with dietary restrictions, you can substitute beef kielbasa with turkey or chicken sausage to accommodate lower-fat diets. Additionally, remember to check your buns for potential allergens like gluten if you have gluten-free guests. For a vegetarian option, use grilled portobello mushrooms as a hearty alternative!
What should I serve with grilled kielbasa sandwiches?
Fantastic idea! Pair your grilled kielbasa sandwiches with classic BBQ sides like coleslaw or potato salad for a complete meal. You can also add a simple side salad to balance the dish and add a refreshing element. If you’re hosting, consider creating a DIY sandwich bar so guests can customize their toppings!
Savory Grilled Kielbasa Sandwiches with Sweet Onion Flavor
Ingredients
Equipment
Method
- Preheat your outdoor grill or stovetop grill pan to medium-high heat, around 400°F (200°C).
- In a mixing bowl, toss together the sliced red, yellow, and green bell peppers along with the large onion. Drizzle with olive oil and season with garlic powder, Italian seasoning, salt, and black pepper. Ensure the vegetables are well coated.
- Once the grill is hot, add the seasoned vegetable mix and grill for 8–10 minutes until they soften and achieve a beautiful char.
- Place the beef kielbasa on the grill, cooking for 4–5 minutes on each side until deeply browned and heated through.
- Optional: Toast your hoagie or sandwich rolls on the grill for 1–2 minutes.
- Assemble your sandwiches by placing the grilled kielbasa in each toasted roll and layering with grilled vegetables.
- Serve your grilled kielbasa sandwiches warm with your favorite BBQ sides.
Leave a Reply