
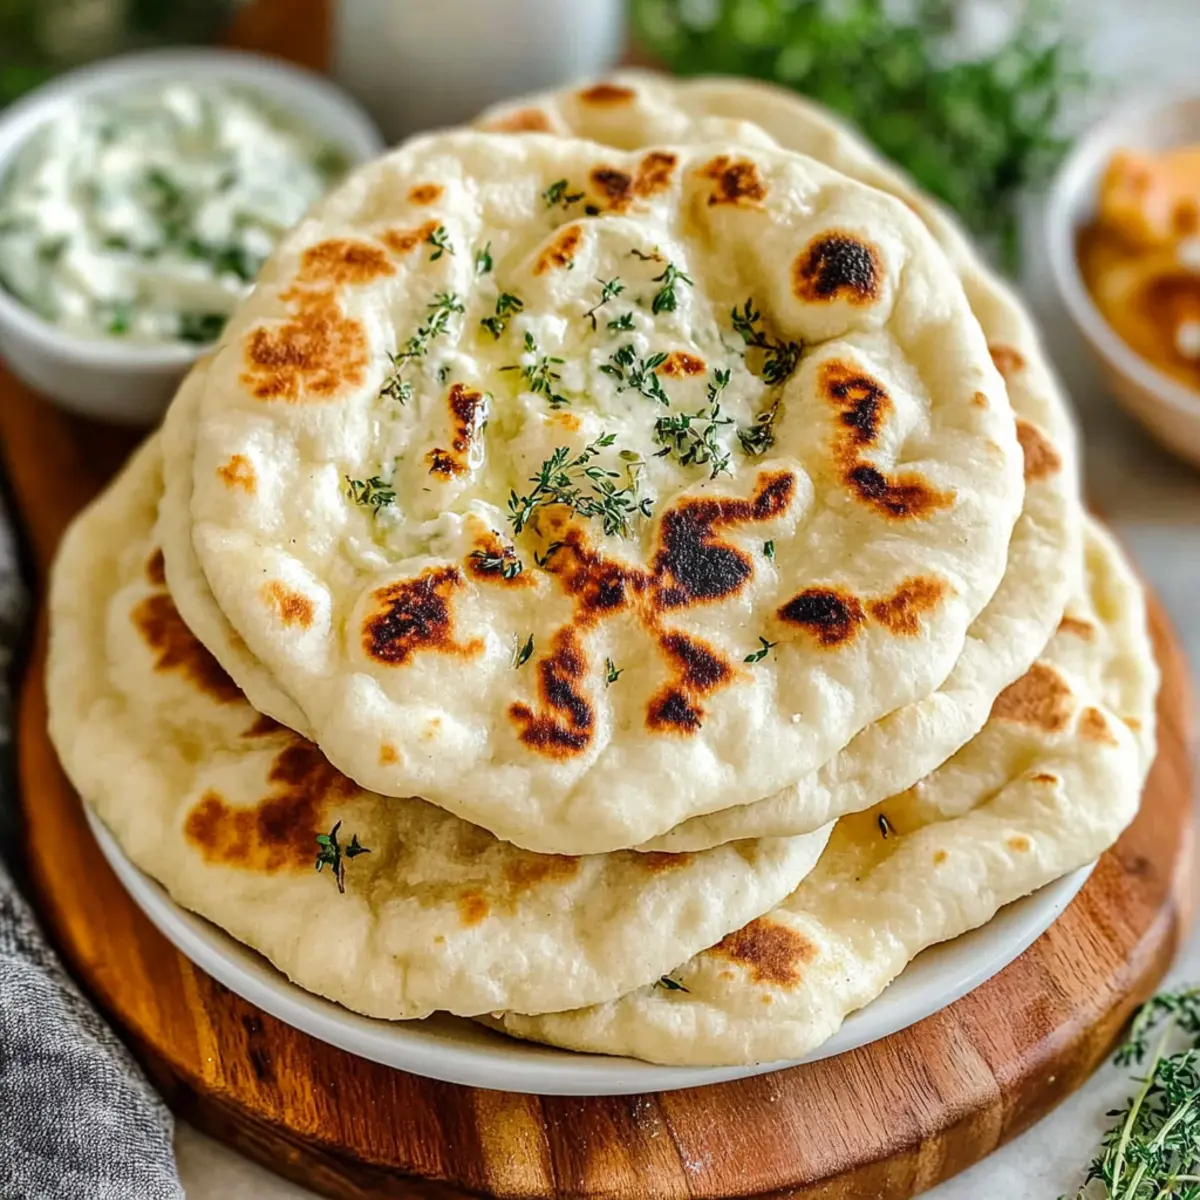
As the sun set and a warm breeze danced through my kitchen, I felt the urge to create something special: Homemade Greek Pita Bread. There’s nothing quite like the satisfaction of watching dough puff and bloom, transforming into soft, pillowy wonders just perfect for dipping. This recipe not only requires just six simple ingredients but also skips the oven, making it accessible to everyone, regardless of experience. Ideal for those evenings when you crave comfort without the fuss, these pitas serve as the perfect companion for your favorite dips, like creamy hummus or tangy tzatziki. Plus, they come with a gluten-free option for anyone needing a little flexibility. Ready to impress your family and friends with this delightful treat? Let’s dive in and bring a piece of Greece to your table!
Why is Homemade Greek Pita Bread a Must-Try?
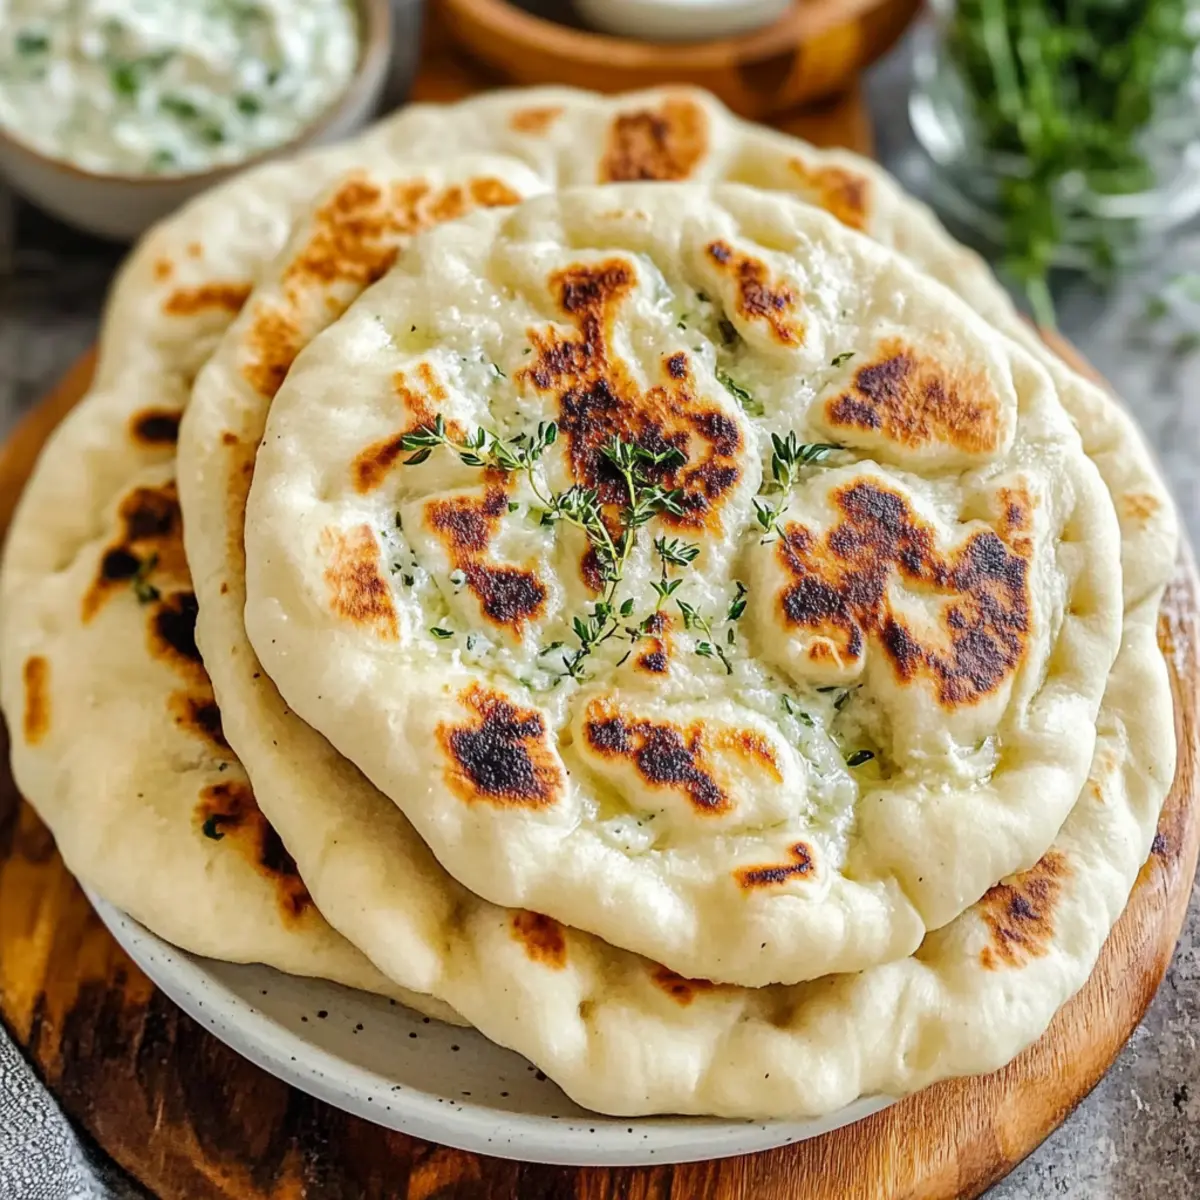
Soft, Pillowy Texture: The magic of this recipe lies in the dough that puffs up beautifully when cooked, giving you the perfect pocket for your delicious fillings.
Easy Ingredients: With just six simple ingredients, you can create authentic Greek pita bread without the hassle of complex techniques.
Versatile Use: These pitas are perfect for dipping in creamy hummus, serving with tangy tzatziki, or wrapping your favorite fillings, making them a crowd-pleaser.
Gluten-Free Option: You can easily switch to gluten-free flour for those with dietary restrictions, ensuring everyone can enjoy this delightful treat.
No Oven Needed: Cook them on the stovetop for a quick and convenient approach, ideal for busy weeknights or spontaneous gatherings.
Explore more easy recipes like Zucchini Flatbread with Herbs and Pesto Chicken Flatbread that share the same simplicity and flavor!
Greek Pita Bread Ingredients
• To create your own delicious Greek Pita Bread at home, gather these six simple ingredients!
For the Dough
- All-Purpose Flour – Provides structure; for a gluten-free option, use gluten-free flour.
- Active Dry Yeast – A leavening agent that helps the dough rise; can substitute with instant yeast without pre-proofing.
- Kosher Salt – Enhances flavor; no direct substitutions as other salts may alter the taste.
- Warm Milk – Adds moisture and richness; you can use plant-based unsweetened milk (preferably oat or soy) but make sure it’s warm, not hot.
- Warm Water – Necessary for activating yeast and hydrating flour; use water at approximately 110°F, or warm to touch.
- Olive Oil – Adds flavor and softness; use additional oil for greasing and cooking the pitas.
Get ready to impress everyone with your homemade Greek Pita Bread that is not only easy to make but also irresistibly delicious!
Step‑by‑Step Instructions for Homemade Greek Pita Bread
Step 1: Mix Dry Ingredients
In a large mixing bowl, whisk together the all-purpose flour, active dry yeast, and kosher salt until fully combined. Make sure there are no lumps in the mix. This step, which takes about 2-3 minutes, sets the foundation for your Greek pita bread, ensuring a well-mixed dough.
Step 2: Combine Wet Ingredients
Next, add the warm milk and warm water to the dry mixture. Use a wooden spoon to stir the ingredients together until a shaggy dough forms, which may take about 1-2 minutes. Ensure your liquids are warm to the touch but not hot; this activates the yeast effectively for a good rise.
Step 3: Knead Dough
Incorporate 2 tablespoons of olive oil into the mixture, then transfer the dough to a floured surface. Knead for 5-7 minutes until the dough becomes smooth and slightly tacky. Be cautious not to over-knead; the goal is to achieve a soft consistency that isn’t sticky, preparing it for a perfect rise.
Step 4: First Rise
Lightly oil a large bowl and place the kneaded dough inside, turning it to coat all sides. Cover the bowl with a damp cloth or plastic wrap and let it rise in a warm area for about 1 hour, or until it has doubled in size. This crucial step allows the dough to develop airiness, leading to a soft pita texture.
Step 5: Shape Pitas
Once the dough has risen, turn it out onto a floured work surface. Divide it into 8 equal pieces, rolling each piece into a ball. Then, using a rolling pin, flatten each ball into a round disk about 7-8 inches wide. This step is essential for achieving the characteristic shape of your Greek pita bread.
Step 6: Cook Pitas
Preheat a skillet over high heat until almost smoking, and add a small drizzle of olive oil. Place one rolled pita into the skillet, cooking for about 1 minute on each side. Watch closely as it puffs up and turns lightly charred; this visual cue indicates that your Greek pita bread is perfectly cooked.
Step 7: Serve Warm
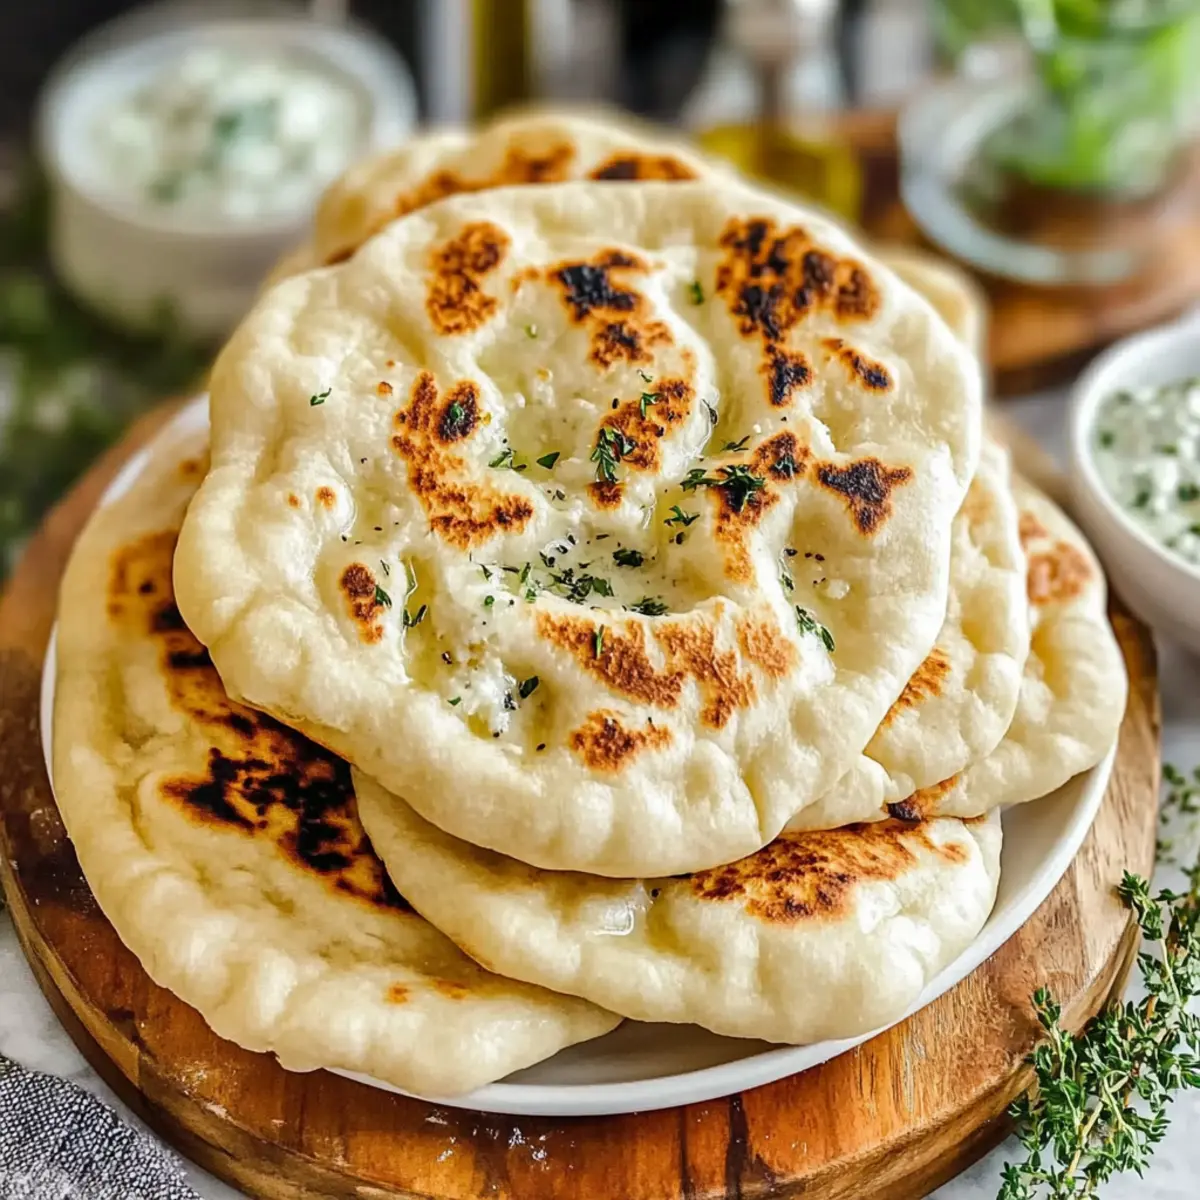
Once cooked, remove the pita from the skillet and keep it covered with a kitchen towel to maintain its softness. Repeat the cooking process with the remaining pitas. Enjoy your homemade Greek pita bread warm, perfect for dipping in your favorite hummus or tzatziki!
Greek Pita Bread: Flavorful Twists Await!
Feel free to explore your creativity in the kitchen as you customize this delightful Greek pita bread recipe to suit your cravings.
- Gluten-Free: Replace all-purpose flour with a high-quality gluten-free flour blend to keep it suitable for guests with dietary restrictions.
- Herb-Infused: Add fresh or dried herbs like oregano or rosemary directly into the dough for an aromatic twist that makes every bite special.
- Whole Wheat: Substitute half of the all-purpose flour with whole wheat flour for a heartier texture and added nutrients.
- Spiced Up: Incorporate warm spices like cumin or paprika in the mix, lending your pitas a lovely warmth and complexity.
- Cheese Lover’s Dream: Mix in shredded feta or goat cheese into the dough before kneading for a savory surprise in each bite.
- Zesty Garlic: Brush the pitas with garlic-infused olive oil before cooking for an irresistible garlic flavor.
- Sweet Pitas: For a unique twist, mix in a tablespoon of honey, perfect for pairing with sweet dips or breakfast spreads.
- Airy Texture: Experiment with a longer rise time, allowing dough to rest in the refrigerator overnight, resulting in an even softer pita.
Once you’ve mastered homemade Greek pita bread, you can expand your culinary skills further with other easy recipes like Zucchini Flatbread with Herbs or treat yourself to a hearty Pesto Chicken Flatbread for delicious variations!
Make Ahead Options
These Homemade Greek Pita Bread are perfect for meal prep, allowing you to enjoy fresh pitas with minimal effort! You can prepare the dough up to 24 hours in advance by following steps 1-4, then refrigerate the covered bowl for rising. When ready to serve, simply remove the dough from the fridge, let it come to room temperature for about 30 minutes, then proceed with steps 5-7. To maintain their classic softness, avoid over-kneading and ensure they are covered with a towel while resting. This way, you’ll have delicious, pillowy pitas at your fingertips, making mealtime a breeze!
Expert Tips for Homemade Greek Pita Bread
-
Skillet Temperature: Ensure the skillet is very hot (almost smoking) to achieve that perfect puffiness in your Greek pita bread.
-
Kneading Caution: Avoid over-kneading the dough; it should be soft and smooth without becoming sticky. This ensures a tender final product.
-
Proper Rising: Allow the dough to rise in a warm spot; this helps it double in size and enhances the lightness of your pitas.
-
Rolling Technique: Roll each pita evenly to about 7-8 inches wide for consistent cooking and puffing, which gives you those perfect pockets.
-
Storage Practices: To keep your pitas soft, consume them within 30 minutes after cooking or store them properly in a zip-top bag.
Storage Tips for Greek Pita Bread
Room Temperature: Store cooled pitas in a zip-top bag at room temperature for up to 2 days to keep them soft and fresh.
Fridge: If you need to keep them longer, place the pitas in the fridge where they can last for up to 5 days; ensure they are wrapped tightly to avoid drying out.
Freezer: For long-term storage, freeze the pitas for up to 2 months, placing parchment paper between each pita to prevent sticking.
Reheating: To enjoy your Greek pita bread again, reheat in a hot dry skillet for about 30 seconds on each side, or microwave wrapped in a damp paper towel for a few seconds to restore softness.
What to Serve with Homemade Greek Pita Bread
There’s something special about creating a full meal that captures flavors and warmth, especially when fresh, homemade pitas take center stage.
-
Creamy Hummus: This smooth, rich dip perfectly balances the fluffy pitas. Its earthiness complements the warmth of the bread, inviting you to scoop and savor each bite.
-
Tangy Tzatziki: The cool yogurt sauce, infused with garlic and cucumber, offers a refreshing contrast to the warm pitas. It elevates your dipping experience, transporting you straight to the sunny shores of Greece.
-
Greek Salad: Crisp cucumbers, juicy tomatoes, and tangy feta bring brightness to your meal. The crunchy textures and herbaceous flavors make every bite a delight alongside your pitas.
-
Grilled Chicken Gyros: Packed with seasoned chicken and fresh veggies, these wraps are a classic pairing. The soft pita holds the juices perfectly, enhancing every mouthful with robust flavors.
-
Roasted Vegetable Platter: Seasonal vegetables drizzled with olive oil and herbs add a colorful, flavorful side. Their charred goodness beautifully contrasts the softness of the pitas, creating a wonderful balance.
-
Stuffed Grape Leaves: These savory bites filled with rice and herbs are a traditional Mediterranean treat. They offer a delightful chewiness that plays well against the tender pitas, making for a hearty meal.
-
Sparkling Lemonade: A refreshing drink that cuts through the richness of your meal. Its zesty sweetness lifts the dining experience and can be a fantastic palate cleanser.
-
Baklava: For those with a sweet tooth, this flaky dessert drizzled in honey makes an indulgent ending to your meal. The textures meld beautifully with the meal’s savory flavors, providing a comforting conclusion.
Greek Pita Bread Recipe FAQs
How do I choose the best flour for Greek pita bread?
For optimal results, I recommend using all-purpose flour, which provides the perfect structure for your pitas. If you’re looking for a gluten-free option, feel free to substitute with gluten-free flour. Just ensure it’s a blend designed for bread-making to achieve that delightful puffiness!
How should I store leftover Greek pita bread?
To maintain the softness of your Greek pita bread, store cooled pitas in a zip-top bag at room temperature for up to 2 days. If you want them to last longer, place them in the fridge, where they’ll stay fresh for up to 5 days. Just be sure to wrap them tightly to prevent drying out!
Can I freeze Greek pita bread?
Absolutely! To freeze your Greek pita bread, first let them cool completely. Then, stack them with parchment paper in between each pita to prevent sticking and place the stack in a freezer-safe zip-top bag. They can last for up to 2 months in the freezer. When you’re ready to enjoy, thaw them overnight in the fridge and reheat.
What if my pita bread doesn’t puff up?
If your pitas aren’t puffing up, check the skillet temperature first— it should be very hot, almost smoking, when you place the dough in. Another reason could be that your yeast wasn’t active; always ensure you’re using fresh yeast and warm water (about 110°F) to activate it properly. Kneading the dough just until smooth, without overworking it, is also crucial for proper puffing.
Can I use alternatives for any of the ingredients?
Yes! For the milk, plant-based unsweetened alternatives like oat or soy milk work great, just make sure they’re warm, not hot. As for the oil, you can experiment with different oils like avocado or sunflower oil for a new flavor twist! Remember, kosher salt is preferred for this recipe, but you can use sea or table salt — just keep in mind that the flavor might vary slightly.
Are there any dietary considerations for Greek pita bread?
Definitely! If you’re making these for someone with gluten allergies, ensure you’re using gluten-free flour. For a dairy-free version, make the swap to plant-based milk. Always consider other potential allergies, such as nut allergies when choosing oils, though olive oil is generally safe for most diets.

Homemade Greek Pita Bread: Soft, Easy, and Irresistibly Delicious
Ingredients
Equipment
Method
- In a large mixing bowl, whisk together the flour, yeast, and salt until fully combined.
- Add the warm milk and warm water to the dry mixture and stir until a shaggy dough forms.
- Incorporate the olive oil, transfer the dough to a floured surface, and knead for 5-7 minutes until smooth.
- Lightly oil a bowl, place the kneaded dough, cover, and let it rise in a warm area for about 1 hour.
- Turn the risen dough onto a floured surface, divide into 8 pieces, roll each piece into a ball, and flatten into disks.
- Preheat a skillet over high heat, add a drizzle of olive oil, and cook each pita for about 1 minute on each side.
- Remove pitas from the skillet and keep covered with a kitchen towel to maintain softness.
Leave a Reply