
The aroma of warm, melted chocolate is enough to stop anyone in their tracks, right? That’s exactly how I felt when I first whipped up this Crunchy Chocolate Granola Bark in my kitchen. It’s an easy, gluten-free snack that perfectly balances a crispy texture with a rich chocolatey finish, ideal for that afternoon slump or a satisfying sweet treat. What I love most is its versatility—you can customize it to suit your cravings, whether you go nut-free or mix it up with your favorite toppings. So, are you ready to dive into making this deliciously simple granola bark?
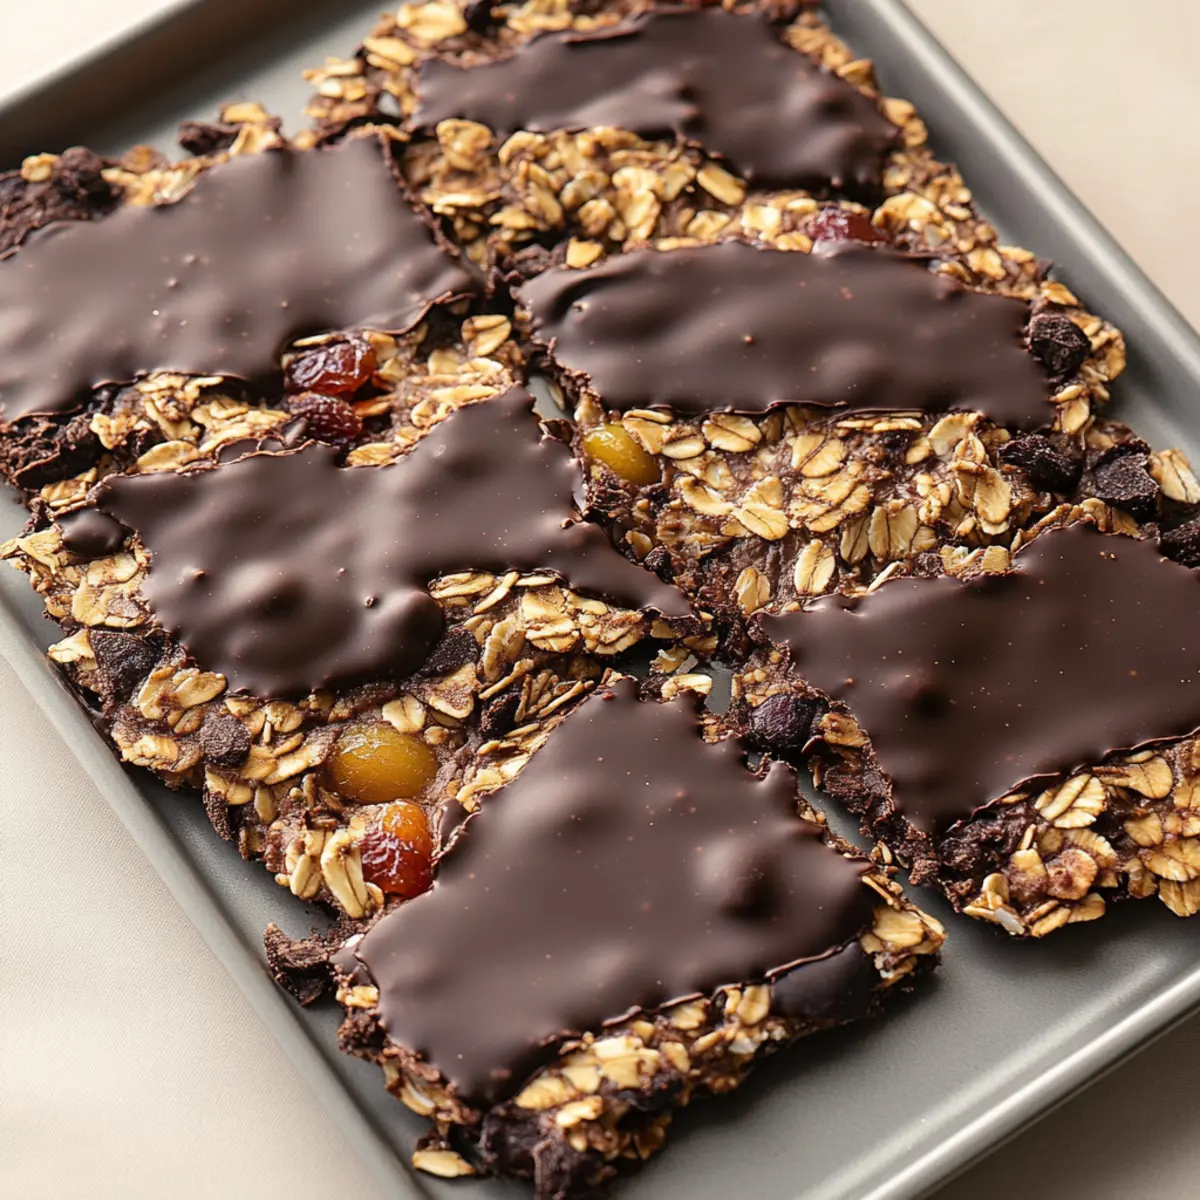
Why is Granola Bark So Amazing?
Customizable to your heart’s content, this recipe allows you to experiment with toppings and nut alternatives, making it a unique snack each time. Gluten-free and nutritious, it’s a guilt-free indulgence perfect for any dietary preference. Easy to make, the straightforward steps ensure you spend less time in the kitchen and more time savoring each crispy, chocolatey bite. Perfect for sharing—package it up as gifts or serve at gatherings, and watch it disappear. Plus, if you’re looking for more delicious options, don’t miss out on my Date Walnut Granola for an equally delightful treat!
Granola Bark Ingredients
• Get ready to create your very own Granola Bark!
For the Base
- Old-fashioned rolled oats – Provides structure and crunch; ensure they are certified gluten-free for the best results.
- Sliced almonds – Adds delightful nutty flavor; substitute with an extra cup of oats for a nut-free option.
- Pure maple syrup – Natural sweetener and binder; honey can also be used as an excellent substitute.
- Melted coconut oil (or avocado oil) – Adds moistness and healthy fats; any neutral oil will work in a pinch.
- Honey – Sweetens the mixture; feel free to replace with more maple syrup.
- Pure vanilla extract – Enhances the flavor; imitation vanilla can be used if you’re in a haste.
- Fine sea salt – Balances sweetness beautifully; table salt is a suitable alternative.
For the Chocolate Layer
- Milk or dark chocolate melting wafers – Provides that rich chocolatey finish; Ghirardelli is recommended for the best taste, but any melting chocolate suffices.
Toppings of Choice
- Dried fruits – Adds chewiness and natural sweetness; think cranberries or apricots for a burst of flavor.
- Seeds – Add nutritional value; pumpkin or sunflower seeds are excellent options.
- Crushed pretzels – For a salty-sweet contrast; they make a quick and tasty add-on.
Now that you have all your ingredients ready, let’s get started on crafting this delicious granola bark!
Step‑by‑Step Instructions for Crunchy Chocolate Granola Bark
Step 1: Preheat and Prepare the Baking Sheet
Start by preheating your oven to 300°F (150°C). While it heats, line an 11×17-inch rimmed baking sheet with parchment paper, making sure the paper covers the edges well for easy removal later. This preparation ensures your Crunchy Chocolate Granola Bark comes out perfectly and doesn’t stick to the pan.
Step 2: Whisk the Wet Ingredients
In a large mixing bowl, whisk together 1/2 cup of pure maple syrup, 1/4 cup of melted coconut oil, 1/4 cup of honey, 1 teaspoon of pure vanilla extract, and a pinch of fine sea salt. Whisk until fully combined and smooth, creating a glossy mixture that serves as the flavorful base for your granola bark. This step takes about 2-3 minutes.
Step 3: Combine Oats and Nuts
Next, add 3 cups of old-fashioned rolled oats and 1 cup of sliced almonds to the wet mixture. Gently stir until every oat and almond is well coated with the glossy mixture, ensuring that your granola bark has a balanced flavor. The mixture should appear sticky and cohesive; this should take about 2 minutes.
Step 4: Spread and Press the Mixture
Transfer the granola mixture to the prepared baking sheet. Using a spatula, spread it out evenly into a thin layer, pressing down firmly to create density, which is essential for a crunchy texture. The layer should be about 1/2 inch thick to ensure even baking. This process typically takes 3-4 minutes.
Step 5: Bake the Granola Bark
Place the baking sheet in the preheated oven and bake it for 20 minutes. After 20 minutes, rotate the pan for even baking and continue to bake for an additional 10-15 minutes until the mixture turns golden brown. Keep an eye on it during the last few minutes to achieve your desired crispness, which should be described as golden and fragrant.
Step 6: Cool Completely
Once baked, remove the tray from the oven and let the granola bark cool completely on the baking sheet. This step is crucial for achieving that satisfying crunch; allowing it to cool for about 30-45 minutes will help it firm up and make it easier to break apart later.
Step 7: Melt the Chocolate
While the granola cools, prepare your chocolate. Use a microwave-safe bowl to melt approximately 1 cup of milk or dark chocolate melting wafers. Heat in 30-second intervals on medium power, stirring in between, until fully melted and smooth. This step should take about 1-2 minutes of total heating time.
Step 8: Drizzle and Add Toppings
Once the granola is fully cooled, drizzle the melted chocolate over the surface in an even pattern. Feel free to use a squeeze bottle or a plastic bag with a snipped corner to achieve a decorative drizzle. Immediately sprinkle your desired toppings—such as dried fruits, seeds, or crushed pretzels—onto the melted chocolate before it sets, adding personal flair to your Crunchy Chocolate Granola Bark.
Step 9: Break Into Pieces
Allow the chocolate to set at room temperature or pop it in the fridge for quicker results. Once set, take a sharp knife or your hands to break the granola bark into bite-sized pieces. Store them in an airtight container at room temperature for up to a week, keeping your delicious creations ready for snacking.
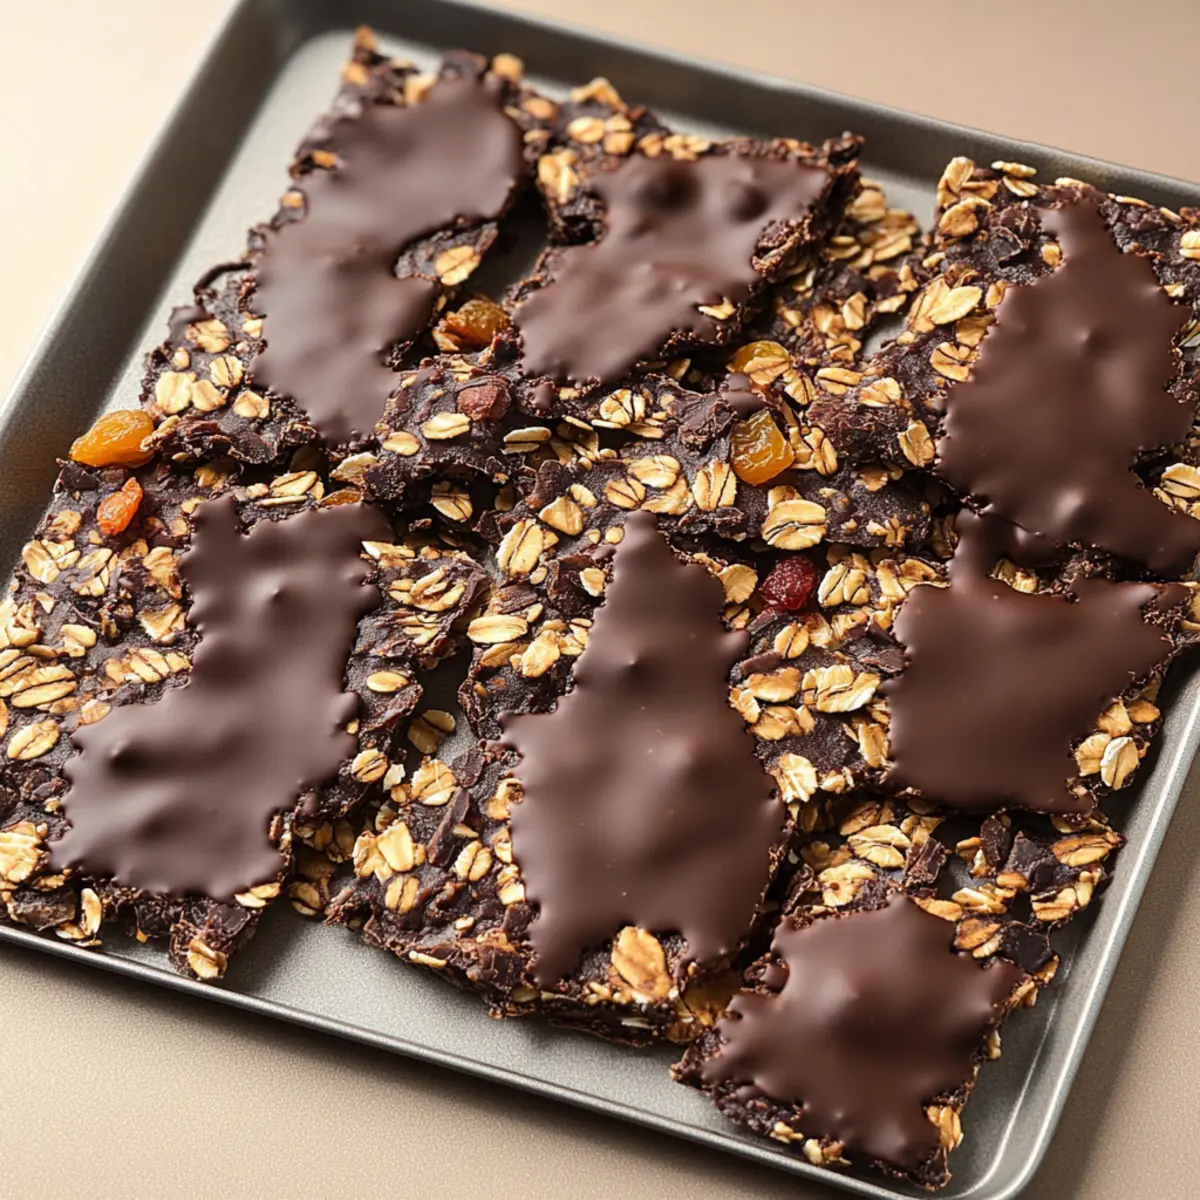
What to Serve with Crunchy Chocolate Granola Bark?
The perfect accompaniment to your homemade granola creates a delightful snacking experience that everyone will savor.
- Creamy Yogurt: A dollop of Greek yogurt provides a tangy contrast that beautifully complements the sweetness of the granola bark.
- Fresh Berries: Juicy strawberries or blueberries add a burst of freshness and natural sweetness, balancing the rich chocolate flavor wonderfully.
- Nut Butter: A drizzle of almond or peanut butter can amplify the flavor profile, bringing a luscious creaminess to each bite.
- Milk or Nut Milk: Pair your snack with a tall glass of cold milk, or try almond or oat milk for a delightful non-dairy option.
- Fruit Smoothie: Blend your favorite fruits with yogurt for a refreshing smoothie that enhances the crunchy texture of the granola bark.
- Trail Mix: Serve alongside a bowl of trail mix for an added crunchy contrast and a flavorful protein boost—perfect for an energizing snack.
- Dried Fruits: Offering chewy textures such as dried apricots or cranberries can enhance the flavor experience—sweet against the rich chocolate!
- Dark Chocolate Dipped Pretzels: For a sweet and salty combination, pair it with pretzels dipped in dark chocolate, creating a fun treat to munch on!
Expert Tips for Granola Bark
-
Cooling is Key: Let the granola cool completely on the baking sheet to achieve that crunchy texture. Rushing this step may leave you with chewy granola!
-
Use Quality Ingredients: Opt for high-quality chocolate melting wafers like Ghirardelli for rich flavor. It makes a significant difference in your granola bark!
-
Customize Wisely: When experimenting with toppings, ensure they complement the base. Consider flavors like salty pretzels or tart dried fruit to balance the sweetness of the granola bark.
-
Watch the Bake Time: Keep an eye on the baking during the last few minutes. Every oven is different, and you want your granola bark perfect—golden brown and not overdone!
-
Storage Matters: Store your granola bark in an airtight container at room temperature to maintain its crunch. Refrigerating may soften it over time—enjoy it fresh!
-
Nut-Free Variations: If you’re making a nut-free version, simply replace sliced almonds with an extra cup of oats or seeds to maintain that delicious texture.
How to Store and Freeze Granola Bark
Room Temperature: Store your granola bark in an airtight container at room temperature for up to 1 week. This keeps it crunchy and ready for snacking!
Fridge: If you prefer a longer shelf life, refrigerate the granola bark in an airtight container for up to 2 weeks. It may lose some crunch but will still be delicious.
Freezer: For even longer storage, freeze granola bark in a freezer-safe bag or container for up to 3 months. Make sure to separate layers with parchment paper to prevent sticking.
Reheating: If you like it warm, pop pieces in the microwave for 10-15 seconds or enjoy straight from the fridge or freezer as a refreshing treat!
Make Ahead Options
These Crunchy Chocolate Granola Bark creations are a fantastic option for busy home cooks looking to save time! You can prepare the granola base up to 3 days in advance by following steps 1 through 6, cooling it completely, and then storing it in an airtight container at room temperature. This keeps it fresh while ensuring the perfect crunch. When you’re ready to finish, simply melt the chocolate, drizzle it over your cooled granola bark, add your favorite toppings, and let it set before breaking into pieces. This approach not only saves you time but also allows you to enjoy delicious homemade snacks with minimal effort on hectic days!
Granola Bark Variations & Substitutions
Feel free to get creative with this granola bark recipe, adjusting it to match your cravings and dietary needs!
-
Nut-Free: Substitute sliced almonds with an extra cup of rolled oats or seeds for a crunchy texture without nuts. This makes it perfect for schools or gatherings.
-
Dairy-Free: Opt for dairy-free chocolate melting wafers for a delicious treat that everyone can enjoy. The flavor remains rich and indulgent!
-
Sweetness Control: Experiment with different sweeteners like agave syrup or stevia to lower the sugar content without sacrificing taste. It’s all about finding your perfect balance!
-
Flavor Boost: Add a dash of cinnamon or a splash of almond extract to the wet mixture for added warmth and complexity. These small additions can truly elevate the flavor profile.
-
Topping Variations: Try topping your bark with mini marshmallows, coconut flakes, or colorful sprinkles for a fun twist. It’s a perfect way to get the kids involved!
-
Texture Twists: Incorporate crispy rice cereal or puffed quinoa into the mixture for an exciting additional crunch. This makes the bark even more delectable!
-
Spicy Kick: A sprinkle of cayenne or chili powder can add a surprising heat to the sweetness for adventurous eaters. It’s a bold choice you’ll love!
-
Vegan Option: Replace honey entirely with maple syrup and ensure your chocolate is dairy-free to create a fully vegan treat. Everyone will benefit from a guilt-free indulgence!
For even more delectable combinations and ideas, be sure to check out my Date Walnut Granola and explore other delightful snacks!
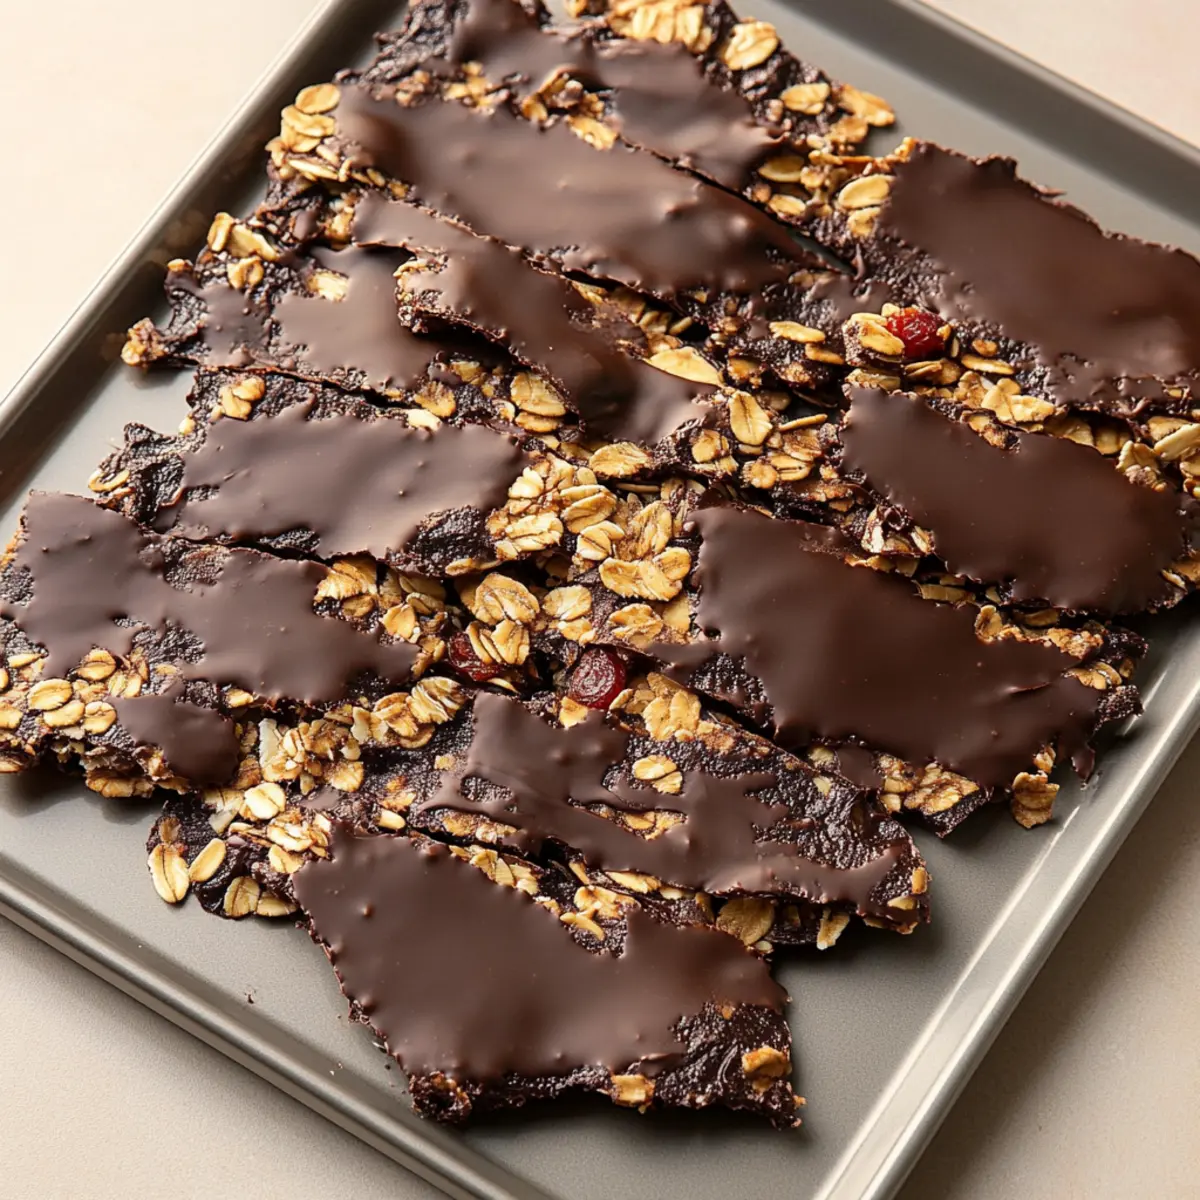
Crunchy Chocolate Granola Bark Recipe FAQs
How do I choose ripe ingredients for my granola bark?
Absolutely! When selecting your oats, ensure they are old-fashioned rolled oats and certified gluten-free for best results. If you’re adding any dried fruits, look for ones that are plump and vibrant; avoid those with dark spots that indicate they are too old. For nuts, fresh almonds should be firm and free from any discoloration.
What’s the best way to store my granola bark?
Very! Store your crunchy chocolate granola bark in an airtight container at room temperature for up to 1 week. This keeps it crisp and ready for your snacking pleasure. If you prefer it to last longer, you can refrigerate it for up to 2 weeks, though it may lose some of its lovely crunch.
Can I freeze granola bark for later?
Absolutely! For longer storage, you can freeze your granola bark in a freezer-safe bag or container for up to 3 months. Just make sure to separate each layer with parchment paper to prevent sticking. When you’re ready to enjoy, simply thaw it in the fridge or at room temperature for a delightful treat.
What should I do if my granola bark is too chewy?
If you find that your bark has turned out chewy instead of crunchy, it’s likely because it didn’t cool completely before breaking apart. To ensure your next batch is perfectly crispy, allow it to cool entirely on the baking sheet for about 30-45 minutes. The cooling process helps it achieve that satisfying crunch.
Are there any dietary considerations I should be aware of?
Very! If you’re making a nut-free version, simply replace the sliced almonds with an extra cup of old-fashioned rolled oats or seeds. This keeps the texture intact while catering to those with nut allergies. Also, remember to check the labels on your chocolate and any additional toppings for common allergens.
How can I customize my granola bark toppings?
The more the merrier! Feel free to get creative with your toppings; consider adding crushed pretzels for a salty-sweet twist, mini marshmallows for a fun treat, or a mix of seeds for added crunch. Just be sure to add these toppings while the chocolate is still melted to ensure they stick beautifully!
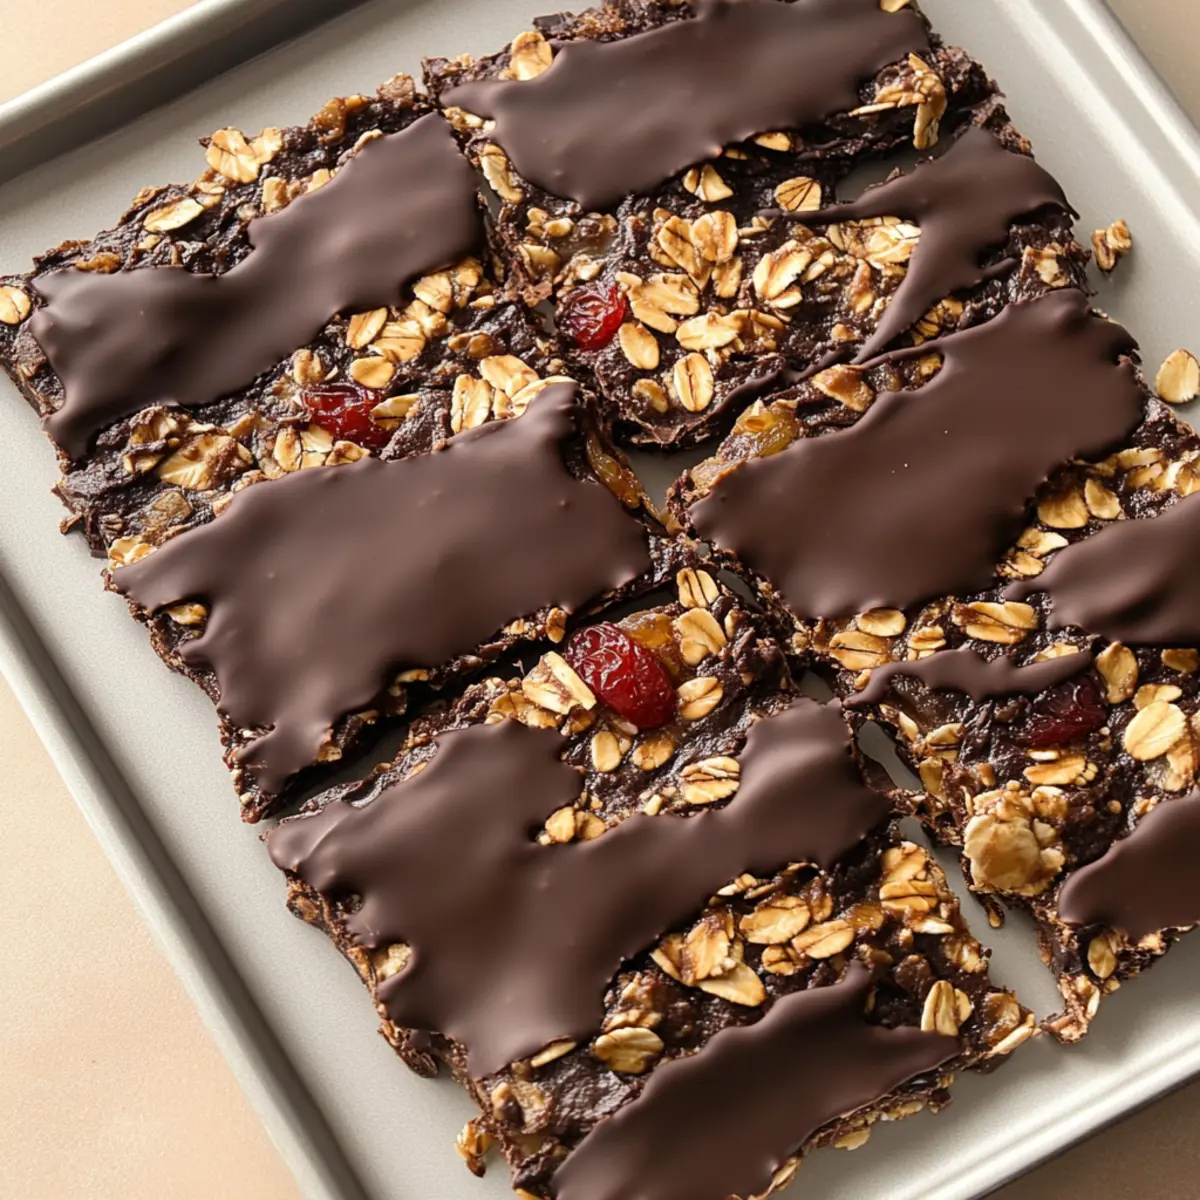
Delicious Granola Bark: Your Customizable Snack Delight
Ingredients
Equipment
Method
- Preheat your oven to 300°F (150°C) and line an 11x17-inch baking sheet with parchment paper.
- In a large bowl, whisk together maple syrup, coconut oil, honey, vanilla extract, and sea salt until smooth.
- Add rolled oats and sliced almonds to the mixture and stir until fully coated.
- Spread the mixture evenly on the baking sheet, pressing firmly to make a dense layer.
- Bake for 20 minutes, then rotate the pan and bake for an additional 10-15 minutes until golden brown.
- Remove from the oven and let the granola cool completely on the baking sheet.
- Melt the chocolate wafers in a microwave-safe bowl, stirring every 30 seconds until smooth.
- Drizzle the melted chocolate over the cooled granola and immediately add your desired toppings.
- Once the chocolate has set, break the granola bark into pieces and store in an airtight container.
Leave a Reply