
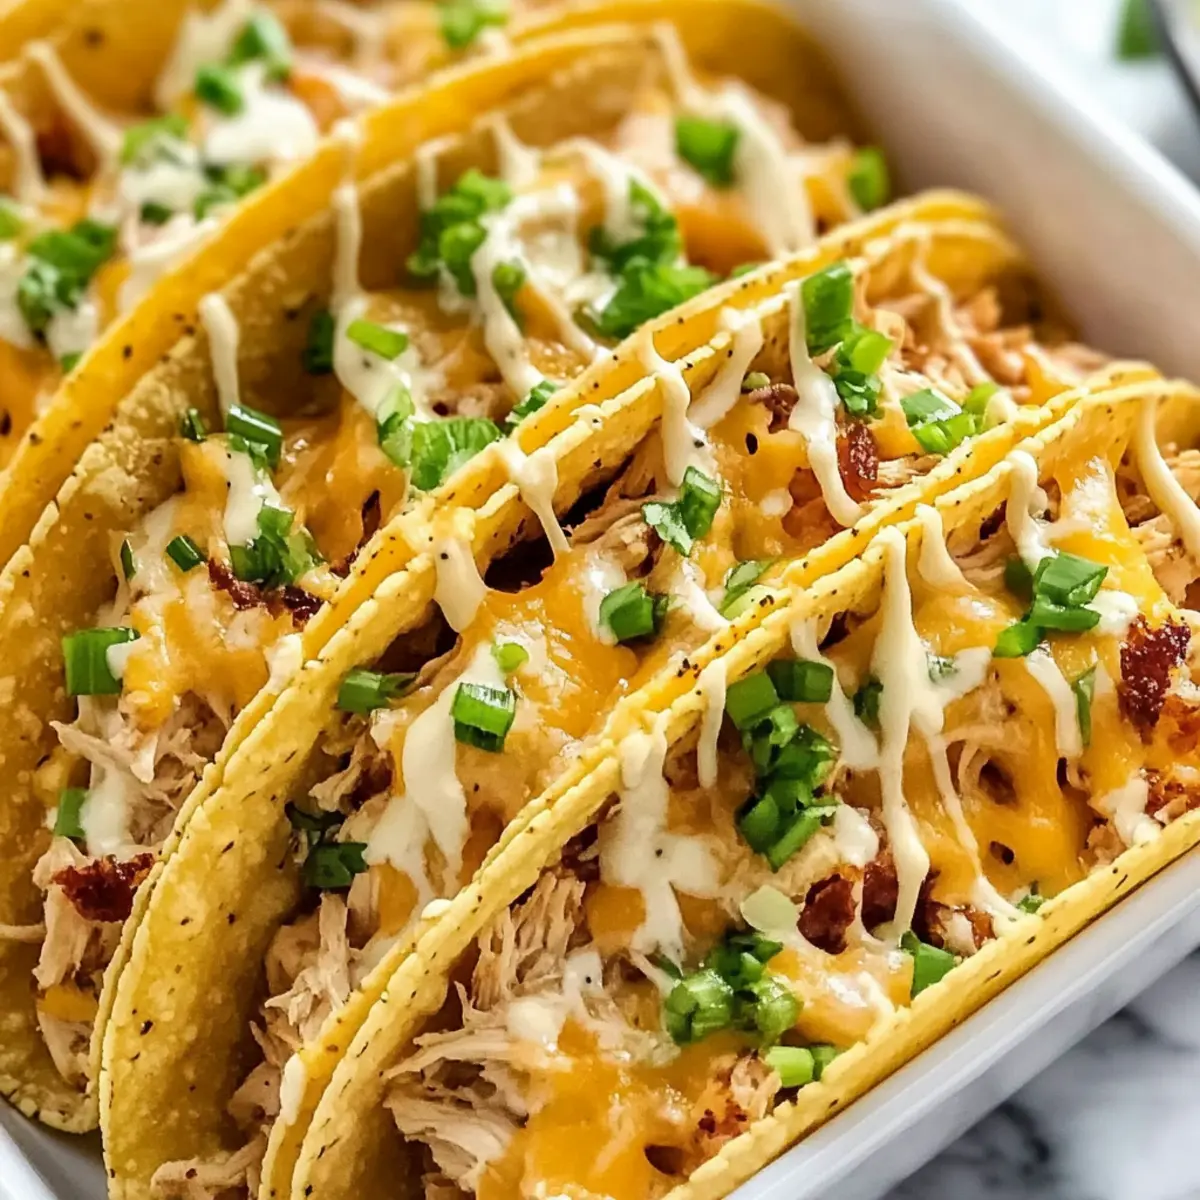
As I pulled the warm, cheesy aroma wafting from the oven, my taste buds tingled with anticipation. Though humble in appearance, Baked Crack Chicken Tacos pack a comforting punch that effortlessly elevates any gathering. With their crispy shells cradling a savory medley of shredded chicken and creamy cheese, these tacos transform into a delightful feast for both casual weeknights and game day celebrations. Not only are they a crowd-pleaser that everyone will love, but they’re also a breeze to prepare—perfect for those of us who crave homemade goodness without spending hours in the kitchen. Ready to explore this mouthwatering mashup of flavors?
Why are these tacos unbeatable?
Comforting and Satisfying: Each bite of these Baked Crack Chicken Tacos bursts with a warm, cheesy filling that wraps around tender chicken and crispy bacon. Stress-free Prep: In just a few simple steps, you can whip up a dish that’s perfect for busy weeknights or game days. Crowd Favorite: They’re sure to be the star of any gathering, pleasing both kids and adults alike. Endless Variations: Feel free to customize with your favorite toppings or make it vegetarian with grilled tofu and dairy-free cheese. Quick Bake Time: Ready in just 20 minutes, the baked method means you won’t be stuck in the kitchen all evening—leaving you time to enjoy delicious recipes like Low Carb Chicken Broccoli Alfredo Bake and Cheesy Cajun Chicken Twisted Pasta.
Crack Chicken Taco Ingredients
For the Shells
• Crunchy Taco Shells – Choose “hard” or “crispy” labeled shells to keep your filling deliciously intact.
For the Filling
• Cream Cheese – Use full-fat for an irresistibly rich and creamy texture.
• Sour Cream – Ensure it’s at room temperature to help with easier mixing.
• Ranch Seasoning – This adds a tangy flavor that makes the Crack Chicken Tacos irresistible; homemade seasoning is a great substitute!
• Colby Jack Cheese – Look for low-moisture cheese for the best melt.
• Cooked, Shredded Chicken – The main protein source; ensure it’s cooked to 165°F for safety.
• Turkey Bacon – Provides that smoky flavor; feel free to use vegetarian options if preferred.
• Green Onions – These are optional but add a refreshing garnish for color.
For Topping
• Shredded Cheese – Sprinkle on top before baking for a bubbly, cheesy finish that everyone will love.
These Baked Crack Chicken Tacos combine simple yet delightful ingredients, ensuring your next meal is both tasty and memorable!
Step‑by‑Step Instructions for Crack Chicken Tacos
Step 1: Preheat the Oven
Begin by preheating your oven to 350°F (175°C). This temperature is crucial for achieving that perfect crispy shell and bubbly cheese. As the oven warms up, gather your ingredients and equipment, including a baking pan and mixing bowl, to ensure a smooth cooking process.
Step 2: Prepare Taco Shells
Next, arrange 12 crunchy taco shells upright in a 9×13-inch baking pan. Pop them into the preheated oven for about 5 minutes to crisp up. Keep an eye on them as they warm; they should just start to become lightly golden and fragrant, making them ready for the delicious filling.
Step 3: Mix the Filling
In a mixing bowl, blend together 8 ounces of cream cheese, ½ cup of sour cream, and the ranch seasoning until smooth and creamy. This step ensures that your Crack Chicken Tacos will have that irresistible rich texture. Stir vigorously until everything is combined, making sure there are no lumps left.
Step 4: Add Chicken and Bacon
Once your mixture is well combined, gently fold in 2 cups of cooked, shredded chicken and a third of your chopped turkey bacon. Mix until the chicken is coated evenly with the creamy filling. This is where the flavors start to meld, so take a moment to appreciate the savory aroma.
Step 5: Fill the Taco Shells
Carefully remove the taco shells from the oven and ladle the chicken mixture into each shell, filling them generously. Once filled, sprinkle the remaining shredded cheese (about 1 cup) evenly over the top of each taco. Don’t be shy with the cheese; it’s essential for that creamy, gooey finish.
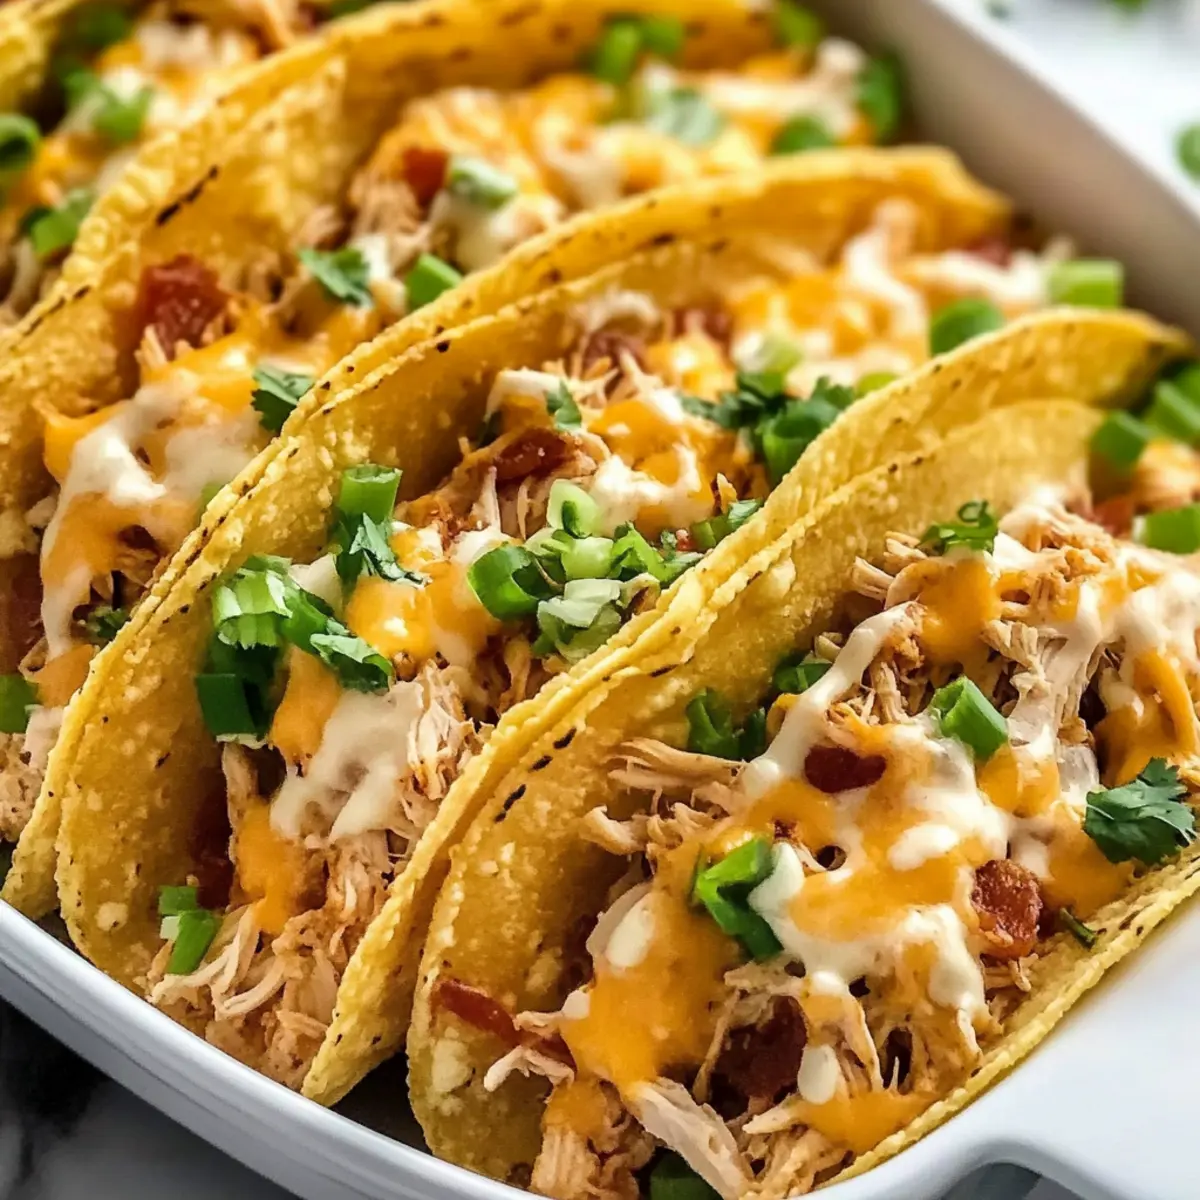
Step 6: Bake to Perfection
Return the filled tacos to the oven and bake for 15 minutes. Keep an eye on them as they cook; you’re looking for the cheese to become bubbly and golden. This is when your Baked Crack Chicken Tacos will reach ultimate deliciousness, filling your kitchen with mouthwatering aromas.
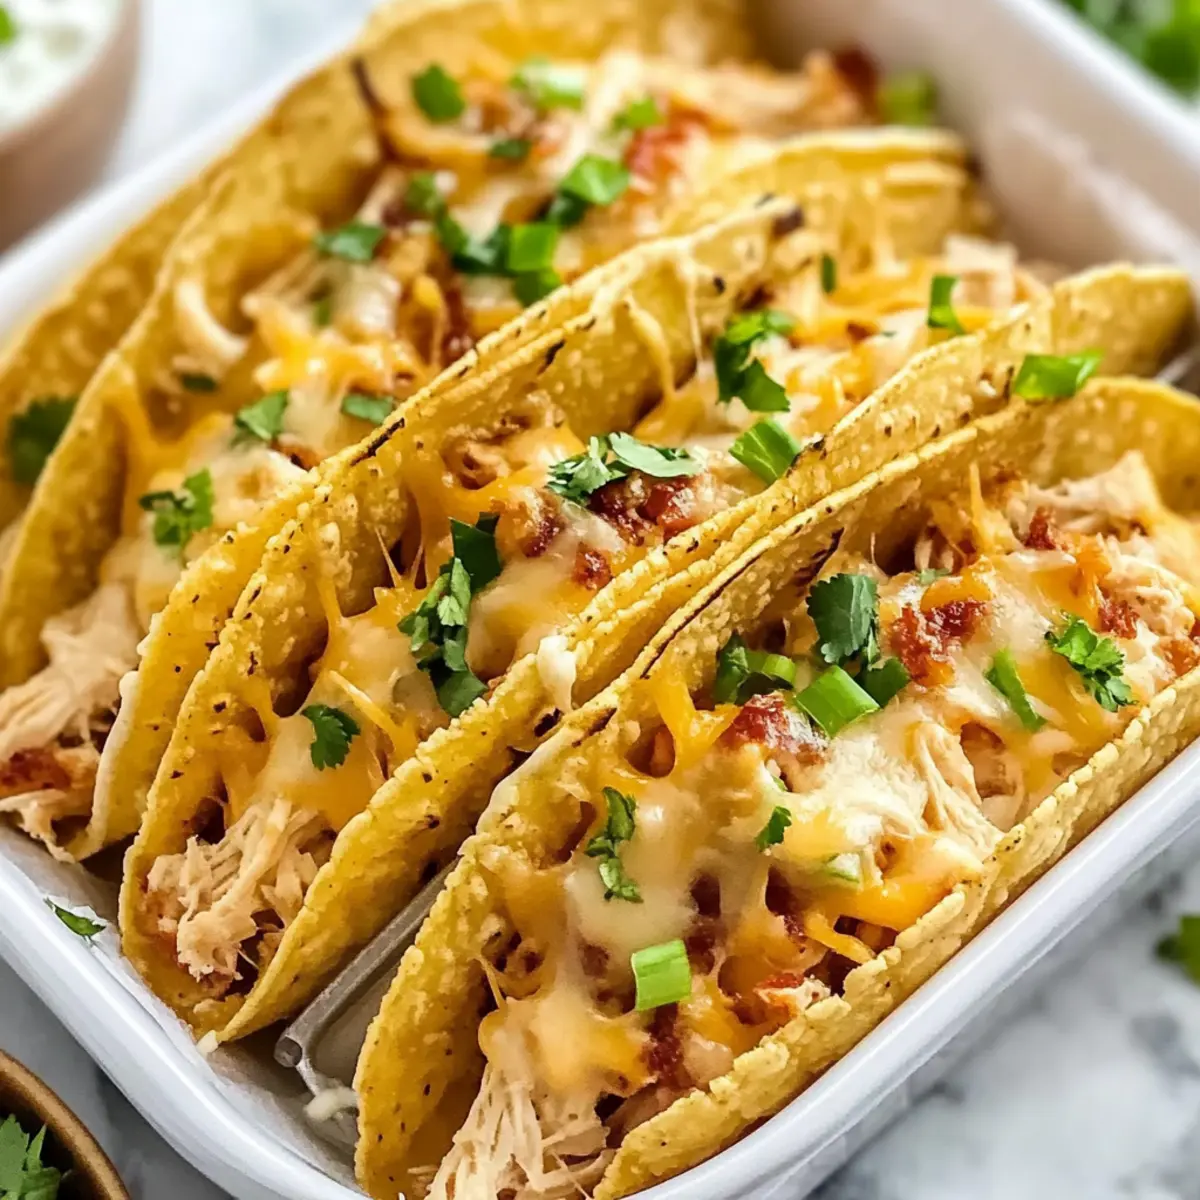
Step 7: Garnish and Serve
After baking, carefully remove the baking pan from the oven. If desired, sprinkle chopped green onions over the top for a pop of color and fresh flavor. Serve hot and enjoy the warm, cheesy goodness of your Crack Chicken Tacos, perfect for sharing with family and friends.
Expert Tips for Crack Chicken Tacos
-
Cheese Choice: Use low-moisture cheese to prevent sogginess. It melts beautifully without compromising the crunchy taco experience.
-
Room Temperature Ingredients: Let cream cheese and sour cream sit out for a few minutes before mixing. This ensures a smooth, lump-free filling.
-
Shell Handling: If taco shells crack during filling, reinforce them with a layer of melted cheese before baking. This helps maintain their structure.
-
Savory Substitutions: Experiment with different proteins and toppings. Ground turkey or grilled tofu can work beautifully as alternatives in these Crack Chicken Tacos.
-
Perfect Timing: Keep a close eye on the tacos while they bake; you want them bubbling and golden, but not overdone!
How to Store and Freeze Crack Chicken Tacos
-
Room Temperature: Enjoy your Crack Chicken Tacos fresh from the oven for the best taste. If left out, consume them within 2 hours to ensure food safety.
-
Fridge: Store any leftovers in an airtight container for up to 3 days. Reheat in the oven at 350°F until warmed through for optimal flavor and texture.
-
Freezer: Fully assembled tacos (without cheese) can be frozen for up to 2 months. Thaw in the fridge overnight, add cheese, and then bake as instructed for a quick meal.
-
Reheating: For best results, reheat in the oven rather than the microwave to maintain crispiness. Bake at 350°F until the cheese is melted and the tacos are heated through.
Crack Chicken Tacos Variations
Feel free to get creative with these delightful tacos and make them your own!
-
Vegetarian Version: Substitute the chicken and turkey bacon with grilled tofu or tempeh and use dairy-free cheese for a tasty plant-based twist. This way, even meat lovers will find it hard to resist!
-
Spicy Kick: Add diced jalapeños to the chicken filling or top the tacos with spicy salsa for an extra layer of heat. Trust me, your taste buds will thank you for this fiery upgrade!
-
Cheese Medley: Experiment with different cheeses like pepper jack for a spicy twist or gouda for a rich, smoky flavor. Each choice can take your tacos to a whole new level of cheesy goodness.
-
Crunchy Toppings: Top your finished tacos with crispy fried onions or tortilla strips for added texture. These will add an incredible crunch that complements the soft, cheesy filling beautifully.
-
Herb Infusion: Mix fresh herbs like cilantro or parsley into the filling for a burst of freshness. The vibrant green color will make your tacos look as good as they taste!
-
BBQ Fusion: Swap the ranch seasoning for barbecue sauce for a different flavor profile. Adding some shredded coleslaw as a topping can enhance the fun and give it that classic BBQ feel!
-
Make-Ahead Convenience: Prepare the filling ahead of time and refrigerate it for up to 2 days. This makes for a simple assembly when you’re ready to bake—a lifesaver on busy weeknights!
No matter how you choose to personalize your Crack Chicken Tacos, they’ll continue to bring warmth and joy to your table. And for more cozy meals, check out French Chicken Casserole or that delightful Dump Bake Chicken. Enjoy the cooking adventure!
Make Ahead Options
These Baked Crack Chicken Tacos are a fantastic meal prep option, saving you time on busy weeknights! You can prepare the filling (cream cheese, sour cream, ranch seasoning, shredded chicken, and turkey bacon) up to 3 days in advance. Simply mix the ingredients and store them in an airtight container in the refrigerator. For even greater convenience, fill the taco shells with the mixture up to 24 hours ahead of time—just keep the cheese separate until right before baking to maintain that perfect melt. When you’re ready to enjoy, sprinkle the cheese on top and bake as directed. This way, you’ll have delightful, cheesy tacos ready to serve with minimal effort!
What to Serve with Baked Crack Chicken Tacos
As you savor the delicious flavors of these baked delights, let’s explore some delightful side dishes and beverages to round out your meal.
-
Guacamole: Creamy and rich, guacamole adds a fresh twist that balances the savory flavors of the tacos. It’s a crowd-pleaser that everyone loves!
-
Salsa Verde: This tangy, zesty salsa offers a bright flavor that cuts through the richness of the cheese, creating a delightful harmony on your plate.
-
Fresh Side Salad: A colorful salad with mixed greens, tomatoes, and cucumbers adds a refreshing crunch, complementing the warm crunch of the tacos beautifully.
-
Corn on the Cob: Grilled or roasted corn brings a lovely sweetness, making it a wonderful counterpart to the savory tacos and enhancing your family meal.
-
Chips and Queso: The creamy, cheesy dip paired with crunchy tortilla chips is a fantastic appetizer that whets the appetite while keeping the mood festive!
-
Margaritas: For a fun drink pairing, a refreshing margarita not only complements the flavor of the tacos but also adds a celebratory touch to your mealtime.
-
Brownie Bites: End the evening on a sweet note with rich brownie bites—an indulgent treat that perfectly contrasts with the savory tacos.
Elevate your taco night by serving up these delicious accompaniments, ensuring an unforgettable dining experience for family and friends!
Baked Crack Chicken Tacos Recipe FAQs
How do I choose the right taco shells?
Absolutely! When selecting taco shells, aim for “hard” or “crispy” labeled options to ensure they hold up during filling and baking. Look for shells that are free from any cracks, as this will allow your delicious filling to be fully contained.
What’s the best way to store my Crack Chicken Tacos?
If you have leftovers, store them in an airtight container in the fridge for up to 3 days. Reheating in the oven at 350°F is best; it keeps the shells crispy and restores that comforting warmth.
Can I freeze these tacos?
Yes! You can freeze fully assembled tacos (without cheese) for up to 2 months. Just make sure to wrap them tightly in plastic wrap or aluminum foil. When you’re ready to enjoy, thaw them overnight in the fridge, sprinkle cheese on top, and bake at 350°F until hot and bubbly.
What should I do if my taco shells crack during filling?
Don’t worry! If your taco shells crack, gently reinforce them by adding a thin layer of melted cheese in the cracks before baking. This acts as a glue, helping hold everything together while also adding extra cheesy goodness.
Are these tacos suitable for various dietary needs?
Very! You can easily swap out ingredients to fit dietary preferences. For instance, use grilled tofu or tempeh instead of chicken for a vegetarian version, and opt for dairy-free cheese to cater to lactose intolerance. Just be mindful of any allergies related to specific ingredients in your fillings.
How long will cooked ingredients last in the fridge?
Cooked shredded chicken can last in the fridge for up to 3-4 days. Just make sure it has been stored properly in an airtight container to maintain freshness. Always give it a sniff and a visual check—if there are any off smells or discoloration, it’s best to discard it for safety.

Irresistible Crack Chicken Tacos Baked to Cheesy Perfection
Ingredients
Equipment
Method
- Preheat your oven to 350°F (175°C).
- Arrange the taco shells in a baking pan and bake for about 5 minutes to crisp up.
- In a mixing bowl, blend together cream cheese, sour cream, and ranch seasoning until smooth.
- Gently fold in the chicken and turkey bacon until combined.
- Fill each taco shell with the chicken mixture and top with shredded cheese.
- Bake the filled tacos for 15 minutes until the cheese is bubbly and golden.
- Remove from oven and garnish with green onions if desired. Serve hot.
Leave a Reply