
There’s something truly magical about combining three simple ingredients to create a delightful treat that satisfies both the sweet and salty cravings. Enter my Chocolate Peanut Butter Crunch Cups, a no-bake wonder that’s ready to impress with its effortless charm. Not only can you whip these up in mere minutes, but they’re also gluten-free and dairy-free, making them a guilt-free indulgence for everyone, including the kids. This snack is perfect for busy weeknights or spontaneous get-togethers, and best of all, it’s a fantastic way to turn that leftover cereal into something special. Curious to find out just how easy it is to make these delicious bites? Let’s dive in!
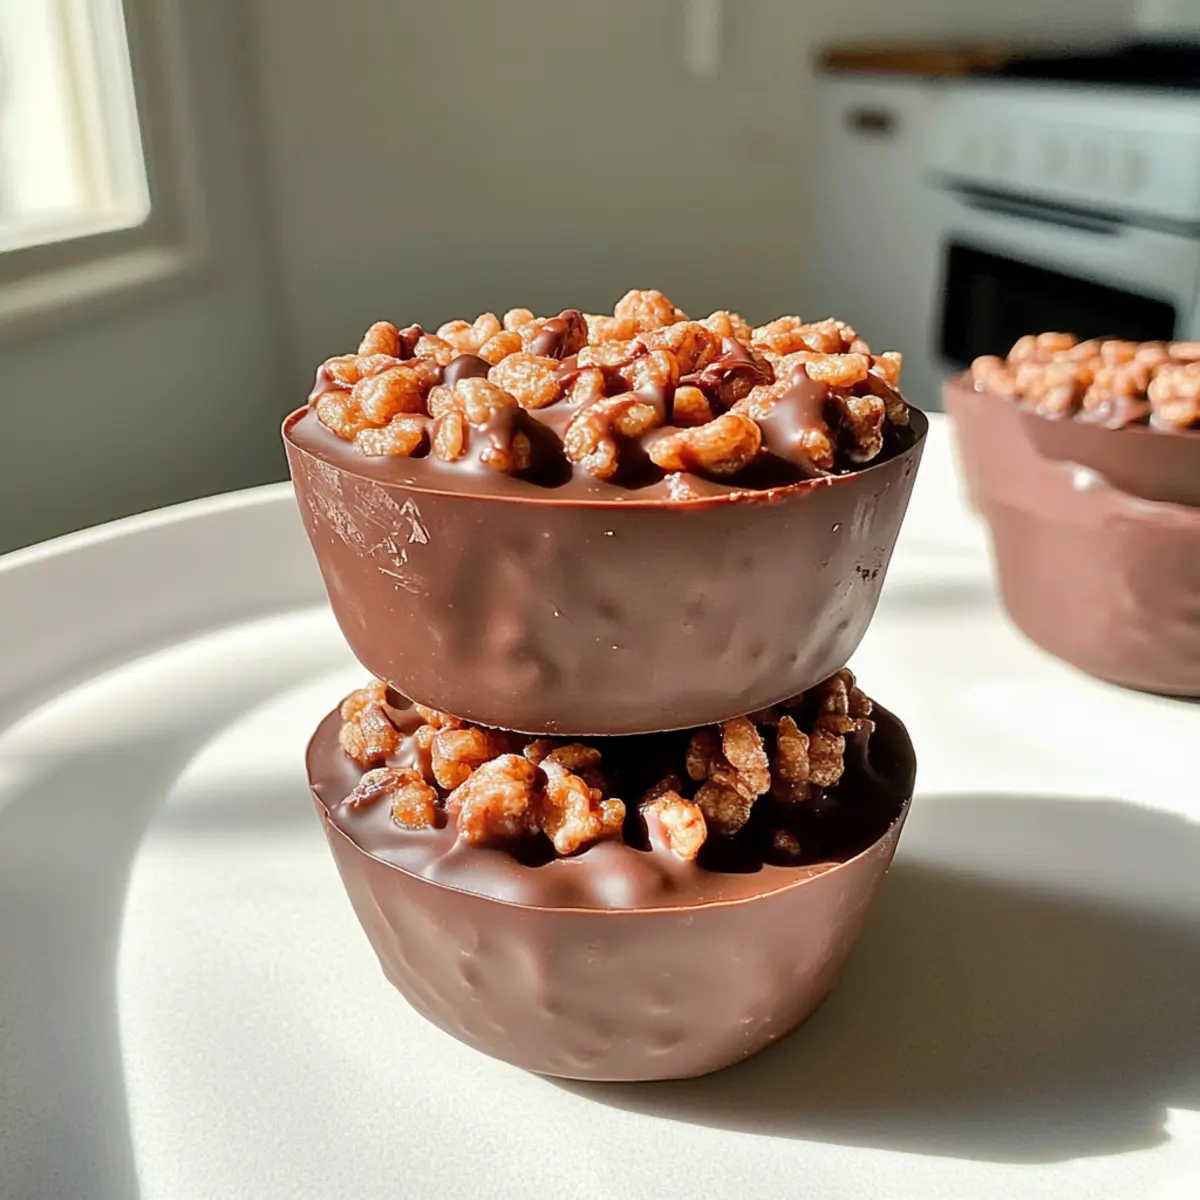
Why Are These Crunch Cups So Irresistible?
Simplicity: With just three ingredients, these Chocolate Peanut Butter Crunch Cups are incredibly easy to whip up, perfect for those busy weeknights.
Deliciously Balancing: The delightful mix of creamy peanut butter and rich chocolate provides the ultimate satisfaction for sweet and salty cravings.
Kid-Friendly: Whether for an after-school snack or a lunchbox treat, these no-bake cups are a hit with kids and adults alike!
Versatile Treat: Want to switch it up? Substitute with almond butter or add in mini marshmallows for a customizable delight.
Make-Ahead Magic: Prepare in advance and keep in the freezer for a last-minute treat that’s always ready to impress, just like our Garlic Butter Honey Beef Tacos that can be a crowd-pleaser too!
Chocolate Peanut Butter Crunch Cups Ingredients
For the Chocolate:
- Chocolate Chips – A blend of milk and dark chocolate creates a rich, velvety flavor; these are essential for the perfect Chocolate Peanut Butter Crunch Cups.
For the Filling:
- Peanut Butter – Choose creamy peanut butter for smooth mixing; it complements the crunch while adding a nutty richness.
For the Crunch:
- Rice Cereal – This is the secret to that delightful crunch; feel free to substitute with gluten-free corn flakes if needed.
Step‑by‑Step Instructions for Chocolate Peanut Butter Crunch Cups
Step 1: Prep Ingredients
Start by gathering all your ingredients: chocolate chips, creamy peanut butter, and rice cereal. Make sure to have a microwave-safe bowl and mini muffin tins or silicone molds ready for the next steps. Having everything close at hand will make your process smooth and enjoyable, bringing you one step closer to those delicious Chocolate Peanut Butter Crunch Cups.
Step 2: Melt Chocolate
In a microwave-safe bowl, add the chocolate chips and heat them in the microwave at medium power for 30 seconds. Remove and stir the chocolate, continuing this process in additional 30-second intervals until the chips are fully melted and smooth, which should take about 1 to 2 minutes total. The melted chocolate should be glossy and pourable, ready to blend beautifully with the peanut butter.
Step 3: Combine Mix
Once your chocolate is melted, add the creamy peanut butter into the bowl. Stir the mixture vigorously until the chocolate and peanut butter are thoroughly combined, creating a smooth and luscious blend, which will serve as the decadent base for your Chocolate Peanut Butter Crunch Cups. This mixture should be warm, making it easy to incorporate the next ingredient.
Step 4: Add Rice Cereal
Gently fold in the rice cereal into the chocolate-peanut butter mixture. Use a spatula to ensure that every piece of cereal is evenly coated without breaking them. This step should create a delightful crunch factor in your mix, which is what makes Chocolate Peanut Butter Crunch Cups so irresistible. Make sure the cereal is well-distributed throughout the mixture.
Step 5: Transfer to Molds
Now, use a spoon to scoop the mixture into your prepared mini muffin tins or silicone molds, filling them generously but not overflowing. Press down gently to ensure the mixture holds together well when set. This will create the perfect shape for your delicious crunch cups. The molds should be filled to the top to maximize your yield.
Step 6: Chill
Carefully place the filled molds in the freezer and allow them to chill for about 1 hour. This chilling time is essential for the Chocolate Peanut Butter Crunch Cups to set properly, ensuring they hold their shape when removed. After about an hour, they should be firm to the touch and ready for the final step.
Step 7: Serve
Once set, remove the cups from the freezer and carefully pop them out of the molds. Enjoy them right away for a delightful cold treat or store them in a sealed container back in the freezer for later. The combination of crispy cereal, creamy peanut butter, and rich chocolate creates a satisfying snack that everyone will love, making your Chocolate Peanut Butter Crunch Cups a hit!
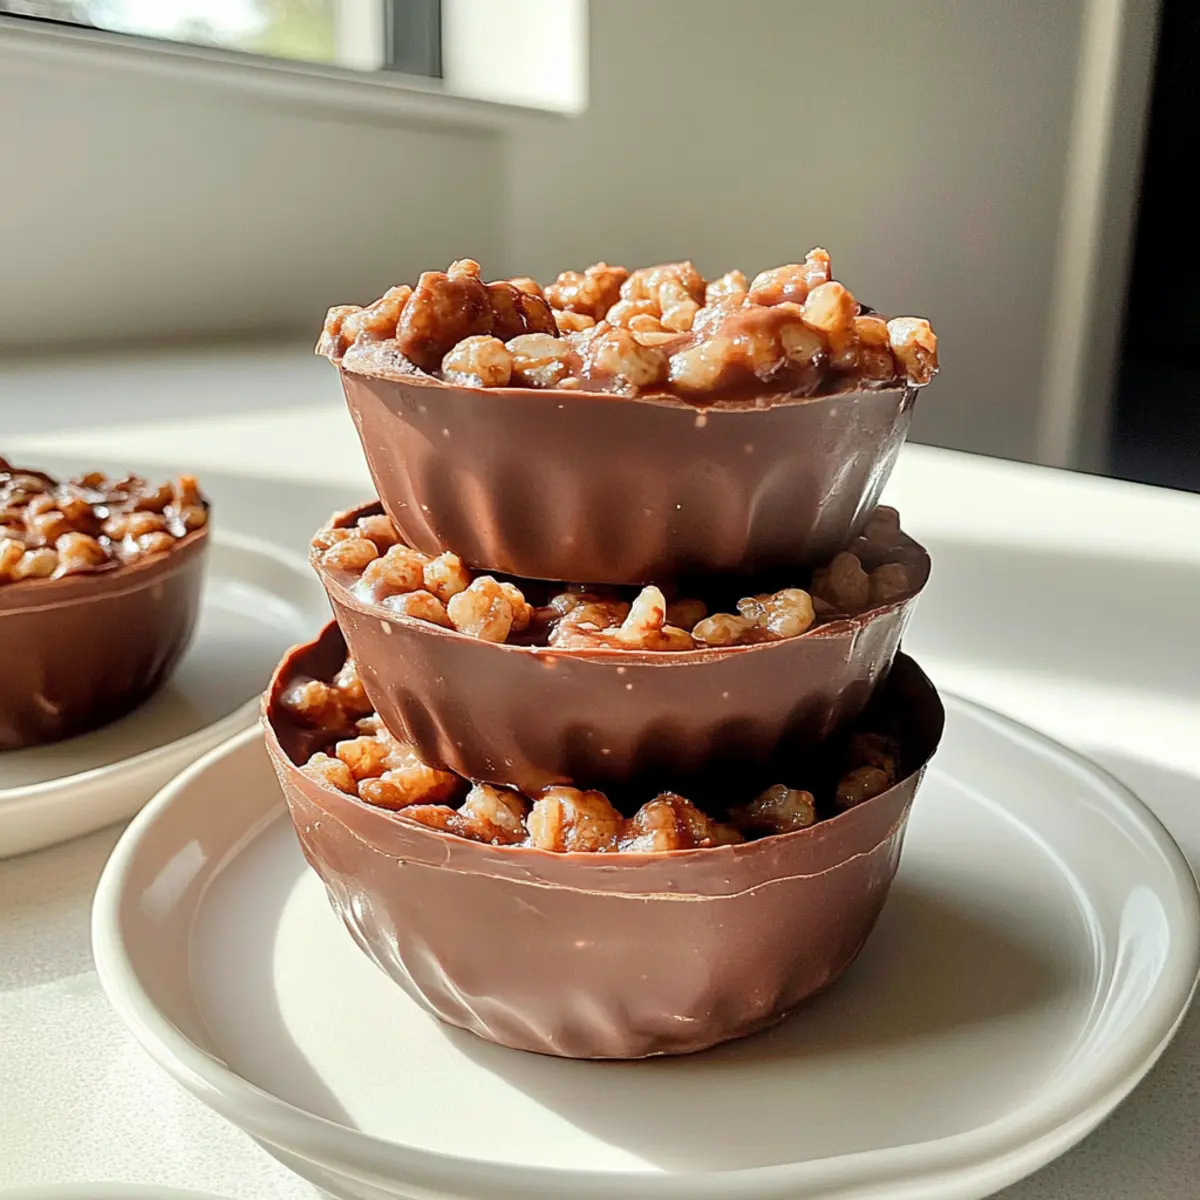
Expert Tips for Chocolate Peanut Butter Crunch Cups
- Melt Slowly: Make sure to melt the chocolate slowly in intervals to avoid burning it, ensuring a smooth mixture for the best Chocolate Peanut Butter Crunch Cups.
- Grease Molds: If you’re using a metal muffin tin, grease it lightly; this step ensures easy removal of your delicious cups without breaking them.
- Coat Gently: When adding the rice cereal, fold it in gently to keep the crunch intact and prevent it from becoming soggy.
- Customize Toppings: Feel free to sprinkle sea salt or mini marshmallows before chilling for an exciting twist that enhances your Chocolate Peanut Butter Crunch Cups!
- Portion Control: Use mini muffin tins for fun bite-sized treats, making it easy to enjoy and share these delightful snacks.
Make Ahead Options
These Chocolate Peanut Butter Crunch Cups are perfect for busy home cooks who want to streamline their meal planning! You can prepare the mixture and fill your molds up to 24 hours in advance, storing them covered in the freezer to maintain their freshness and prevent melting. To do this, simply follow the recipe instructions up to the chilling step, then place the filled molds directly into the freezer. When you’re ready to enjoy, just pop them out of the molds and serve them straight from the freezer for a delicious treat. This make-ahead method not only saves time but also ensures that your crunch cups are just as delightful and satisfying whenever you’re ready to indulge!
Storage Tips for Chocolate Peanut Butter Crunch Cups
Fridge: Store any leftover Chocolate Peanut Butter Crunch Cups in an airtight container in the fridge for up to 3 days, maintaining their freshness and flavor.
Freezer: For longer storage, keep the cups in a sealed container in the freezer for up to 2 months. Just remember to separate layers with parchment paper to prevent sticking.
Room Temperature: Avoid keeping these cups at room temperature for extended periods, as warmth can cause them to melt and lose their delightful texture.
Serving: Enjoy straight from the freezer for a refreshing treat! If they become soft, simply place them back in the freezer for a few minutes before serving.
What to Serve with Chocolate Peanut Butter Crunch Cups
These delectable cups are perfect for creating a delightful and satisfying meal that everyone will enjoy!
- Creamy Vanilla Ice Cream: A scoop of rich ice cream complements the crunch, enhancing the sweet and salty flavors perfectly.
- Fresh Berries: Juicy strawberries or raspberries add a burst of freshness and vibrant color to your dessert table. The tartness contrasts beautifully with the rich chocolate.
- Banana Slices: Sweet banana slices provide a soft texture that balances the crunchiness of the cups while adding natural sweetness.
- Coffee: A cup of rich brewed coffee pairs incredibly well, offering a lovely bitter note to balance the sweetness of the cups.
- Nutty Granola: Serve with a side of crunchy granola for a delightful crunch and added fiber; it turns your snack into a wholesome treat.
- Decadent Chocolate Sauce: Drizzle some warm chocolate sauce over the cups for extra indulgence, making them irresistible for chocolate lovers!
- Coconut Whipped Cream: Light and airy coconut cream offers a dairy-free topping that’s rich yet fluffy, enhancing the experience with a tropical twist.
- Sparkling Water: Serve with a refreshing sparkling water to cleanse the palate, ensuring that every bite of the Chocolate Peanut Butter Crunch Cups shines.
- Mini Fruit Tart: For a whimsical accompaniment, mini fruit tarts balance the chocolatey richness with their creamy and fruity toppings.
Chocolate Peanut Butter Crunch Cups Variations
Feel free to customize your delicious treats with these fun twists and substitutions to enhance the flavor and texture!
- Nut-Free: Use Sunflower Seed Butter instead of peanut butter for an allergy-friendly option. It’s just as creamy and delicious!
- Chocolaty Goodness: Try using Flavored Chocolate Chips like caramel or mint to give your cups a delightful twist that’s sure to surprise.
- Extra Crunch: Toss in some Chopped Nuts before chilling for added texture and a nutty flavor. Almonds or pecans work beautifully!
- Fruity Touch: Add Dried Fruit like cranberries or raisins for a chewy bite that pairs exceptionally well with the crunchy texture.
- Mini Marshmallows: Fold in some Mini Marshmallows to create a fun, chewy surprise that takes your crunch cups to the next level, reminiscent of a s’mores treat.
- Cocoa Dusting: Dust the finished cups with a light sprinkle of Cocoa Powder or powdered sugar for a fancy finish! It adds a touch of elegance to your dessert.
- Incorporate Spice: For an unexpected spark, sprinkle in some Cinnamon before mixing. This warm spice will make your cups even more inviting!
- Plant-Based: Choose Dairy-Free Chocolate chips to keep everything plant-based, ensuring everyone can indulge without worry.
Embark on a new flavor adventure with these variations, and don’t forget to check out our delightful recipes like Malted Peanut Butter or Praline Crunch Sweet for more delicious inspiration!
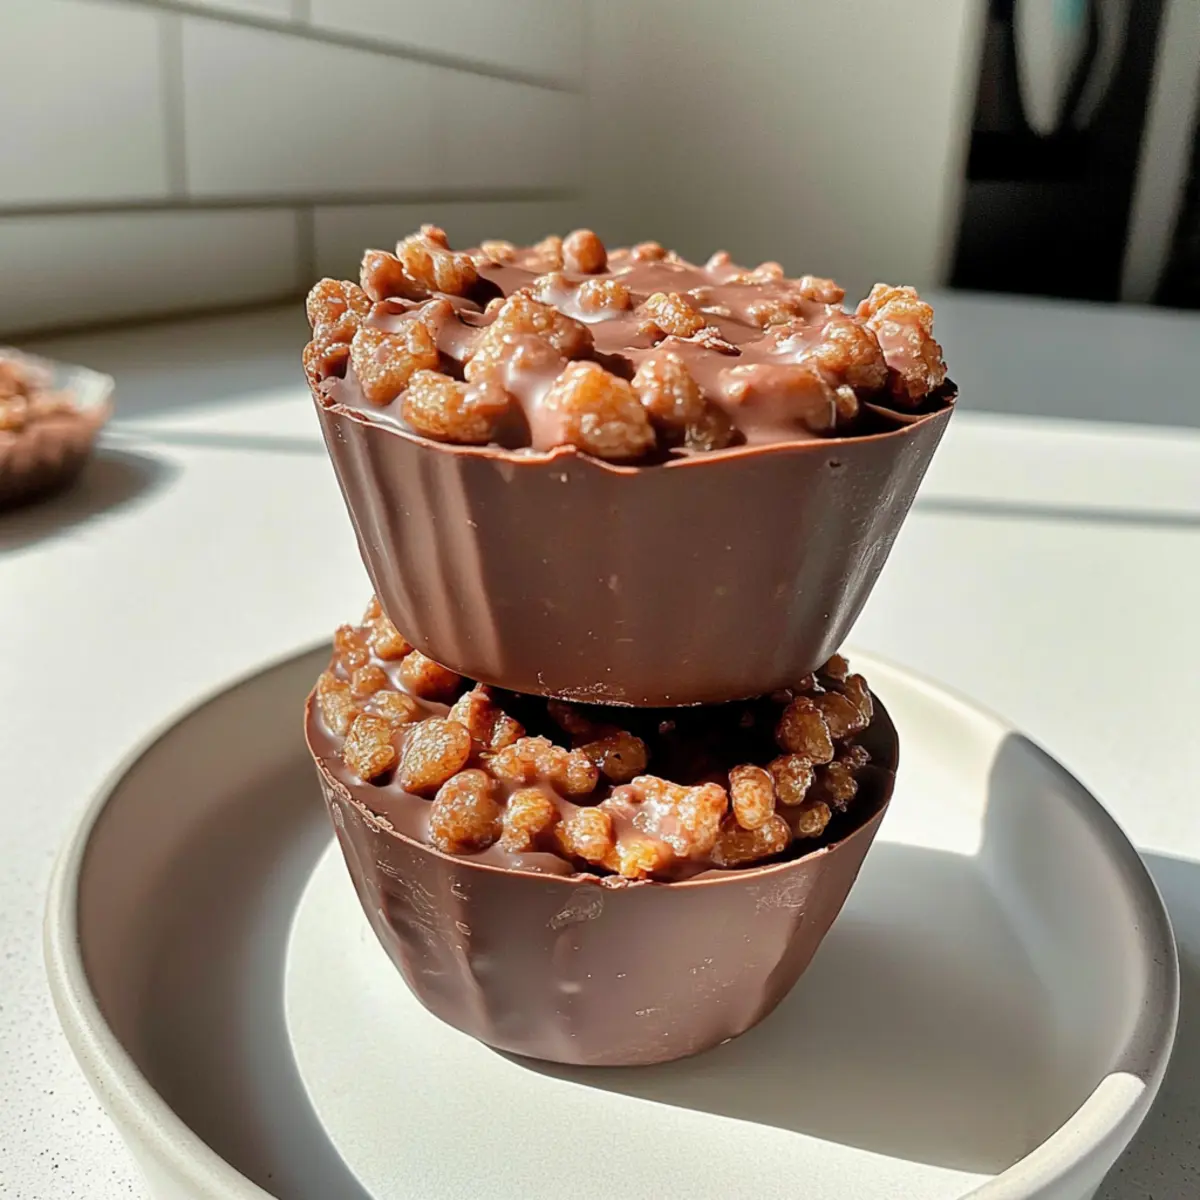
Chocolate Peanut Butter Crunch Cups Recipe FAQs
What should I look for when choosing chocolate chips for this recipe?
Absolutely! When selecting chocolate chips, go for a blend of milk and dark chocolate for a rich flavor combination. Check the package for the percentage of cocoa; higher percentages will yield a more intense chocolate taste. Make sure they’re labeled gluten-free if necessary.
How should I store the Chocolate Peanut Butter Crunch Cups?
For optimal freshness, store the Chocolate Peanut Butter Crunch Cups in a sealed container in the freezer for up to 2 months. If you’re storing them in the fridge, they can last for 3 days. Just remember to use parchment paper to separate layers if stacking them to prevent sticking!
Can I freeze these Crunch Cups? How do I do it properly?
Yes, you can! To freeze, place your Chocolate Peanut Butter Crunch Cups in a single layer on a baking sheet and freeze them until solid. Once set, transfer them to a sealed container, ensuring to separate layers with parchment paper. They’ll be perfectly good for up to 2 months! When ready to enjoy, take them out and enjoy them straight from the freezer for a crunchy treat.
What if my chocolate isn’t melting properly?
If your chocolate isn’t melting smoothly, don’t worry! Make sure you’re microwaving at medium power and in 30-second intervals. Stir between each interval to distribute the heat evenly. If the chocolate seems grainy, you might have cooked it too long. A gentle reheat with a small amount of coconut oil can help smooth it out.
Are there any allergy considerations I should be aware of?
Very! If you or someone you’re serving has nut allergies, consider substituting peanut butter with sunflower seed butter. Always check labels to ensure your chocolate chips and rice cereal are free from allergens, especially if gluten or dairy is a concern.
Can I use a different cereal type for the crunch?
Certainly! Though rice cereal is traditional, you can swap it out with gluten-free corn flakes or even puffed quinoa for a different texture. Just keep in mind that the flavor profile may slightly change, so choose a cereal that suits your taste preferences!
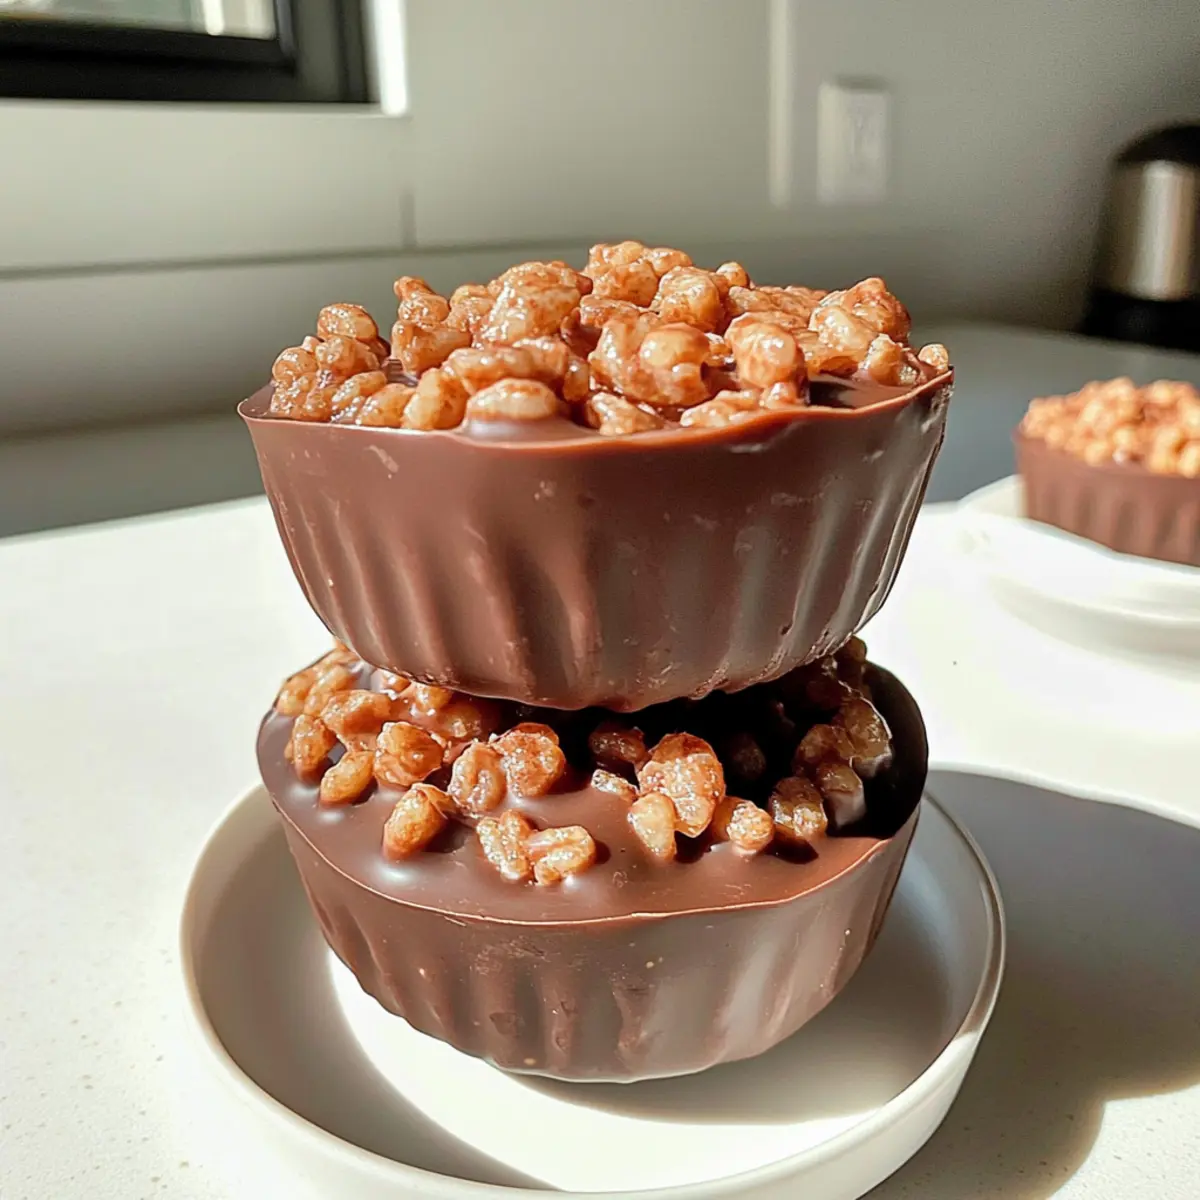
Irresistible Chocolate Peanut Butter Crunch Cups to Satisfy Cravings
Ingredients
Equipment
Method
- Start by gathering all your ingredients: chocolate chips, creamy peanut butter, and rice cereal. Have a microwave-safe bowl and mini muffin tins or silicone molds ready.
- In a microwave-safe bowl, add the chocolate chips and heat them in the microwave at medium power for 30 seconds. Stir and continue heating in additional 30-second intervals until fully melted, taking about 1 to 2 minutes total.
- Once melted, add the creamy peanut butter into the bowl and stir vigorously until thoroughly combined, creating a smooth blend.
- Gently fold in the rice cereal, ensuring every piece is evenly coated without breaking them.
- Scoop the mixture into your prepared mini muffin tins or silicone molds, filling generously but not overflowing. Press down gently to hold together.
- Place the filled molds in the freezer and chill for about 1 hour to set properly.
- Once set, remove the cups from the freezer and pop them out of the molds. Enjoy immediately or store in a sealed container back in the freezer for later.
Leave a Reply