
The smell of savory spices wafting through the kitchen always brings me back to the joy of sharing delicious moments with friends. Today, I’m excited to share my Whole30 Chili Con Queso Dip, a creamy vegan delight that not only captures the essence of traditional queso but also is completely dairy-free. It’s the perfect crowd-pleaser for game day, parties, or even a cozy weeknight dinner at home. Packed with wholesome ingredients, this dip is allergen-friendly, making it suitable for anyone tired of bland fast food. A hearty, plant-based option that your family will devour, you might even find yourself making extra for leftovers! Curious how to whip up this deliciously creamy dip? Let’s dive in!

Why Choose This Chili Con Queso Dip?
Flavor Explosion: This Whole30 Chili Con Queso Dip brings tantalizing tastes to your table, combining savory spices with rich coconut milk for an unforgettable experience.
Allergen-Friendly: Completely dairy-free and plant-based, it’s great for everyone—from kids to party guests—who often feel left out at gatherings.
Versatile and Customizable: Feel free to mix it up by adding your favorite peppers or proteins like chorizo or shredded chicken for a personal twist.
Quick and Easy: Ready in under 30 minutes, this dip proves that wholesome food can be both fast and delicious, perfect for those busy weeknights!
Crowd-Pleasing: Whether for game day or just a family movie night, it’s a guaranteed hit, much like my Baked French Dip recipe.
Leftover Friendly: Store extras for a week in the fridge or freeze them for future snacking, making meal prep a breeze while saving time for your favorite activities!
Chili Con Queso Dip Ingredients
For the Base
- Ground Beef – Adds protein and richness; Substitution: Use vegan ground beef crumbles or two cans of rinsed black beans for a plant-based option.
- Yellow or White Onion – Provides aromatic flavor and sweetness; Substitution: Red onion can be used for a bolder taste.
- Minced Garlic – Adds depth of flavor and aroma; Preparation: Use fresh cloves for best results; 2-3 cloves can substitute for 2 teaspoons of minced garlic.
- Rotel Tomatoes with Diced Green Chilies – Contributes tanginess and heat; Notes: Any canned diced tomatoes can be used if Rotel is unavailable.
For the Creamy Texture
- Canned Full-Fat Unsweetened Coconut Milk – Creates a creamy texture; Notes: Do not use lite coconut milk as it may alter the dip’s consistency.
- Nutritional Yeast – Provides a cheesy flavor without dairy; Notes: Optional but recommended for enhancing the queso flavor.
- Tapioca Flour – Thickens the dip and gives it a cheese-like consistency; Substitution: Potato or arrowroot starch can be used.
For the Seasoning
- Chili Powder – Adds warmth and spice; Notes: Adjust to taste based on spice preference.
- Salt – Enhances overall flavor; Notes: Use kosher salt for cooking and fine sea salt if necessary for garnishing.
- Paprika – Adds smokiness and depth; Notes: Smoked paprika can be substituted for a different flavor profile.
Step‑by‑Step Instructions for Chili Con Queso Dip
Step 1: Brown the Beef and Aromatics
In a large sauté pan over medium heat, add ground beef, chopped onion, and minced garlic. Cook for about 8-10 minutes, stirring frequently until the beef is browned and the onions are translucent. The mixture should be fragrant and sizzling, a sign that the aromas are developing beautifully for your Chili Con Queso Dip.
Step 2: Prepare the Creamy Mixture
While the meat cooks, grab a medium bowl and whisk together the canned full-fat unsweetened coconut milk, tapioca flour, nutritional yeast, chili powder, salt, and paprika. Blend until the mixture is completely smooth and creamy, ensuring there are no lumps. This velvety base will create the luscious texture in your dip.
Step 3: Combine Ingredients in the Pan
Once the beef is cooked through, carefully pour in the diced Rotel tomatoes with green chilies and the creamy coconut mixture into the sauté pan. Stir everything together until well combined. Bring the mixture to a gentle boil over medium-high heat, which will help meld all the flavors for your dip.
Step 4: Simmer for Thickness
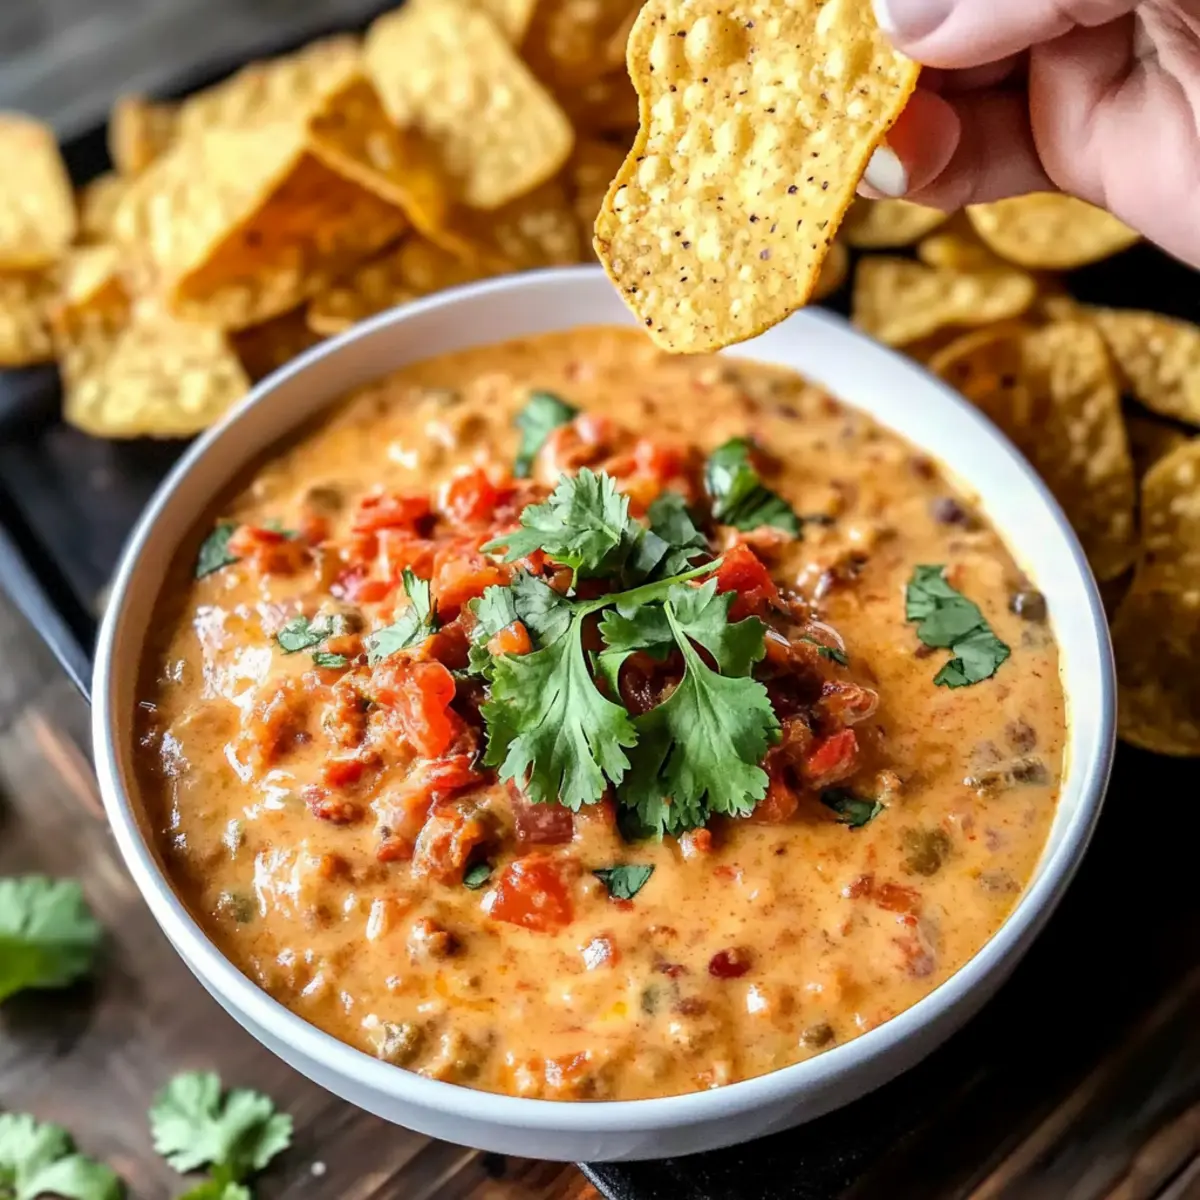
Reduce the heat to low, cover the pan, and let the mixture simmer for about 10-12 minutes. Stir occasionally to prevent sticking, and watch as the dip thickens and bubbles gently. The perfect consistency should be creamy and hearty, ready to be enjoyed warm.
Step 5: Serve and Enjoy
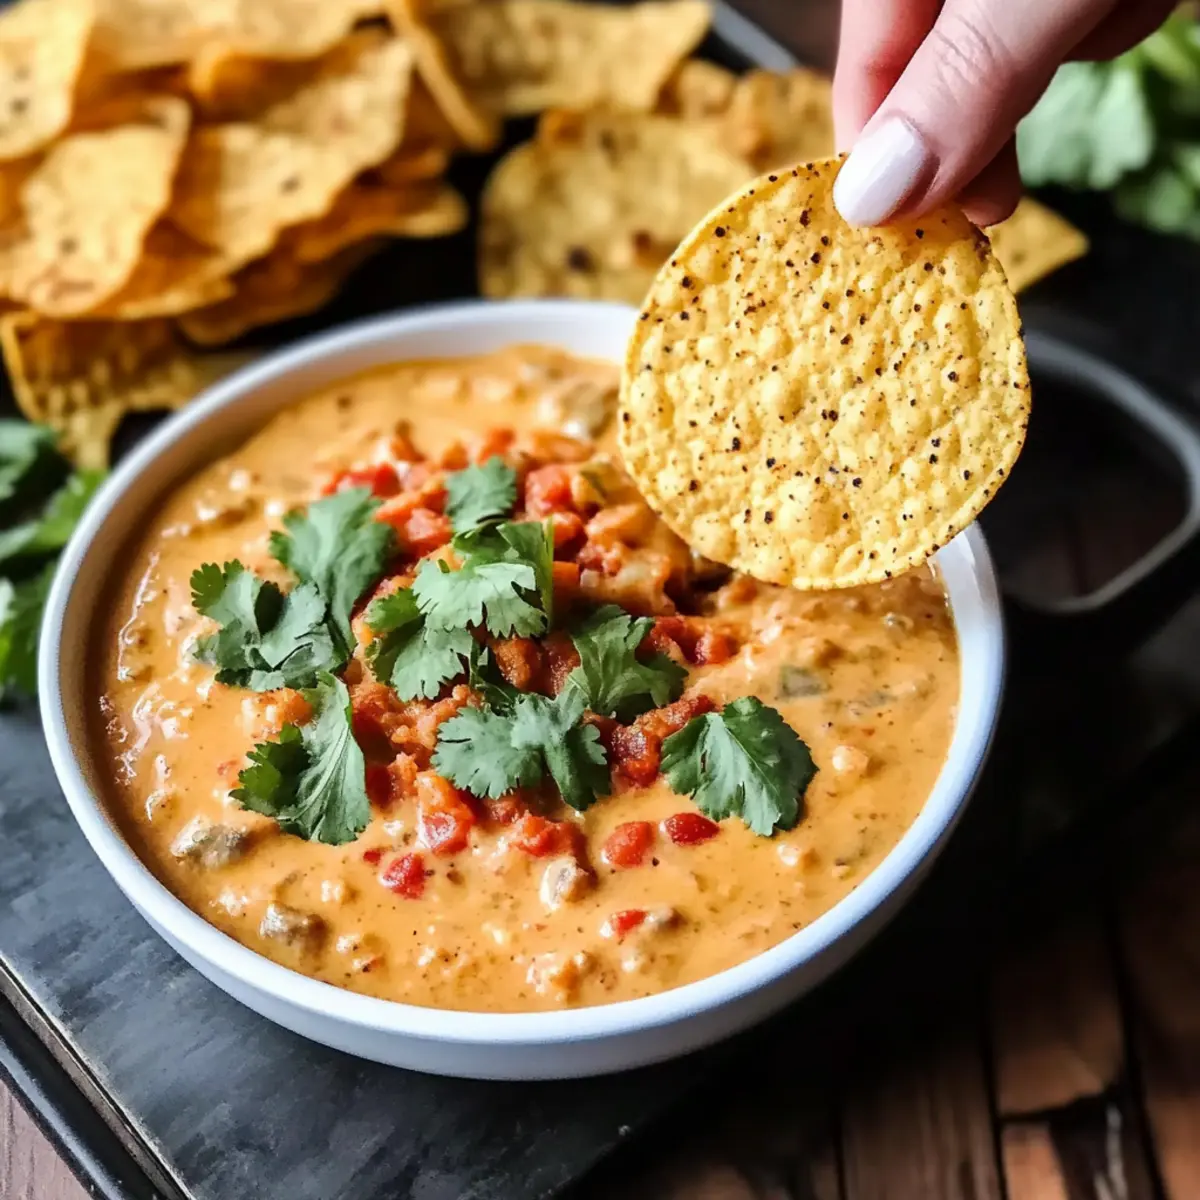
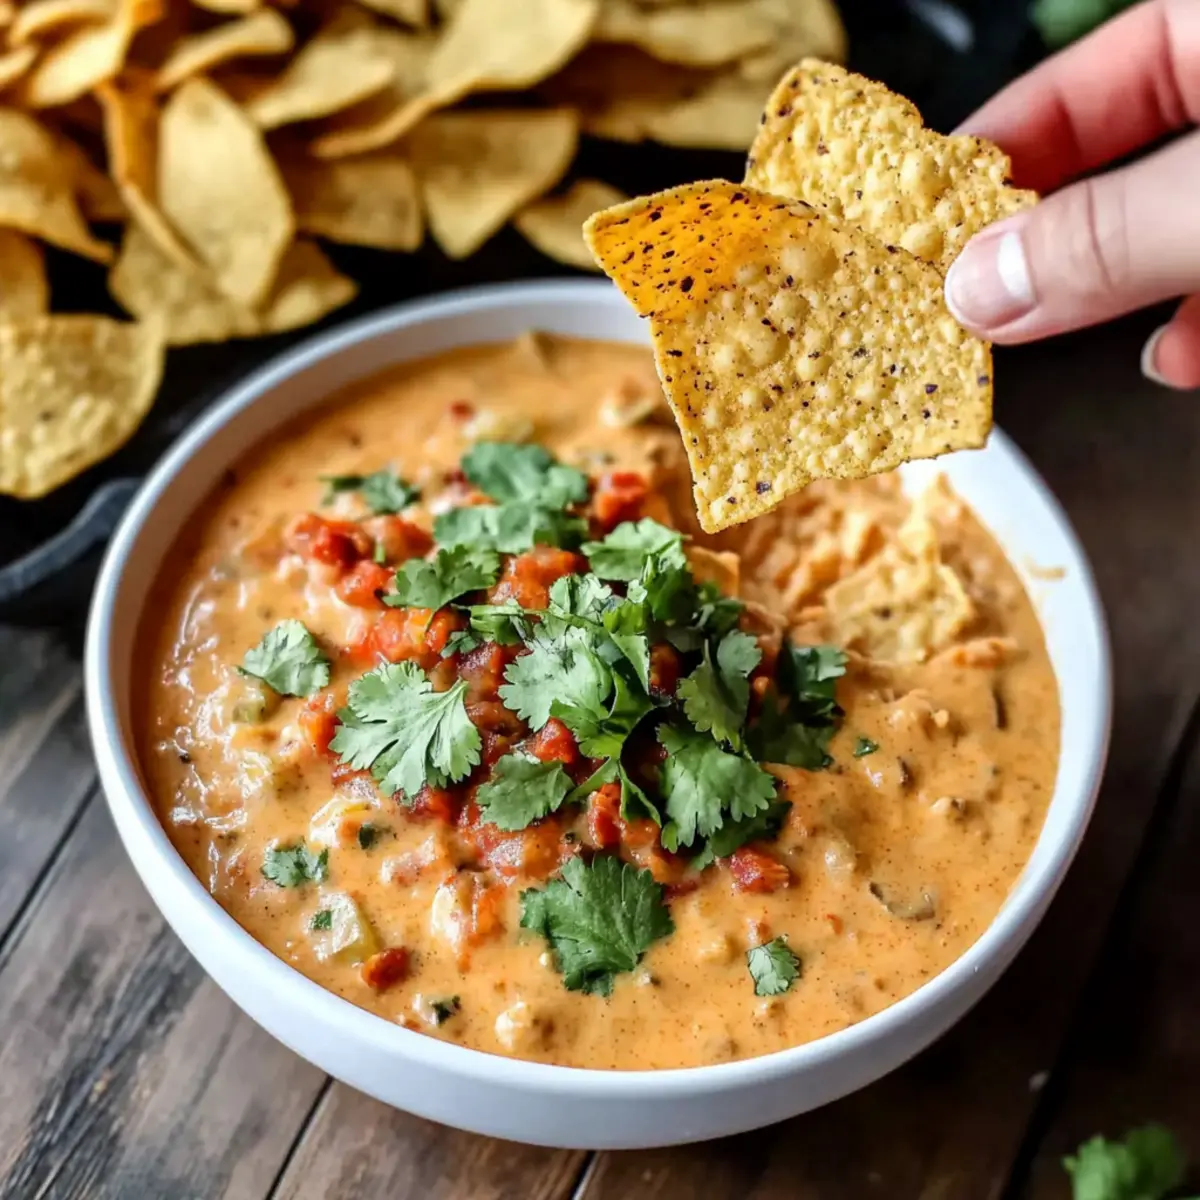
Once thickened, remove the pan from the heat. Serve the Chili Con Queso Dip warm alongside tortilla chips or homemade tostones for dipping. Don’t forget, any leftovers can be stored in an airtight container for up to a week in the fridge or frozen for longer enjoyment!
How to Store and Freeze Chili Con Queso Dip
Fridge: Store leftovers in an airtight container for up to 1 week. Let the dip cool completely before sealing to maintain freshness and flavor.
Freezer: Freeze in an airtight container for up to 3 months. Allow it to cool completely, then label with the date for easy reference.
Reheating: To enjoy your Chili Con Queso Dip after freezing, thaw overnight in the refrigerator. Reheat gently on the stove over low heat, stirring frequently till warmed through, or microwave in short intervals.
Serving: Serve warm for the best taste; if the dip thickens upon reheating, add a splash of coconut milk to restore its creamy texture.
Chili Con Queso Dip Variations
Feel free to get creative and adjust this dip to suit your taste preferences and dietary needs!
-
Vegan Option: Swap ground beef for vegan crumbles or two cans of black beans for a completely plant-based dip.
Updating this classic makes it accessible for everyone while keeping flavors bright and delicious. -
Spicy Kick: Add diced jalapeños or a sprinkle of cayenne pepper for an extra layer of heat.
If you like things fiery, a dash of hot sauce can take your dip to the next level! -
Tropical Twist: Toss in some diced pineapple or mango for a hint of sweetness that complements the spices beautifully.
This unexpected addition will surprise your taste buds and make the dip stand out. -
Creamy Avocado: Blend ripe avocado into the dip for an ultra-creamy texture and added health benefits.
This also enhances the richness, making each bite decadent and smooth, much like my Bacon Alfredo Pizza. -
Herb Infusion: Stir in fresh herbs such as cilantro or parsley right before serving to elevate the flavor profile.
The freshness of the herbs brings a delightful contrast, enhancing the whole dish. -
Thickening Alternative: Use arrowroot starch instead of tapioca flour for a gluten-free thickening option.
This simple substitution ensures the dip remains creamy and satisfying, no matter your dietary preferences. -
Cheesy Delight: If you can include dairy, sprinkle some shredded cheese on top during the last few minutes of cooking for a melty finish.
Even a sprinkle of vegan cheese can add a wonderful cheesy flavor if you’re keeping it dairy-free. -
Loaded Nachos Style: Serve the dip over tortilla chips topped with olives, diced tomatoes, and green onions for an impressive and hearty dish.
This fun approach turns your dip into a full-fledged meal that will please everyone at the table!
What to Serve with Whole30 Chili Con Queso Dip
When it comes to creating a delicious spread, this creamy dip pairs beautifully with an array of flavorful sides that enhance its richness.
-
Tortilla Chips: The classic choice for dipping, crispy tortilla chips contrast perfectly with the creamy texture of the dip, making every bite unforgettable.
-
Plantain Chips: These sweet and salty chips add a unique tropical twist, perfectly balancing the bold flavors of the chili con queso dip.
-
Fresh Veggies: Crunchy carrot sticks, celery, or bell pepper strips not only create a colorful platter but also add freshness and a healthy crunch.
-
Guacamole: Creamy and rich, guacamole complements the zest of the queso while bringing an irresistible avocado richness to the table.
Dive into the rich flavors alongside these paired options, and you’ll create an effortless, enjoyable feast perfect for gatherings or cozy nights in.
-
Baked Sweet Potatoes: Silky and sweet, baked sweet potatoes are a nutritious alternative and are wonderful topped with a scoop of the dip for a filling meal.
-
Sparkling Water with Lime: Refreshing and zesty, this drink cleanses the palate and enhances your enjoyment of the dip’s boldness without overpowering your tastebuds.
Get ready to impress your family and friends with this delightful combo—each bite will have everyone smiling!
Expert Tips for Chili Con Queso Dip
-
Simmer for Flavor: Make sure to let the dip simmer adequately. This helps all the flavors meld together beautifully, creating the perfect Chili Con Queso Dip consistency.
-
Adjust Spice Levels: Don’t hesitate to modify the amount of chili powder based on your preference. If you enjoy it spicy, add more for a kick!
-
Use Fresh Ingredients: Opt for fresh garlic instead of pre-minced for a more robust flavor. Fresh aromatics elevate the entire dish and make a significant difference.
-
Thicken Perfectly: If you prefer an extra thick dip, simply let the mixture simmer a little longer and adjust tapioca flour as needed—it perfects that creamy texture you’re seeking.
-
Creative Add-ins: Feel free to personalize your dip by adding extra ingredients like cooked chorizo, jalapeños, or even a sprinkle of vegan cheese on top for extra indulgence!
-
Storage Smartly: Allow leftovers to cool completely before storing them in an airtight container. Proper storage helps maintain the rich flavors of your Chili Con Queso Dip for later enjoyment.
Make Ahead Options
These Chili Con Queso Dip options save you precious time, making it an ideal choice for busy weeknights! You can prepare the creamy mixture (coconut milk, tapioca flour, nutritional yeast, chili powder, salt, and paprika) up to 24 hours in advance. Simply store it in an airtight container in the refrigerator. You can also brown the ground beef and sauté the onions ahead of time, keeping them in the fridge for up to 3 days. When you’re ready to serve, combine the prepped ingredients with the diced tomatoes in a pan and bring it to a gentle simmer until heated through, ensuring your dip remains just as delicious and creamy. Enjoy effortless entertaining with minimal fuss!
Whole30 Chili Con Queso Dip Recipe FAQs
What type of ground beef should I use for this recipe?
I recommend using lean ground beef for a balanced flavor without too much grease. However, you can also opt for turkey or plant-based crumbles like Beyond Meat for a lighter option.
How should I store leftovers of the Chili Con Queso Dip?
Store your leftover dip in an airtight container in the refrigerator for up to one week. Be sure it’s completely cooled before sealing to preserve its deliciousness and texture.
Can I freeze the Chili Con Queso Dip?
Absolutely! To freeze, allow the dip to cool completely, then pour it into an airtight container. It will keep nicely in the freezer for up to three months. Just remember to label the container with the date for your records!
What should I do if my dip is too thick after reheating?
If you find your dip has thickened too much, simply add a splash of coconut milk while gently stirring over low heat. Keep doing this until you achieve the desired creamy consistency—it’s a quick fix that works wonders!
Can I adjust the spice level of the dip?
Very! You can easily modify the amount of chili powder based on your family’s preferences. If you like it spicier, feel free to add more chili powder or fresh jalapeños. And if you prefer it milder, reduce the amount to suit your taste.
Is this recipe suitable for allergies?
Yes, this Whole30 Chili Con Queso Dip is allergen-friendly! It’s dairy-free, nut-free, and gluten-free. However, always double-check the ingredients in your specific brands to ensure they’re safe for those with allergies.
Chili Con Queso Dip: Creamy, Dairy-Free Indulgence
Ingredients
Equipment
Method
- In a large sauté pan over medium heat, add ground beef, chopped onion, and minced garlic. Cook for about 8-10 minutes, stirring frequently until the beef is browned and the onions are translucent.
- While the meat cooks, grab a medium bowl and whisk together the canned full-fat unsweetened coconut milk, tapioca flour, nutritional yeast, chili powder, salt, and paprika until completely smooth and creamy.
- Once the beef is cooked through, pour in the diced Rotel tomatoes with green chilies and the creamy coconut mixture into the sauté pan. Stir everything together until well combined. Bring the mixture to a gentle boil over medium-high heat.
- Reduce the heat to low, cover the pan, and let the mixture simmer for about 10-12 minutes, stirring occasionally to prevent sticking.
- Once thickened, remove the pan from the heat. Serve the Chili Con Queso Dip warm alongside tortilla chips or homemade tostones for dipping.
Leave a Reply