
On busy weeknights, I often find myself longing for something comforting yet uncomplicated to whip up. Enter my Braised White Beans with Garlic and Arugula—a dazzling Italian side dish that delivers both delight and nutrition without the fuss. In just 30 minutes, you’ll discover creamy white beans braised to perfection and enlivened by the peppery freshness of arugula. This dish is not only a time-saver but also a healthy option that’s naturally gluten-free and vegetarian, making it a fantastic choice for everyone at the table. Whether you’re pairing it with grilled lamb or enjoying it on its own, the vibrant flavors and hearty texture will leave you wondering how something so simple could be so satisfying. What will you serve alongside this wholesome delight?
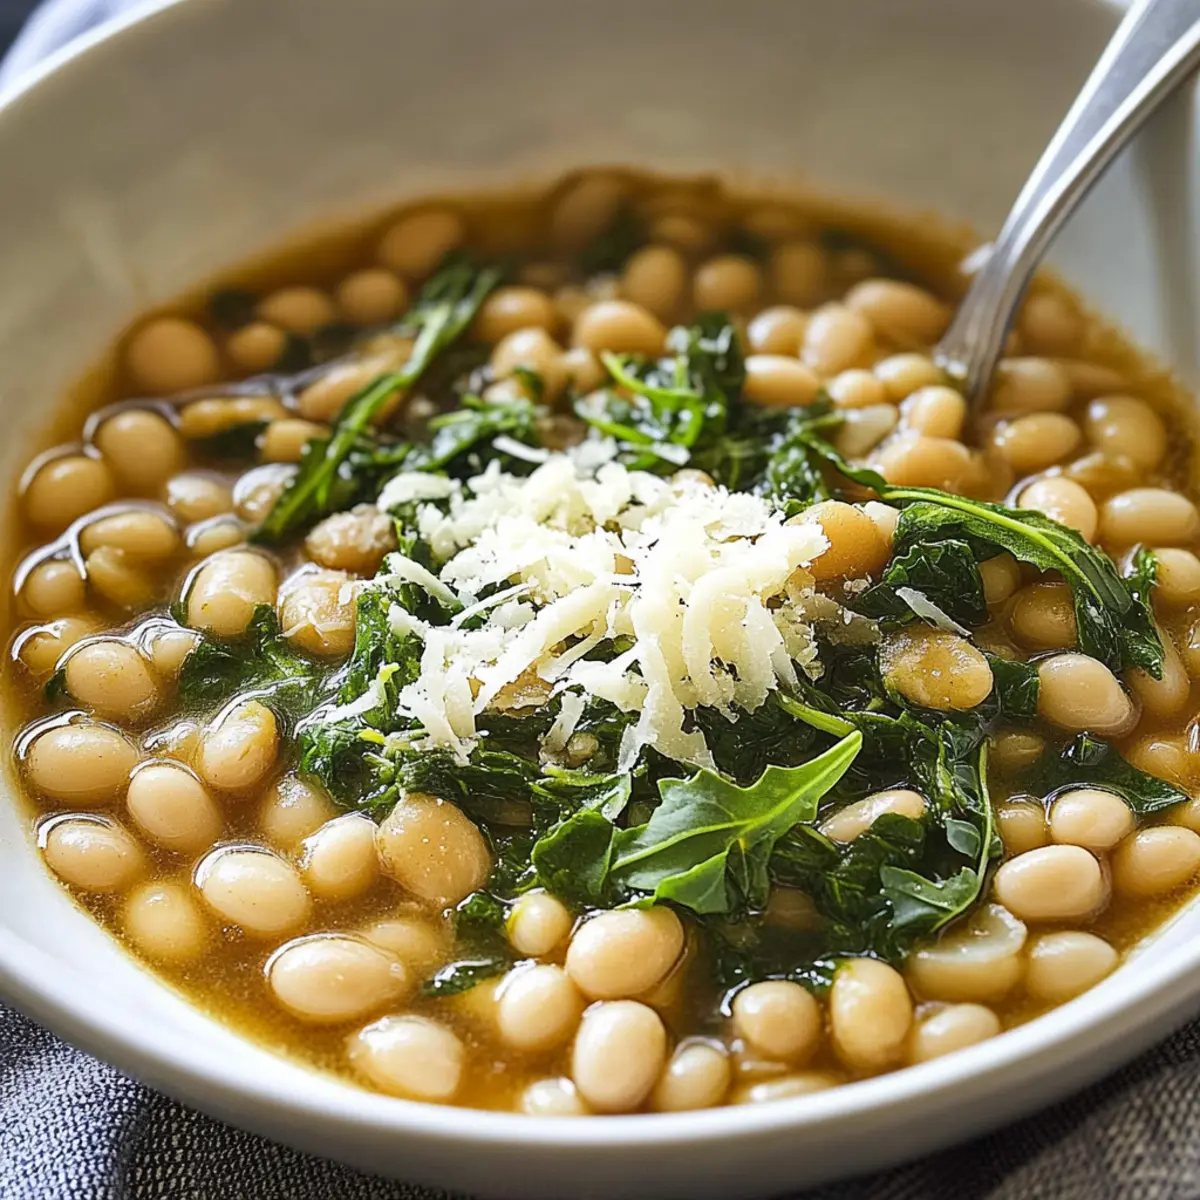
Why Is This Recipe a Must-Try?
Quick and Easy: This dish comes together in just 30 minutes, making it your go-to on busy weeknights.
Nutrient-Packed: Packed with fiber and protein, these Braised White Beans with Garlic and Arugula are a healthy addition to any meal.
Flavor Explosion: Rich garlic flavors meld beautifully with the peppery bite of arugula, creating a taste sensation.
Versatile Pairing: Perfect as a side with grilled meats like lamb or beef, or enjoy it on its own for a light, nutritious meal.
Budget-Friendly: Using canned beans provides convenience without breaking the bank—perfect for those who want delicious meals without a hefty price tag.
Crowd-Pleasing: This dish is sure to impress at gatherings, striking the right balance between comfort and elegance.
Braised White Beans with Garlic and Arugula Ingredients
For the Base
• Olive Oil – Adds richness and ensures even cooking; replace with bacon fat for a smoky note.
• Garlic – Provides aromatic depth; always use fresh, minced garlic for that authentic flavor.
• Kosher Salt – Enhances overall flavor; adjust according to taste, especially if using different meats or broths.
• Tomato Paste – Contributes umami and subtle sweetness; in a pinch, you can swap with tomato sauce but reduce the liquid.
• White Beans – The star of the dish; small white beans or cannellini work best. Choose canned for convenience or dried for more control.
For the Liquid
• Chicken Stock – Provides moisture and flavor; go for low-sodium versions to manage saltiness.
• Bay Leaf – Infuses subtle herbal notes during cooking; remember to remove it before serving.
For the Fresh Element
• Young Arugula – Adds a fresh, peppery contrast; can replace with spinach or kale for varied flavors.
These Braised White Beans with Garlic and Arugula will not only satisfy your taste buds but also elevate your mealtime experience with their delightful blend of ingredients.
Step‑by‑Step Instructions for Braised White Beans with Garlic and Arugula
Step 1: Heat the Oil and Sauté Garlic
In a large saucepan, heat 2 tablespoons of olive oil over medium-low heat. Once the oil shimmers, add 4 cloves of minced garlic and a pinch of kosher salt. Sauté for about 1-2 minutes, stirring frequently, until the garlic is fragrant but not browned, ensuring a crisp, aromatic base for your Braised White Beans with Garlic and Arugula.
Step 2: Incorporate Tomato Paste
Next, stir in 2 tablespoons of tomato paste into the pan, cooking for an additional 30 seconds. You’ll know it’s ready when the color deepens and the paste becomes fragrant. This step adds a rich layer of flavor, enhancing the overall profile of your dish as you prepare the base for the beans.
Step 3: Add Beans and Stock
Now, introduce 3 cups of drained white beans and 1 cup of chicken stock into the saucepan. Remember to add a bay leaf for subtle herbal notes. Increase the heat to bring the mixture to a gentle simmer, ensuring everything is well combined. As the liquid bubbles away, it will start to blend beautifully with your earlier additions.
Step 4: Braise the Beans
Let the beans braise in the simmering liquid for about 20 minutes. Stir occasionally to prevent sticking, and maintain a saucy consistency by adding more chicken stock if needed. The beans will become tender and absorb the flavors, showcasing the essence of the Braised White Beans with Garlic and Arugula.
Step 5: Add Arugula and Final Touches
After 20 minutes, fold in 4 cups of chopped young arugula. Cook until the arugula wilts, which should take around 5 minutes. You’ll see the vibrant greens soften and meld into the dish. Before serving, don’t forget to remove the bay leaf, allowing the flavors to shine in your comforting side dish.
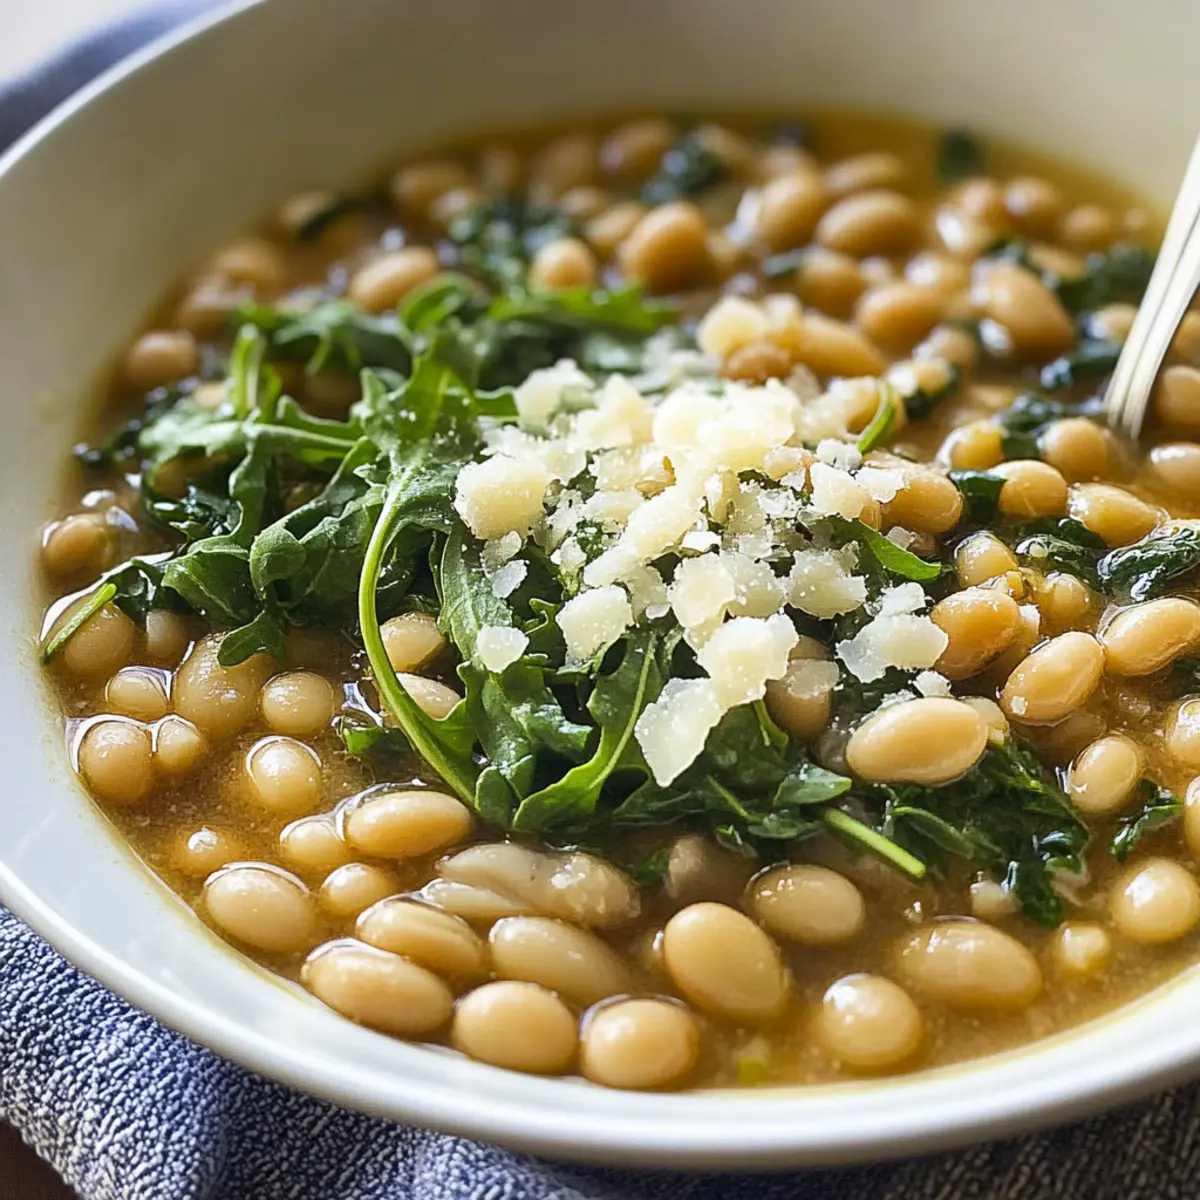
What to Serve with Braised White Beans with Garlic and Arugula
Enhance your dining experience by thoughtfully pairing your beans with complementary flavors and textures.
-
Grilled Lamb Chops: The rich, meaty flavor of lamb beautifully contrasts with the creamy beans, creating a satisfying and hearty meal.
-
Roasted Chicken: Juicy, herb-seasoned chicken adds a crispy layer to the soft beans, offering a delightful combination of textures.
-
Garlic Bread: Crispy, buttery garlic bread is perfect for scooping up the beans, ensuring no delicious sauce goes uneaten.
-
Simple Arugula Salad: A light, lemony arugula salad enhances the peppery notes of the beans while adding a refreshing lift to the meal.
-
Steamed Broccoli: Mild steamed broccoli balances the robust flavors of the beans with its gentle crunch, adding a lovely green element to your plate.
-
Light Red Wine: An Italian Chianti or Pinot Noir matches wonderfully with the dish’s bold flavors, elevating your dining experience.
-
Creamy Polenta: Offering a warm, comforting element, creamy polenta complements the garlicky richness of the beans, turning your meal into a cozy feast.
Storage Tips for Braised White Beans with Garlic and Arugula
- Fridge: Leftovers can be stored in an airtight container in the refrigerator for up to 3 days. If it seems dry, add a splash of chicken stock before reheating.
- Freezer: For longer storage, freeze the Braised White Beans with Garlic and Arugula in a sealed freezer bag for up to 3 months. Thaw overnight in the fridge before reheating.
- Reheating: Reheat gently on the stove over low heat, adding a bit of water or stock to maintain moisture. Enjoy the comforting flavors all over again!
- Room Temperature: It’s best to avoid keeping leftovers at room temperature for more than 2 hours to ensure food safety.
Make Ahead Options
These Braised White Beans with Garlic and Arugula are a fantastic choice for meal prep! You can prepare the entire base, including sautéing the garlic and adding the tomato paste, up to 24 hours in advance. Simply refrigerate it in an airtight container. The white beans can also be cooked ahead and stored alongside the base for up to 3 days. To maintain quality, avoid adding the arugula until you’re ready to serve, as it wilts quickly. When it’s time to enjoy your dish, just reheat the beans and base mixture gently on the stove, incorporating the fresh arugula just before serving. You’ll have a delicious, time-saving side dish ready in no time!
Braised White Beans with Garlic and Arugula Variations
Feel free to enhance this dish with some creative touches that cater to your taste and dietary preferences!
- Dairy-Free: Swap chicken stock for vegetable broth and omit any cheese toppings to keep it entirely plant-based.
- Spicy Kick: Add a pinch of red pepper flakes or a diced jalapeño while sautéing garlic for a delightful heat element.
- Herb-Infused: Experiment by tossing in fresh herbs like thyme or rosemary during the braising process for an aromatic twist. These herbs will infuse the beans with a fragrant essence that complements the garlic beautifully.
- Crispy Texture: Top your dish with toasted breadcrumbs or fried shallots for an added crunch. This textural contrast will elevate each bite and make it extra special!
- Nutty Flavor: Stir in toasted pine nuts or walnuts just before serving for a rich, nutty flavor. This adds depth and a satisfying crunch that beautifully complements the soft beans.
- Zesty Finish: Drizzle with fresh lemon juice or sprinkle some zest on top before serving for a bright and refreshing pop. The citrus notes will awaken the entire dish!
- Hearty Additions: Mix in sautéed mushrooms or zucchini for a heartier version, creating a filling meal that stands on its own. The earthy flavors will harmonize well with the beans.
- Tropical Twist: For a unique flavor experience, incorporate diced mango or pineapple for a sweet contrast, allowing a touch of tropical brightness to shine through in every forkful.
For more inspiration on delicious side dishes, you might also enjoy the comforting flavors in my Garlic Butter Steak or the hearty warmth of Inspired Herb Beef. Happy cooking!
Expert Tips for Braised White Beans with Garlic and Arugula
-
Choose Quality Beans: Opt for low-sodium canned white beans to keep it healthy without compromising flavor. Dried beans can be prepared ahead for better control over texture.
-
Garlic Care: Prevent bitterness by sautéing garlic gently. Keep an eye on it—once it’s fragrant, it’s time to add the tomato paste!
-
Adjust Arugula Amount: The pepperiness can vary; taste and adjust the amount of arugula you add according to your preference or replace with spinach for a milder flavor.
-
Maintain Sauce Consistency: If your beans look too dry during braising, add a splash more chicken stock. This will ensure your Braised White Beans with Garlic and Arugula stays pleasingly saucy.
-
Experiment with Substitutes: Feel free to swap white beans for pinto or buttery beans, or try adding a splash of balsamic vinegar for an extra flavor kick.
-
Serve Warm: For the best experience, serve this dish warm, right after cooking. It enhances the flavors and makes every bite comforting and satisfying!
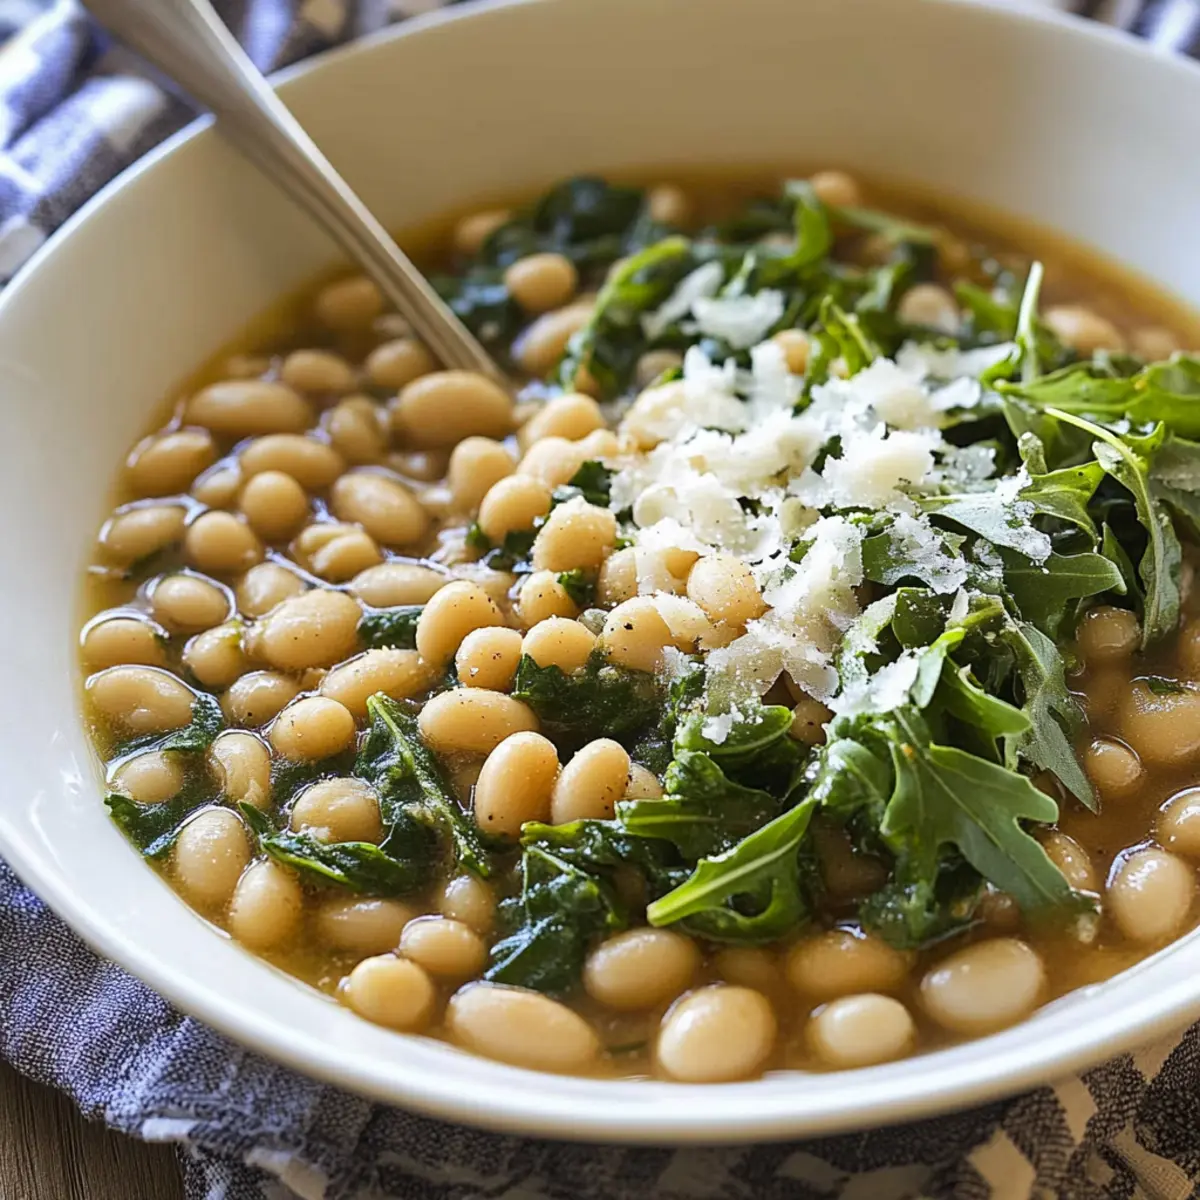
Braised White Beans with Garlic and Arugula Recipe FAQs
How do I choose the right white beans?
Absolutely! For the best results, choose small white beans or cannellini beans. If you’re opting for canned beans, go for low-sodium varieties to keep your dish healthy. When using dried beans, soak them overnight and then cook according to package instructions for the ideal texture.
What’s the best way to store leftovers?
Leftovers can be stored in an airtight container in the refrigerator for up to 3 days. If you notice the beans seem a bit dry when reheating, just add a splash of chicken stock to maintain that creamy texture.
Can I freeze Braised White Beans with Garlic and Arugula?
Yes, the Braised White Beans with Garlic and Arugula can be frozen! Transfer them into a sealed freezer bag, removing as much air as possible, and they’ll keep well for up to 3 months. To reheat, thaw overnight in the fridge, then warm gently on the stovetop, adding a bit of stock to restore moisture.
I’m concerned about the garlic burning. Any tips?
Very good point! Garlic can easily become bitter if overcooked. Keep your heat on medium-low when sautéing, and stir it frequently. After about 1-2 minutes of cooking, once it’s fragrant but not browned, it’s time to proceed with the tomato paste to avoid any bitterness.
Can this dish accommodate dietary restrictions?
Absolutely! This recipe is naturally gluten-free and vegetarian, making it a great choice for a variety of diets. Just be sure to use a vegetable stock instead of chicken stock if you’re catering to vegetarians or vegans. Additionally, if someone has a bean allergy, consider incorporating lentils or quinoa for a protein-rich alternative.
How do I know when the arugula is ready?
The more, the merrier! Add the arugula in the last few minutes of cooking, and it should only take about 5 minutes to wilt. You’ll see it change color and soften, which means it’s ready to serve, bringing that fresh, peppery flavor to the dish!
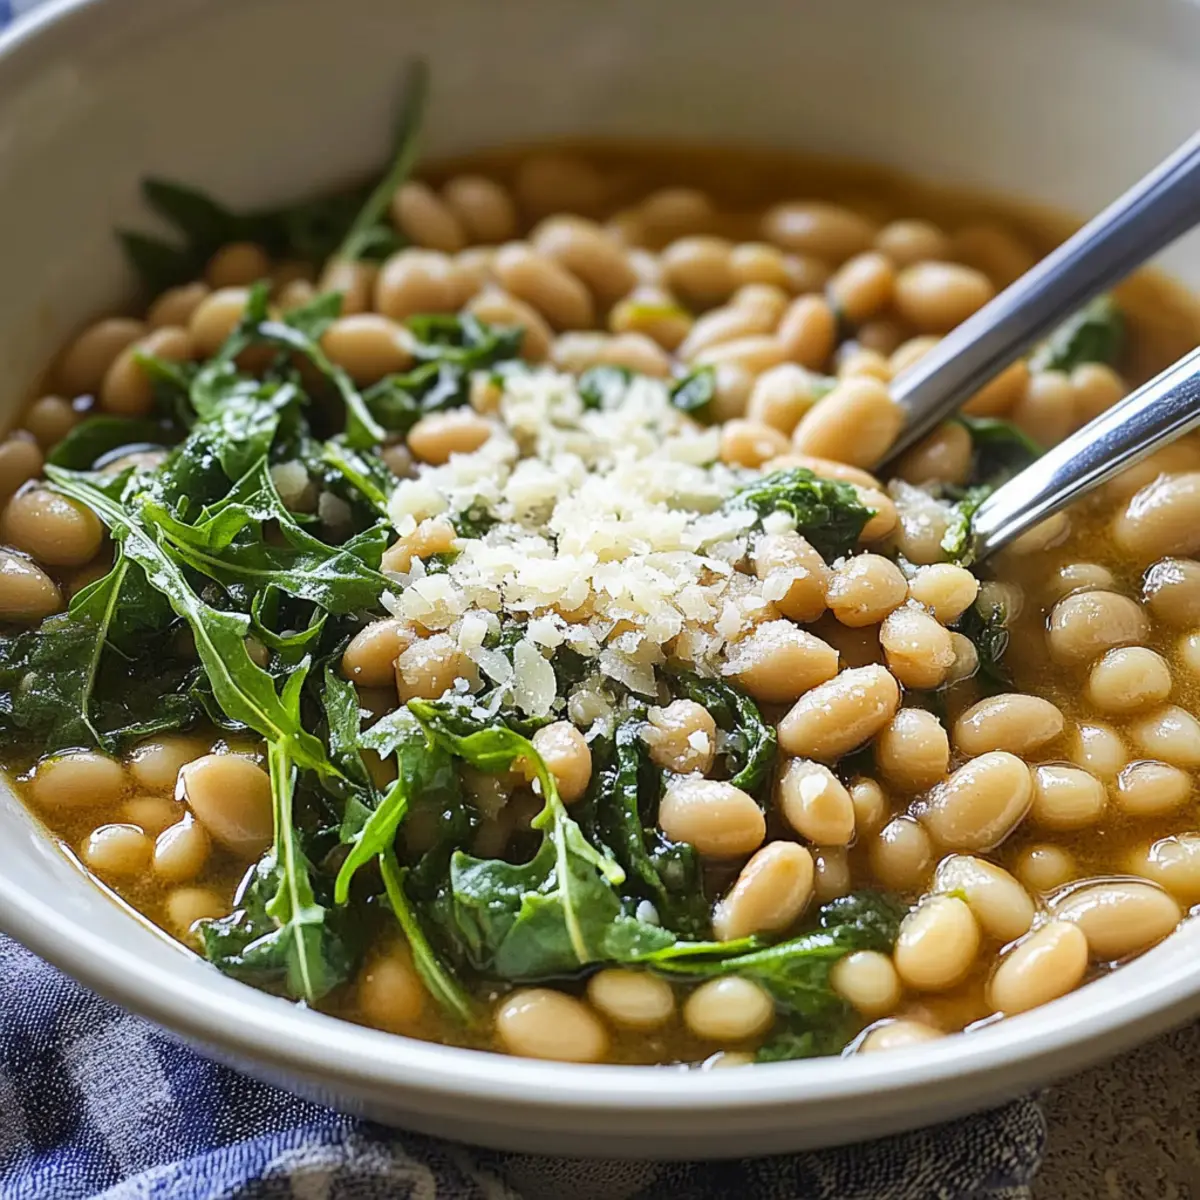
Braised White Beans with Garlic and Arugula: A Flavorful Delight
Ingredients
Equipment
Method
- In a large saucepan, heat olive oil over medium-low heat. Add minced garlic and a pinch of kosher salt, sauté for 1-2 minutes until fragrant.
- Stir in tomato paste and cook for an additional 30 seconds until the color deepens.
- Add drained white beans and chicken stock to the saucepan, along with the bay leaf. Bring to a gentle simmer.
- Let the beans braise in the simmering liquid for about 20 minutes, stirring occasionally. Add more chicken stock if needed.
- Fold in chopped young arugula and cook until wilted, about 5 minutes. Remove the bay leaf before serving.
Leave a Reply