
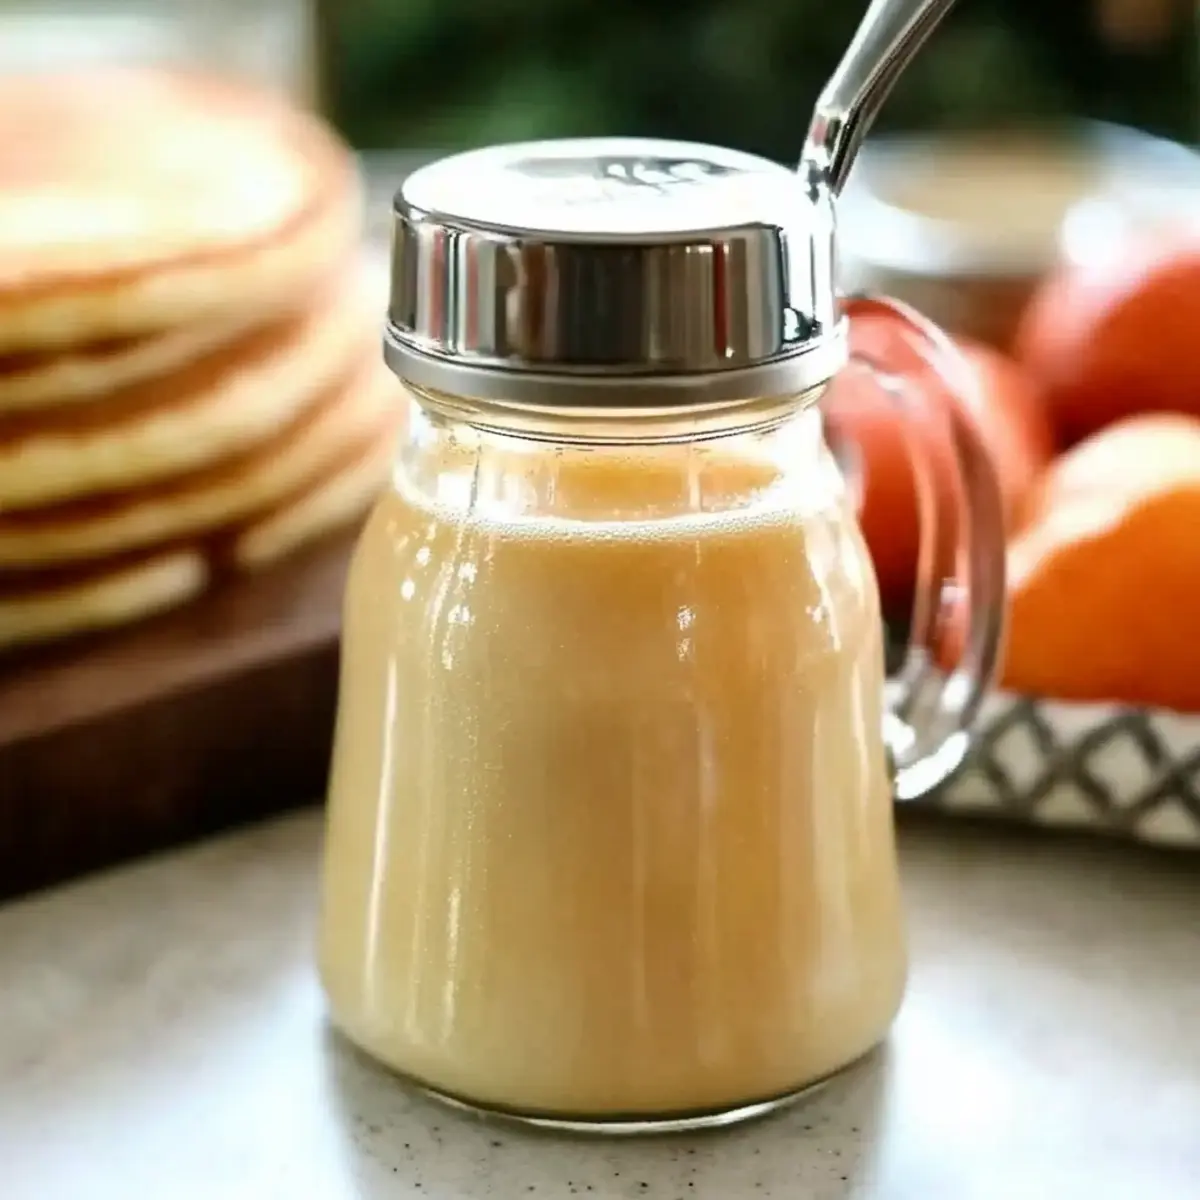
As the rich aroma of melting butter wafts through my kitchen, I can’t help but feel a wave of excitement. This Creamy Homemade Blonde Butter Syrup is a delightful twist on your average breakfast topping, turning ordinary pancakes and waffles into a gourmet experience. With just three easy ingredients, this syrup is a perfect addition whether you’re hosting a lavish brunch or enjoying a cozy morning at home. Plus, it’s a breeze to whip up, making it a fantastic choice for those busy mornings when you still want to savor something homemade. Curious about how such simplicity can lead to mouthwatering results? Let’s dive into the creation of this luscious syrup that’s bound to elevate your breakfast game!
Why Choose Blonde Butter Syrup?
Simplicity at Its Peak: With only three ingredients, you can craft this syrup in no time, making it perfect for those busy mornings.
Irresistibly Creamy: The combination of butter and evaporated milk creates a silky texture that elevates every bite.
Versatile Delight: Whether drizzled over pancakes, waffles, or even ice cream, this syrup adapts to your cravings.
Make-Ahead Magic: Prep it in advance and store it in the fridge for up to 10 days, ensuring you always have a tasty topping ready!
Unique Flavor Profile: Using brown sugar can deepen the flavor, giving your traditional breakfast a twist.
Try it today and discover a new favorite breakfast topping! If you’re a fan of homemade delights, don’t forget to check out my recipes for Garlic Butter Honey or Garlic Butter Steak for more delicious ideas!
Blonde Butter Syrup Ingredients
For the Syrup
• Butter – This provides richness and creaminess; choosing unsalted allows for better flavor control.
• Granulated Sugar – Essential for sweetness and thickness; brown sugar can be used for deeper caramel notes.
• Evaporated Milk – Adds a silky, creamy texture; opt for low-fat or dairy-free alternatives for a lighter option.
Indulge in this easy syrup made from just three ingredients, and transform your breakfasts into gourmet experiences!
Step‑by‑Step Instructions for Blonde Butter Syrup
Step 1: Melt Butter
In a small saucepan, place your unsalted butter over low heat on the stove. Stir gently as the butter melts, taking care to avoid browning it. You want the butter to melt completely, becoming clear and golden in color, which should take about 3 to 5 minutes. This step sets the foundation for your creamy Blonde Butter Syrup.
Step 2: Heat Milk
While the butter is melting, take a large microwaveable measuring cup and pour in the evaporated milk. Place it in the microwave, heating on high for about 60 seconds, or until it just begins to bubble. Keep an eye on it to prevent overflow, as you need that hot milk to help dissolve the sugar in the next step.
Step 3: Combine Sugar and Milk
Once the evaporated milk is hot, quickly add in the granulated sugar. Whisk vigorously for about a minute until the sugar is mostly dissolved. The mixture should be warm and slightly frothy, with no visible sugar granules, as this will help create a smooth Blonde Butter Syrup with no clumps.
Step 4: Mix with Butter
Carefully pour the hot sugar-milk mixture into the saucepan containing the melted butter. As you do this, whisk continuously over medium-high heat, creating a unified blend. This combination enhances the syrup’s creaminess and richness. Keep whisking until the mixture is fully incorporated and smooth.
Step 5: Cook to Thicken
Allow the mixture to come to a gentle boil while whisking. You’ll notice that it begins to thicken after a few minutes. Keep an eye on it and whisk constantly to prevent it from caramelizing or sticking to the bottom of the pan. Once thickened to your liking, which should take about 5-7 minutes, promptly remove from heat.
Step 6: Cool and Store
Let the Blonde Butter Syrup cool for a few minutes in the saucepan before transferring it to an airtight container. It will thicken even more as it cools. Store the syrup in the refrigerator for up to 10 days, warming it in the microwave for about 1 minute before drizzling over your favorite breakfast items.
Make Ahead Options
These Creamy Homemade Blonde Butter Syrups are perfect for meal prep enthusiasts! You can make the syrup up to 10 days in advance by fully preparing it and storing it in an airtight container in the refrigerator. To maintain its luscious quality, allow the syrup to cool slightly before transferring it to the container—this helps prevent condensation. When you’re ready to enjoy, simply reheat the syrup in the microwave for about 1 minute until warm, giving it a quick whisk to ensure even consistency. With this make-ahead option, you can save precious time during busy mornings while still indulging in the delightful taste of homemade Blonde Butter Syrup!
Tips for the Best Blonde Butter Syrup
-
Whisk Vigorously: Ensure you whisk vigorously after adding sugar to prevent any clumping, resulting in a smooth syrup.
-
Monitor Heating: Always heat the evaporated milk just until it bubbles to avoid overflow—trust me, it can get messy!
-
Avoid Overcooking: When thickening, stir constantly and remove the syrup from heat as soon as it reaches the desired thickness to prevent unwanted caramelization.
-
Storage Solutions: Store any leftover Blonde Butter Syrup in an airtight container; it can last up to 10 days in the fridge and can be reheated easily!
-
Experiment with Flavors: Don’t hesitate to try different sugars, such as brown sugar, for a unique twist on the classic flavor profile!
Blonde Butter Syrup Variations & Substitutions
Want to add a personal touch to your Blonde Butter Syrup? Here are some fun ways to customize your syrup for unforgettable breakfasts!
-
Brown Sugar: Replace granulated sugar with brown sugar for a richer, caramel-like flavor. This swap enhances the depth and warmth of the syrup, making it even more luxurious.
-
Vanilla Infusion: Stir in a teaspoon of vanilla extract for a sweet, aromatic twist. The warm hints of vanilla complement the buttery richness beautifully, creating a delightful experience with every drizzle.
-
Maple Syrup Addition: Mix in a tablespoon of pure maple syrup for an extra layer of flavor. This adds a delightful complexity that elevates your pancakes or waffles to a whole new level.
-
Cinnamon Spice: A pinch of ground cinnamon can bring warmth and a hint of spice to your syrup. This subtle addition will awaken your senses and make your breakfasts feel even more special.
-
Dairy-Free Option: Use coconut milk or almond milk instead of evaporated milk to create a dairy-free Blonde Butter Syrup. This not only changes the flavor but also makes it accessible for those with dietary restrictions.
-
Salted Caramel Twist: Sprinkle a touch of sea salt after cooking for a salted caramel effect. This balance of sweet and salty will have you reaching for seconds, drizzled over everything from waffles to ice cream.
-
Chili Heat: If you love spice, add a pinch of cayenne pepper to the mixture. This unexpected kick will create a unique contrast that brings excitement to your breakfast table.
Feel free to experiment with these variations that will only enhance your homemade Blonde Butter Syrup! If you’re craving more homemade delights, be sure to check out my recipe for French Onion Butter or indulge in the rich flavors of Malted Peanut Butter for more inspiration!
What to Serve with Creamy Homemade Blonde Butter Syrup?
Transform your breakfast experience with delightful companions that bring out the richness of this creamy syrup.
-
Fluffy Pancakes: Light and airy pancakes provide the perfect canvas for the luscious syrup, creating a melt-in-your-mouth texture.
-
Golden Waffles: Their crispy edges contrast beautifully with the smooth syrup, offering a delightful crunch in every buttery drizzle.
-
French Toast: The custardy goodness of French toast pairs beautifully with the syrup, making for a warm and comforting breakfast treat.
-
Fresh Berries: Juicy strawberries or tart blueberries add a burst of freshness, balancing the syrup’s richness while enhancing the overall flavor profile.
-
Cinnamon Rolls: Warm, gooey cinnamon rolls become an indulgent delight when drizzled with Blonde Butter Syrup, turning your brunch into a luxurious feast.
-
Ice Cream: For a sweet twist, pour the syrup over vanilla ice cream for a delicious dessert that brings breakfast flavors to new heights.
-
Coffee or Latte: A warm cup of coffee or a creamy latte complements the syrup’s sweetness, enhancing your morning routine with a cozy touch.
-
Savory Bacon or Sausage: The salty crunch of bacon or savory sausage offers a delightful contrast to the sweet syrup, making for a satisfying breakfast spread.
-
Chai Tea: Enjoy a comforting cup of chai tea alongside your syrup-laden treats, where the spices beautifully harmonize with the buttery richness.
-
Homemade Biscuits: Freshly baked biscuits soak up the syrup perfectly, providing a flaky and satisfying texture that rounds out your breakfast experience.
Storage Tips for Blonde Butter Syrup
Fridge: Store your Blonde Butter Syrup in an airtight container for up to 10 days. This keeps it fresh and flavorful for your next sweet treat.
Freezer: If you’ve made more syrup than you can use, freeze it in an ice cube tray. Once solid, transfer the cubes to a freezer bag, and they’ll last up to 3 months!
Reheating: To enjoy your syrup again, simply remove it from the fridge or freezer. Microwave it for about 1 minute, stirring occasionally, until it reaches your desired consistency.
Avoid Moisture: Always ensure the container is sealed tightly to prevent moisture from affecting the syrup’s smooth texture during storage.
Blonde Butter Syrup Recipe FAQs
What type of butter should I use for Blonde Butter Syrup?
For the best results, I recommend using unsalted butter. This allows you to have complete control over the saltiness and flavor of your syrup, ensuring that the creamy richness shines without any competing tastes.
How should I store leftover Blonde Butter Syrup?
Store your Blonde Butter Syrup in an airtight container in the refrigerator for up to 10 days. This keeps it fresh and ready for your next breakfast treat! Just make sure it’s completely cooled before sealing to avoid condensation.
Can I freeze Blonde Butter Syrup?
Absolutely! If you have any extra syrup, pour it into an ice cube tray, allowing it to freeze completely. Once frozen, transfer the cubes to a freezer bag—this way, you can enjoy your syrup for up to 3 months! When ready to use, simply microwave a cube for about 30-60 seconds, then stir until smooth.
What adjustments can I make for dietary restrictions?
If you’re looking for a lighter version, you can substitute low-fat evaporated milk. For a dairy-free alternative, almond or coconut milk can work, though this may change the texture slightly. Additionally, if you have sugar allergies, consider using a sugar substitute that measures cup-for-cup.
How can I avoid clumping in my Blonde Butter Syrup?
To prevent clumping, be sure to whisk vigorously after adding the sugar to the hot evaporated milk. This step is crucial for dissolving the sugar fully. If the syrup does clump a bit, don’t worry! Just whisk it thoroughly once more when heating to help smooth it out.
Why did my Blonde Butter Syrup turn too dark?
If your syrup has darkened too much, it may have cooked for too long after reaching a boil. Be vigilant while cooking: constantly whisk until it thickens, and remove it from heat immediately once you see the desired consistency to maintain that beautiful light color.
Blonde Butter Syrup: Creamy Delight for Your Breakfast Treats
Ingredients
Equipment
Method
- Melt butter in a small saucepan over low heat, stirring gently to avoid browning, for about 3 to 5 minutes.
- In a large microwaveable measuring cup, heat evaporated milk on high for about 60 seconds until it bubbles.
- Add granulated sugar to the hot milk and whisk vigorously for about a minute until mostly dissolved.
- Pour the sugar-milk mixture into the melted butter while whisking continuously over medium-high heat until smooth.
- Bring the mixture to a gentle boil, whisking constantly for 5-7 minutes until thickened to your liking.
- Cool the syrup in the saucepan for a few minutes before transferring it to an airtight container for storage.
Leave a Reply