
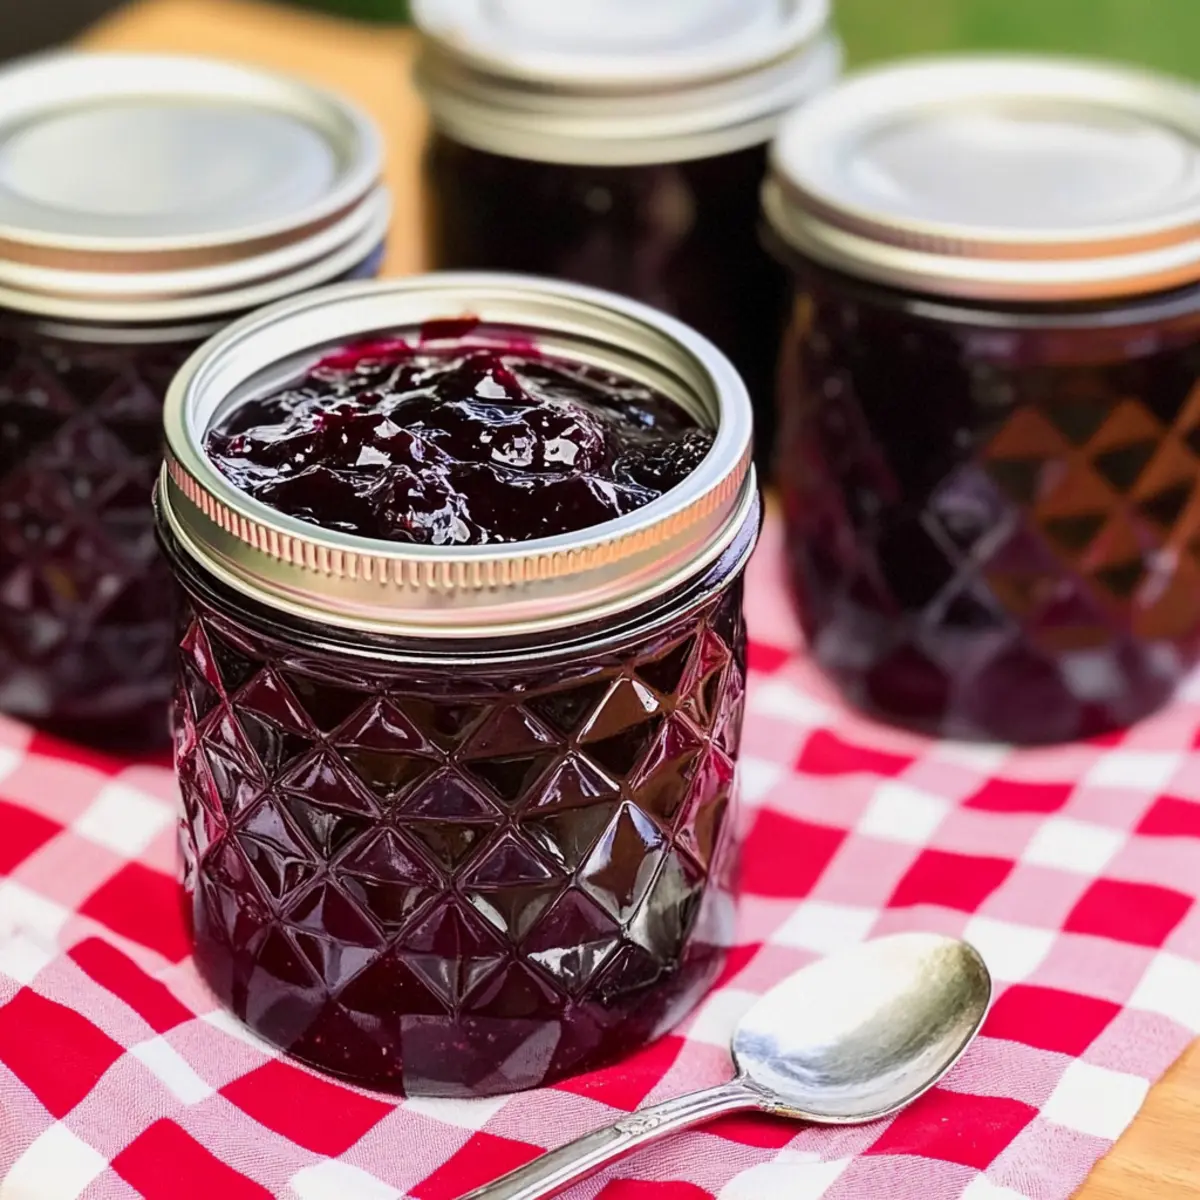
As I rummaged through my pantry the other day, a jar of homemade blackberry jam caught my eye—a sweet reminder of summer’s bounty tucked away for colder months. This Easy Blackberry Jam Recipe is not only a celebration of fresh blackberries but also a testament to the joys of homemade spreads. With just a handful of ingredients and a simple process that takes less than an hour, you can create a delightful treat that is both freezer-friendly and perfect for sharing. Whether you prefer the traditional version or the seedless twist, this recipe captures the essence of flavorful fruit in a way that store-bought jams simply can’t match. Are you ready to fill your kitchen with the irresistible aroma of simmering berries? Let’s dive in!
Why is homemade blackberry jam the best?
Simplicity: This Easy Blackberry Jam Recipe requires minimal ingredients and less than an hour of your time, making it an ideal weekend project.
Rich Flavor: The ripe blackberries deliver a burst of fruity goodness that store-bought versions can’t replicate, offering a perfect blend of sweetness and tartness.
Versatility: Spread it on toast, drizzle over pancakes, or use it as a filling for pastries. It’s a tasty complement to any meal!
Seedless Option: Not a fan of those pesky seeds? You can easily enjoy a creamy, smooth texture by opting for the seedless version.
Crowd-Pleasing: Share your homemade jam with friends and family, or package it nicely as a heartfelt gift. They’ll appreciate your effort and the delicious treat.
For more delightful spreads, check out my Shortcake Cinnamon Rolls you can pair with this jam!
Blackberry Jam Recipe Ingredients
• Get ready to create a delicious spread!
For the Jam Base
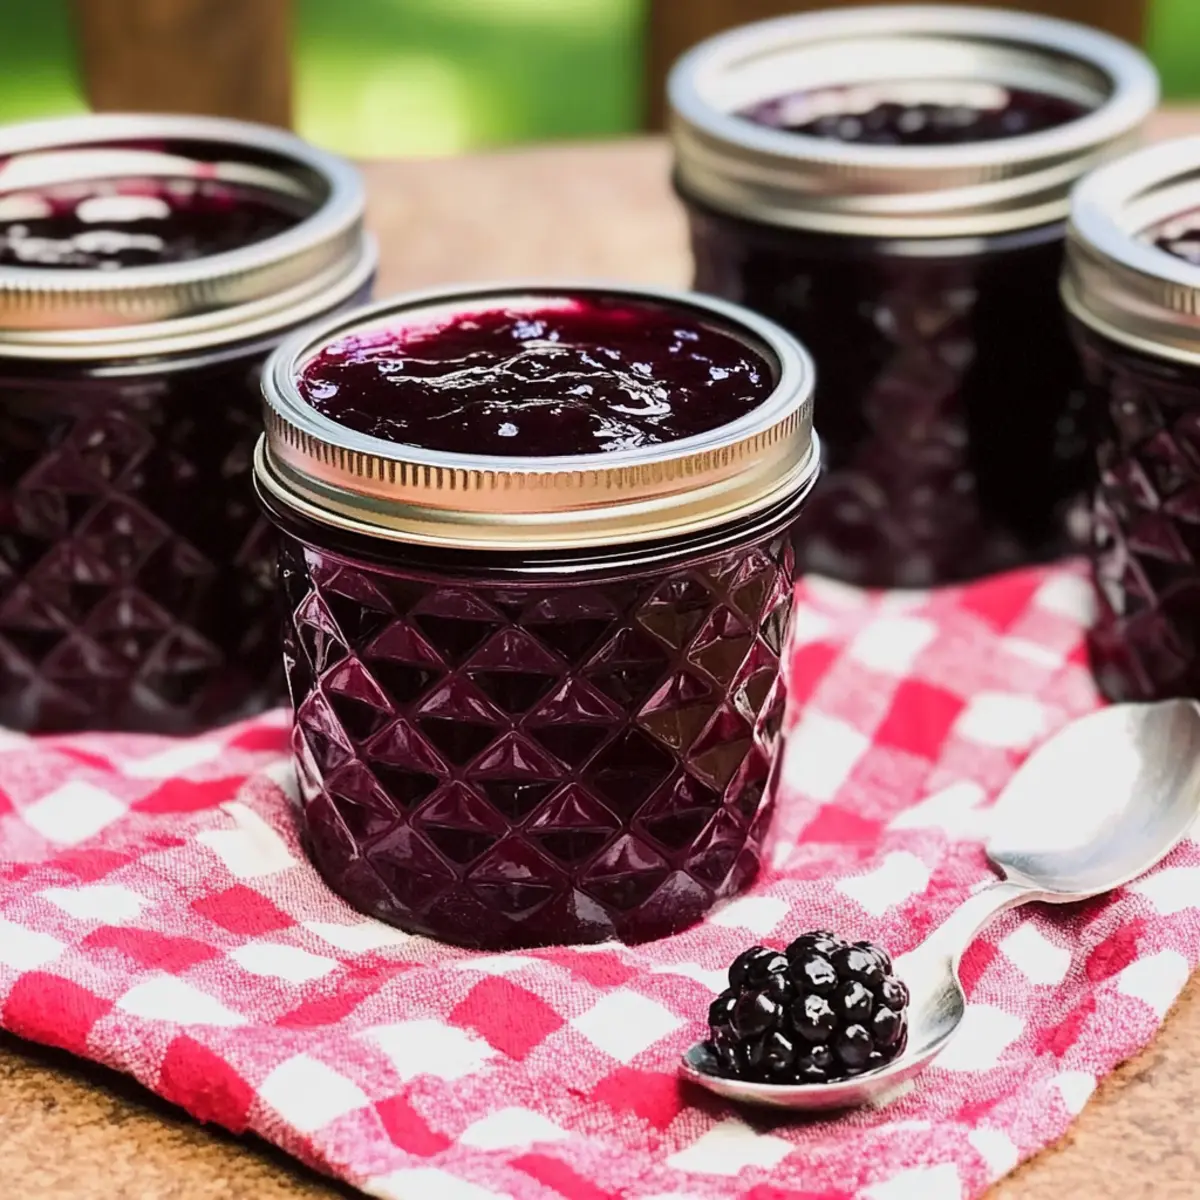
- Fresh or Frozen Blackberries – These provide the essential fruity flavor and texture; fresh or slightly under-ripe berries are ideal, but frozen works too if thawed first.
- Apple Cider Vinegar (ACV) or Lemon Juice – This adds a tart kick to balance the sweetness; either bottled or freshly squeezed juice will do.
- Granulated Sugar – A must for sweetness and thickening the jam; adjust between 4 to 8 cups based on your preference for flavors.
- Pectin – This ingredient thickens the jam; you may use traditional pectin or opt for a no-sugar alternative.
For the Seedless Version (Optional)
- Strainer – Use this handy tool to remove seeds for a smooth consistency, perfect for those who prefer a seedless blackberry jam.
Feel free to mix it up and enjoy your Blackberry Jam Recipe with your favorite dishes!
Step‑by‑Step Instructions for Easy Blackberry Jam Recipe
Step 1: Prepare Your Ingredients
Begin by thoroughly washing your fresh or frozen blackberries under cool water, ensuring any dirt or debris is removed. If using frozen berries, allow them to thaw completely before use. While the berries are drying, clean and sterilize your jars and lids in hot, soapy water; this is essential for safe canning. If you’re canning, prepare your water bath canner by filling it with water and starting to heat it on the stove.
Step 2: Cook the Blackberries
In a large pot, combine the prepared blackberries over medium-low heat. Allow them to simmer for about 10 minutes, occasionally mashing with a stick blender or potato masher to break down the fruit. As the berries cook, they’ll soften and release their juices, creating a vibrant mixture that captures the essence of your Easy Blackberry Jam.
Step 3: Add ACV or Lemon Juice
Once the berries are softened, stir in ¼ cup of apple cider vinegar or lemon juice. This acidic ingredient adds brightness and balances the sweetness of your jam. Continue mashing the mixture lightly to incorporate the acid thoroughly. Allow this mixture to cook for another 5 minutes, maintaining the medium-low heat while the flavors meld together.
Step 4: Simmer the Mixture
Continue cooking the blackberries for an additional 5-10 minutes to allow the juices to further develop and thicken slightly. You’ll know it’s ready when you see the berries break down completely and the mixture becomes slightly syrupy. Keep an eye on it to prevent sticking; stir occasionally to keep everything cooking evenly for your delicious Easy Blackberry Jam.
Step 5: Strain for Seedless Option
If you prefer a smooth, seedless jam, now is the time to strain your mixture. Pour the blackberry mixture into a fine-mesh strainer set over a bowl. Use a spatula or spoon to press down on the solids, extracting as much juice as possible while leaving the seeds behind. This will yield a velvety texture that is perfect for your spread.
Step 6: Combine Ingredients
Measure out 8 cups of the blackberry juice (or adjusted amount if you prefer to use less). Pour it back into the large pot and gradually add in 4 to 8 cups of granulated sugar, depending on your desired sweetness. Stir constantly over medium heat until the sugar has dissolved completely, creating a luscious base for your Easy Blackberry Jam.
Step 7: Bring to a Boil
Increase the heat to high, bringing the mixture to a rolling boil that cannot be stirred down. Once boiling, add in the pectin according to the package instructions, stirring continuously for another minute. This rapid cooking helps ensure your jam will set properly, creating the perfect spread for your toast or pastries.
Step 8: Test the Consistency
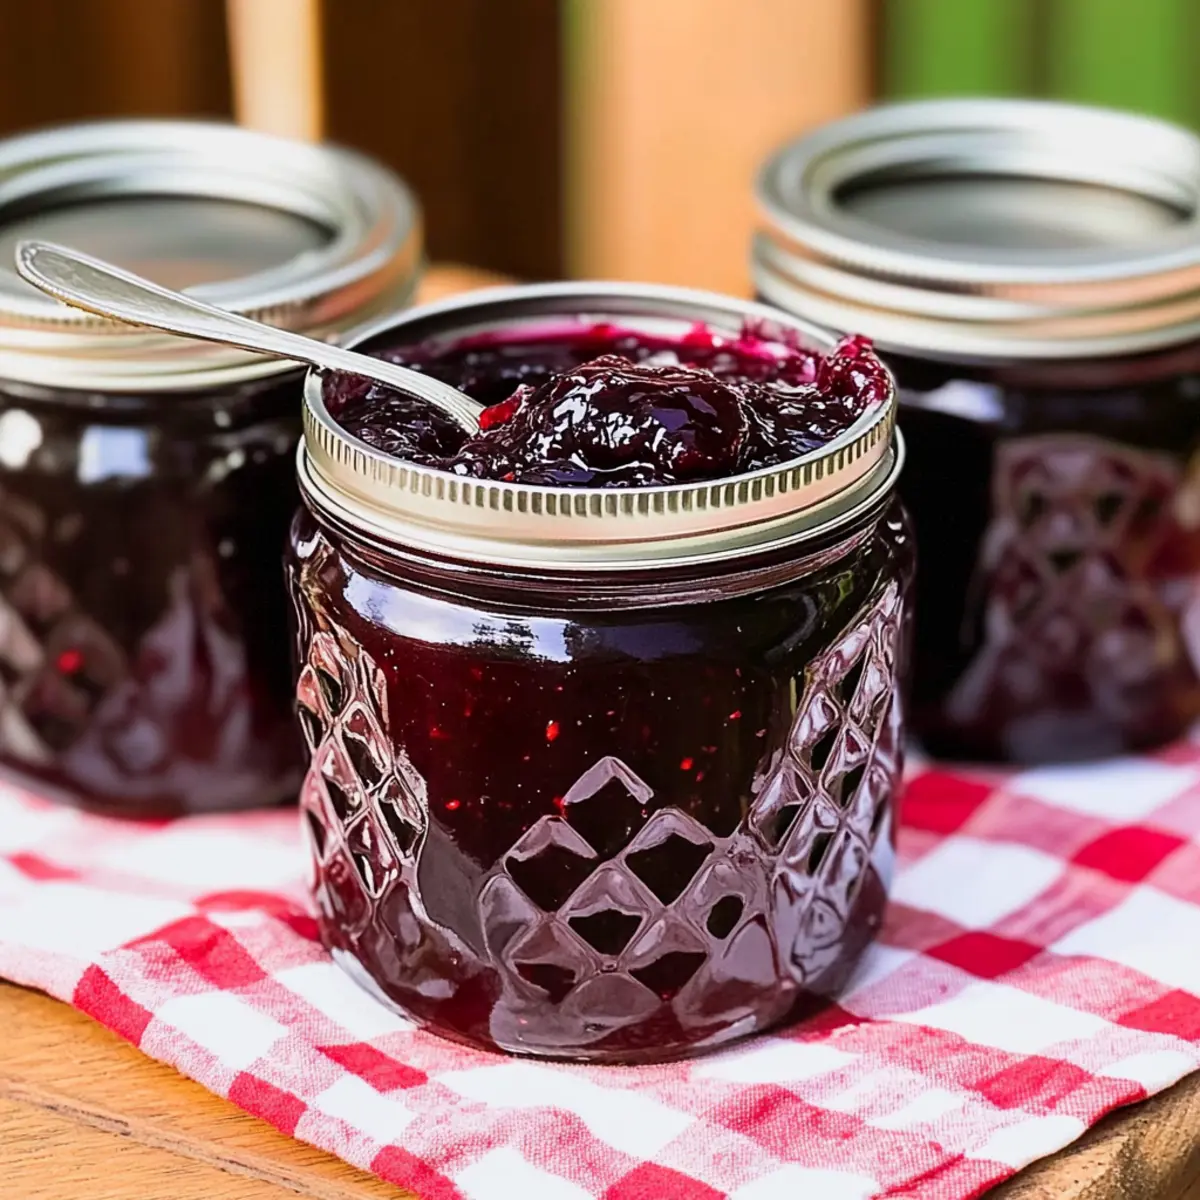
To check the jam’s consistency, spoon a small amount onto a cold plate and let it sit for a moment. Run your finger through the jam; if it holds its shape and wrinkles slightly, it’s ready. If not, boil for an additional minute, and test again. This step is crucial for achieving the right texture for your Easy Blackberry Jam.
Step 9: Jar the Jam
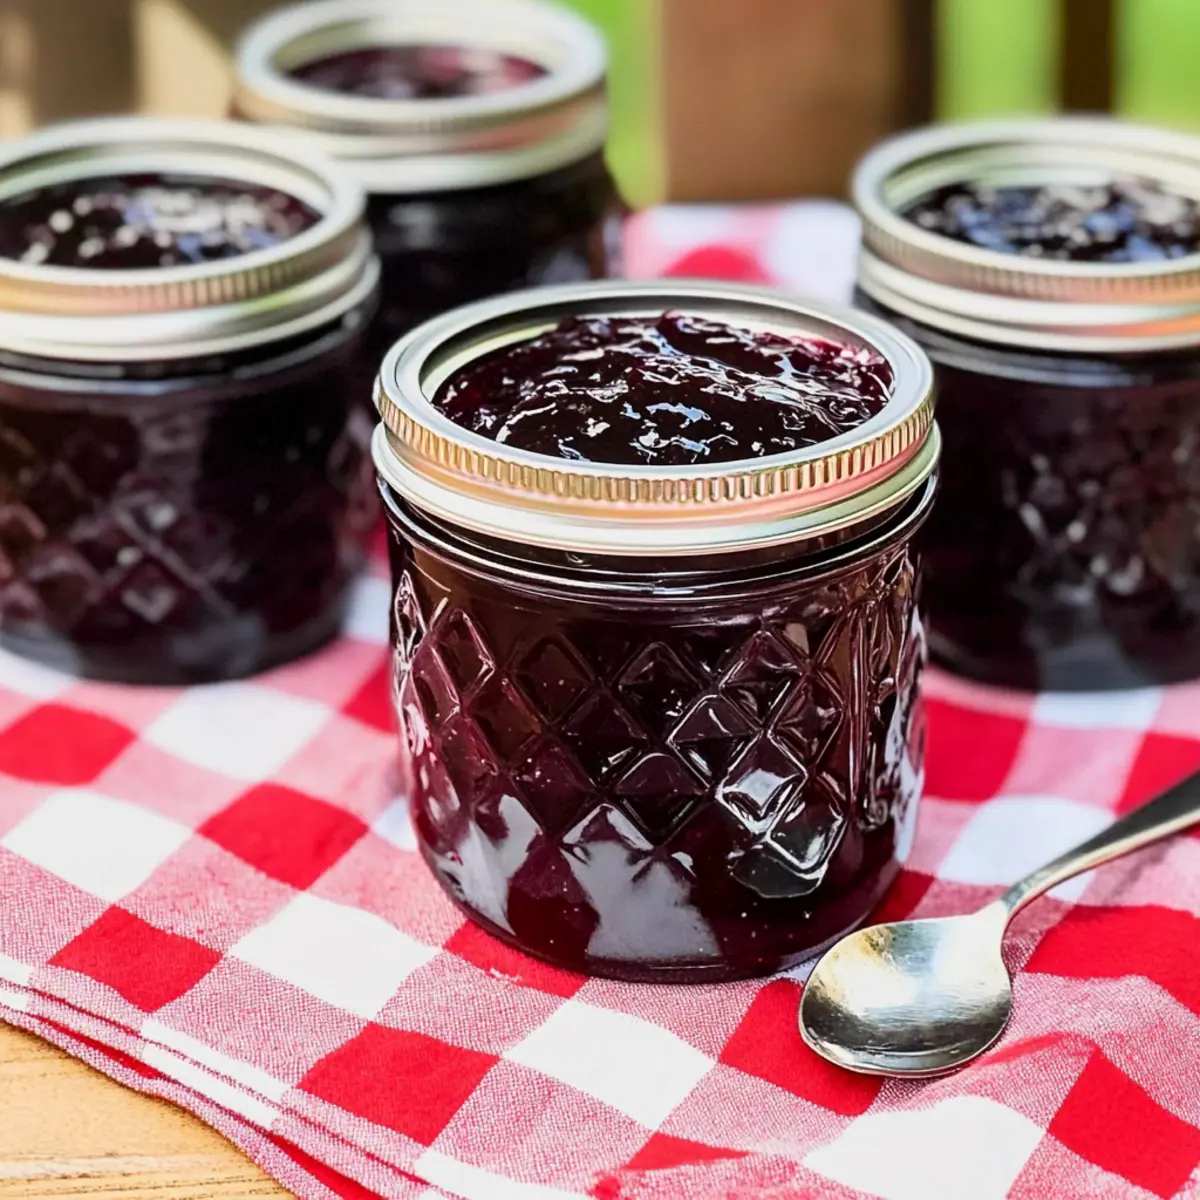
Using a funnel, carefully ladle your hot blackberry jam into the sterilized jars, leaving about ¼ inch of headspace at the top. Wipe the rims of the jars to remove any residue that could prevent a proper seal. Immediately place the sterilized lids on top and secure tightly; this ensures freshness for your homemade jam.
Step 10: Preserve Your Jam
If canning, process the filled jars in your boiling water bath for 10 minutes to ensure they seal properly. If opting for freezer storage, let the jam cool completely before transferring it to freezer-safe containers. Your Easy Blackberry Jam is now ready to enjoy or gift, preserving the tastes of summer for months to come!
What to Serve with Easy Blackberry Jam
There’s something magical about transforming morning rituals into delightful experiences with the right accompaniments.
- Toast with Cream Cheese: The creamy texture balances the tartness of the jam, making breakfast feel indulgent.
- Fluffy Pancakes: Drizzle warm blackberry jam atop pancakes for a sweet and zesty start to your day.
- Yogurt Parfaits: Layer yogurt, granola, and blackberry jam for a refreshing and nutritious treat that’s perfect for brunch.
- Cheddar Biscuits: The sharp flavor of cheddar paired with sweet jam creates a delectable contrast that’s hard to resist.
- Pound Cake Slices: A simple slice of pound cake with a dollop of jam turns an ordinary dessert into a berry-infused delight.
- Oatmeal Bowl: Stir in a spoonful of blackberry jam to warm oatmeal, adding vibrant flavor to your morning routine.
For a drink, consider pairing it with Earl Grey Tea, whose floral notes complement the fruitiness beautifully. Enjoy your meals with a touch of homemade charm!
Blackberry Jam Recipe Variations
Elevate your homemade jam experience with these delightful twists that will unleash your creativity in the kitchen.
-
Mixed Berry Medley: Combine blackberries with raspberries or strawberries to create a vibrant, mixed berry jam that bursts with flavor. The combination adds a refreshing twist that enhances the original recipe!
-
Honey Sweetened: Swap out granulated sugar for honey or maple syrup to lend a rich, natural sweetness to your jam. This method brings a unique depth of flavor that elevates every spoonful.
-
Spicy Kick: Add a pinch of cayenne pepper or crushed red pepper flakes for a surprising heat that adds excitement to your jam. This little twist is perfect for those who enjoy contrasting sweet with spicy!
-
Cinnamon Infusion: Incorporate a teaspoon of cinnamon to give your homemade jam a warm, cozy flavor profile. This classic spice complements the blackberries beautifully, creating a nostalgic taste.
-
Minty Freshness: Stir in a tablespoon of finely chopped fresh mint after cooking for an invigorating herbal note. Mint and blackberry are a delightful combination that feels refreshing in every bite.
-
Lemon Zest: Grate a bit of fresh lemon zest into your jam for a bright, citrusy boost that balances the sweet and tart flavors perfectly. This is especially delightful if you’re using the traditional recipe.
-
Seedless Version: If you prefer a smoother texture, strain your cooked mixture through a fine mesh sieve to eliminate the seeds. This makes for a silky, seedless blackberry jam that’s perfect for spreads!
Explore these variations and discover a new favorite take on this timeless classic. For even more recipe inspiration, try pairing your jam with my delightful Shortcake Cinnamon Rolls or savor it alongside a hearty dish like Jamaican Curry Chicken!
How to Store and Freeze Blackberry Jam
Fridge: Store your homemade blackberry jam in the refrigerator for up to 3 weeks. Ensure the jar is tightly sealed to maintain flavor and freshness.
Freezer: For longer storage, place the jam in airtight freezer-safe containers. It can be kept in the freezer for up to a year, ready to enjoy at a moment’s notice.
Canning: If you opt for canning, store sealed jars in a cool, dry place for up to 1 year. Always check seals before use to ensure safety.
Reheating: When ready to enjoy, simply spoon out the desired amount and heat gently on the stovetop or in the microwave until warm, stirring to restore the texture of your homemade blackberry jam.
Make Ahead Options
These Easy Blackberry Jam recipes are perfect for busy home cooks looking to save time! You can prepare your blackberries by washing and mashing them up to 24 hours in advance, storing the mixture in an airtight container in the refrigerator to maintain freshness. This helps the flavors meld beautifully, enhancing the final product. Additionally, you can measure out the sugar and pectin ahead of time for a quick assembly before cooking. When you’re ready to finish making the jam, simply combine the prepped ingredients, bring to a boil, test for consistency, and jar it up. Your homemade blackberry jam will be just as delicious as if it were made fresh that day!
Expert Tips for Easy Blackberry Jam
-
Taste As You Go: Always sample the blackberry mixture as you add sugar to find the perfect sweetness level tailored to your palate.
-
Seal Check: For canning, wipe the rim of jars before sealing to ensure a clean seal; check seals after 24 hours for safety in your homemade blackberry jam.
-
Adjust for Altitude: Remember that processing time varies at different altitudes; adjust accordingly so your jam sets perfectly every time you make this recipe.
-
Choose the Right Berries: Use fresh or slightly under-ripe blackberries for the best flavor; if opting for frozen, allow them to thaw before cooking to avoid excess water.
-
Experiment with Flavors: Don’t hesitate to add spices like cinnamon or vanilla during cooking for a unique twist on your blackberry jam recipe!
Easy Blackberry Jam Recipe FAQs
How do I choose the best blackberries for this recipe?
Absolutely! Opt for fresh or slightly under-ripe blackberries for the best flavor. They should be plump, firm, and shiny, without any dark spots. If using frozen blackberries, ensure they are thawed and drained to prevent too much excess liquid in your jam.
What’s the best way to store homemade blackberry jam?
Homemade blackberry jam can be stored in the refrigerator for up to 3 weeks in a tightly sealed jar. For longer storage, use freezer-safe containers, where it can last up to a year. If you decide to can, keep sealed jars in a cool, dry place for up to 1 year. Always check the seals after 24 hours.
Can I freeze the blackberry jam? How do I do it?
Yes, you can freeze your blackberry jam! First, let it cool completely after making. Then, pour the jam into airtight freezer-safe containers, leaving about an inch of headspace to allow for expansion. Seal tightly and label with the date; your jam will be good for up to a year. When ready to use, thaw it in the refrigerator overnight.
What can I do if my jam doesn’t set properly?
If your jam doesn’t set, don’t worry! First, ensure you followed the recipe accurately, especially with the pectin. You can reboil the jam, adding a little more pectin if necessary. To do this, pour the jam back into a pot, bring it to a boil, and simmer for about 5 minutes while stirring constantly. Make sure to test the consistency again to ensure it thickens.
Is this blackberry jam safe for pets?
It’s best to keep this blackberry jam away from pets, especially dogs. While blackberries are generally safe for dogs in small quantities, the sugar content in the jam can be harmful. Additionally, the pectin may upset their stomachs. Always consult your veterinarian if you’re considering sharing any home-cooked foods with your furry friends.
Can I make this recipe with other berries?
The more the merrier! Yes, absolutely, you can replace blackberries with other berries like raspberries or strawberries for a delightful mixed berry jam. Just keep the same ratios and adjust the sweetness based on the sweetness of the other fruits used. Enjoy experimenting with flavors!
Homemade Blackberry Jam Recipe for Irresistible Spreads
Ingredients
Equipment
Method
- Wash blackberries under cool water; if using frozen berries, thaw them completely.
- Combine blackberries in a large pot over medium-low heat and simmer for about 10 minutes, mashing occasionally.
- Stir in apple cider vinegar or lemon juice and continue mashing. Cook for another 5 minutes.
- Simmer for an additional 5-10 minutes until the mixture thickens and becomes syrupy.
- Strain the mixture if you prefer a seedless jam.
- Measure out blackberry juice and gradually add sugar, stirring constantly until dissolved.
- Bring the mixture to a rolling boil and add pectin, stirring continuously for one minute.
- Check the consistency by spooning onto a cold plate; if ready, proceed to jar.
- Ladle jam into sterilized jars, leaving 1/4 inch headspace, and seal tightly.
- Process jars in boiling water bath for 10 minutes or cool completely for freezer storage.
Leave a Reply