Go Back
+ servings
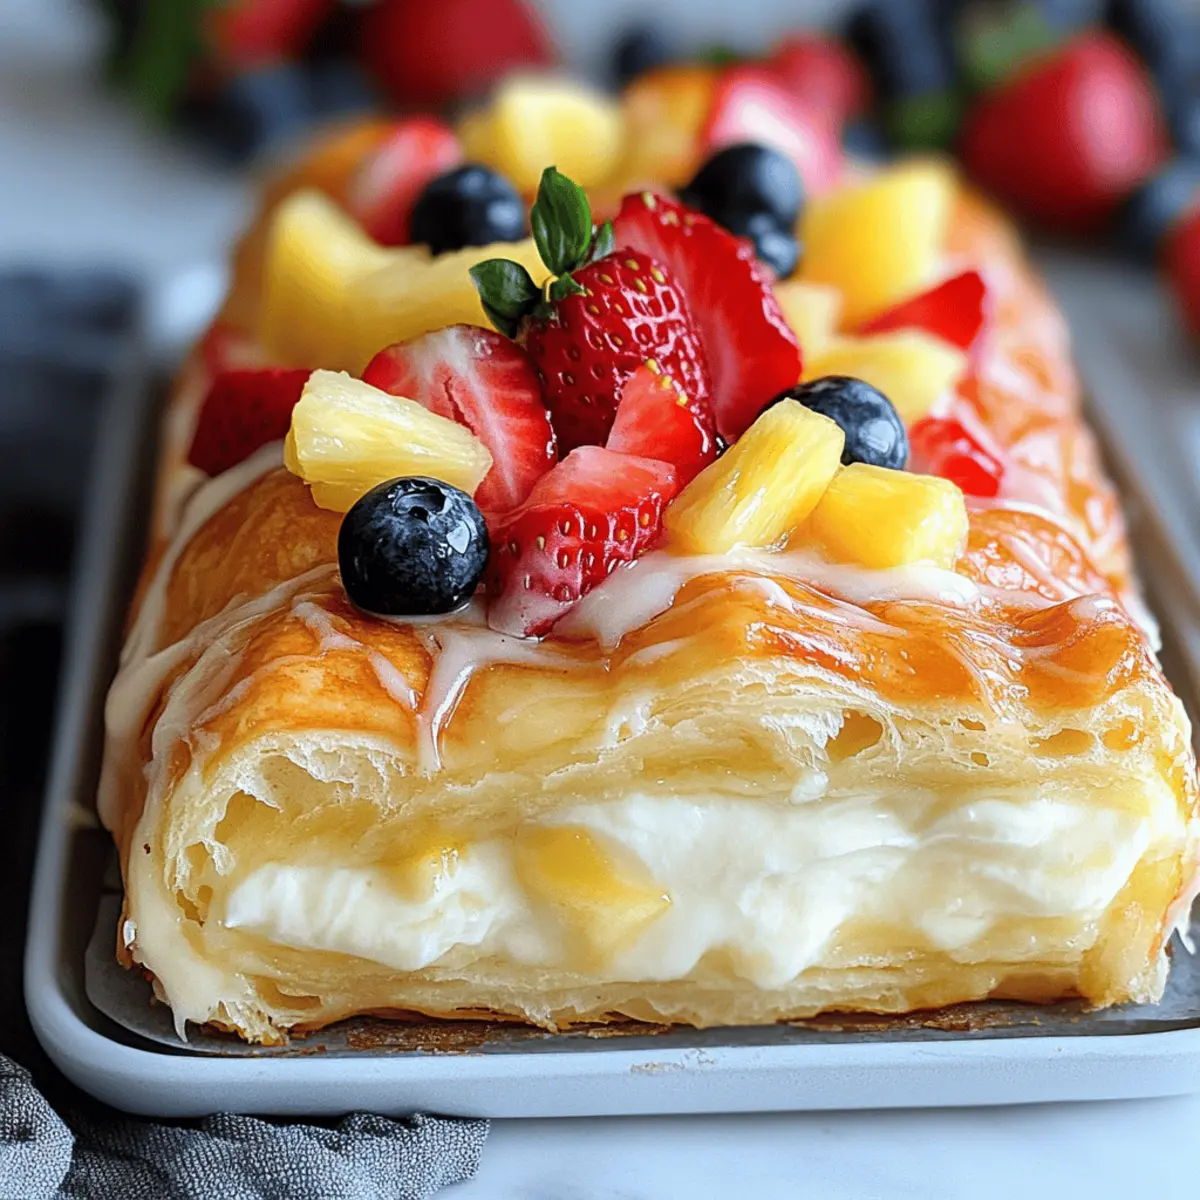
Irresistible King Hawaiian Cheesecake Danish

Irresistible King Hawaiian Cheesecake Danish for Effortless Bliss

Discover the irresistible King Hawaiian Cheesecake Danish that combines soft rolls and a luscious cream cheese filling, perfect for effortless dessert bliss.
Prep Time 15 minutes
Cook Time 20 minutes
Cooling Time 10 minutes
Total Time 45 minutes
Servings: 8 pieces
Course: Desserts
Cuisine: American
Calories: 320

Ingredients
  

For the Danish
  • 12 rolls King Hawaiian Rolls Choose fresh rolls for the best texture.
  • 8 oz Cream Cheese Soften beforehand for easy mixing.
  • 1/4 cup Sugar Can substitute with honey or maple syrup.
  • 1 large Egg An egg replacer can be used for vegan.
  • 1 tsp Vanilla Extract Opt for pure vanilla for rich flavor.
For the Toppings
  • 2 cups Fresh Fruits Strawberries, blueberries, or pineapple work well.
  • 1 cup Glaze Powdered sugar and milk mixture, adjust to liking.

Equipment

  • Oven
  • Mixing Bowl
  • electric mixer
  • baking sheet
  • Parchment Paper

Method
 

Preparation
  1. Preheat your oven to 350°F (175°C). Slice the King Hawaiian rolls in half and arrange tightly on a baking sheet lined with parchment paper.
  2. In a medium mixing bowl, combine the softened cream cheese, sugar, egg, and vanilla extract. Beat with an electric mixer on medium speed for about 2-3 minutes until smooth.
  3. Spread a generous scoop of the cream cheese filling over each roll half and press the tops back down.
  4. Bake the assembled Danish for 15-20 minutes, or until golden brown and filling slightly puffed.
  5. Let them cool on the baking sheet for about 10 minutes. Whisk together powdered sugar and milk for the glaze and drizzle over the warm Danish.

Nutrition

Serving: 1pieceCalories: 320kcalCarbohydrates: 45gProtein: 5gFat: 15gSaturated Fat: 8gCholesterol: 35mgSodium: 300mgPotassium: 150mgFiber: 1gSugar: 12gVitamin A: 10IUVitamin C: 15mgCalcium: 6mgIron: 4mg

Notes

Use fresh fruits rather than canned for better flavor. Allow the Danish to cool slightly before glazing for better adhesion.
Tried this recipe?

Let us know how it was!