
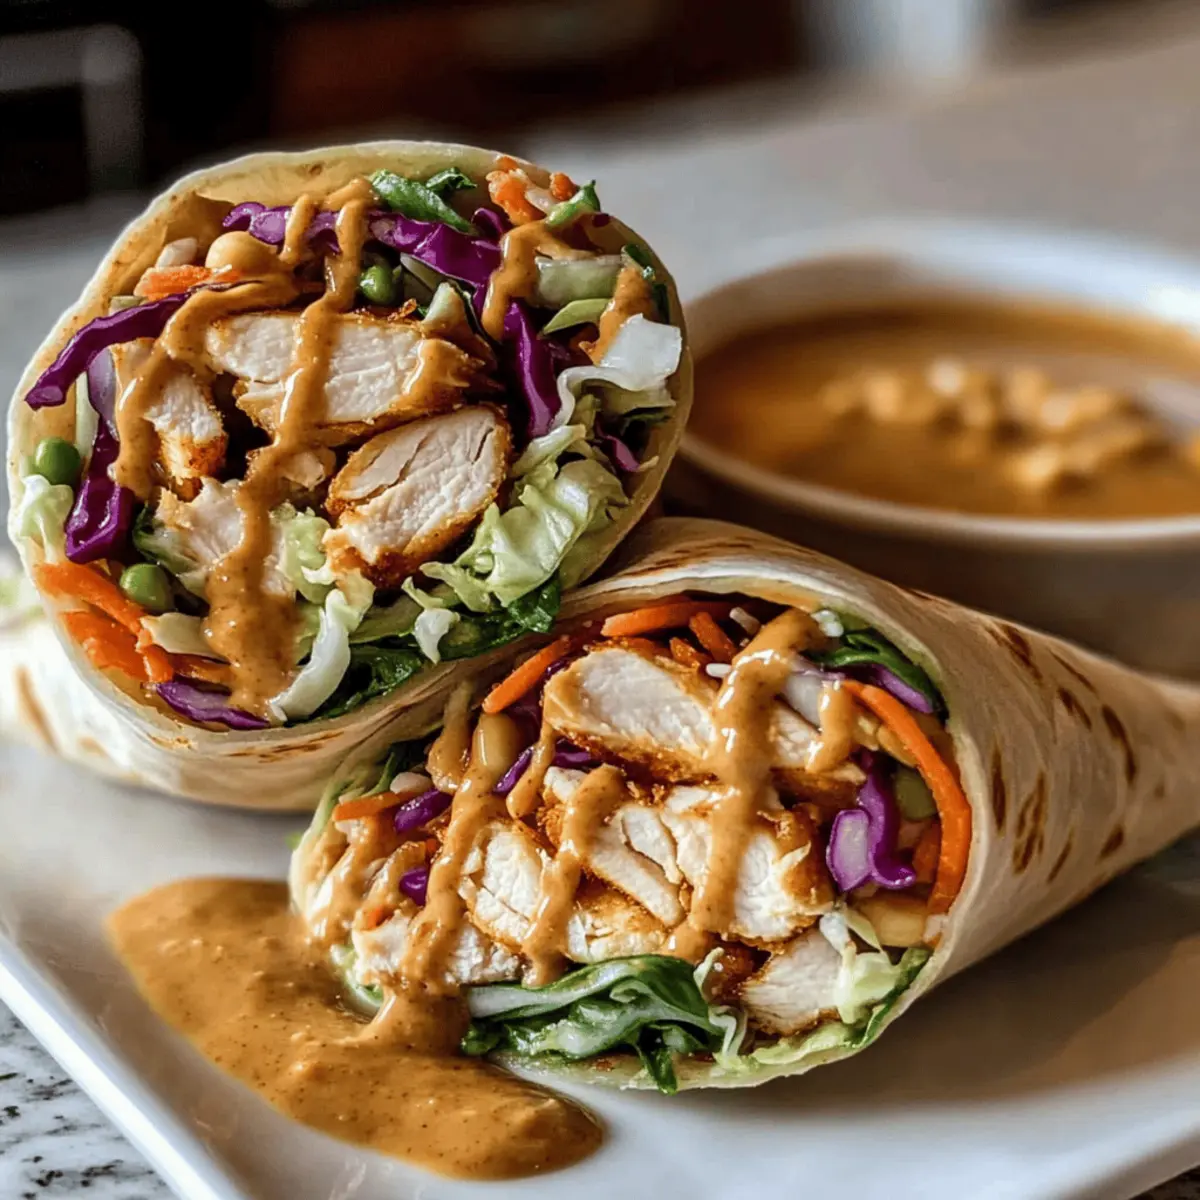
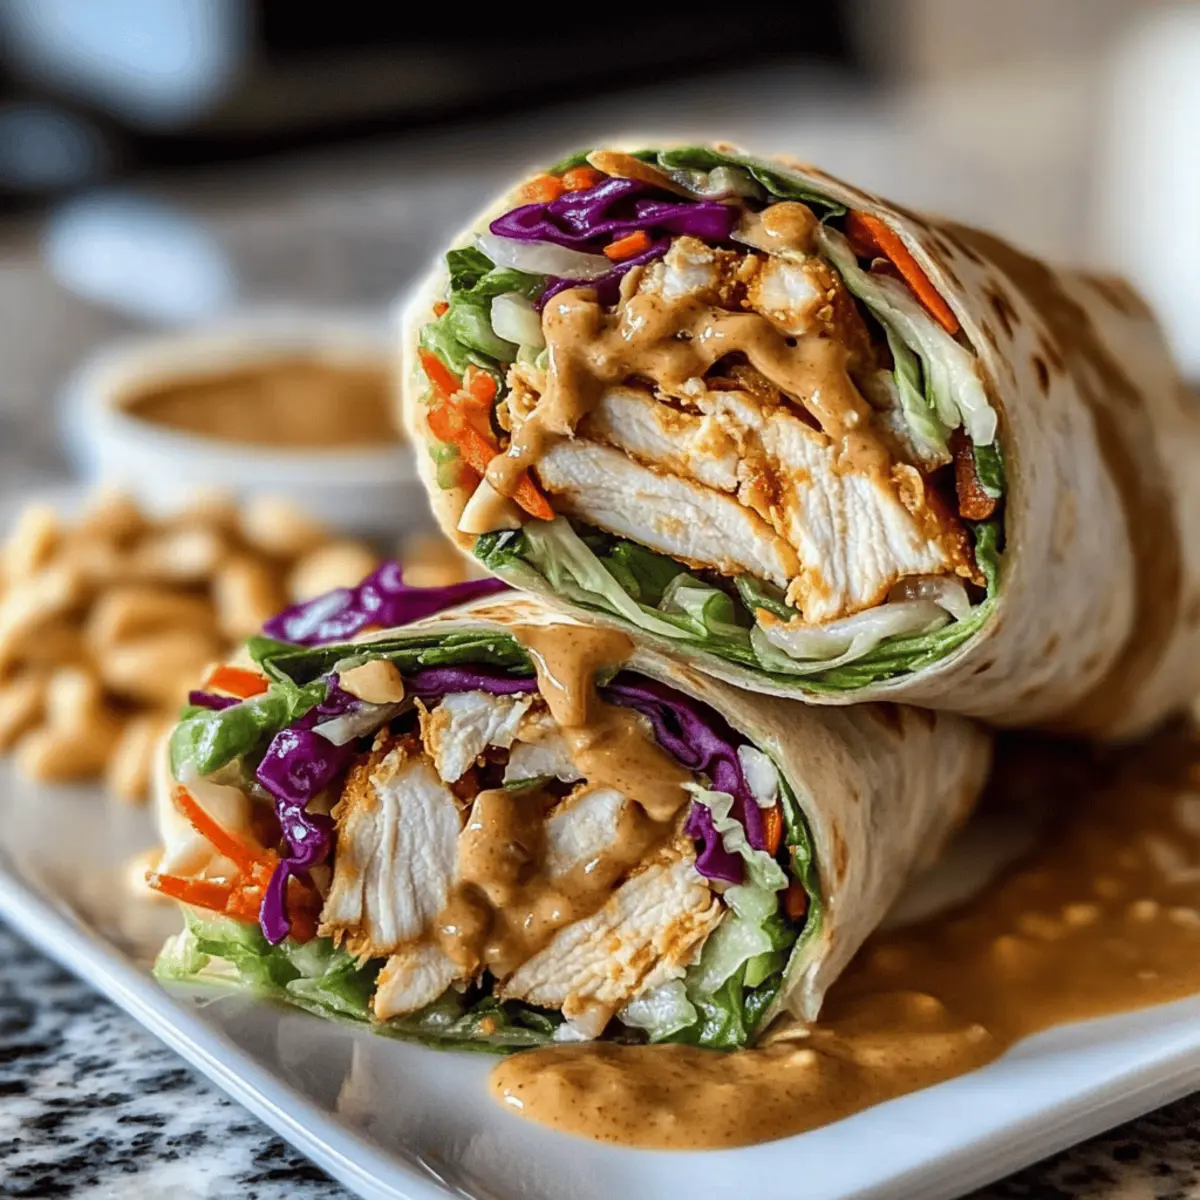
With the sun setting and a gentle breeze wafting through the kitchen, I found my mind wandering to those perfect weeknight meals—quick, satisfying, and packed with flavor. That’s when I decided to whip up these Thai Peanut Chicken Wraps. Not only do they come together in a mere 15 minutes, but they also offer a delightful mix of tender chicken, crunchy coleslaw, and a homemade peanut sauce that wraps me in a warm embrace every time I take a bite. What’s more, they’re incredibly customizable, making them suitable for everyone at the table, whether you’re a busy parent or a health-conscious friend looking for a delicious dinner. Curious about how to bring this tasty wrap to your own table? Let’s dive into the recipe!
Why will you love these wraps?
Quick: These Thai Peanut Chicken Wraps come together in just 15 minutes, perfect for busy weeknights!
Customizable: You can easily adapt the filling for vegetarian options or use rotisserie chicken for even less prep time.
Flavor-packed: A luscious homemade peanut sauce balances sweet, spicy, and savory notes that will tantalize your taste buds.
Nutritious: Filled with lean protein and crunchy veggies, they offer a wholesome meal that satisfies without guilt.
Crowd-pleaser: Great for family dinners or lunch boxes alike, these wraps will please even the pickiest eaters—you can even serve them with a side of Garlic Chicken Wraps for extra delight!
Thai Peanut Chicken Wraps Ingredients
For the Peanut Sauce
- Peanut Butter – Adds creaminess and richness to the sauce; for a peanut-free option, try sunflower seed butter or tahini.
- Low-Sodium Soy Sauce – Provides umami flavor; adjust for desired saltiness.
- Brown Sugar or Honey – Balances the sauce’s flavors; can substitute with maple syrup for a vegan-friendly alternative.
- Rice Wine Vinegar – Adds acidity; apple cider vinegar can serve as a suitable replacement.
- Minced Garlic – Enhances depth of flavor; fresh garlic is ideal, but garlic powder works in a pinch.
- Minced Ginger – Adds warmth; ground ginger can be a convenient swap for fresh.
- Sriracha Sauce – Offers a spicy kick; adjust based on heat preference or omit for milder wraps.
For the Wrap Filling
- Chicken Breasts – The main protein, cooked and chopped; rotisserie chicken makes for a terrific time-saver.
- Coleslaw Mix – Provides satisfying crunch; replace with thinly sliced cabbage for a twist.
- Grated Carrot – Adds sweetness and color; adjust quantity based on your preference.
- Chopped Cilantro – Brings freshness to your wraps; omit if it’s not your favorite herb.
- Roasted, Salted Peanuts – Adds crunchy texture and nuttiness; sunflower seeds are a great nut-free substitute.
For the Wraps
- Tortillas – Act as the wrap’s base; large lettuce leaves can be used for a low-carb version.
Step‑by‑Step Instructions for Thai Peanut Chicken Wraps
Step 1: Prepare Peanut Sauce
In a medium bowl, whisk together ½ cup of peanut butter, ¼ cup of low-sodium soy sauce, 2 tablespoons of brown sugar or honey, 2 tablespoons of rice wine vinegar, 1 minced garlic clove, 1 teaspoon of minced ginger, and 1 tablespoon of sriracha sauce. If the sauce is too thick, add a bit of water until you reach your desired consistency. Set aside the luscious peanut sauce while you prepare the filling.
Step 2: Mix Filling
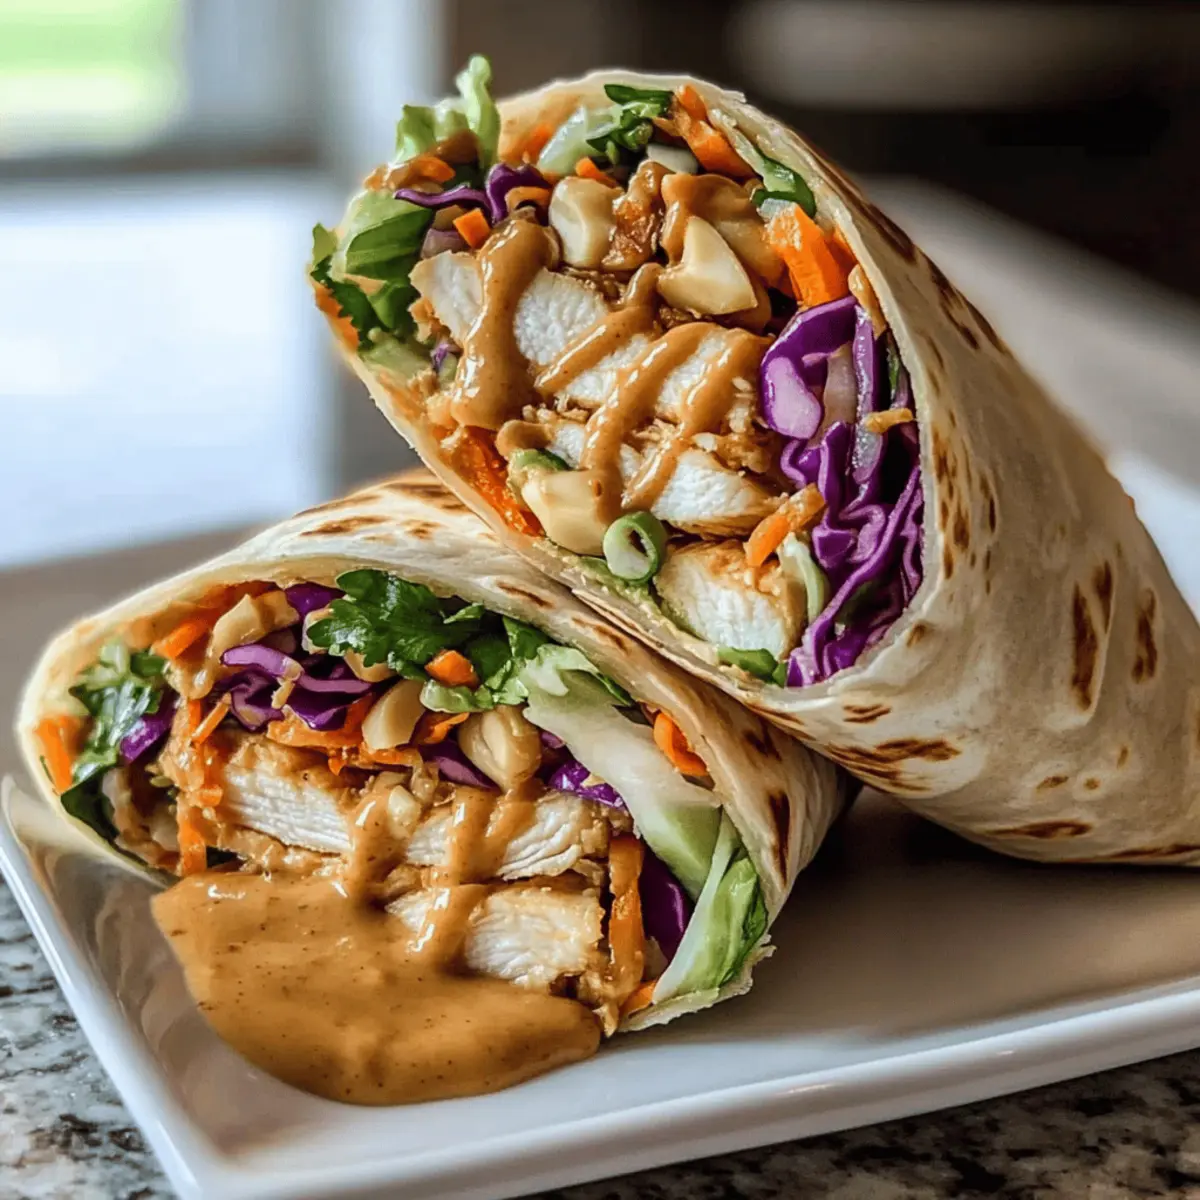
In a large mixing bowl, combine 2 cups of shredded chicken (or rotisserie chicken), 2 cups of coleslaw mix, 1 grated carrot, ¼ cup of chopped cilantro, and ½ cup of roasted peanuts. Pour the prepared peanut sauce over the mixture and toss everything together until it’s well coated. Let the filling sit for about 5 minutes to blend the flavors as they mingle beautifully.
Step 3: Warm Tortillas
To make the tortillas pliable, stack them on a microwave-safe plate and cover them with a damp paper towel. Microwave for about 30 seconds or until they are warm and soft. This step will ensure that your tortillas are easier to roll without tearing, ready to envelop the flavorful fillings.
Step 4: Assemble Wraps
Lay a warm tortilla flat on a plate and spoon a generous amount of the filling mixture onto the center. Fold in the sides tightly and then roll from the bottom up, securing the filling as you go. Continue this process with the remaining tortillas and filling, creating delightful Thai Peanut Chicken Wraps that are bursting with flavor.
Step 5: Serve & Enjoy
Once all your wraps are assembled, serve them immediately while they’re warm. You can wrap them in parchment paper or aluminum foil if you’re eating on-the-go. These Thai Peanut Chicken Wraps are best enjoyed fresh, but can also be stored separately in the fridge for up to 2 days for a quick and satisfying meal later.
Thai Peanut Chicken Wraps Variations
Feel free to let your creativity shine and personalize these wraps in delightful ways that cater to your taste!
-
Vegetarian Option: Swap chicken for firm tofu or chickpeas to create a filling and hearty vegetarian wrap. This transformation not only makes it plant-based but also super satisfying!
-
Peanut-Free Twist: Use sunflower seed butter or tahini instead of peanut butter for a delicious peanut-free sauce. You won’t lose the creamy texture, and it’s perfect for sensitive eaters.
-
Low-Carb Wrap: Try using large lettuce leaves instead of tortillas. This will give you a refreshing, crisp alternative that’s light and perfect for summer!
-
Extra Crunch: Add in other veggies such as sliced bell peppers, cucumbers, or thinly shredded cabbage for a vibrant crunch. The additional textures will elevate the wraps to a whole new level.
-
Sweet Variation: Drizzle a little honey or a dash of maple syrup into the filling for a sweet surprise that complements the savory elements beautifully.
-
Heat Level Control: If you’re sensitive to spice, omit the sriracha or use a milder hot sauce. For those who love a kick, try adding fresh chilies or more sriracha to taste!
-
Creamy Delight: Mix in a dollop of Greek yogurt or avocado to the filling for a rich, creamy texture that will balance out the flavors even more.
-
Serving Ideas: Pair these wraps with a side of chilled cucumber salad or tom yum soup for a complete meal. You can even add a bowl of Garlic Chicken Wraps for those who crave variety at the dinner table!
Storage Tips for Thai Peanut Chicken Wraps
Fridge: Store the assembled wraps tightly wrapped in plastic wrap or foil for up to 2 days. This keeps them fresh without getting soggy.
Filling: If you prepare the filling in advance, it can be stored in an airtight container in the refrigerator for up to 3 days. Keep the tortillas separate to maintain crunch.
Freezer: For longer storage, freeze the filling in a freezer-safe container for up to 3 months. Defrost in the refrigerator overnight before using.
Reheating: To reheat, gently warm the wraps in the microwave for about 20-30 seconds or in a skillet over low heat until warmed through.
Expert Tips for Thai Peanut Chicken Wraps
-
Warm Tortillas: Heating the tortillas before assembly prevents tearing and makes them easier to roll, ensuring a perfect wrap each time.
-
Avoid Sogginess: To keep the wraps crisp, store the filling and tortillas separately if preparing ahead of time—this way, your wraps won’t get soggy.
-
Flavor Balance: Adjust the sriracha in the peanut sauce based on your spice preference. If you’re hesitant about heat, start with less and experiment!
-
Make Ahead: Prepare the filling and peanut sauce in advance—this makes busy evenings stress-free and allows flavors to meld beautifully.
-
Variations Galore: Remember, you can substitute chicken with tofu or chickpeas for a vegetarian option, making these Thai Peanut Chicken Wraps perfect for anyone!
Make Ahead Options
These Thai Peanut Chicken Wraps are ideal for meal prep, allowing you to save precious time on busy weeknights! You can prepare the filling, which includes shredded chicken, coleslaw mix, grated carrots, and peanut sauce, up to 3 days in advance. Simply store the mixture in an airtight container in the refrigerator to maintain freshness. To prevent sogginess, keep the tortillas separate until you’re ready to serve. When it’s mealtime, just warm the tortillas in the microwave for 30 seconds, then assemble the wraps with the prepped filling. You’ll enjoy the same delightful flavors with minimal effort—it’s a perfect strategy for stress-free dinners!
What to Serve with Thai Peanut Chicken Wraps
These wraps make for a vibrant centerpiece, but pairing them with the right sides can elevate your meal to new heights.
-
Chilled Cucumber Salad: A refreshing side that balances the rich flavors of the wraps, enhancing every bite. Crisp cucumbers with a tangy dressing will awaken your palate!
-
Tom Yum Soup: This flavorful, hot-and-sour Thai soup adds warmth and complexity to your dinner, complementing the creamy peanut sauce beautifully. The fragrant spices intertwine deliciously with the wraps.
-
Steamed Jasmine Rice: A comforting addition that absorbs the savory sauce from the wraps. This soft, fragrant rice brings a touch of home with every spoonful.
-
Mango Sticky Rice: A delightful dessert to finish your meal, combining sweet mango with sticky rice and coconut sauce. The contrasting textures create a satisfying conclusion.
-
Thai Iced Tea: This sweet, creamy drink is the perfect pairing, offering a cool, refreshing contrast to the wraps. Its unique flavor complements the spicy notes beautifully.
-
Fresh Fruit Platter: Bright, juicy fruits like pineapple and watermelon can cleanse your palate and offer a light, invigorating balance to the hearty wraps. Plus, it adds a pop of color to your table!
Thai Peanut Chicken Wraps Recipe FAQs
How can I select the best peanut butter for the sauce?
Absolutely! Look for a creamy peanut butter that has no added sugars or oils for the best flavor. If you’re going peanut-free, sunflower seed butter is an excellent alternative that offers similar creaminess without peanuts.
What is the best way to store leftover wraps?
Wrap your assembled Thai Peanut Chicken Wraps tightly in plastic wrap or aluminum foil and store them in the refrigerator for up to 2 days. If you’re prepping in advance, keep the filling and tortillas separate to avoid sogginess and retain that satisfying crunch.
Can I freeze the filling for later use?
Yes, you can freeze the filling! Place it in a freezer-safe container, ensuring it’s well-sealed, and it will last for up to 3 months. When you’re ready to enjoy, simply defrost it in the refrigerator overnight. Reheat gently before assembling your wraps.
What should I do if my peanut sauce is too thick?
No worries! If you find the peanut sauce is thicker than you’d like, simply whisk in a bit of water or a splash of soy sauce until you reach your desired consistency. This will keep the sauce smooth and perfect for coating your filling.
Are these wraps suitable for a nut-free diet?
Definitely! Just swap out the peanut butter for sunflower seed butter or tahini to create a nut-free version of these Thai Peanut Chicken Wraps. You can also replace the roasted peanuts with pumpkin seeds for that added crunch without any nuts.
What if I don’t have rotisserie chicken on hand?
No problem! You can cook chicken breasts from scratch—just boil or grill them until they’re fully cooked and then chop them up. For an even quicker option, consider using canned chicken or shredded chicken from a previous meal if available.
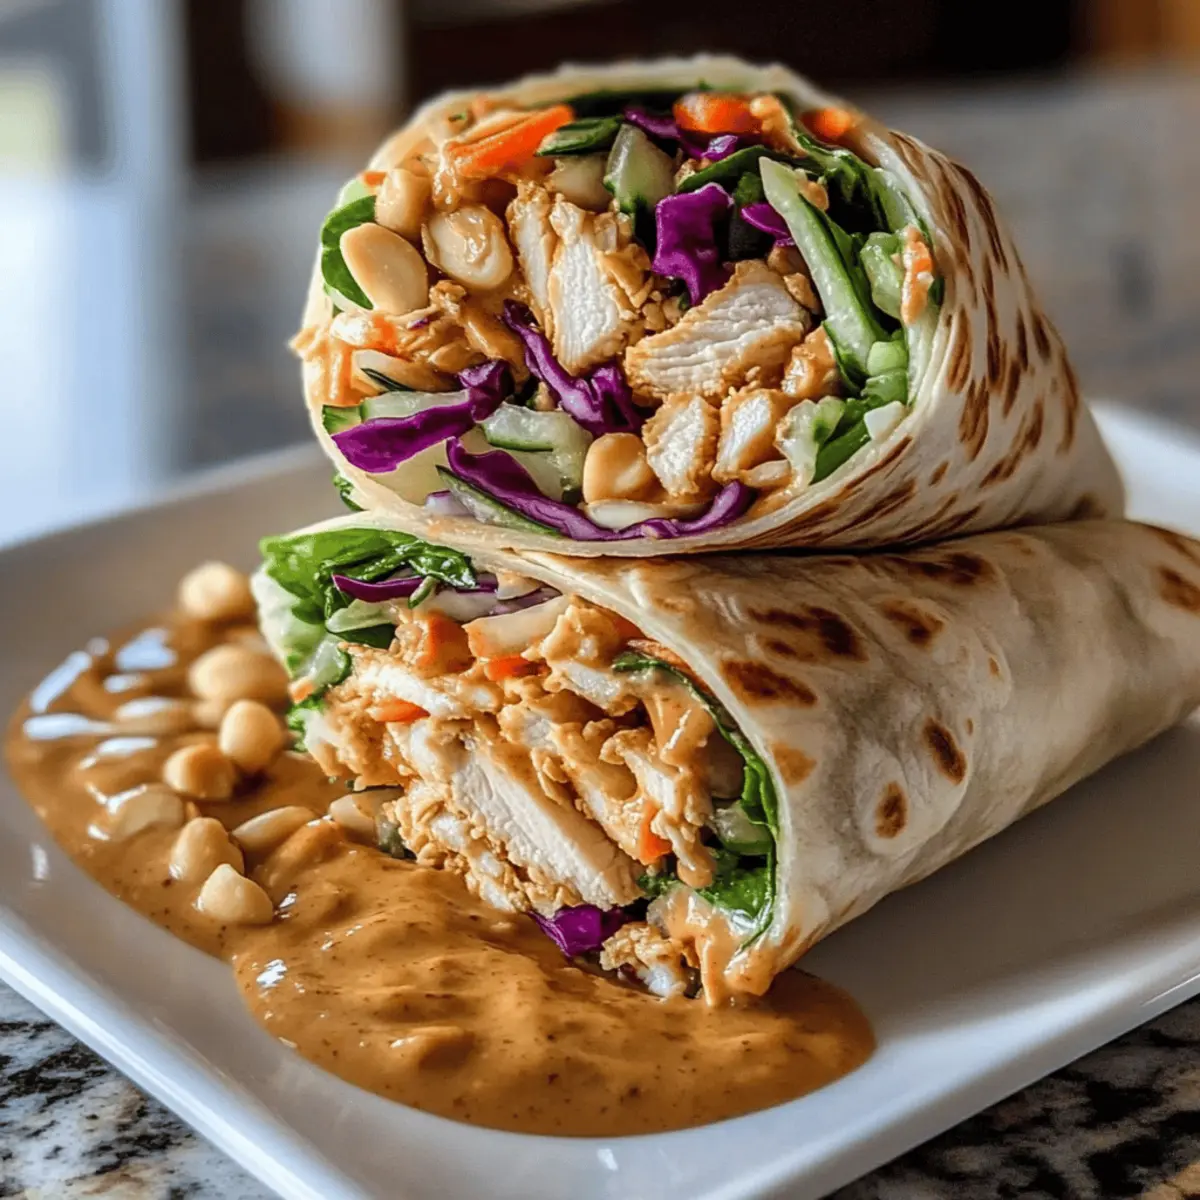
Thai Peanut Chicken Wraps That Will Brighten Your Dinner
Ingredients
Equipment
Method
- In a medium bowl, whisk together the peanut sauce ingredients. Set aside.
- In a large mixing bowl, combine the filling ingredients and toss with the peanut sauce.
- To warm tortillas, stack on a microwave-safe plate, cover with a damp paper towel, and microwave until soft.
- Assemble the wraps by laying a warm tortilla flat, adding filling, folding in sides, and rolling securely.
- Serve immediately, wrapped in parchment or foil if on-the-go.
Leave a Reply