
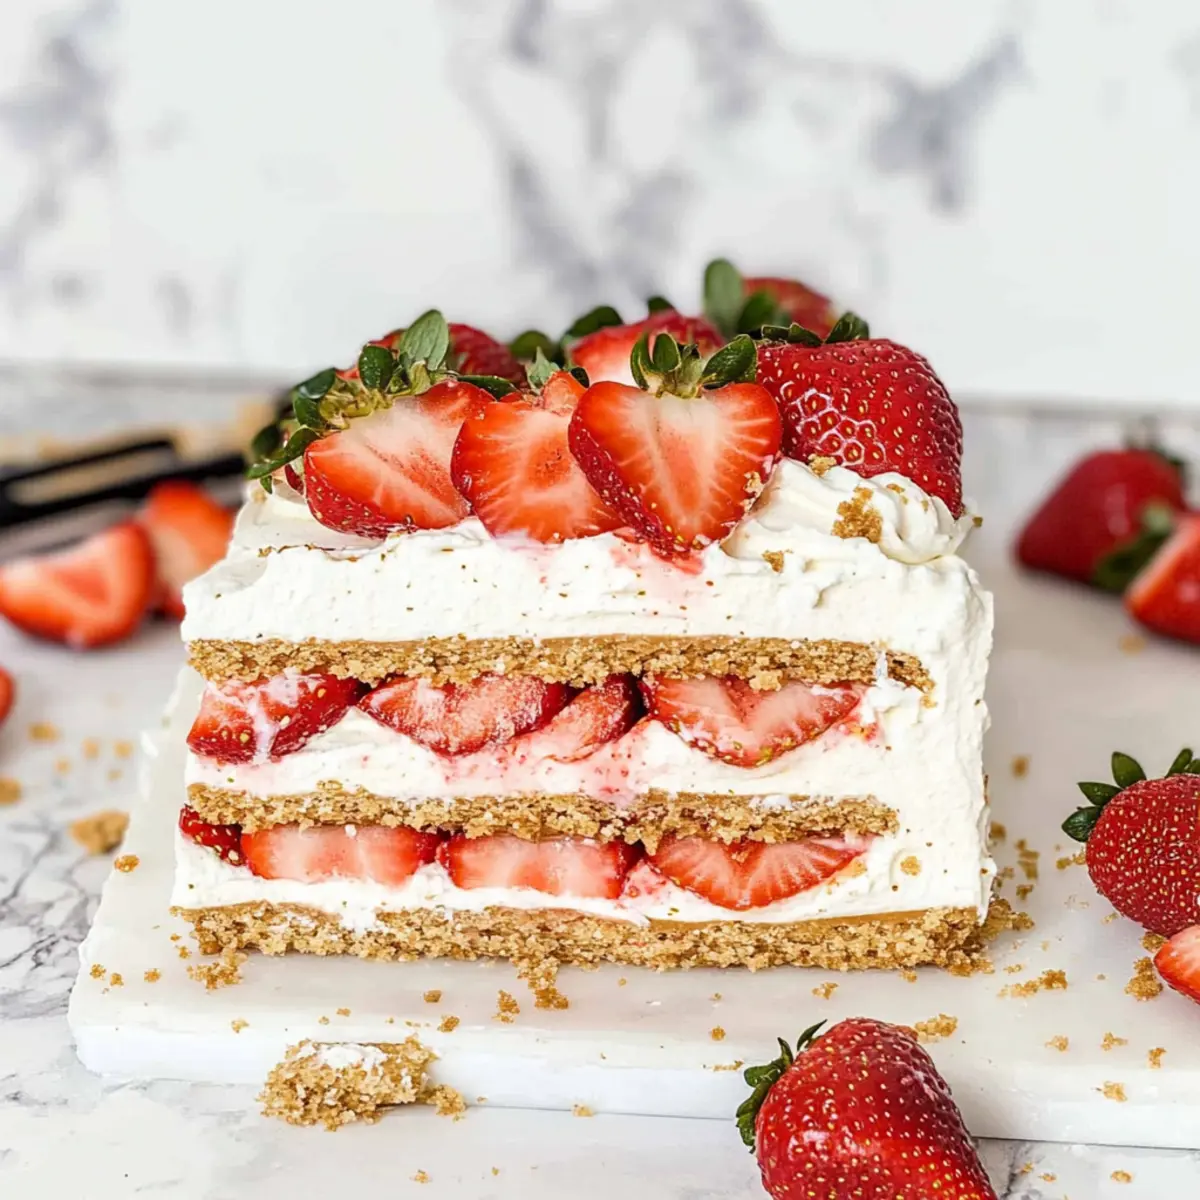
The sun’s golden rays streamed through my kitchen window as I realized summer was just around the corner. This season calls for a refreshing dessert that’s effortlessly delightful, and my go-to is the No-Bake Strawberry Icebox Cake. With fresh strawberries layered among crunchy graham crackers and indulgent homemade whipped cream, this dessert captures the essence of warm days without requiring you to turn on the oven. What’s more, it comes together in just 15 minutes, making it a fantastic choice for last-minute gatherings or leisurely lunches with friends. Whether you’re trying to impress at brunch or simply enjoying sweet moments at home, this simple dessert provides a stunning finish to any meal. Ready to slice into a piece of summer bliss? Let’s dive into how to create this beautifully layered treat!
Why is this Strawberry Icebox Cake a must-try?
Effortless Preparation: Whip this cake together in just 15 minutes, making it a perfect last-minute dessert.
No Baking Required: With no need for an oven, you can enjoy a refreshing treat without the heat of summer.
Flavorful Layers: The combo of fresh strawberries, crunchy graham crackers, and whipping cream creates a delightful harmony of textures.
Versatility: Easily adapt this recipe with different fruits or cookie bases, allowing you to customize it for any occasion. For more options, why not try the Pistachio Raspberry Cake for an exciting twist?
Crowd-Pleasing Delight: This cake is an instant hit, ideal for brunches or summer gatherings, pleasing both family and friends alike.
Guilt-Free Indulgence: Each serving packs roughly 398 calories, making it a satisfying yet light dessert choice.
Strawberry Icebox Cake Ingredients
For the Cake Layers
- Graham Crackers – Provide the perfect crunchy base; swap with gluten-free ones if needed.
- Fresh Strawberries – Offer natural sweetness and freshness; frozen strawberries may work if properly drained.
For the Whipped Cream
- Heavy Cream (36% fat, cold) – Essential for a stable whipped cream; try a vegan alternative for a dairy-free option.
- Mascarpone (41% fat, cold) – Adds richness; Neufchâtel cheese can lighten the mixture without sacrificing taste.
- Powdered Sugar – Sweetens the whipped cream; consider a sugar substitute for a different twist.
- Vanilla Extract – Enhances the flavor profile; using fresh vanilla bean lends a sophisticated note.
Give this delightful Strawberry Icebox Cake a try and experience a taste of summer in every bite!
Step‑by‑Step Instructions for Strawberry Icebox Cake
Step 1: Prepare the Strawberries
Start by rinsing 1 pound of fresh strawberries under cold water. Slice them evenly into thin pieces and set aside in a bowl. These vibrant strawberries will add a deliciously fresh flavor to your Strawberry Icebox Cake, contributing both sweetness and a beautiful visual element when layered.
Step 2: Line Your Pan
Take an 11×6 inch loaf pan and line it with aluminum foil or cling film, allowing some overhang for easy removal later. This step ensures that your no-bake Strawberry Icebox Cake will come out intact, ready to impress your guests with its stunning layers once assembled.
Step 3: Whip the Cream
In a cold mixing bowl, combine 1 cup of heavy cream and 8 ounces of cold mascarpone cheese. Add 1/4 cup of sifted powdered sugar and 1 teaspoon of vanilla extract. Using an electric mixer, whip the mixture on medium speed for about 2-3 minutes, or until soft peaks form. The mixture should be light and fluffy, perfect for creating that heavenly whipped layer in the cake.
Step 4: Assemble the Layers
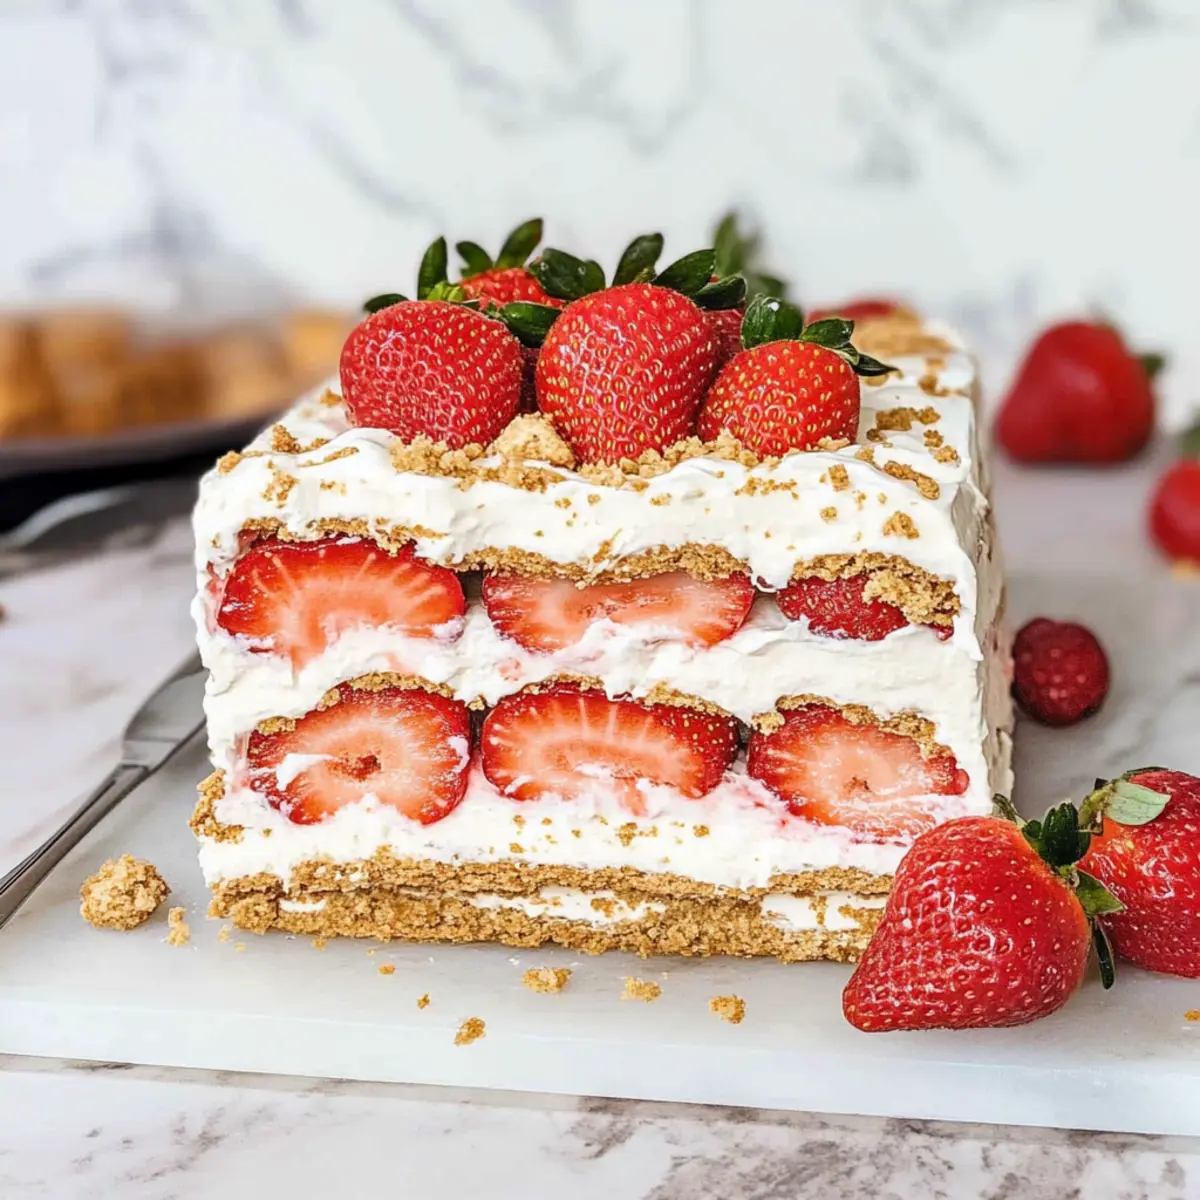
Start assembling the Strawberry Icebox Cake upside down. Spread a quarter of the whipped cream mixture evenly across the bottom of the lined pan. Layer with 4-5 graham crackers followed by a third of the sliced strawberries. Repeat this layering process until you’ve used all ingredients, finishing with a layer of graham crackers.
Step 5: Chill to Set
Cover the assembled cake tightly with plastic wrap and refrigerate for at least 4 hours or, preferably, overnight. This chilling process allows the flavors to meld and the graham crackers to soften, transforming them into a delightful cake-like texture in your Strawberry Icebox Cake.
Step 6: Flip and Serve
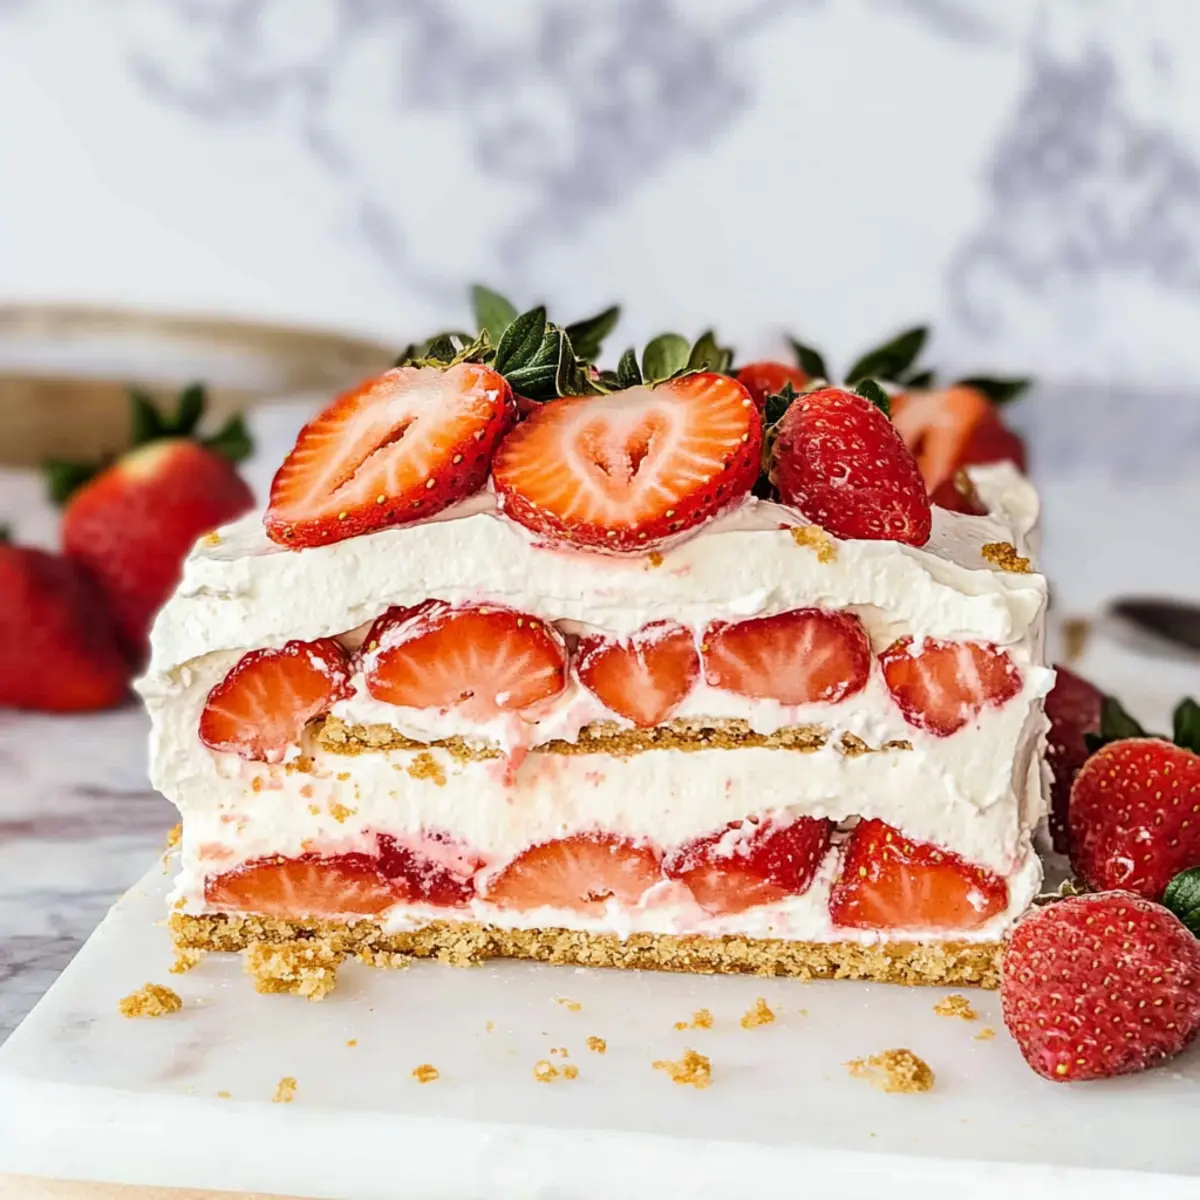
Before serving, place the cake in the freezer for about 30 minutes. This will make it easier to remove from the pan. Once chilled, carefully lift the overhanging foil or film to flip the cake onto a serving plate. Decorate the top with additional whipped cream and garnish with fresh or freeze-dried strawberries for an inviting presentation.
Strawberry Icebox Cake Variations & Substitutions
Customize your Strawberry Icebox Cake to suit your taste—each bite will be a delightful surprise!
- Berry Medley: Swap strawberries for raspberries, blueberries, or chopped peaches for a colorful twist. The mix of flavors is refreshing and adds seasonal flair.
- Gluten-Free: Use gluten-free graham crackers or crushed nuts for a delectable base. It ensures everyone can enjoy this scrumptious dessert without worries.
- Vegan Delight: Substitute heavy cream with coconut cream and use a vegan mascarpone alternative. This caters to plant-based diets while keeping that rich texture intact.
- Citrus Zest: Add a teaspoon of lemon or orange zest to the whipped cream for a zesty pop! Brighten up your dessert with a citrusy freshness that complements the sweetness.
- Chocolate Drizzle: Enhance flavor with a drizzle of melted chocolate over layers before refrigerating. This little addition creates an indulgent, dessert-lover’s paradise.
- Cookie Crust: Use crushed Oreos or Biscoff cookies instead of graham crackers for a fun, flavorful twist. The chocolatey richness pairs wonderfully with strawberries.
- Fruit Compote Layer: Introduce a layer of homemade fruit compote between the strawberries for a burst of flavor. It adds another layer of sweetness and complexity to each slice.
- Cream Cheese Layer: Incorporate cream cheese in the whipped cream for extra richness. It makes every slice even creamier without compromising on flavor.
For additional inspirations and ideas, consider trying the delightful Pistachio Raspberry Cake or the rich Caramel Brownie Cheesecake. Happy baking!
How to Store and Freeze Strawberry Icebox Cake
Fridge: Store the uncut Strawberry Icebox Cake covered in plastic wrap, where it will stay fresh for up to 2 days. It’s best enjoyed fresh for optimal texture.
Freezer: If you wish to freeze leftovers, wrap individual slices tightly in plastic wrap, followed by aluminum foil, and store for up to 1 month. To enjoy, thaw in the fridge overnight.
Reheating: Avoid reheating this dessert; serve chilled directly from the fridge or after thawing. Enjoy the refreshing taste without the need for heat!
Expert Tips for Strawberry Icebox Cake
- Chill Ingredients: Ensure heavy cream and mascarpone are very cold; this is essential for achieving a fluffy whipped cream layer in your Strawberry Icebox Cake.
- Watch the Texture: Whip the cream to soft peaks to avoid over-whipping. Overdoing it can lead to a runny consistency, ruining your cake’s charm.
- Don’t Rush Cooling: Allow the cake to chill properly; if you cut corners, the textures won’t develop as desired. Patience is key here!
- Avoid Freezing: Refrain from freezing the completed cake; freezing can negatively affect the strawberries and cream, altering their delightful textures.
- Layer Wisely: When assembling, ensure even layers for a beautiful presentation. Uneven layers may lead to a lopsided cake when you slice into it.
What to Serve with Strawberry Icebox Cake
Elevate your dining experience with delightful pairings that complement the refreshing taste of this no-bake treat.
-
Fresh Mint Leaves: The cool aroma adds a refreshing note that contrasts beautifully with the sweet strawberries.
-
Creamy Vanilla Ice Cream: Rich and smooth, this classic pairing provides extra creaminess and temperature contrast to the light cake.
-
Citrus Fruit Salad: A bite of zesty oranges and tangy grapefruits brings a vibrant balance to the sweet creaminess of the cake.
-
Sparkling Lemonade: This bubbly, citrusy drink adds a playful effervescence, enhancing the lightness of the dessert with each sip.
-
Coffee or Espresso: The robust flavor of coffee serves as a delightful counterpoint to the sweetness of the icebox cake, making it perfect for brunch.
-
Chocolate Drizzle: A light drizzle of dark chocolate sauce brings richness and an elegant touch, elevating the visual appeal and flavor profile.
Each pairing adds its own unique twist, making this no-bake strawberry icebox cake the star of your next gathering!
Make Ahead Options
These delightful Strawberry Icebox Cake layers are perfect for busy home cooks eager to save time! You can slice and prepare the strawberries up to 24 hours in advance, storing them in an airtight container to maintain their freshness. Additionally, the whipped cream can be made ahead and refrigerated for up to 3 days—just be sure to re-whip it slightly before layering to restore its fluffy texture. When you’re ready to assemble, simply layer the prepped components as directed. This ensures your Strawberry Icebox Cake is assembled quickly and beautifully, providing delicious, effortless results that are just as fantastic when prepared ahead of time!
Strawberry Icebox Cake Recipe FAQs
What type of strawberries should I use for the best flavor?
Absolutely, fresh, ripe strawberries are the star of this dessert! Look for strawberries that are a vibrant red and firm, with a sweet aroma. Avoid those with dark spots or mushy areas. If you can’t find fresh strawberries, frozen ones work too; just make sure they’re thawed and patted dry to remove excess moisture.
How should I store leftover Strawberry Icebox Cake?
To keep your Strawberry Icebox Cake fresh, cover it tightly with plastic wrap and store it in the fridge. It will stay delicious for up to 2 days. If you prepare it in advance, I recommend consuming it on the same day for the best texture, but it is still enjoyable for the following days.
Can I freeze the Strawberry Icebox Cake?
Yes, you can freeze portions of this cake! Wrap individual slices tightly in plastic wrap and then in aluminum foil. This will keep them fresh for up to 1 month. When you’re ready to enjoy a slice, simply thaw it overnight in the fridge. This way, you can savor a taste of summer whenever you please!
What if the whipped cream doesn’t fluff up properly?
Very! If your whipped cream isn’t achieving soft peaks, it may be due to warm ingredients. Ensure that both the heavy cream and mascarpone are very cold before whipping—they should ideally chill in the refrigerator for at least an hour. If the cream is still runny, try whipping it a bit longer, but be careful not to over-whip it, or you’ll end up with butter-like consistency.
Can my pet have a taste of the Strawberry Icebox Cake?
It’s great to want to share your kitchen creations with your furry friends, but it’s best to avoid giving them any of this cake. The whipped cream and sugar might upset their stomachs. Instead, why not slice up a bit of fresh strawberry for them? Just skip the creamy layers!
How can I adjust the recipe for dietary considerations?
If you’re seeking alternatives, you can easily modify this recipe for various diets. For a vegan option, substitute heavy cream with a coconut whipping cream or a cashew cream, and replace mascarpone with a vegan cream cheese. For gluten-free needs, simply swap out the graham crackers for gluten-free versions. This way, everyone can enjoy a slice of your delightful Strawberry Icebox Cake!

Best Ever Strawberry Icebox Cake – No-Bake Summer Bliss
Ingredients
Equipment
Method
- Start by rinsing the fresh strawberries under cold water. Slice them evenly into thin pieces and set aside in a bowl.
- Take an 11x6 inch loaf pan and line it with aluminum foil or cling film, allowing some overhang for easy removal later.
- In a cold mixing bowl, combine the heavy cream and cold mascarpone cheese. Add sifted powdered sugar and vanilla extract. Whip the mixture on medium speed for about 2-3 minutes, or until soft peaks form.
- Spread a quarter of the whipped cream mixture evenly across the bottom of the lined pan. Layer with 4-5 graham crackers followed by a third of the sliced strawberries. Repeat this layering process until all ingredients are used, finishing with a layer of graham crackers.
- Cover the assembled cake tightly with plastic wrap and refrigerate for at least 4 hours or preferably overnight.
- Before serving, place the cake in the freezer for about 30 minutes. Carefully lift the overhanging foil or film to flip the cake onto a serving plate. Decorate the top with additional whipped cream and garnish with fresh or freeze-dried strawberries.
Leave a Reply