
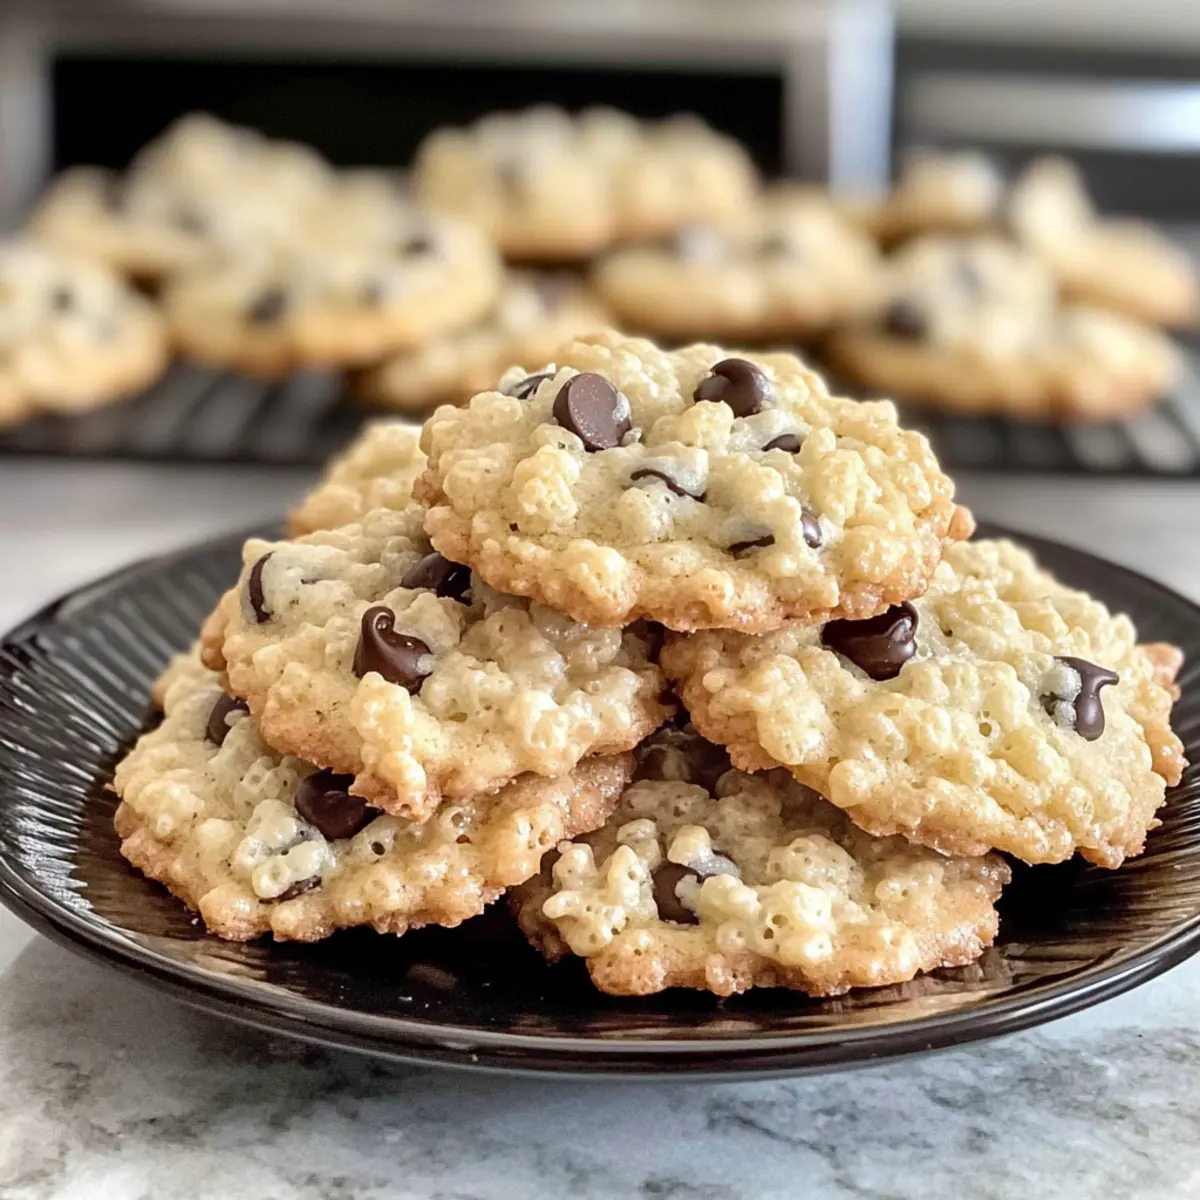
There’s something undeniably comforting about the sounds of cookies baking: the soft whir of the mixer, the gentle crackle of Rice Krispies being folded into dough. These Rice Krispie Chocolate Chip Cookies blend nostalgia with a delightful texture that’s sure to enchant everyone. With a comforting chewy center and a satisfying crunch from the cereal, these cookies become an instant favorite, whether you’re sharing them during a cozy movie night or sneaking a late-night treat. The combination of melty chocolate chips and a hint of coconut sweetness takes this classic to a whole new level, and what I love most? They’re super quick to whip up, making them the perfect solution for unexpected guests or a sweet craving. What flavors will you dream up in your own kitchen adventure today?
Why are Rice Krispie Cookies irresistible?
Comforting Nostalgia: These cookies capture the essence of childhood, evoking fond memories of family gatherings and after-school snacks.
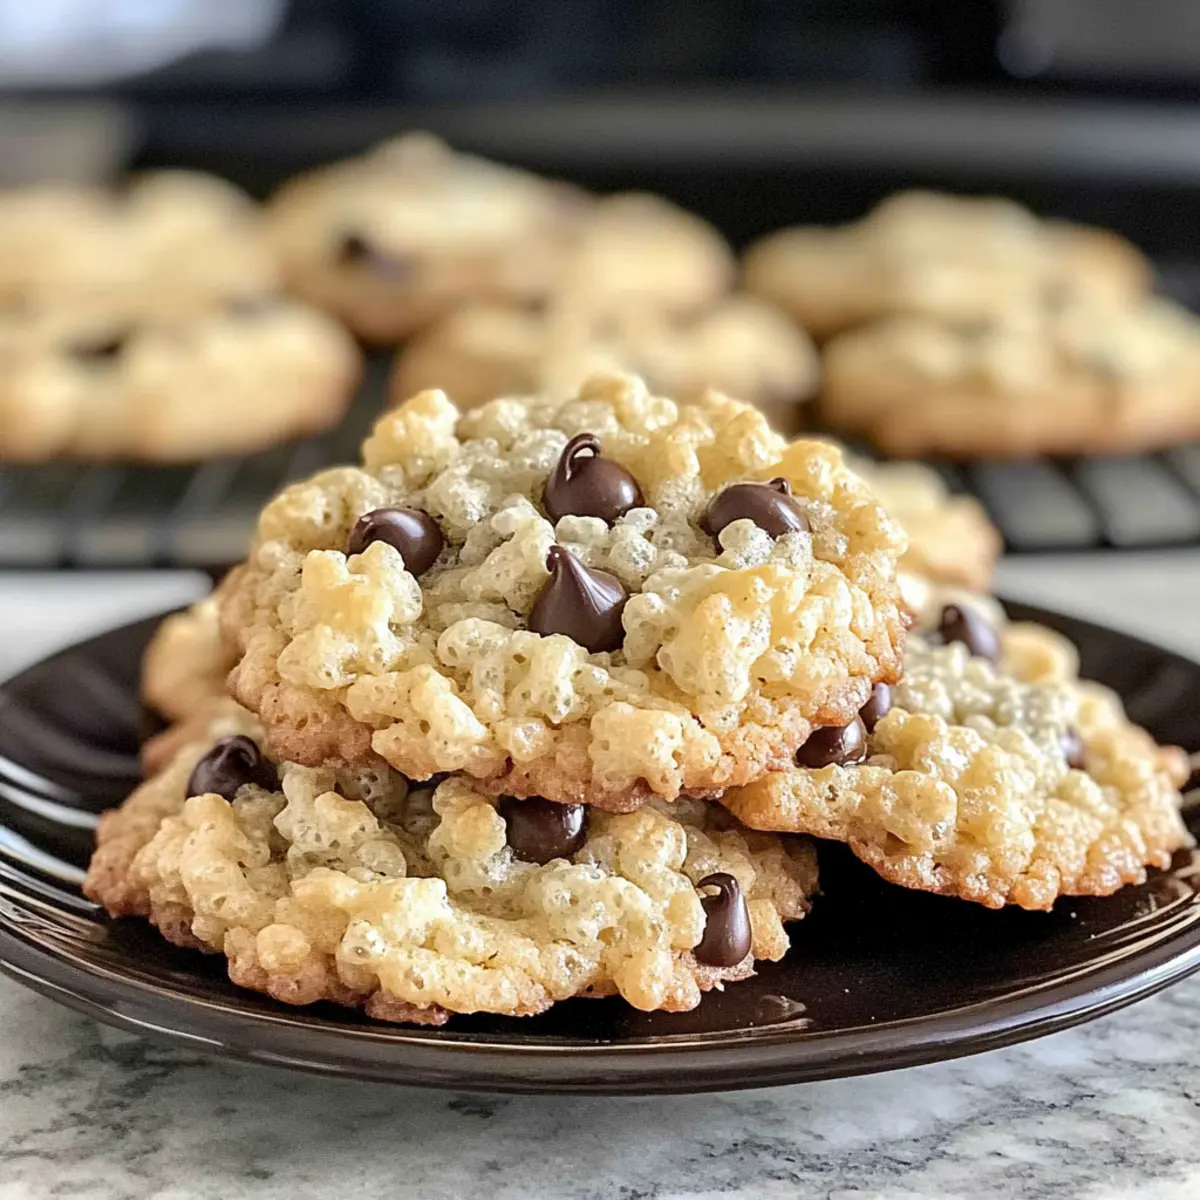
Unique Texture: Enjoy the perfect balance of chewy inside and crispy Rice Krispies, creating a cookie that truly stands out.
Effortless Preparation: Whipping up these treats is a breeze; no complicated steps mean you can easily satisfy cravings any day of the week.
Customizable Delight: Feel free to experiment with different mix-ins! Add in nuts or swap chocolate chips to match your taste.
Crowd-Pleasing Appeal: Whether it’s a casual movie night or a festive gathering, these cookies are a guaranteed hit.
Quick Storage Solutions: They stay fresh in an airtight container, making them perfect for snacks at home or on the go. You can also explore other delicious treats such as Cookies Cream Peanut or Neiman Marcus Cookies for more delightful cookie adventures!
Rice Krispie Cookies Ingredients
These Rice Krispie Cookies blend nostalgia and flavor perfectly.
For the Base
- Butter – Provides richness and moisture; substitute with margarine for a dairy-free option.
- Brown Sugar – Adds depth of flavor and moisture; can be replaced with coconut sugar for a healthier choice.
- Granulated Sugar – Sweetens the dough and contributes to texture; use an equal amount of honey or agave syrup for a natural sweetener.
- Egg – Acts as a binder; substitute with a flax egg (1 tablespoon ground flaxseed mixed with 2.5 tablespoons water) for a vegan option.
- Vanilla Extract – Enhances overall flavor; you can omit it, but it adds a great aromatic quality.
For the Dough
- Baking Powder – Provides leavening; ensure it’s fresh for best results.
- Baking Soda – Aids in leavening and helps cookies spread; make sure it’s fresh as well.
- Salt – Balances sweetness; leave out if you’re using salted butter.
- All-Purpose Flour – Forms the structure of the cookies; substitute with gluten-free flour mix if needed.
- Shredded Coconut – Adds chewiness and flavor; can be omitted for a simpler cookie.
For the Crunch
- Rice Krispies – Provides a satisfying crunch; can be substituted with cornflakes or another crispy cereal.
- Chocolate Chips – Adds sweetness and richness; experiment with dark, white, or butterscotch chips for your Rice Krispie Cookies.
Now you’re all set to embark on a delightful cookie-making adventure!
Step‑by‑Step Instructions for Rice Krispie Cookies
Step 1: Preheat the Oven
Begin by preheating your oven to 375°F (190°C). While it warms up, line a baking sheet with parchment paper to prevent the cookies from sticking. This will ensure that your Rice Krispie Cookies bake evenly and make cleanup a breeze. Set the prepared baking sheet aside for later use.
Step 2: Cream the Butter and Sugars
In a large mixing bowl, combine softened butter, brown sugar, and granulated sugar. Use a hand mixer or stand mixer on medium speed to cream the mixture until it becomes light and fluffy, which should take about 2-3 minutes. This step is crucial as it creates a rich, airy base for your cookies.
Step 3: Incorporate Egg and Vanilla
Add in one egg and a splash of vanilla extract to the creamed butter and sugar mixture. Mix on medium speed until everything is fully combined, ensuring a uniform texture. The egg acts as a binder while the vanilla enhances the flavors, making your Rice Krispie Cookies irresistible.
Step 4: Combine the Dry Ingredients
Now, sprinkle the baking powder, baking soda, and salt into the mixture. Mix gently on low speed until just combined, avoiding overmixing to keep the texture light. It’s important to ensure your leavening agents are fresh to give your cookies that perfect lift.
Step 5: Add Flour and Coconut
Gradually add the all-purpose flour and shredded coconut to the mixing bowl. Stir on low speed until the flour is just incorporated into the dough. You should see a cohesive dough forming, but avoid overmixing, which could lead to tougher cookies in your Rice Krispie Cookies batch.
Step 6: Fold in Rice Krispies and Chocolate Chips
Using a spatula, gently fold in the Rice Krispies and chocolate chips until they’re evenly distributed throughout the dough. This step adds that delightful crunch and sweetness, creating a delicious balance in each cookie. Make sure not to crush the Rice Krispies as you mix.
Step 7: Scoop the Dough
Grab a cookie scoop or tablespoon and drop spoonfuls of the dough onto your prepared baking sheet. Space them about 2 inches apart to allow for spreading as they bake. Each cookie should appear rounded and mounded for the best result in your Rice Krispie Cookies.
Step 8: Bake the Cookies
Place the baking sheet in the preheated oven and bake for 8-10 minutes. Keep an eye on them; you’ll know they’re done when the edges turn golden brown, but the centers still appear slightly underbaked. This will result in a soft and chewy texture that everyone will love.
Step 9: Cool on Baking Sheet
Once baked, remove the cookies from the oven and let them cool on the baking sheet for about 5 minutes. This resting time will allow them to firm up slightly, making them easier to transfer. After that, move them to a wire rack to cool completely and enhance their texture even more.
How to Store and Freeze Rice Krispie Cookies
Room Temperature: Store your Rice Krispie Cookies in an airtight container at room temperature for up to 5 days to maintain their freshness and chewy texture.
Freezer: For longer storage, freeze the cookies in a single layer on a baking sheet, then transfer them to a freezer-safe container or bag for up to 3 months.
Reheating: When you’re ready to enjoy, simply thaw at room temperature or warm in the microwave for a few seconds to restore that gooey chocolate chip delight.
Tip: To maintain optimal texture, consider separating layers of cookies with parchment paper if stacking in a container.
What to Serve with Rice Krispie Chocolate Chip Cookies
Indulging in these delightful cookies opens the door to creating a memorable spread that everyone will adore.
- Cold Glass of Milk: The classic duo! The creamy, rich taste of milk beautifully complements the sweet, chewy flavors of the cookies.
- Vanilla Ice Cream Scoop: Pair these cookies with a scoop of velvety vanilla ice cream for an irresistible dessert sundae that oozes comfort.
- Chocolate Milkshake: This drink adds a nostalgic twist! Rich chocolate combined with a milkshake enhances the cookie’s chocolate chips, creating sheer bliss.
- Fresh Fruit Platter: Crisp apple slices or juicy berries offer a refreshing contrast to the sweetness, balancing flavors while adding vibrant color to your spread.
- Nutty Trail Mix: A crunchy, nutty blend pairs wonderfully with the soft and chewy texture of the cookies, adding yet another delightful layer of flavor and texture.
- Homemade Hot Cocoa: Warm, chocolatey goodness rounds out the experience, enhancing the cookies’ flavors with each sip, creating an inviting and cozy atmosphere.
Make Ahead Options
These Rice Krispie Chocolate Chip Cookies are ideal for busy home cooks looking to streamline meal planning! You can prepare the cookie dough up to 24 hours in advance by mixing all the ingredients together, then chilling the dough in the refrigerator (this helps develop flavors and prevents spreading). Simply scoop the dough onto a baking sheet and cover it tightly with plastic wrap or store it in an airtight container. When ready to bake, preheat your oven to 375°F (190°C) and bake straight from the fridge. For longer storage, consider freezing the prepared dough for up to 3 months; just allow it to defrost overnight in the fridge before baking. This way, you can indulge in fresh, delicious Rice Krispie Cookies anytime with minimal effort!
Rice Krispie Cookies Variations
Feel free to get creative and customize your Rice Krispie Cookies to your liking with these fun variations!
-
Nutty Boost: Add chopped walnuts or pecans for an extra crunch that compliments the softness of the cookie. The added flavor will take your cookies to the next level.
-
Holiday Cheer: Stir in festive sprinkles to get everyone in the holiday spirit! This nice color pop not only makes them visually appealing but also adds a hint of fun!
-
Flavor Twists: Swap out regular chocolate chips for dark, white, or butterscotch chips for a different flavor experience. Each type brings a unique taste that’ll keep your cookie jar exciting.
-
Coconut-Free: Omit shredded coconut for a classic cookie experience. This simple change makes it perfect for those who prefer a purer chocolate chip cookie flavor.
-
Cinnamon Spice: Add a dash of cinnamon to inject some warmth into your cookies. This subtle spice will enhance the overall flavor, perfect for cozy nights with hot chocolate.
-
Gluten-Free Option: Use a gluten-free flour blend instead of all-purpose flour to cater to dietary needs without sacrificing taste. Your loved ones won’t even notice the difference!
-
Crunchy Cereal Substitute: Try using cornflakes or puffed rice instead of Rice Krispies for a new texture twist. This variation brings another layer of fun and crunch to your baking!
-
Peanut Butter Delight: Swirl in some peanut butter for a unique flavor profile that pairs perfectly with chocolate. Not only does it add creaminess but also a delightful nutty depth.
These fun variations are just the beginning! If you enjoy experimenting, you might also love making treats like Ferrero Rocher Cookies or a batch of delightful No Bake Cranberry Pecan Praline Cookies. Let your kitchen creativity shine!
Expert Tips for Rice Krispie Cookies
• Uniform Cookie Sizes: Use a cookie scoop for consistent sizes, ensuring even baking and perfect presentation.
• Avoid Overmixing: Once you add the flour, mix until just combined to keep your Rice Krispie Cookies tender and chewy.
• Underbake for Softness: Aim for slightly underbaked centers; they will firm up while cooling, yielding a delightful texture.
• Fresh Ingredients Matter: Use fresh baking powder and baking soda for optimal rise and texture in your cookies.
• Cool Properly: Allow cookies to cool on the sheet briefly before transferring them; this helps maintain their shape and avoids breakage.

Rice Krispie Chocolate Chip Cookies Recipe FAQs
How do I select the right ripeness for ingredients like bananas or eggs?
For this recipe, you don’t need overly ripe bananas, but if you’re incorporating them, choose those with some brown spots for sweetness. As for eggs, use large, fresh eggs for the best binding. Check the expiration date and make sure they are stored properly in the refrigerator to maintain freshness.
How should I store leftover Rice Krispie Cookies?
Absolutely! To keep your Rice Krispie Cookies fresh, place them in an airtight container at room temperature for up to 5 days. This method keeps them chewy and delicious. Just remember to avoid warm areas or direct sunlight, as that can affect their texture over time.
Can I freeze Rice Krispie Cookies?
Yes! For long-term storage, freeze your cookies. Start by placing them in a single layer on a baking sheet so they don’t stick together. Once frozen solid, transfer them to a freezer-safe container or plastic bag for up to 3 months. When ready to enjoy, let them thaw at room temperature or warm a few seconds in the microwave for that freshly baked taste!
What if my cookies spread too much while baking?
If you find your Rice Krispie Cookies spread more than expected, it could be due to soft butter or not enough flour. Make sure your butter is softened, not melted. You can also chill the dough for 30 minutes before baking to help control spreading, achieving that perfect shape and texture!
Are Rice Krispie Cookies safe for those with allergies?
For those with allergies, take care to check all ingredients—especially for egg and gluten in the flour. You can make them safer by using gluten-free flour and a flax egg for a vegan option. Always ensure your ingredients are free from cross-contamination if necessary.
What variations can I try for these cookies?
Very! You can personalize your Rice Krispie Cookies by adding nuts like walnuts or pecans for crunch. Dried fruits or even a swirl of peanut butter can create special flavors. Don’t hesitate to mix and match, making each batch unique and delightful!

Rice Krispie Cookies: Chewy, Crunchy Nostalgia in Every Bite
Ingredients
Equipment
Method
- Preheat your oven to 375°F (190°C) and line a baking sheet with parchment paper.
- Cream softened butter, brown sugar, and granulated sugar until light and fluffy.
- Add in one egg and vanilla extract, mixing until fully combined.
- Sprinkle in baking powder, baking soda, and salt, mixing gently until just combined.
- Gradually add all-purpose flour and shredded coconut, stirring until the dough forms.
- Fold in Rice Krispies and chocolate chips until evenly distributed.
- Scoop tablespoon-sized dough onto the prepared baking sheet, spacing them 2 inches apart.
- Bake for 8-10 minutes until edges are golden brown and centers appear slightly underbaked.
- Cool the cookies on the baking sheet for about 5 minutes before transferring to a wire rack.
Leave a Reply