
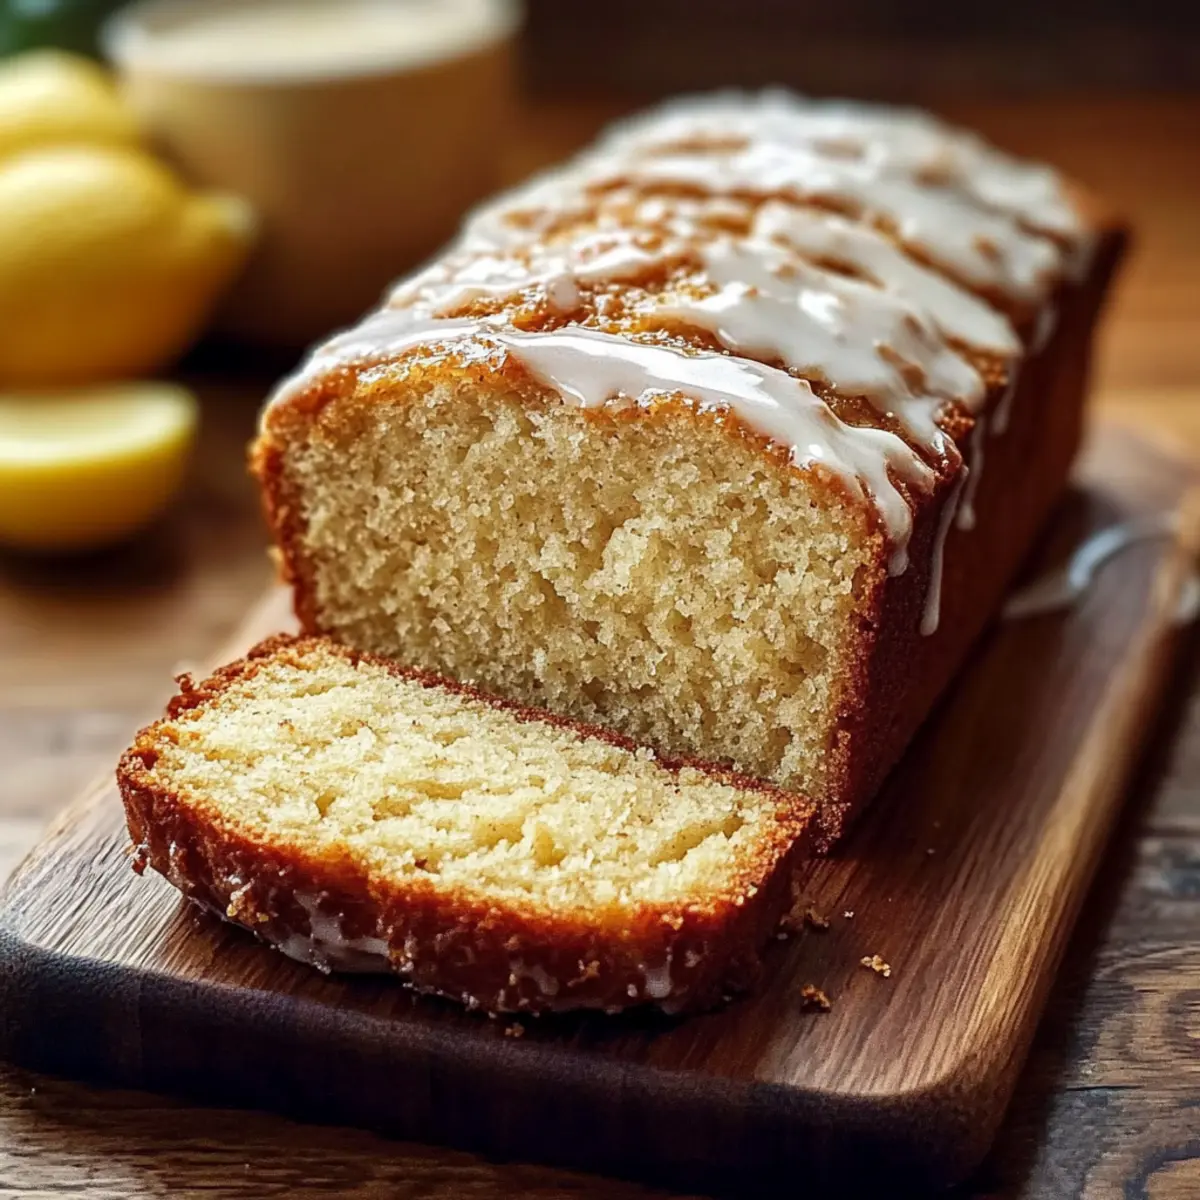
As I flipped through the pages of my favorite holiday cookbook, the allure of festive treats beckoned me. That’s when I stumbled upon this delightful recipe for Quick Eggnog Bread—an easy, yeast-free creation that captures the essence of the season with its creamy eggnog goodness. With just a few simple ingredients, you’ll have a moist and tender loaf that’s perfect for sharing at holiday gatherings or enjoying as a cozy midnight snack. Plus, it’s a breeze to whip up, allowing you to spend more time savoring the special moments of the season. Imagine the joy of serving this aromatic bread alongside your morning coffee or gifting it to a friend. Are you ready to embrace the spirit of the holidays and indulge in this delightful treat?
Why Is Quick Eggnog Bread a Must-Try?
Festive Flavors: This Quick Eggnog Bread is bursting with the cozy spices of nutmeg and vanilla, making it a perfect match for the holidays.
Effortless Baking: With no yeast required, it’s a straightforward recipe that anyone can master, even on a busy day!
Endless Versatility: Customize it with mix-ins like nuts or chocolate chips, or enjoy it plain—either way, it’s irresistible.
Perfect for Gifting: Wrapped in a decorative cloth, this bread makes a thoughtful homemade gift for friends and family during the festive season.
Savor the Memories: Picture sharing a slice with loved ones, paired with a warm cup of coffee or a scoop of vanilla yogurt—what fun holiday moments await!
You’ll love this delightful treat, just like my Pesto Chicken Flatbread or the comforting Tomato Spinach Shrimp. Your taste buds will thank you!
Quick Eggnog Bread Ingredients
For the Bread
• All-purpose flour – Provides the structure for the bread; substitute with a gluten-free flour blend for a gluten-free option.
• Granulated sugar – Adds sweetness; can be replaced with brown sugar for a deeper flavor.
• Baking powder – Acts as the leavening agent, ensuring the bread rises properly.
• Salt – Enhances flavor and is essential for balancing sweetness.
• Ground nutmeg – Offers warm spice notes characteristic of holiday flavors; can be substituted with cinnamon for a different twist.
• Eggnog – Brings moisture and flavor; use full-fat for a richer texture. Non-dairy alternatives can be used but may alter the bread’s texture.
• Vegetable oil – Adds fat for moisture; melted butter can be used for a richer taste.
• Eggs – Bind ingredients together, contributing to the bread’s tender texture.
• Vanilla extract – Adds aromatic sweetness; can substitute with almond extract for a unique flavor.
For the Optional Glaze
• Powdered sugar – Provides sweetness and visual appeal; optional for those who prefer a less sweet loaf.
• Milk – Adjusts the consistency of the glaze; non-dairy milk can be used if preferred.
• Vanilla extract – Enhances flavor; feel free to experiment with additional flavor extracts for variety.
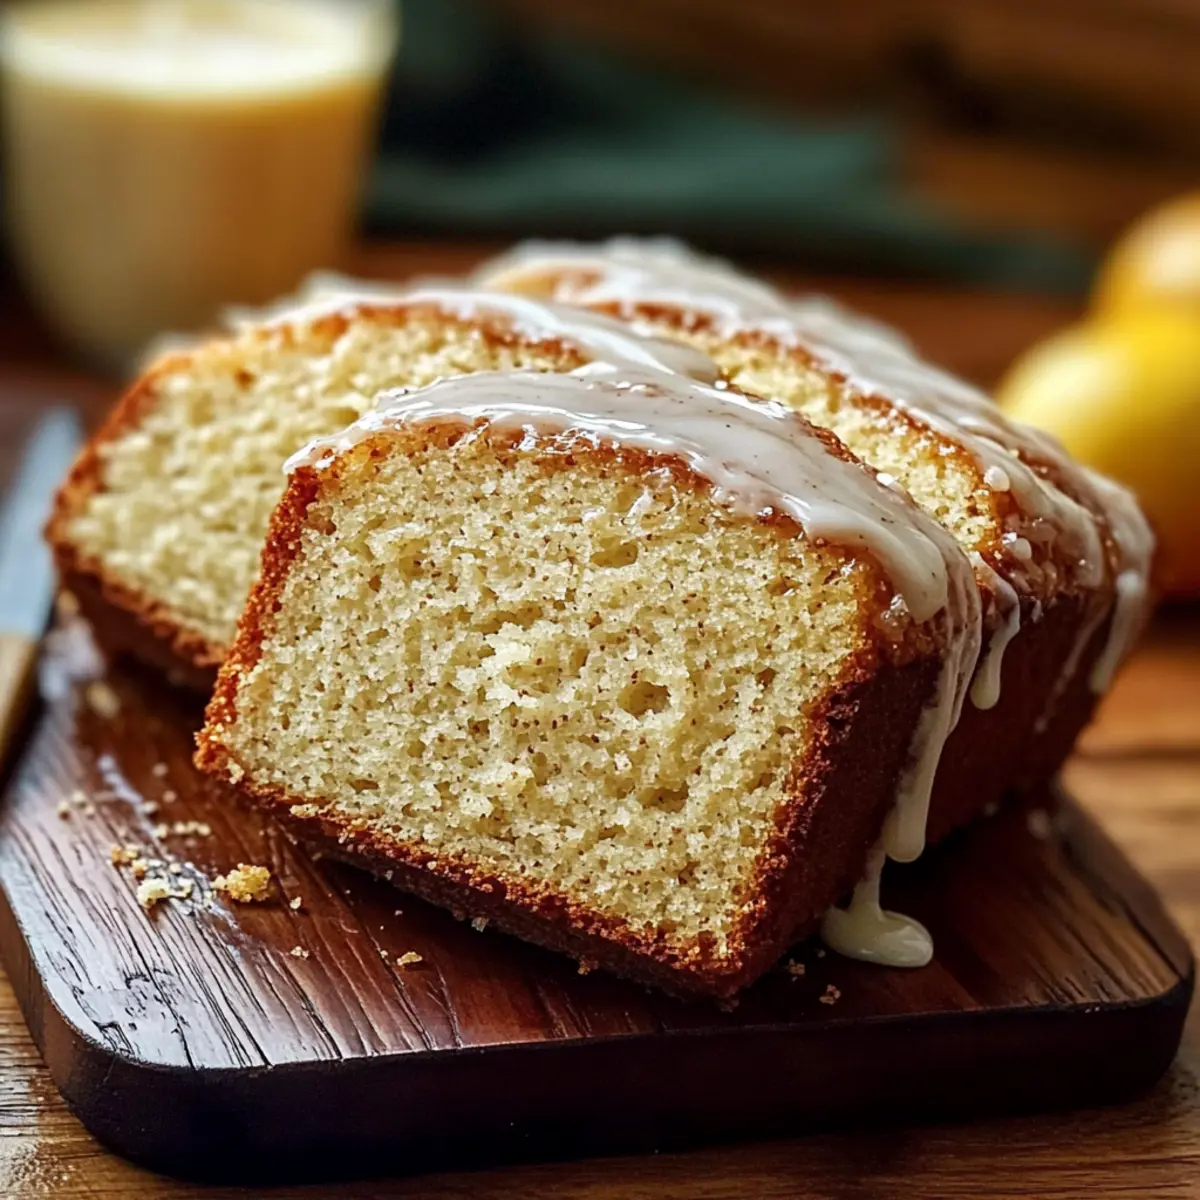
This Quick Eggnog Bread captures the essence of holiday baking in each delightful slice!
Step‑by‑Step Instructions for Quick Eggnog Bread
Step 1: Preheat the Oven
Begin by preheating your oven to 350°F (175°C). While the oven heats, prepare a 9×5-inch loaf pan by greasing it lightly with oil or lining it with parchment paper, ensuring easy removal of your Quick Eggnog Bread once baked.
Step 2: Mix Dry Ingredients
In a large mixing bowl, whisk together 2 cups of all-purpose flour, 1 cup of granulated sugar, 1 tablespoon of baking powder, ½ teaspoon of salt, and ½ teaspoon of ground nutmeg. This combination creates the bread’s structure and flavor base, so mix until all elements are fully combined, and the dry ingredients appear light and fluffy.
Step 3: Combine Wet Ingredients
In a different bowl, mix together 1 cup of eggnog, ⅓ cup of vegetable oil, 2 large eggs, and 1 teaspoon of vanilla extract. Whisk these ingredients until smooth and well blended, ensuring that the eggnog’s creamy texture integrates fully with the other wet components to create a cohesive mixture.
Step 4: Combine Wet and Dry Mixtures
Carefully pour the wet ingredients into the bowl containing the dry mixture. Gently stir until just combined, taking care not to overmix. The batter should be slightly lumpy; overmixing can result in a denser Quick Eggnog Bread, so be gentle and stop mixing once you no longer see dry flour.
Step 5: Pour the Batter
Transfer the batter into the prepared loaf pan, smoothing out the top with a spatula for even baking. Make sure the batter fills the pan evenly, creating a uniform loaf that will rise beautifully in the oven.
Step 6: Bake the Bread
Place the loaf pan in the preheated oven and bake for 50-55 minutes, or until a toothpick inserted into the center comes out clean or with just a few moist crumbs. The top should be golden brown and spring back slightly when touched.
Step 7: Cool the Bread
Once baked, remove the Quick Eggnog Bread from the oven and allow it to cool in the pan for about 10 minutes. This cooling period helps the bread firm up before transferring it, making it easier to slice.
Step 8: Prepare the Glaze (Optional)
If you want to add a glaze, in a small bowl, whisk together 1 cup of powdered sugar, 2 tablespoons of milk, and ½ teaspoon of vanilla extract until smooth and pourable. This optional touch enhances both flavor and appearance, bringing a delightful sweetness to your finished Quick Eggnog Bread.
Step 9: Serve and Enjoy
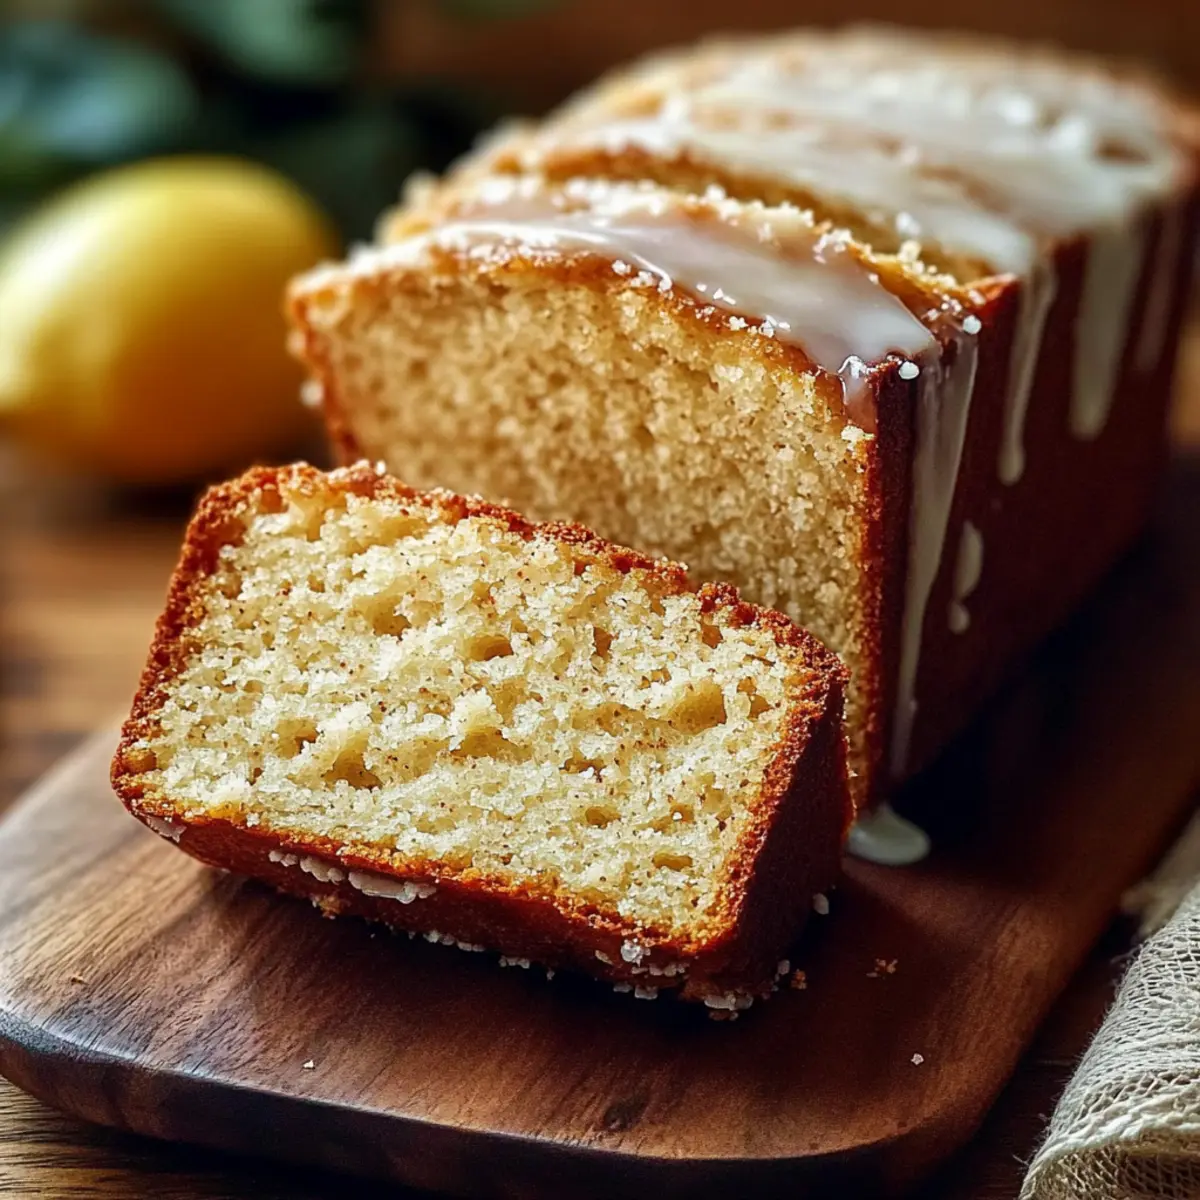
After transferring the bread to a wire rack to cool completely, drizzle the glaze over the top if using. Slice your Quick Eggnog Bread and serve it warm or at room temperature, enjoying its festive flavors as you create wonderful holiday memories.
Quick Eggnog Bread Variations & Substitutions
There’s so much joy in customizing your Quick Eggnog Bread—let your creativity shine while you bake!
- Gluten-Free: Substitute all-purpose flour with a gluten-free blend for a delicious, gluten-free version.
- Dairy-Free: Use non-dairy eggnog and replace vegetable oil with coconut oil for a rich, dairy-free alternative.
- Nutty Delight: Fold in chopped pecans or walnuts for a lovely crunch and added flavor in every slice.
- Chocolate Lovers: Mix in semi-sweet or dark chocolate chips for a sweet surprise that pairs beautifully with the eggnog.
- Spice It Up: Experiment with different spices like cardamom or ginger for a unique flavor profile that screams holiday cheer.
- Less Sweet: Skip the glaze entirely; the rich flavors of the bread shine on their own and keep it less sweet.
- Zesty Addition: Consider adding the zest of an orange or lemon to infuse a refreshing citrus twist into the batter.
- Flavor Extracts: Replace vanilla extract with almond or hazelnut extract for a unique, aromatic layer that will surprise your taste buds.
You could also try pairing it with other comforting recipes, like my delightful Zucchini Flatbread Herbs for a lovely afternoon treat. Enjoy the endless possibilities!
Expert Tips for Quick Eggnog Bread
Avoid Overmixing: Mixing too much can lead to a dense bread; stir gently until just combined for a light texture.
Cool Before Glazing: Allow your Quick Eggnog Bread to cool completely to prevent the glaze from melting into the bread.
Spice It Up: Boost flavor by adding a pinch of cinnamon or allspice to the dry ingredients for an extra festive kick.
Check for Doneness: Use a toothpick to test for doneness; it should come out clean or with a few crumbs for a perfectly baked loaf.
Storage Tips: Wrap the bread tightly in plastic wrap to keep it fresh for up to 3 days at room temperature or longer in the fridge.
What to Serve with Quick Eggnog Bread?
Imagine the aroma of freshly baked Quick Eggnog Bread filling your home, now envision pairing it with delightful accompaniments for the ultimate holiday experience.
-
Creamy Mashed Potatoes: Their velvety texture beautifully balances the spiced sweetness of the bread. A dream combo during festive gatherings!
-
Cinnamon Spiced Coffee: The warmth of cinnamon coffee enhances the subtle spice notes in the eggnog bread, creating a cozy experience to savor over brunch.
-
Vanilla Yogurt: Tangy and creamy, yogurt provides a refreshing contrast to the sweetness of the bread, perfect for breakfast or a light dessert.
-
Warm Maple Syrup: Drizzling maple syrup over the bread adds an extra layer of sweetness that pairs harmoniously with the eggnog flavor. Ideal for those who love indulgence!
-
Tart Berries: Fresh berries bring a burst of acidity that cuts through the richness, providing a refreshing element that elevates the entire meal.
-
Holiday Punch: A festive beverage full of seasonal flavors complements the bread well. It adds a celebratory touch to your gatherings, delighting guests as they sip and snack!
-
Spiced Apple Cider: Warm, spiced cider echoes the Christmas spirit and pairs beautifully with the bread, enhancing the overall cozy atmosphere.
-
Chocolate Chip Cookies: Adding a side of these delightful treats adds variety and sweetness, appealing to both kids and adults alike. A sweet treat overload!
-
Cheese Plate: A selection of soft cheeses and crackers provides a savory contrast to the sweet bread, making for a sophisticated appetizer or snack option.
Storage Tips for Quick Eggnog Bread
Room Temperature: Keep your Quick Eggnog Bread wrapped tightly in plastic wrap or stored in an airtight container for up to 3 days to maintain its moisture and flavor.
Fridge: If you want to extend its life, the bread can be stored in the refrigerator for up to a week. Just be sure to seal it properly to prevent it from drying out.
Freezer: For longer storage, freeze the bread for up to 3 months. Slice it before freezing for easy access to individual pieces. Wrap slices in plastic wrap and place in a freezer bag to maintain freshness.
Reheating: To enjoy your Quick Eggnog Bread again, simply thaw at room temperature or warm it in the microwave for 10-15 seconds. Enjoy with a pat of butter for extra coziness!
Make Ahead Options
These Quick Eggnog Bread loaves are perfect for meal prep enthusiasts! You can mix the dry ingredients and store them in an airtight container for up to 3 days, ensuring that the flavors remain vibrant. Additionally, prepare the wet ingredient mixture (eggnog, oil, eggs, and vanilla) and refrigerate it for up to 24 hours. When you’re ready to bake, simply combine the wet and dry mixtures, pour the batter into your prepared pan, and bake as directed. This way, you can enjoy the delightful aroma of freshly baked bread without the time crunch during busy holiday mornings! Your Quick Eggnog Bread will be just as delicious as if made fresh, giving you more time to savor those special moments.
Quick Eggnog Bread Recipe FAQs
How do I select the best eggnog for this recipe?
Absolutely! When choosing eggnog, go for a brand that is rich and creamy for a more decadent bread. I recommend using full-fat eggnog as it contributes moisture and enhances the flavor profile. If you’re opting for non-dairy alternatives, keep in mind that they may slightly alter the texture but can still make a delicious loaf.
What’s the best way to store Quick Eggnog Bread?
Wrap your Quick Eggnog Bread tightly in plastic wrap or store it in an airtight container at room temperature for up to 3 days. If you want it to last longer, refrigerate it for up to a week, but remember to ensure it’s well-sealed to prevent it from drying out.
Can I freeze Quick Eggnog Bread?
Very! For longer storage, you can freeze the Quick Eggnog Bread for up to 3 months. Slice the bread before freezing for easy access. Wrap each slice in plastic wrap and place them in a freezer-safe bag to maintain freshness. When you’re ready to enjoy it, just thaw at room temperature or pop it in the microwave for 10-15 seconds.
What should I do if my bread is too dense?
If your Quick Eggnog Bread turns out dense, it might be due to overmixing the batter. Make sure to combine the wet and dry ingredients gently until just mixed. If you notice that your flour might have been packed down more than it should have been, try fluffing it up before measuring next time to avoid adding too much.
Are there any dietary considerations I should be aware of?
Certainly! If you’re making this bread for someone with allergies, be mindful of the eggnog and the eggs in the recipe, as they could pose a risk for those allergic to dairy or eggs. You can use dairy-free eggnog and substitute the eggs with a flaxseed meal or applesauce for a vegan alternative.
How do I know when my Quick Eggnog Bread is done baking?
To check for doneness, insert a toothpick into the center of the loaf. If it comes out clean or with a few moist crumbs, your bread is ready. The top should be golden brown and spring back lightly when touched. Allowing it to cool properly is essential to achieving the perfect texture!
Cozy Up with Quick Eggnog Bread Perfect for the Holidays
Ingredients
Equipment
Method
- Preheat your oven to 350°F (175°C) and prepare a 9x5-inch loaf pan by greasing it or lining it with parchment paper.
- In a large mixing bowl, whisk together the dry ingredients: flour, sugar, baking powder, salt, and nutmeg until light and fluffy.
- In another bowl, mix the wet ingredients: eggnog, vegetable oil, eggs, and vanilla extract until smooth.
- Carefully combine the wet mixture with the dry ingredients, stirring gently until just combined.
- Pour the batter into the prepared loaf pan, smoothing the top for even baking.
- Bake the bread in the preheated oven for 50-55 minutes, until a toothpick comes out clean.
- Once baked, cool the bread in the pan for 10 minutes before transferring it to a wire rack.
- Optional: For the glaze, whisk together powdered sugar, milk, and vanilla until smooth and pourable.
- Drizzle the glaze over the cooled bread and slice to serve.
Leave a Reply