
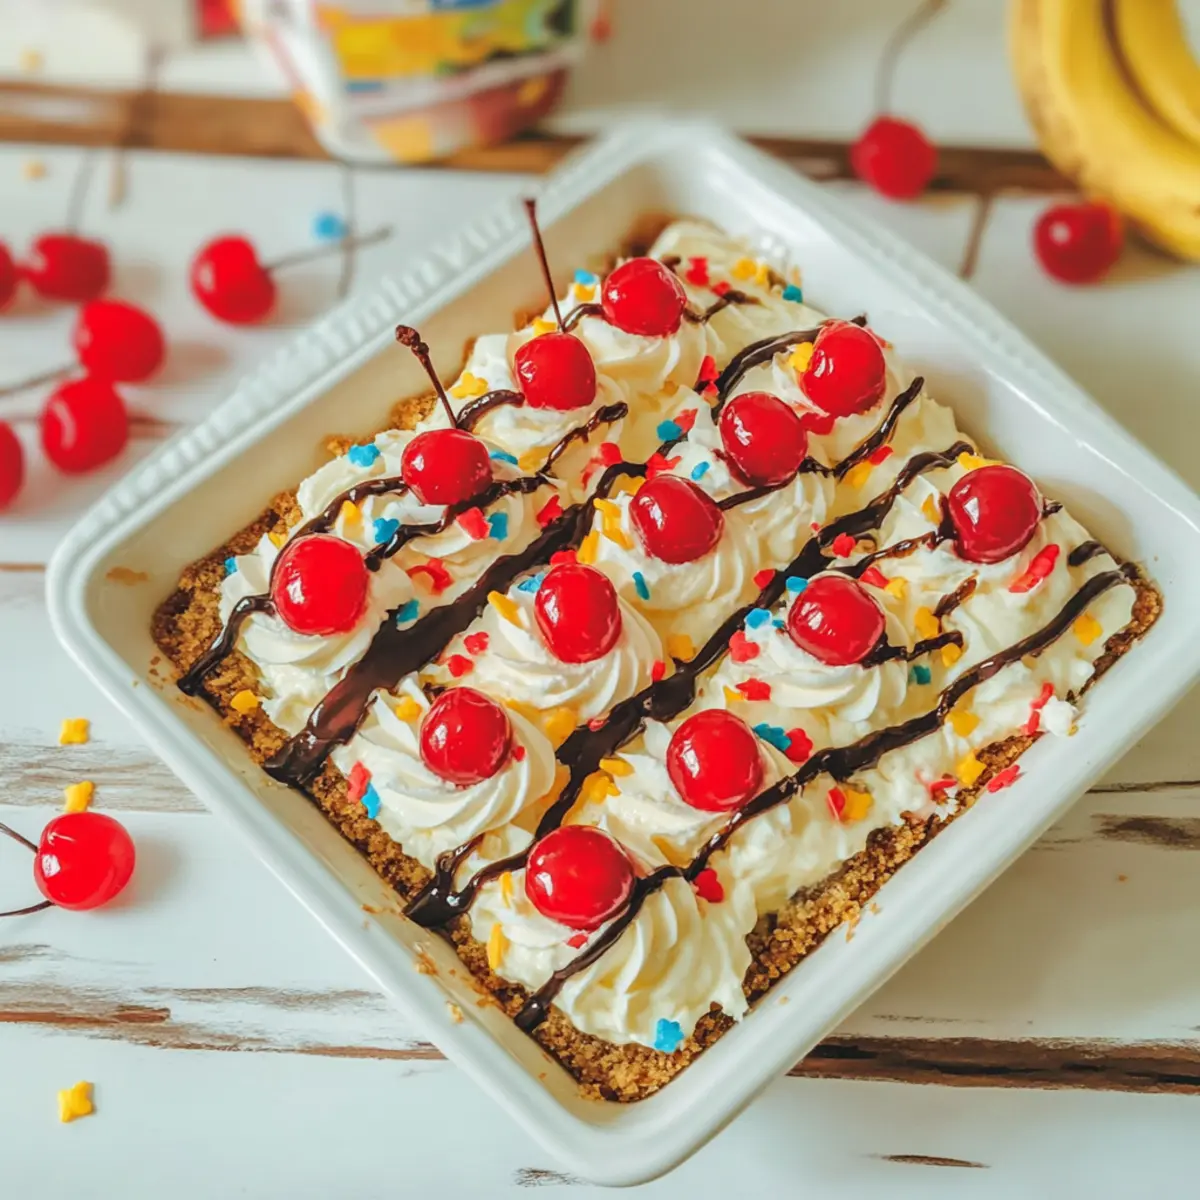
As the sun blazes down and summer parties beckon, I find myself longing for something refreshing yet easy to whip up. Enter the No Bake Banana Split Cake—a delightful twist on a classic dessert that captures the spirit of lazy afternoons. This simple, no bake treat combines the luscious flavors of bananas and cream with a crunchy graham cracker crust, making it an ultimate family-friendly dessert. With minimal prep time and no oven required, it’s the perfect solution for those sweltering days when you want to keep the kitchen cool, yet still impress your guests. You won’t just satisfy your sweet tooth; you’ll also create lasting memories around the table. Ready to dive into this delicious adventure? Let’s get started!
Why is this No Bake Banana Split Cake irresistible?
Simplicity at Its Best: This recipe requires no baking, making it perfect for all skill levels — a breeze to put together even on the busiest summer days.
Endless Flavor: The harmonious blend of bananas, cream cheese, and whipped cream offers a nostalgic taste that transports you back to childhood summers.
Family-Friendly Fun: Kids will love helping with the layering and decorating, making it an ideal project for family bonding.
Versatile Variations: Swap bananas for seasonal fruits like strawberries or peaches, or try crushed cookies instead of nuts for a new twist!
Perfect for Any Occasion: Whether it’s a potluck, picnic, or simply a weeknight treat, this cake is a show-stopper every time. Don’t forget to check out my favorite Banana Nut Baked dish to complement your meal!
Make-Ahead Marvel: Prepare it a day in advance, allowing the flavors to meld for a dessert that’s even better the next day!
No Bake Banana Split Cake Ingredients
For the Crust
• Graham Crackers – Provides the crust; can substitute with gluten-free graham crackers for a gluten-free option.
For the Cream Layer
• Cream Cheese (8 ounces, softened) – Adds richness and a creamy texture; use low-fat cream cheese for a lighter variation.
• Instant Banana Pudding Mix (2 boxes, 3.4 ounces each) – Forms the pudding layers; vanilla pudding mix can be used for a different flavor profile.
• Milk (2 cups) – Helps blend the pudding mix and cream cheese; almond milk can be used for a dairy-free version.
For the Topping
• Cool Whip (14 ounces) – Adds lightness and airiness to the layers; can substitute with homemade whipped cream for a fresher taste.
• Mixed Nuts Ice Cream Topping – Provides a crunchy topping; can substitute with crushed peanuts for a nut-free version.
• Store-bought Vanilla Icing (½ container) – For decoration on top; homemade frosting can enhance the flavor.
• Rainbow Sprinkles – Adds color and fun; optional, or substitute with chocolate sprinkles.
• Maraschino Cherries (12) – A classic banana split topping; can replace with fresh cherries for a healthier option.
• Chocolate Icing (½ container) – To drizzle on top; melted chocolate or chocolate sauce can be used as an alternative.
Step‑by‑Step Instructions for No Bake Banana Split Cake
Step 1: Prepare the Cream Mixture
In a stand mixer, blend 8 ounces of softened cream cheese and two boxes of instant banana pudding mix on high speed until completely smooth, about 2-3 minutes. The texture should be creamy and free of lumps, which will ensure a perfect pudding layer for your No Bake Banana Split Cake.
Step 2: Add Cool Whip and Milk
Next, incorporate 10 ounces of Cool Whip and 2 cups of milk into the cream mixture. Mix on medium speed until thickened and well-combined, approximately 2-3 minutes. You should see the mixture become light and airy; then, refrigerate it for about 10 minutes to allow it to set slightly.
Step 3: Assemble the Base
Spread a layer of remaining Cool Whip evenly across the bottom of a 9×13-inch baking dish, creating a smooth foundation for your layers. Then, line the base with graham crackers, breaking them as needed to ensure an even fit. This crunchy layer acts as the perfect contrasting texture for the cream layers above.
Step 4: Create Pudding Layers
Pour one-third of the prepared pudding mixture over the graham crackers, smoothing it with a spatula. Repeat the layers, adding more graham crackers followed by pudding mixture, until you have three layers total, ensuring the final layer is the pudding mixture. This layering technique creates a beautiful, creamy No Bake Banana Split Cake.
Step 5: Add the Crunchy Topping
Sprinkle a generous layer of mixed nuts ice cream topping over the final pudding layer. This adds delightful crunch and complements the smooth textures of the cake. Make sure to distribute the nuts evenly for a consistent flavor in every bite.
Step 6: Freeze Until Set
Cover the baking dish tightly with plastic wrap and place it in the freezer for at least 4 hours. Proper freezing is crucial for the No Bake Banana Split Cake to set perfectly. You want it firm enough to slice cleanly while still remaining creamy when served.
Step 7: Decorate with Icing
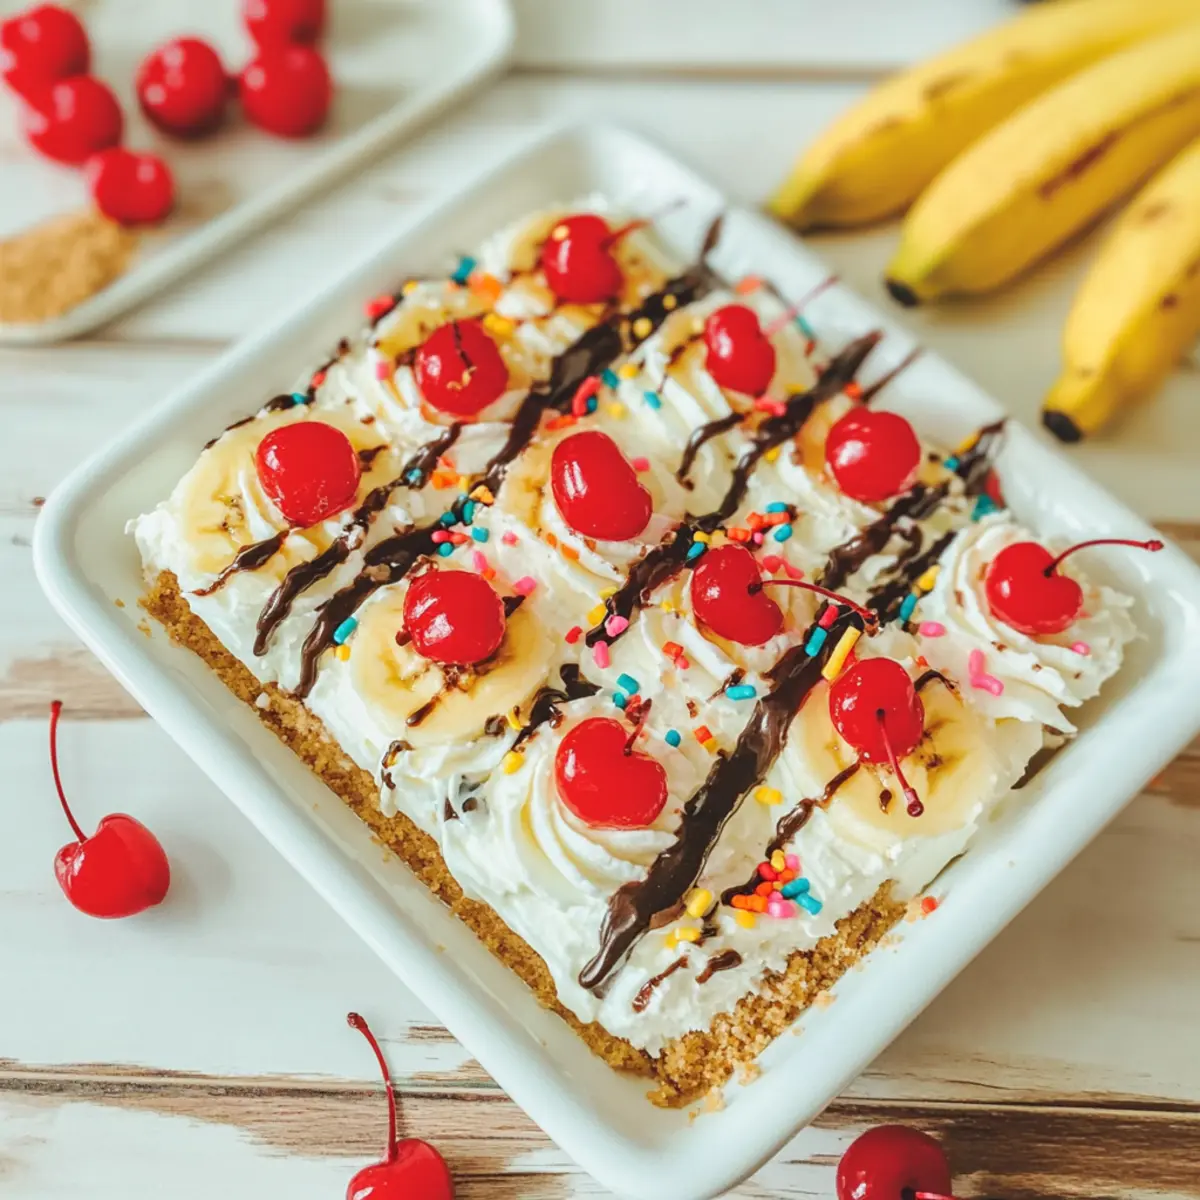
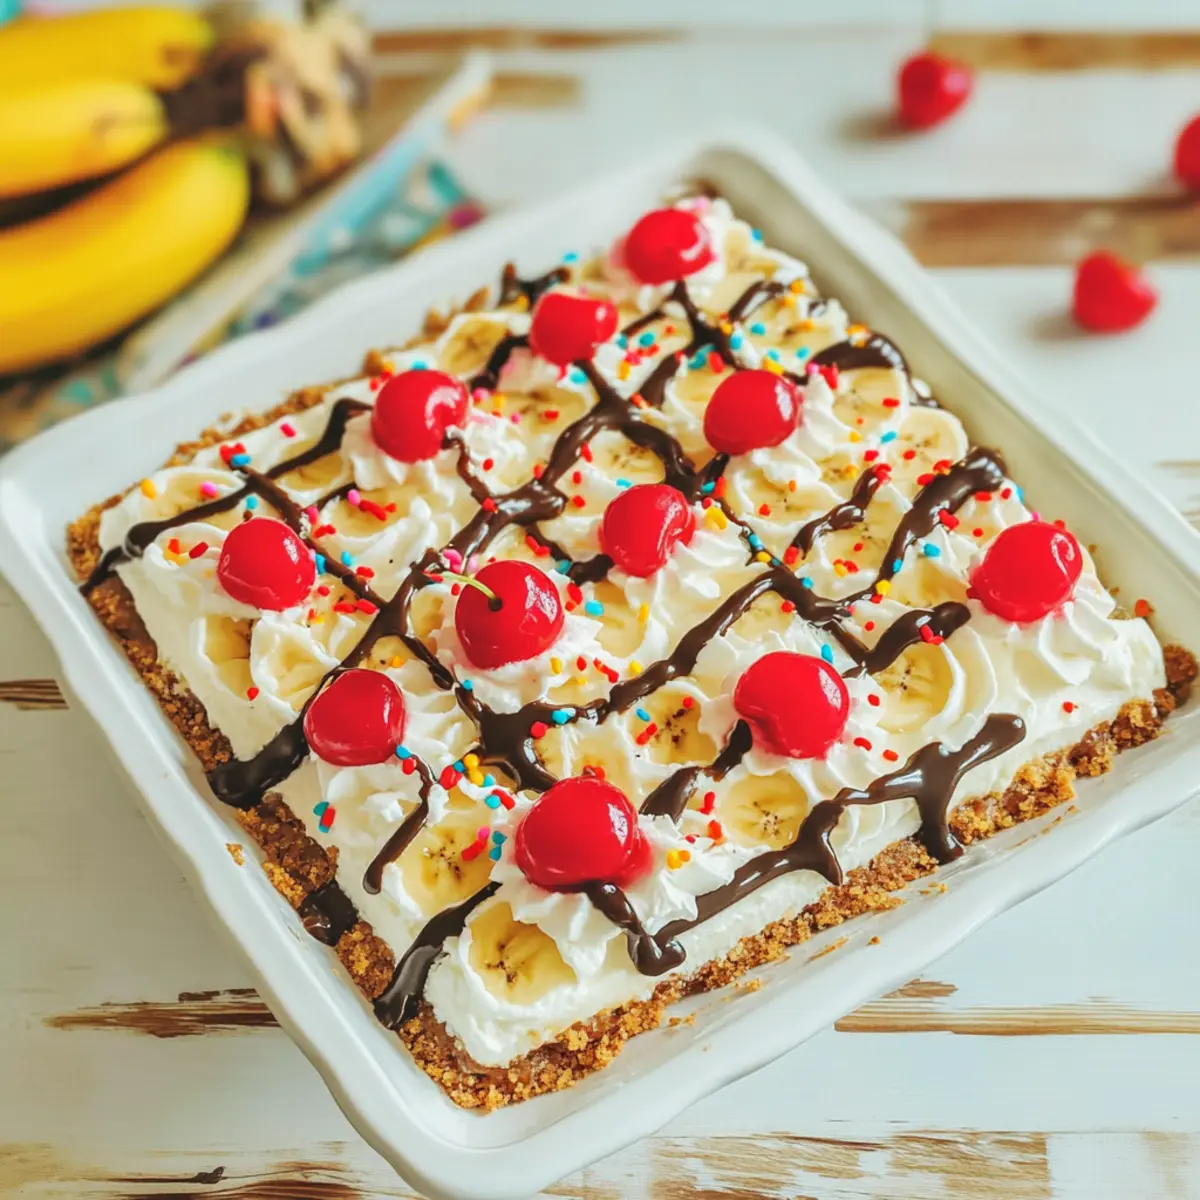
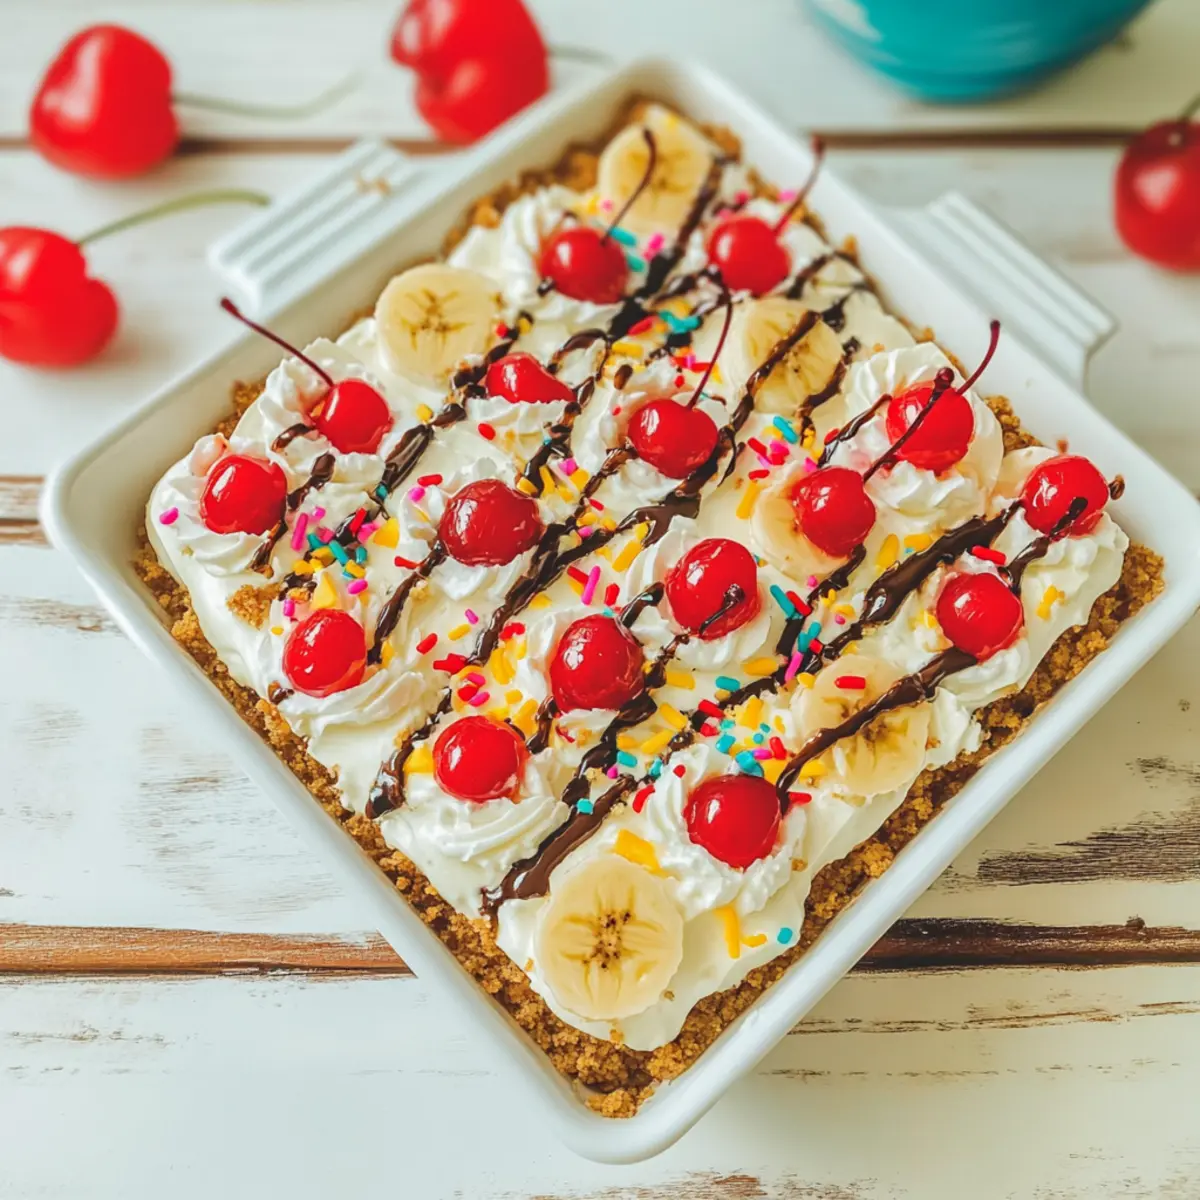
Once the cake is set, remove it from the freezer and using a piping bag fitted with a 1M tip, pipe store-bought vanilla icing decoratively on top. Garnish the cake with maraschino cherries and colorful rainbow sprinkles for a festive touch that highlights the joyful nature of summer desserts.
Step 8: Drizzle with Chocolate Icing
Heat half a container of chocolate icing in the microwave for 30 seconds, then stir until smooth and pourable. Drizzle this luscious chocolate topping generously over the cake, allowing it to cascade and create a tempting visual effect that makes this No Bake Banana Split Cake truly irresistible.
Step 9: Serve and Enjoy
Slice the No Bake Banana Split Cake into squares and serve chilled. For the best experience, pair each slice with a scoop of vanilla ice cream for added creaminess. This refreshing dessert is sure to delight friends and family alike during summer gatherings or casual weeknight treats!
What to Serve with No Bake Banana Split Cake?
Indulge in a dreamy culinary experience that perfectly complements the delightful layers of this refreshing dessert.
-
Creamy Vanilla Ice Cream: A scoop of vanilla ice cream enhances the luscious textures and brings a classic touch to this summertime treat.
-
Fresh Fruit Salad: A colorful mix of seasonal fruits adds a refreshing contrast and brightens up the plate, balancing the cake’s richness beautifully.
-
Chocolate-Covered Strawberries: These sweet bites echo the cake’s flavor profile while providing a sweet, tangy burst, making for delightful finger food.
-
Whipped Cream Topping: A dollop of freshly whipped cream adds extra lightness and elegance, perfect for garnishing each slice and enhancing the dessert’s aesthetics.
-
Sizzling Grilled Pineapple: The smoky sweetness of grilled pineapple pairs wonderfully with the banana, bringing a tropical twist that’s irresistible in warm weather.
-
Lemonade or Sweet Tea: A chilled glass of lemonade or sweet tea refreshes the palate, bringing a balance to the sweetness of the dessert.
-
Almond Biscotti: Crunchy, nutty biscotti cookies are perfect for dipping into a cup of coffee or tea, creating a delicious side that echoes the dessert flavors.
-
Chocolate Milkshake: This creamy, decadent drink is a perfect partner, amplifying the chocolate notes and providing an indulgent finish to your meal.
-
Caramel Sauce Drizzle: Drizzled over the cake or served on the side, warm caramel adds a rich sweetness that ties together every delightful bite.
Storage Tips for No Bake Banana Split Cake
Fridge: Store the cake tightly wrapped in plastic wrap or in an airtight container for up to 2-3 days to maintain optimal freshness and prevent drying out.
Freezer: This No Bake Banana Split Cake can be frozen for up to 1 month. Ensure it is well-wrapped to prevent freezer burn, and allow it to thaw in the fridge before serving.
Reheating: There’s no need to reheat; simply slice and serve chilled. For best texture, let the cake sit at room temperature for about 10 minutes before enjoying after freezing.
Serving: Garnish with fresh whipped cream or extra sprinkles just before serving for a fun presentation!
Expert Tips for No Bake Banana Split Cake
-
Soften Cream Cheese: Ensure cream cheese is at room temperature for easy mixing. This avoids lumps and creates a smooth filling in your No Bake Banana Split Cake.
-
Use an Electric Mixer: Mixing by hand can lead to inconsistencies. An electric mixer will help achieve that light and airy texture in your pudding layers.
-
Don’t Rush Freezing: Allow the cake to freeze for the full 4 hours for optimal texture. A shorter freezing time may result in a soft cake that doesn’t hold its shape.
-
Slice with Care: To get clean edges, use a sharp knife and run it under hot water before cutting your No Bake Banana Split Cake. This helps in smoothly slicing through the layers without tearing.
-
Decorate with Fun: Play around with toppings! Consider chopped fresh fruits or a mix of sprinkles to make your dessert even more visually appealing and personalized.
-
Chill Before Serving: For that refreshing summer bite, serve the cake straight from the fridge, enhancing the experience on warm days!
Make Ahead Options
Preparing this No Bake Banana Split Cake in advance is a game-changer for busy home cooks! You can assemble the cake up to 24 hours ahead of your gathering, allowing the flavors to meld beautifully. Simply complete the first six steps of the recipe and freeze the cake until set. To maintain its creamy texture, cover it tightly with plastic wrap to prevent freezer burn. When you’re ready to serve, take it out, decorate with icing, cherries, and sprinkles, and drizzle with chocolate icing just before enjoying. This way, you can enjoy a stress-free dessert experience without compromising on quality or taste!
No Bake Banana Split Cake Variations
Let your creativity shine while making this delightful dessert with these exciting twists!
- Dairy-Free: Swap the cream cheese and Cool Whip for vegan alternatives to create a luscious dairy-free version loved by all.
- Gluten-Free: Use gluten-free graham crackers in the crust so everyone can enjoy this refreshing dessert at gatherings without worry!
- Fruity Fun: Replace the bananas with seasonal fruits like strawberries or peaches to add a fresh, fruity punch to each layer. Think bright colors and flavors!
- Nut-Free Option: Use crushed cookies like Oreos or graham cracker crumbs instead of mixed nuts for a tasty crunch that’s safe for those with nut allergies.
- Chocolate Lover’s Delight: Add crushed chocolate cookies to the graham cracker crust or sprinkle chocolate shavings over the top for an indulgent twist.
- Banana Pudding Variation: Incorporate banana slices between layers of pudding for added texture and a more pronounced banana flavor throughout the cake.
- Sundae Style: Drizzle caramel or fudge sauce over each slice when serving for a decadent sundae-inspired dessert that’s sure to impress!
- Whipped Cream Upgrade: Replace Cool Whip with homemade whipped cream for a fresher taste and a satisfying texture that elevates your dessert.
Feel free to explore these variations or even invent your own! With memories made at the table, each slice will serve as a sweet reminder of your delicious adventures. Don’t forget, for extra banana goodness, check out my favorite Nutella Banana Muffins to enjoy alongside!
No Bake Banana Split Cake Recipe FAQs
How do I choose the best bananas for this recipe?
Absolutely! When selecting bananas for your No Bake Banana Split Cake, look for ones that are ripe but not overly brown; they should have a few small brown spots for optimal sweetness. Bananas that are too green may not mash well, while overly ripe bananas can become mushy, making the cake too wet.
How should I store leftovers of the No Bake Banana Split Cake?
It’s essential to wrap the cake tightly with plastic wrap or store it in an airtight container. Properly stored in the fridge, it will stay fresh for up to 2-3 days. If you freeze the cake, make sure it’s well-wrapped to prevent freezer burn, and it will last for up to 1 month!
Can I freeze the No Bake Banana Split Cake?
Yes, you can! Freezing this dessert is easy. First, allow the cake to set completely in the freezer for at least 4 hours. Once it’s firm, cover it tightly with plastic wrap and then with aluminum foil for extra protection. When you’re ready to enjoy, simply move it to the refrigerator to thaw for a few hours before serving.
What should I do if the pudding mixture is too runny?
If your pudding mixture ends up too runny, don’t worry! It’s essential to mix the Cool Whip and milk in gradually. If you’ve added too much milk, it might help to refrigerate the mixture for an additional 10-15 minutes to let it firm up before layering it into the crust. Always double-check the thickness before assembling.
Is this recipe safe for those with nut allergies?
Very! To make the No Bake Banana Split Cake nut-free, simply substitute the mixed nuts topping with crushed cookies like Oreos or skip that ingredient altogether. Always ensure your ice cream toppings and any other add-ins are nut-free to avoid any allergic reactions.
What is the best way to slice the No Bake Banana Split Cake?
For the cleanest cuts, I recommend using a sharp knife dipped in hot water. This technique helps the knife glide through the layers without tearing, providing you with beautifully polished slices that are perfect for serving your family and friends!
No Bake Banana Split Cake: A Slice of Summer Bliss
Ingredients
Equipment
Method
- In a stand mixer, blend 8 ounces of softened cream cheese and two boxes of instant banana pudding mix on high speed until completely smooth, about 2-3 minutes.
- Next, incorporate 10 ounces of Cool Whip and 2 cups of milk into the cream mixture. Mix on medium speed until thickened and well-combined, approximately 2-3 minutes.
- Spread a layer of remaining Cool Whip evenly across the bottom of a 9x13-inch baking dish, then line the base with graham crackers.
- Pour one-third of the prepared pudding mixture over the graham crackers, repeating layers until you have three total layers.
- Sprinkle a generous layer of mixed nuts ice cream topping over the final pudding layer.
- Cover the baking dish tightly with plastic wrap and place it in the freezer for at least 4 hours.
- Once set, pipe store-bought vanilla icing decoratively on top, garnishing with maraschino cherries and rainbow sprinkles.
- Heat half a container of chocolate icing in the microwave for 30 seconds, then drizzle it generously over the cake.
- Slice the cake into squares and serve chilled, ideally with a scoop of vanilla ice cream.
Leave a Reply