
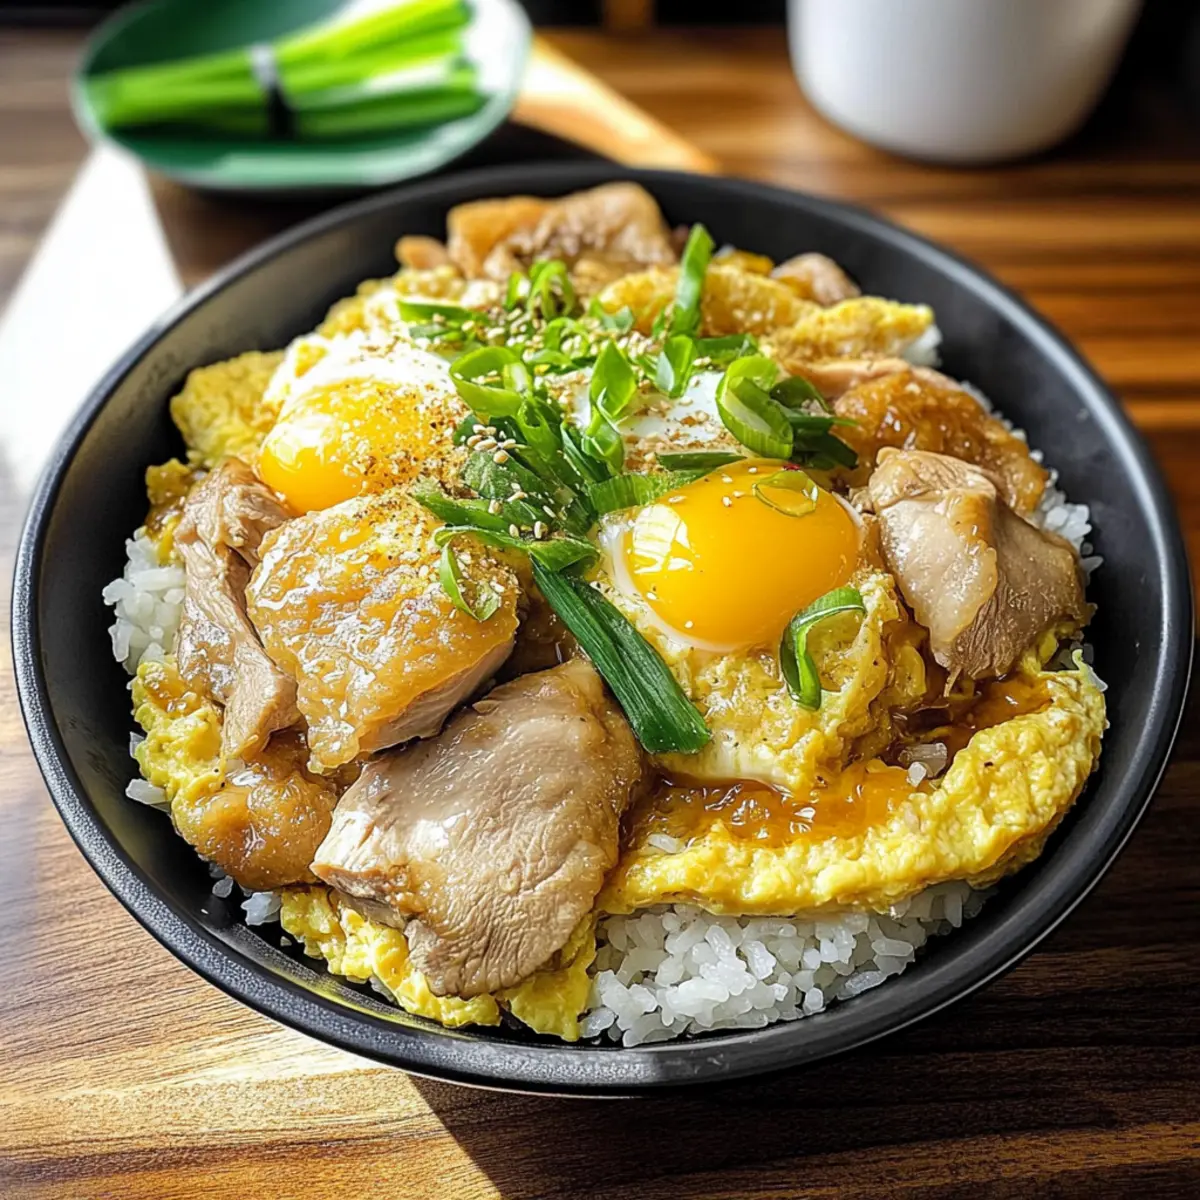
As the scent of tender chicken mingles with softly cooked eggs wafts through my kitchen, I’m instantly transported to my favorite Japanese bistro. Meet Oyakodon, the delightful Japanese Chicken and Egg Rice bowl that not only warms your heart but makes mealtime an absolute breeze. This comfort food gem is a quick, one-bowl dish that beautifully balances savory and sweet flavors, making it an ideal choice for those busy weeknights when you crave something satisfying without the fuss. With a rich history and homely vibe, Oyakodon symbolizes the bond between its main ingredients—the chicken and the egg—prompting you to whip up a plateful of culinary joy. Are you ready to dive into this heartwarming recipe and explore the delicious simplicity of Japanese cuisine?
Why is Oyakodon a Must-Try?
Quick Preparation: In just 30 minutes, you can have a delicious meal ready! This recipe is perfect for busy weeknights when you need something nourishing without a long cook time.
Comforting Harmony: The blend of tender chicken, creamy eggs, and fluffy rice creates a cozy dish that feels like a warm hug.
Endless Variations: Want to mix it up? Try substituting chicken with tofu or adding fresh veggies like mushrooms for a twist on this classic.
Bold Flavor: The savory-sweet sauce made with soy sauce and mirin elevates the dish, making it irresistible!
Satisfying One-Bowl Meal: Everything you need is in one bowl, simplifying your meal prep while saving on dishes. Feel free to serve it with a warming side like miso soup for a complete experience!
Whether you’re a fan of traditional Oyakodon or experimenting with your own flavor combinations, this recipe is sure to bring joy to your dinner table! Check out Low Carb Chicken for more quick meal ideas.
Japanese Chicken and Egg Rice Ingredients
• Get ready to gather your ingredients for this heartwarming dish!
For the Chicken and Eggs
- Chicken Thigh – Tender and flavorful, this is the star of your Oyakodon; swap for chicken breast for a leaner option.
- Eggs – Fresh eggs add richness and a creamy texture to the dish.
For the Comforting Sauce
- Onion – This adds a sweet depth to the broth; feel free to use green onions for a milder flavor.
- Soy Sauce – Infuses the dish with umami; you can substitute tamari for a gluten-free version.
- Mirin – Sweet rice wine that balances the savory notes; if needed, substitute with a mix of sake and sugar.
- Water – Used to achieve the right sauce consistency; it’s essential for the broth.
- Sugar – Enhances sweetness; consider using honey for a natural twist.
- Hondashi – Optional instant dashi granules that add depth; feel free to omit or use homemade dashi if preferred.
For the Garnish
- Green Onion – Adds freshness and color to your bowl; chives make an excellent alternative if you prefer.
This Japanese Chicken and Egg Rice bowl is not just about flavors; it’s about comfort and family. Enjoy the delightful combination that comes together in a few simple steps!
Step‑by‑Step Instructions for Japanese Chicken and Egg Rice
Step 1: Prep Ingredients
Begin by preparing your ingredients for the Japanese Chicken and Egg Rice. Thinly slice one onion and cut chicken thighs into bite-sized pieces. Crack and whisk 2 to 3 fresh eggs in a bowl, ensuring everything is ready to go. This prep will streamline your cooking process, making it easier to focus on creating a delicious Oyakodon.
Step 2: Make Sauce
In a large skillet, combine ¼ cup soy sauce, ¼ cup mirin, ½ cup water, and 1 tablespoon sugar over medium heat. If using hondashi, add ½ teaspoon now. Stir the mixture gently until the sugar dissolves and the sauce comes to a gentle simmer, about 3 minutes. This savory-sweet sauce forms the exciting base for your Oyakodon.
Step 3: Cook Chicken
Add the sliced onion to the skillet and sauté for about 2 minutes, or until translucent. Next, add the seasoned chicken pieces, spreading them evenly in the pan. Cook for 5-7 minutes, stirring occasionally, until the chicken is fully cooked through and golden brown, absorbing the flavorful sauce. This step is crucial for ensuring the chicken is tender and juicy in your rice bowl.
Step 4: Add Eggs
Reduce the heat to low and carefully pour the whisked eggs over the chicken mixture in the skillet. Cover with a lid and allow it to simmer for about 2 minutes. Keep an eye on the eggs; they should be slightly runny yet set. This creates a creamy texture that enhances your Japanese Chicken and Egg Rice experience.
Step 5: Serve
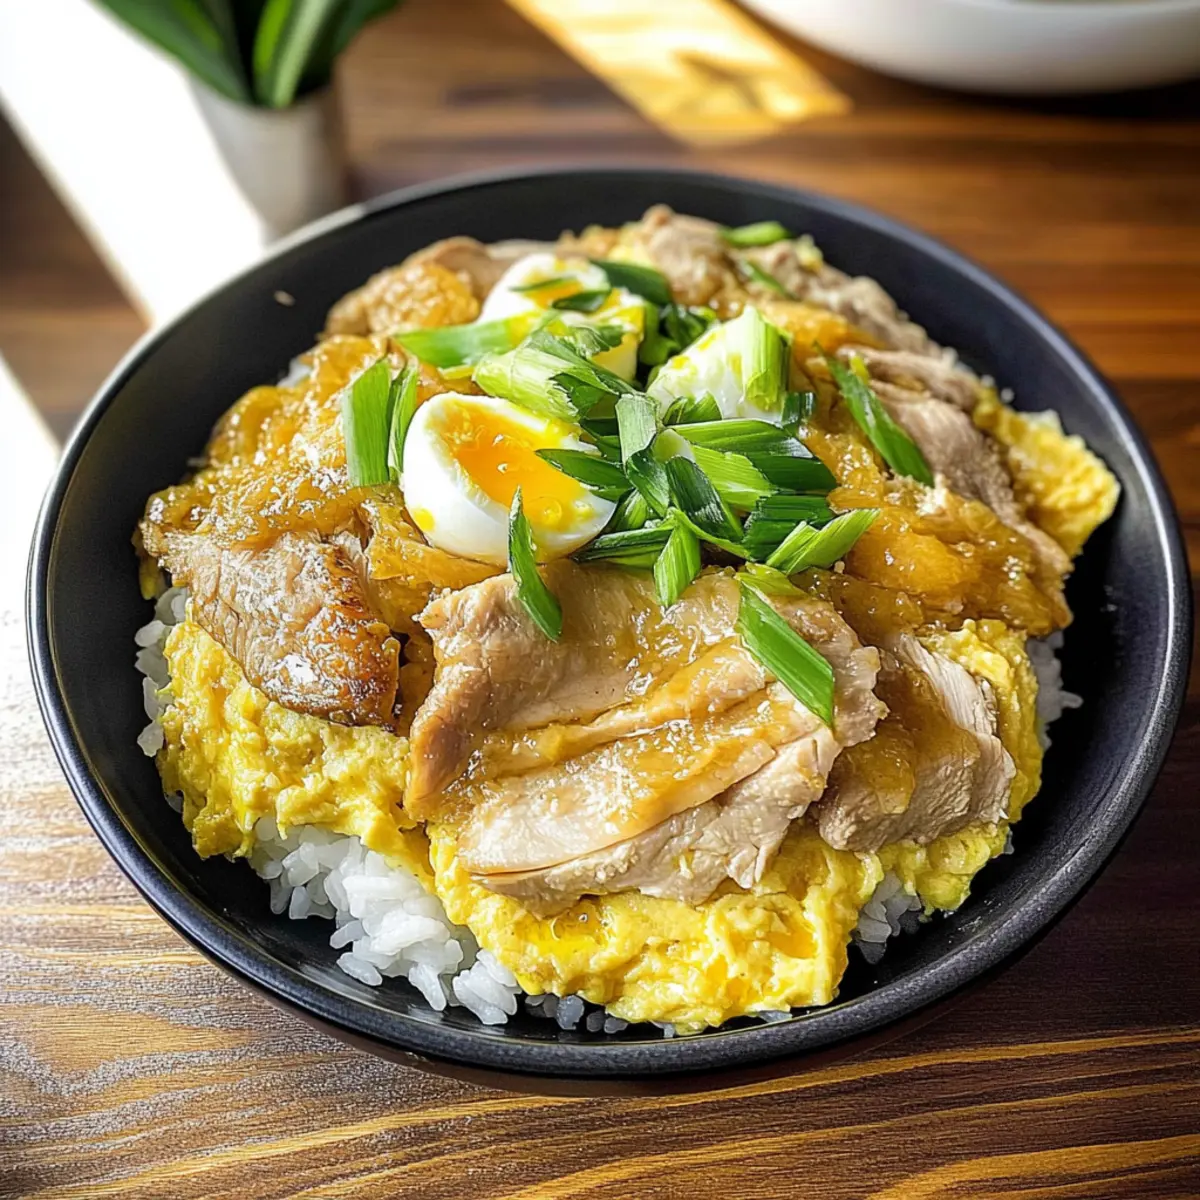
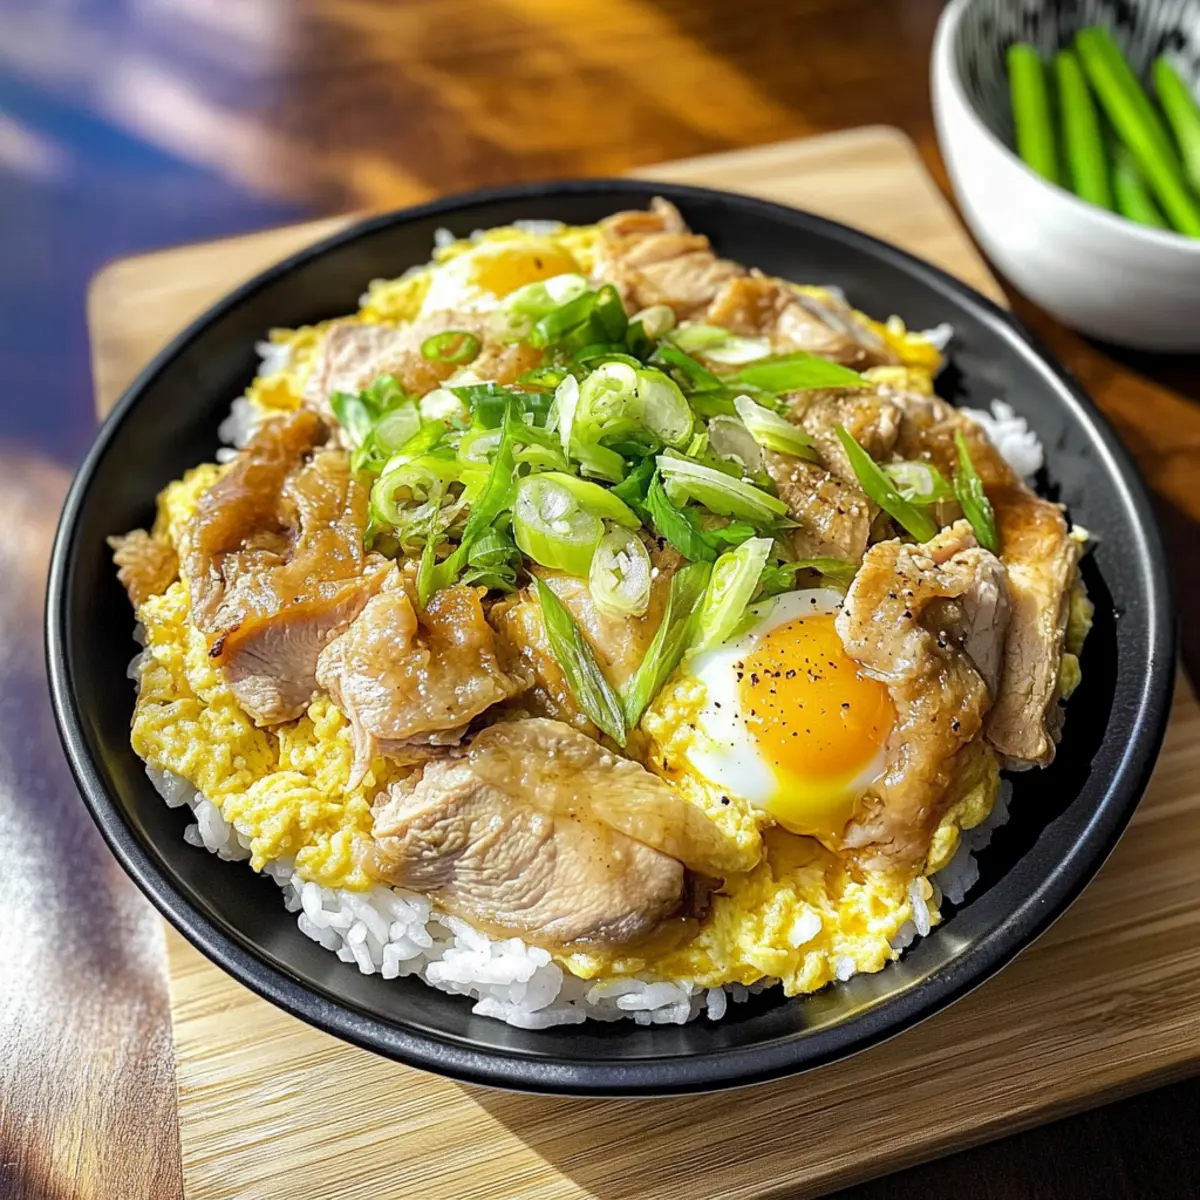
Prepare your bowls by placing a generous serving of steamed rice at the bottom. Gently spoon the chicken and egg mixture from the skillet over the rice, making sure to drizzle some of that savory sauce. To finish, garnish with chopped green onions for a fresh touch. Your comforting Oyakodon is now ready to be savored, delivering warmth and satisfaction in every bite!
What to Serve with Quick and Savory Oyakodon?
Pairing Oyakodon with delightful sides can transform your meal into an unforgettable experience filled with taste and warmth.
- Miso Soup: A classic choice, it’s light and savory, complementing the rich flavors of Oyakodon perfectly.
- Pickled Vegetables: Their crispness and tangy bite offer a refreshing contrast that lifts the meal.
- Steamed Broccoli: This adds a pop of color and nutrition, balancing the creamy textures of the rice bowl.
- Japanese Cucumber Salad: Cool and crunchy, this salad enhances the flavors with its refreshing notes and light dressing.
- Edamame: These protein-packed soybeans provide a delightful pop of texture that’s as fun to eat as it is healthy.
- Green Tea: A warm cup of green tea rounds off your meal, cleansing the palate and adding a touch of tradition.
- Mochi Ice Cream: For dessert, these sweet treats offer a delightful chewy texture and come in various flavors, perfect for a sweet ending.
- Sake or Asahi Beer: Enjoying a light, crisp beer or warming sake pairs seamlessly with the dinner, enhancing the overall experience.
Creating a well-rounded meal with these pairings will ensure that your Oyakodon adventure leaves you and your loved ones satisfied and content!
Japanese Chicken and Egg Rice Variations
Feel free to personalize your Oyakodon experience with these delightful twists that will tickle your taste buds!
-
Vegetarian Option: Swap chicken for tofu for a delicious vegetarian twist. Opt for firm tofu, and enjoy the same comforting flavor profile.
-
Extra Veggies: Toss in seasonal vegetables like spinach, mushrooms, or bell peppers. They’ll add color, texture, and nutrition to your delightful bowl!
-
Spicy Kick: Add a touch of heat by incorporating some chili flakes or Sriracha to the sauce. It’s a fantastic way to spice up your familial gathering.
-
Gluten-Free: If you’re following a gluten-free diet, simply replace soy sauce with tamari. This maintains the dish’s beloved umami flavor without sacrificing your dietary needs.
-
Sweet Surprise: For a unique twist, try adding a dash of honey into the sauce for an extra layer of sweetness that balances beautifully with the savory notes.
-
Earthy Depth: Incorporate mushrooms like shiitake or enoki for an umami explosion. The earthy flavors elevate your Oyakodon to a whole new level!
-
Ramen Remix: Mix it up and serve the chicken and egg mixture over ramen noodles instead of rice. This will give the dish an exciting new texture.
-
Citrus Zing: Squeeze a little lemon or lime juice as a final touch before serving. It brightens the flavors and adds a refreshing zing, balancing the richness delightfully!
Don’t forget to explore more quick meals like Dump Bake Chicken or try out our Low Carb Chicken recipe for additional inspiration!
How to Store and Freeze Oyakodon
Fridge: Store leftover Oyakodon in an airtight container in the fridge for up to 2 days. Reheat gently on the stove or in the microwave until warmed through.
Freezer: For longer storage, freeze the chicken and egg mixture separately from the rice for up to 1 month. Thaw in the refrigerator overnight before reheating.
Reheating: Reheat gently over low heat on the stove for the best texture, adding a splash of water if the sauce thickens too much. Enjoy the warm goodness of your Japanese Chicken and Egg Rice!
Serving Tip: Assemble fresh bowls with rice just before serving for the best experience; avoid freezing the rice for optimal taste.
Make Ahead Options
Oyakodon is just perfect for meal prep enthusiasts looking to save time during hectic weeknights! You can chop the onion and chicken up to 24 hours in advance, storing them separately in the refrigerator to maintain freshness. Prepare the sauce ahead of time too—simply mix your soy sauce, mirin, water, sugar, and hondashi, then refrigerate it. When you’re ready to cook, just sauté the onion and chicken, add the sauce, and finish with the whisked eggs. Keeping the eggs slightly runny ensures the final dish remains just as delicious as preparing it from scratch. This method not only streamlines your cooking process but also gives you a comforting bowl of Japanese Chicken and Egg Rice in no time!
Expert Tips for Oyakodon
-
Check Chicken Doneness: Always ensure chicken is cooked through before adding the eggs. Undercooked chicken can spoil the meal and your appetite!
-
Egg Texture: For a rich result, keep the eggs slightly runny—overcooking can make them rubbery. Aim for that creamy delight in your Japanese Chicken and Egg Rice!
-
Lid On, Heat Low: Cover the skillet while cooking the eggs to trap steam. This creates the perfect environment for even cooking, resulting in tender eggs and chicken.
-
Sauce Enjoyment: Adjust the sweetness by starting with a little less sugar; you can add more later if needed! This ensures a balanced flavor in your comfort food.
-
Customize Your Bowl: Don’t hesitate to toss in vegetables like spinach or mushrooms for added nutrition—and keep your Oyakodon deliciously exciting!
Oyakodon (Japanese Chicken and Egg Rice) Recipe FAQs
What is the best way to select ripened ingredients for Oyakodon?
Absolutely! When selecting chicken, look for thigh fillets that are plump and free of dark spots. Fresh eggs should be clean and ideally have a smooth texture. For onions, choose those that are firm without any soft spots, indicating they’re fresh.
How should I store leftover Oyakodon?
Simply transfer any leftover Oyakodon into an airtight container and refrigerate it. You can safely store it in the fridge for up to 2 days. When you’re ready to enjoy it again, gently reheat on the stove or in the microwave until warmed through, making sure it doesn’t dry out!
Can I freeze Oyakodon, and how do I do it?
Yes, you can freeze Oyakodon, but I recommend separating the chicken and egg mixture from the rice before freezing. Place the chicken and egg mix in a freezer-safe container for up to 1 month. To reheat, give it some time to thaw in the refrigerator overnight, then warm it gently in a skillet. When you’re ready to serve, cook fresh rice for the best experience.
What should I do if the eggs in my Oyakodon turn out rubbery?
Very! If your eggs turn out rubbery, it may be because they were overcooked. To prevent this, aim to simmer the eggs for only about 2 minutes, covering the skillet to trap heat and gently set the eggs. If you find them too firm next time, reduce the cooking time slightly—aim for runny, creamy eggs for that perfect texture.
Are there dietary considerations I should keep in mind with Oyakodon?
Absolutely! If cooking for someone with allergies, be cautious with the soy sauce as it contains gluten; substitute with tamari for a gluten-free version. For a vegetarian twist, you might consider using tofu in place of the chicken, along with an egg substitute if needed. Feel free to adapt the recipe to suit various dietary preferences while still enjoying its warm, comforting essence.
What is the best way to enjoy Oyakodon?
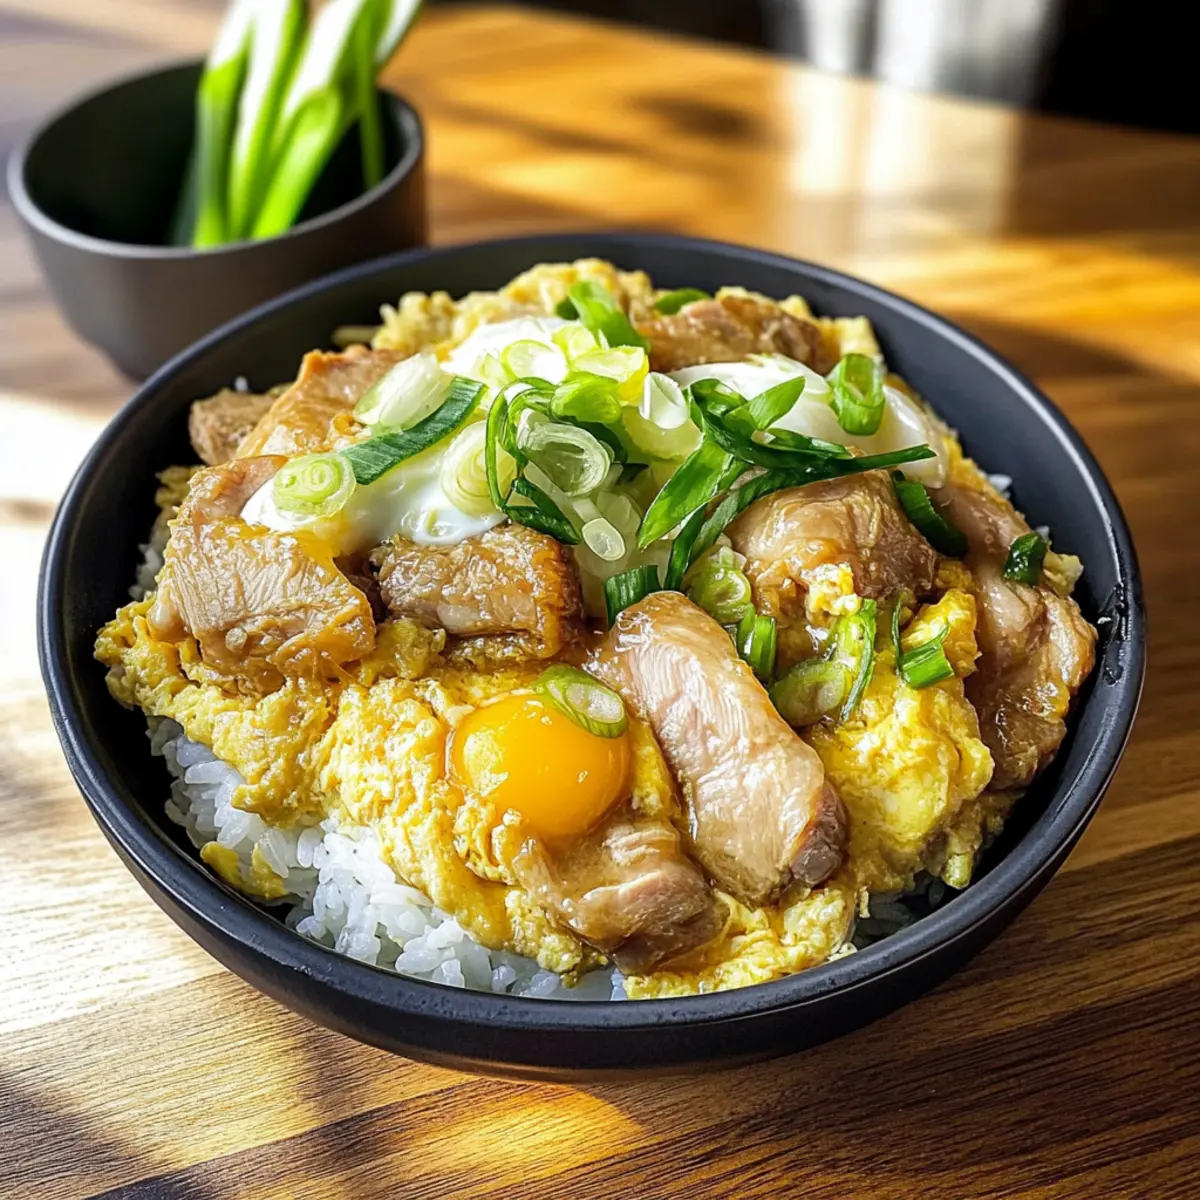
I often make sure to serve my Oyakodon with a side of miso soup or pickled vegetables, enhancing the overall experience. Enjoying it in a cozy bowl, garnished with fresh green onions, will elevate your home dining experience and transport you straight to Japan!
Ultimate Japanese Chicken and Egg Rice for Cozy Nights
Ingredients
Equipment
Method
- Begin by preparing your ingredients: thinly slice the onion and cut chicken thighs into bite-sized pieces. Crack and whisk the eggs in a bowl.
- In a large skillet, combine soy sauce, mirin, water, and sugar over medium heat. If using hondashi, add it now. Stir until sugar dissolves and sauce simmers, about 3 minutes.
- Add the sliced onion to the skillet and sauté for about 2 minutes until translucent. Then add the chicken pieces, cooking for 5-7 minutes until golden brown and cooked through.
- Reduce heat to low and pour the whisked eggs over the chicken mixture. Cover and simmer for about 2 minutes until eggs are slightly runny yet set.
- Serve by placing rice in bowls and spooning the chicken and egg mixture over it. Drizzle with sauce and garnish with chopped green onions.
Leave a Reply