
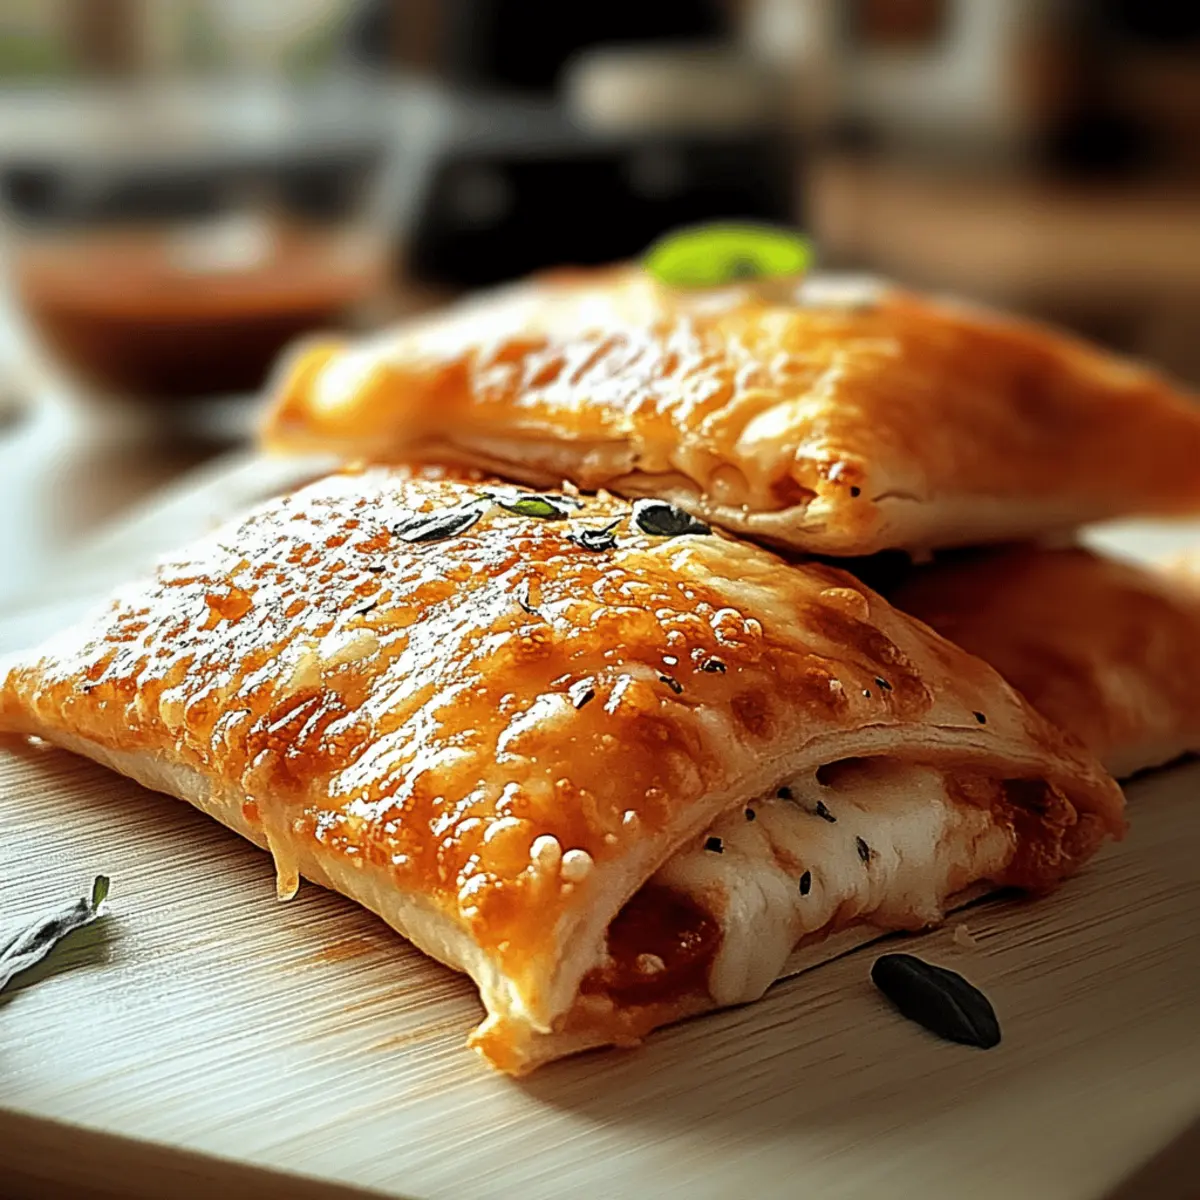
“Is it possible to create a delicious dinner in under 30 minutes?” you might ask yourself on a hectic weeknight. Well, I’ve discovered the secret to just that with my Homemade Pizza Pockets! These little delights not only satisfy my pizza cravings but also make family meals a fun, interactive experience. With customizable fillings like classic pepperoni and mozzarella or a nutritious broccoli and cheddar option, they cater to everyone’s tastes and dietary needs. Plus, they’re a breeze to prepare—perfect for busy nights or even as a party snack. Trust me, your loved ones will thank you as they bite into that golden, crispy exterior and experience the warm, cheesy goodness inside. Curious to see how easy it really is? Let’s dive into making these irresistible Homemade Pizza Pockets together!
Why are Homemade Pizza Pockets a Must-Try?
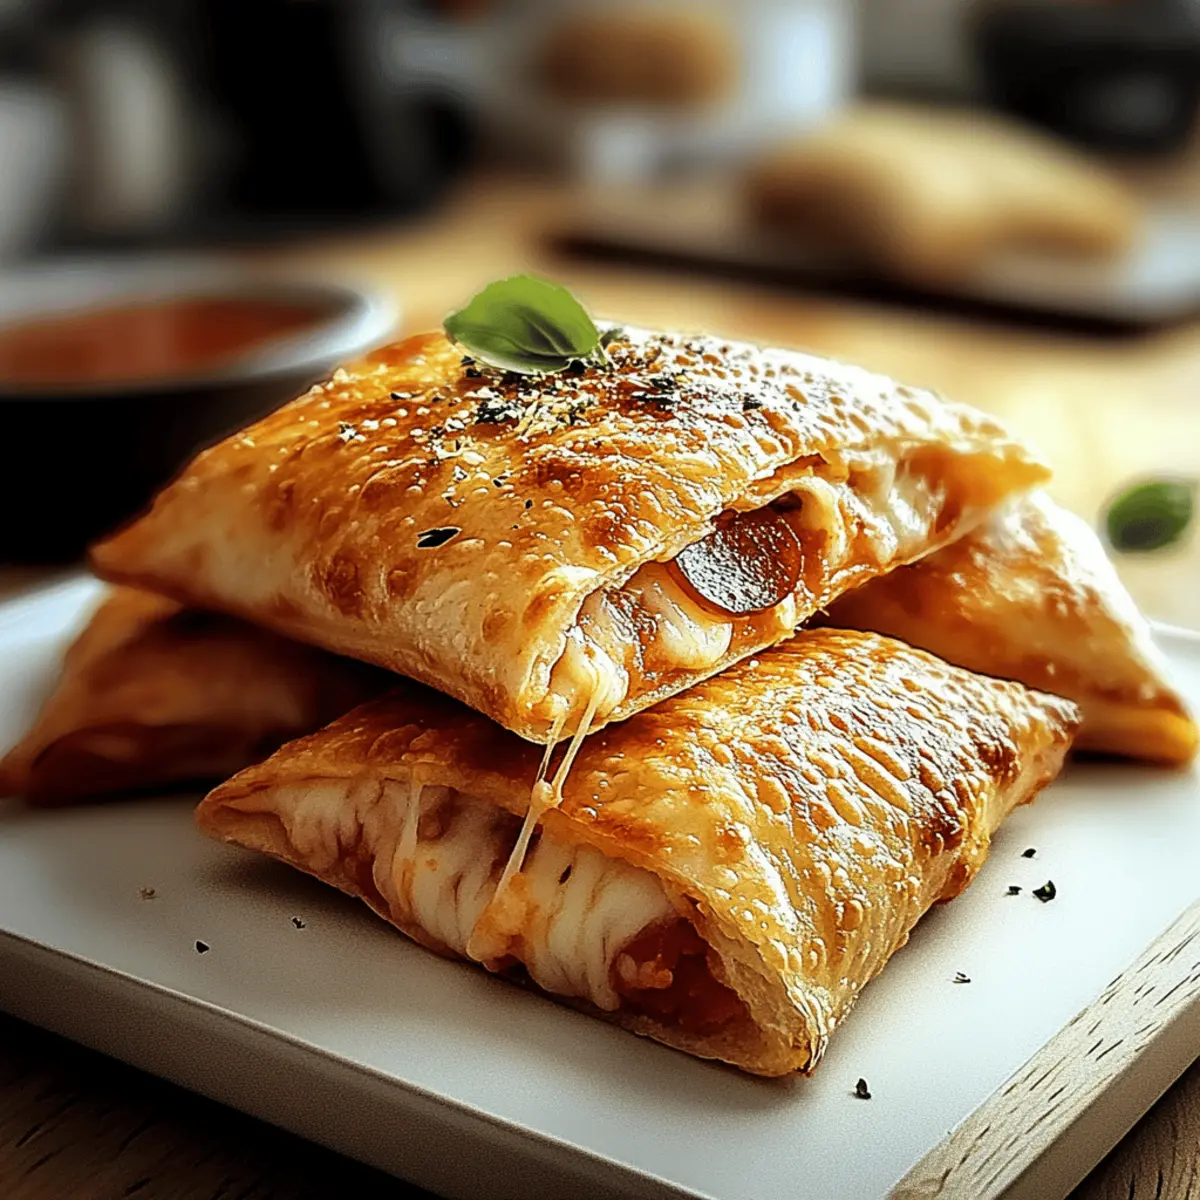
Versatile and easily customizable, these pizza pockets adapt to any craving! Family-friendly, they’ll have everyone excited to get involved in the kitchen. Quick to make, you can whip up a batch in under 30 minutes, making them the ideal weeknight dinner solution. Want more flavor? Feel free to experiment with fillings like classic pepperoni, mozzarella, or even healthy broccoli and cheddar! Serve them hot with a side of marinara sauce for an irresistible snack or meal option your whole family will love.
Homemade Pizza Pockets Ingredients
For the Dough
• Pizza Dough – Use store-bought for convenience, or make your own for extra freshness; ensure it’s well-floured to prevent sticking.
For the Filling
• Cheese (Mozzarella/Cheddar) – Melty and satisfying; try substituting with provolone for a different flavor kick.
• Pepperoni – Adds savory flavor and protein; swap with turkey pepperoni or skip altogether for a vegetarian delight.
• Broccoli – A nutritious filling option; feel free to replace with sautéed spinach or bell peppers for variety.
For Greasing
• Olive Oil – Perfect for greasing baking sheets, ensuring the pockets don’t stick; cooking spray is a great alternative.
For Seasoning
• Italian Herbs – Enhance the overall flavor of your filling; add a pinch to the cheese for some added deliciousness.
With these ingredients, you’re set to whip up your very own Homemade Pizza Pockets that will surely delight the whole family!
Step‑by‑Step Instructions for Homemade Pizza Pockets
Step 1: Preheat and Prepare
Preheat your oven to 375°F (190°C) to ensure it’s hot when your Homemade Pizza Pockets are ready to bake. While the oven heats up, prepare your baking sheets by either greasing them with olive oil or lining them with parchment paper to prevent sticking. This way, your pockets will slide off easily once they’re golden and crispy.
Step 2: Roll Out the Dough
On a lightly floured surface, divide the pizza dough into two equal halves. Roll each half out into a circle, approximately 6-8 inches in diameter. The dough should be thin enough to get crispy in the oven but thick enough to hold your delicious fillings. As you work, keep a dusting of flour handy to prevent any sticking and ensure a smooth rolling process.
Step 3: Arrange the Dough Circles
Once you have your dough circles, gently place two onto each prepared baking sheet, spacing them a few inches apart. This spacing allows for the pizza pockets to expand without touching as they bake, creating a delightful crispy crust. Make sure each circle is centered on the sheet to promote even cooking and showcase those tasty fillings.
Step 4: Add Your Fillings
Carefully scoop your chosen filling onto one half of each dough circle. Opt for classic pepperoni and mozzarella for a traditional taste, or try broccoli and cheddar for a healthier twist. Be mindful not to overfill; too much filling can cause the pockets to burst during baking, so just a generous amount will do to keep everything secure and tasty.
Step 5: Fold and Seal
Now it’s time to create those delightful pizza pockets! Fold the other half of the dough circle over the filling to cover it completely. Press the edges firmly to seal in the goodness. For an extra-tight seal, you can crimp the edges with a fork—this adds a lovely decorative touch and ensures your Homemade Pizza Pockets stay packed with filling during baking.
Step 6: Optional Glaze and Bake
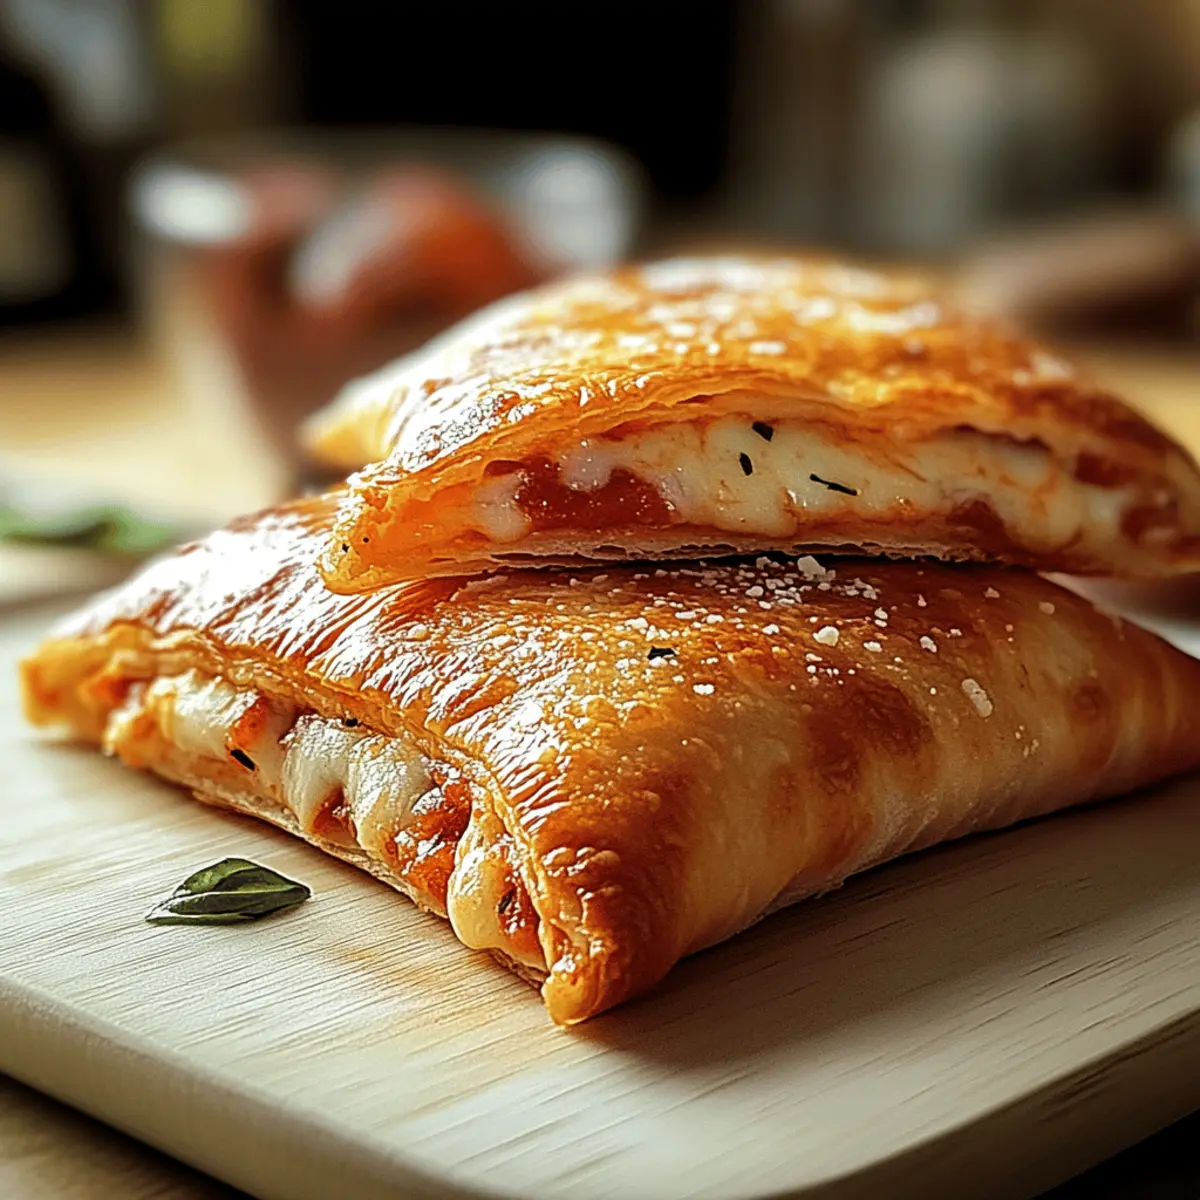
If you’d like, brush the tops of the sealed pizza pockets with a little olive oil for a beautiful golden finish. Then, carefully place the baking sheets in your preheated oven. Bake for about 25-30 minutes, or until the pockets are golden brown and the cheese inside is bubbling. You may want to rotate or swap the trays halfway through for even cooking.
Step 7: Cool and Serve
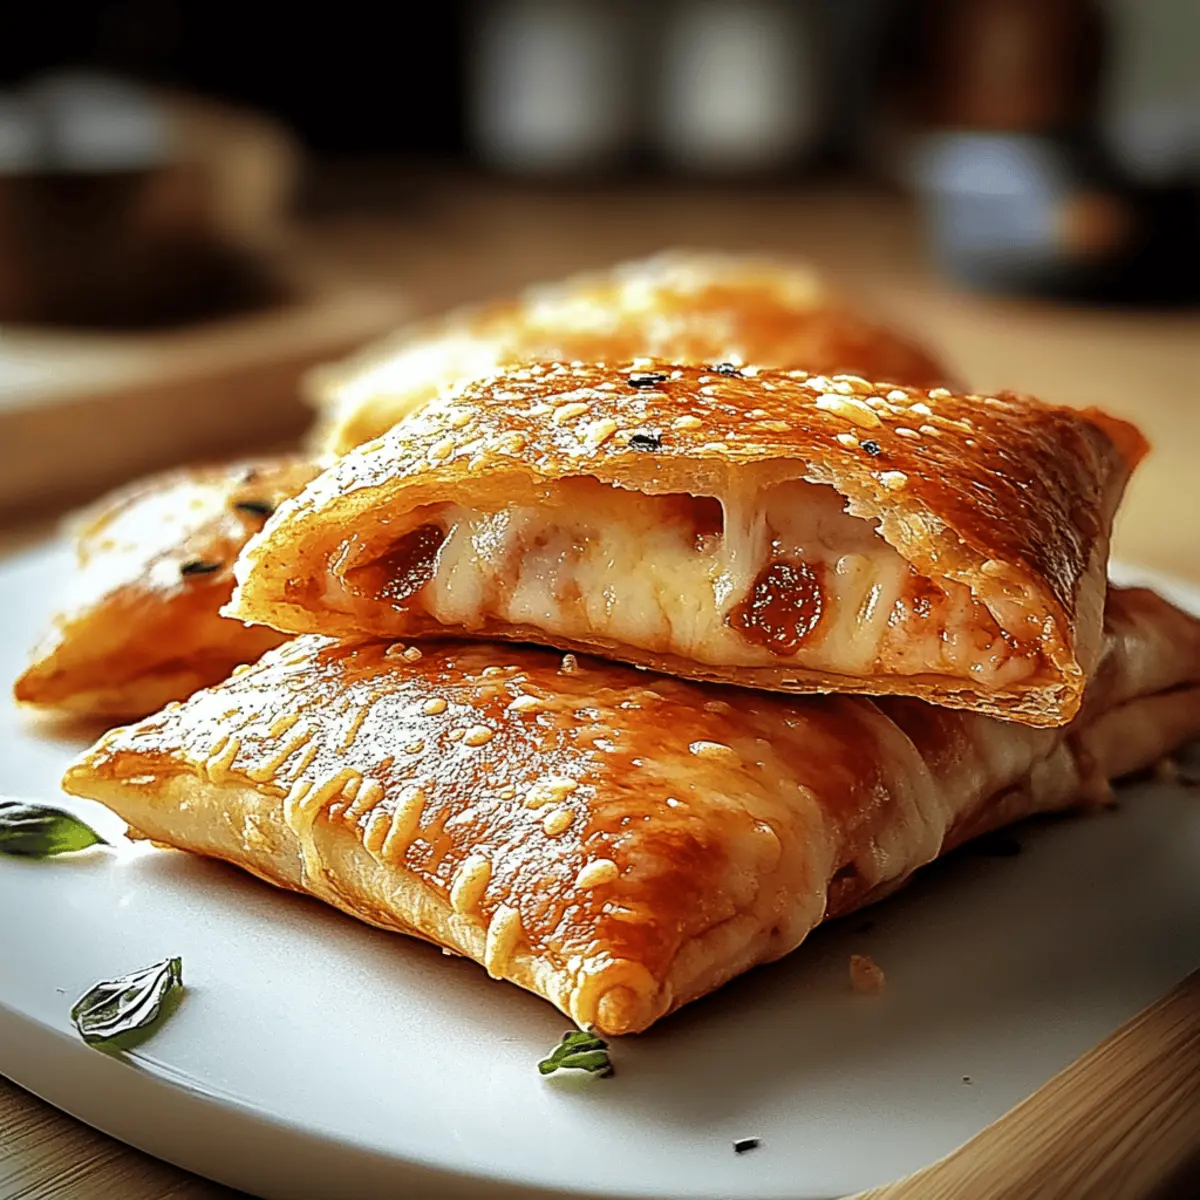
Once your Homemade Pizza Pockets are beautifully baked, remove them from the oven and allow them to cool slightly on the baking sheets. This cooling time helps set the cheesy filling and makes them easier to handle. Serve warm, perhaps with a side of marinara sauce for dipping, and enjoy the delightful combination of textures and flavors!
Make Ahead Options
These Homemade Pizza Pockets are a fantastic option for meal prep enthusiasts! You can prepare the dough and fill them up up to 24 hours in advance by assembling them and placing them in an airtight container in the refrigerator. To maintain their crispiness and flavor, make sure to refrigerate them unbaked. When you’re ready to enjoy, simply preheat your oven and bake directly from the fridge, adding a few extra minutes to the baking time for best results. You can also freeze the assembled pizza pockets for up to 3 months; when ready to indulge, bake straight from frozen, allowing for longer baking time. With this make-ahead strategy, you’ll have delicious, family-friendly meals ready in no time!
Expert Tips for Homemade Pizza Pockets
-
Don’t Overfill: To avoid leaks during baking, use just enough filling to ensure a delicious bite without bursting the dough.
-
Dough Thickness: Roll the dough thin yet sturdy enough to hold the fillings. This ensures a crispy exterior while keeping everything secure inside.
-
Flavor Boost: Enhance the taste by mixing Italian herbs into the cheese filling. This small addition elevates the overall flavor of your Homemade Pizza Pockets.
-
Cooling Time: Always let them cool slightly before serving; this allows the cheese to firm up, preventing oozing when you take a bite.
-
Experiment Freely: Feel free to try different combinations of fillings—meats, vegetables, or a variety of cheeses—to create your own signature Homemade Pizza Pockets.
Storage Tips for Homemade Pizza Pockets
Fridge: Store leftover Homemade Pizza Pockets in an airtight container for up to 3 days to maintain freshness and flavor.
Freezer: For longer storage, freeze unbaked pizza pockets in a single layer, then transfer to a sealed bag. They can last up to 2 months.
Reheating: To reheat, bake from frozen at 375°F (190°C) for 30-35 minutes, or until heated through and golden brown.
Make-Ahead: Prepare a batch ahead of time by freezing them unbaked and catering to busy nights with ready-to-bake homemade delights!
What to Serve with Homemade Pizza Pockets
Warm cheesy goodness is just the beginning; let’s create an unforgettable meal experience!
- Creamy Garlic Dip: A rich, flavorful dip that complements the crispy pockets, making each bite indulgently delicious.
- Classic Caesar Salad: Crisp romaine tossed in creamy dressing adds a refreshing crunch, balancing the savory flavors of the pizza pockets.
- Roasted Veggies: Colorful, caramelized vegetables bring a sweet and smoky element that perfectly offsets the cheese’s richness.
- Marinara Sauce: Serve this tangy dip alongside those golden pockets for a traditional touch that enhances their flavor.
- Bruschetta: Light and fresh, the tomatoes and basil offer a bright contrast, making it a splendid appetizer for start.
- Sparkling Lemonade: Quench your thirst with zesty lemonade that adds a refreshing zing to your homemade pizza night.
- Chocolate Chip Cookies: End the meal on a sweet note with warm cookies, making the night one to remember for the whole family!
These delightful pairings will elevate your meal from good to unforgettable, turning your pizza pockets into an extraordinary dining experience!
Homemade Pizza Pockets Variations & Substitutions
Feel free to add your twist to these delightful Homemade Pizza Pockets and make them truly your own!
-
Dairy-Free: Use vegan cheese alternatives to create a deliciously melty filling without dairy. This makes for a great option for those with lactose intolerance.
-
Gluten-Free: Swap the pizza dough for a gluten-free version to accommodate those with dietary restrictions. Just ensure it’s well-floured for easy handling.
-
Spicy Kick: Add crushed red pepper flakes or diced jalapeños to your filling for a delightful heat that will excite your taste buds!
-
Meat Lovers: Incorporate cooked sausage or bacon along with the pepperoni. The additional protein brings an indulgent twist that meat lovers will adore.
-
Veggie Medley: Mix in sautéed mushrooms, bell peppers, or zucchini along with broccoli for a colorful, nutrient-packed filling that even picky eaters will enjoy.
-
Sweet Treat: For a fun dessert twist, fill with a mixture of cream cheese, sugar, and your favorite fruit preserves. Bake until golden for a sweet treat!
-
Saucy Variation: Try spreading a thin layer of pesto or marinara sauce on the dough before adding the fillings for an explosion of flavor.
For even more creativity in the kitchen, consider mixing a few of these ideas together! You might just discover your family’s new favorite combination. Enjoy the delightful process of experimenting and personalizing your Homemade Pizza Pockets!
Homemade Pizza Pockets Recipe FAQs
What type of pizza dough should I use for Homemade Pizza Pockets?
You can use either store-bought or homemade pizza dough for these Homemade Pizza Pockets. If you’re using store-bought, just make sure it’s well-floured to prevent sticking during rolling. For homemade dough, aim for a nice elasticity, which helps hold the fillings securely.
How should I store leftover Homemade Pizza Pockets?
Store any leftover Homemade Pizza Pockets in an airtight container in the fridge, where they’ll stay fresh for up to 3 days. For longer storage, I recommend freezing them. Just place them in a single layer on a baking sheet until frozen solid, then transfer to a sealed freezer bag. They can last up to 2 months!
Can I freeze Homemade Pizza Pockets before baking?
Absolutely! Prepare your pizza pockets up to the point of baking, then place them on a baking sheet and freeze uncooked. Once they’re solid, move them to a freezer-safe bag. When you’re ready to enjoy them, just bake from frozen at 375°F (190°C) for an additional 5-10 minutes longer than the regular baking time.
What should I do if my pizza pockets leak during baking?
If your Homemade Pizza Pockets leak, it often means they were overfilled or not sealed tightly enough. To prevent this in the future, ensure not to overstuff the pockets and crimp the edges well with a fork or your fingers to create a solid seal. If they do burst in the oven, don’t worry—just serve the cheesy filling alongside for a fun twist!
Are there any dietary considerations I need to be aware of when making pizza pockets?
Yes, if you’re cooking for specific dietary needs, be mindful of ingredient choices. For vegetarian options, simply omit the pepperoni and consider using more veggies as filling. Check for cheese allergies as well, and feel free to swap cow’s milk cheese with dairy-free alternatives that melt well. Always double-check any premade ingredients, like pizza dough, for allergens!
How can I add more flavor to my Homemade Pizza Pockets?
To amp up the flavor in your Homemade Pizza Pockets, try mixing Italian herbs or spices directly into your cheese filling. A pinch of garlic powder or crushed red pepper flakes can also do wonders. Moreover, consider using different types of cheeses or even adding a layer of marinara or pesto spread inside for extra taste dimensions!
Homemade Pizza Pockets: Customizable, Cheesy Delights for All
Ingredients
Equipment
Method
- Preheat your oven to 375°F (190°C) and grease your baking sheets with olive oil or line them with parchment paper.
- On a floured surface, divide the pizza dough into two parts and roll each into a circle about 6-8 inches in diameter.
- Place two dough circles onto each baking sheet, spaced a few inches apart.
- Scoop your chosen filling onto one half of each dough circle, ensuring not to overfill.
- Fold the other half over and press the edges to seal; crimp with a fork for extra security.
- Optional: Brush with olive oil before baking. Bake for 25-30 minutes until golden brown.
- Let them cool slightly before serving with marinara sauce for dipping.
Leave a Reply