
As I flipped through my recipe book, a vibrant memory sparked—a celebration filled with laughter and cheer, all thanks to a luscious Green Velvet Cake. This delightful dessert is more than just a feast for the eyes; it’s a fun twist on the classic that combines cocoa richness with a festive splash of green. Perfect for any celebration, the Easy Green Velvet Cake and Cupcakes are not only visually stunning but also incredibly simple to whip up, making them a great choice for both novice bakers and seasoned pros looking for a quick and impressive treat. Plus, these treats are the perfect way to bring a touch of whimsy to your table while being vegetarian-friendly! Want to see how you can brighten your next gathering with this sweet showstopper? Let’s dive in!
Why is Green Velvet Cake a Must-Try?
Vibrant, Eye-Catching Appeal: This cake’s stunning green color adds a festive touch to any occasion, perfect for celebrations like St. Patrick’s Day or birthdays.
Deliciously Unique Flavor: With a rich cocoa base, it’s a delightful unexpected twist on the classic red velvet.
Easy to Make: Even beginners can achieve bakery-quality results without complex techniques!
Versatile Variations: Whether opting for layer cakes, mini cupcakes, or even whoopie pies, this recipe has it all. Don’t forget to check out other delightful options like Pumpkin Cheesecake Cinnamon Rolls or Caramel Brownie Cheesecake for more inspiration!
Crowd-Pleasing Delight: Its creamy cream cheese frosting complements the cake’s flavors beautifully, making it a guaranteed hit with friends and family.
Make-Ahead Friendly: Easily prepare in advance and serve at the ideal moment for maximum enjoyment!
Green Velvet Cake Ingredients
• Discover what makes this cake delicious!
For the Cake
- All-Purpose Flour – Provides structure and stability; you can substitute with gluten-free baking flour for a gluten-free option.
- Granulated Sugar – Adds sweetness and retains moisture; no direct substitutes recommended.
- Cocoa Powder – Offers a subtle chocolate flavor characteristic of velvet cakes; no substitution needed.
- Salt – Enhances flavor and balances sweetness; essential for taste.
- Baking Soda – Acts as a leavening agent, creating a soft crumb alongside vinegar; no substitutes.
- Eggs – Add richness and bind ingredients; applesauce can be used as a vegan substitute.
- Vegetable Oil – Keeps the crumb moist; can be replaced with melted coconut or canola oil.
- Buttermilk – Adds tanginess; for a substitute, mix milk with lemon juice or vinegar and let sit for 5 minutes.
- White Vinegar – Boosts the reaction with baking soda for lift; no substitutes.
- Vanilla Extract – Enhances flavor; consider almond extract for a flavor twist.
- Green Food Coloring – Gives the cake its distinctive hue; for a natural version, use spinach juice or matcha powder.
For the Frosting
- Cream Cheese – Provides a classic texture and flavor; dairy-free cream cheese can be used for a vegan option.
- Butter – Adds creaminess and structure; use plant-based butter for a dairy-free option.
- Powdered Sugar – Sweetens and thickens frosting; no substitutes recommended.
- Milk (optional) – Adjusts frosting consistency; any plant-based milk can replace regular milk for dairy-free options.
Let’s get baking and create a beautiful Green Velvet Cake that will leave everyone smiling!
Step‑by‑Step Instructions for Green Velvet Cake
Step 1: Preheat and Prepare
Begin by preheating your oven to 350°F (175°C). While the oven warms up, grease two 8-inch round cake pans or line muffin tins with cupcake liners, ensuring they are ready for the delicious Green Velvet Cake batter that’s about to come.
Step 2: Mix Wet Ingredients
In a medium mixing bowl, whisk together 2 large eggs until frothy. Then stir in 1 cup of vegetable oil, 1 cup of buttermilk, 1 tablespoon of white vinegar, 2 teaspoons of vanilla extract, and 1 tablespoon of green food coloring. Mix until these ingredients are thoroughly combined and take on a lovely green hue.
Step 3: Combine Dry Ingredients
In a separate large bowl, combine 2 cups of all-purpose flour, 1 cup of granulated sugar, 2 tablespoons of cocoa powder, 1 teaspoon of salt, and 1 teaspoon of baking soda. Whisk these dry ingredients together until well mixed, creating a balanced foundation for your Green Velvet Cake.
Step 4: Incorporate Wet with Dry
Pour the wet mixture into the dry ingredients, mixing on medium-high speed for 1 to 2 minutes until the batter is smooth and evenly emerald in color. This step is crucial as it combines all flavors, ensuring a tender crumb for your cake.
Step 5: Fill Pans with Batter
Divide the cake batter evenly between the prepared pans, filling each about 2/3 full. For cupcakes, fill each liner to the same level, ensuring they have enough room to rise beautifully while baking.
Step 6: Bake to Perfection
Place the pans in the preheated oven and bake the cake for 22 minutes or the cupcakes for 16 minutes, checking for doneness by inserting a toothpick—it should come out clean. Allow the heavenly aroma of the Green Velvet Cake to fill your kitchen!
Step 7: Cool Completely
Once baked, remove the cakes from the oven and let them cool in the pans for about 10 minutes. Then transfer them onto a wire rack to cool completely. This cooling step is vital as it sets the texture and ensures stability for frosting later.
Step 8: Prepare Cream Cheese Frosting
While the cakes cool, prepare the frosting by beating together 8 ounces of cream cheese and 1/2 cup of softened butter in a bowl until creamy. Gradually add 4 cups of powdered sugar and 1 teaspoon of vanilla extract, mixing until smooth. Adjust the consistency with milk if necessary.
Step 9: Frost and Serve
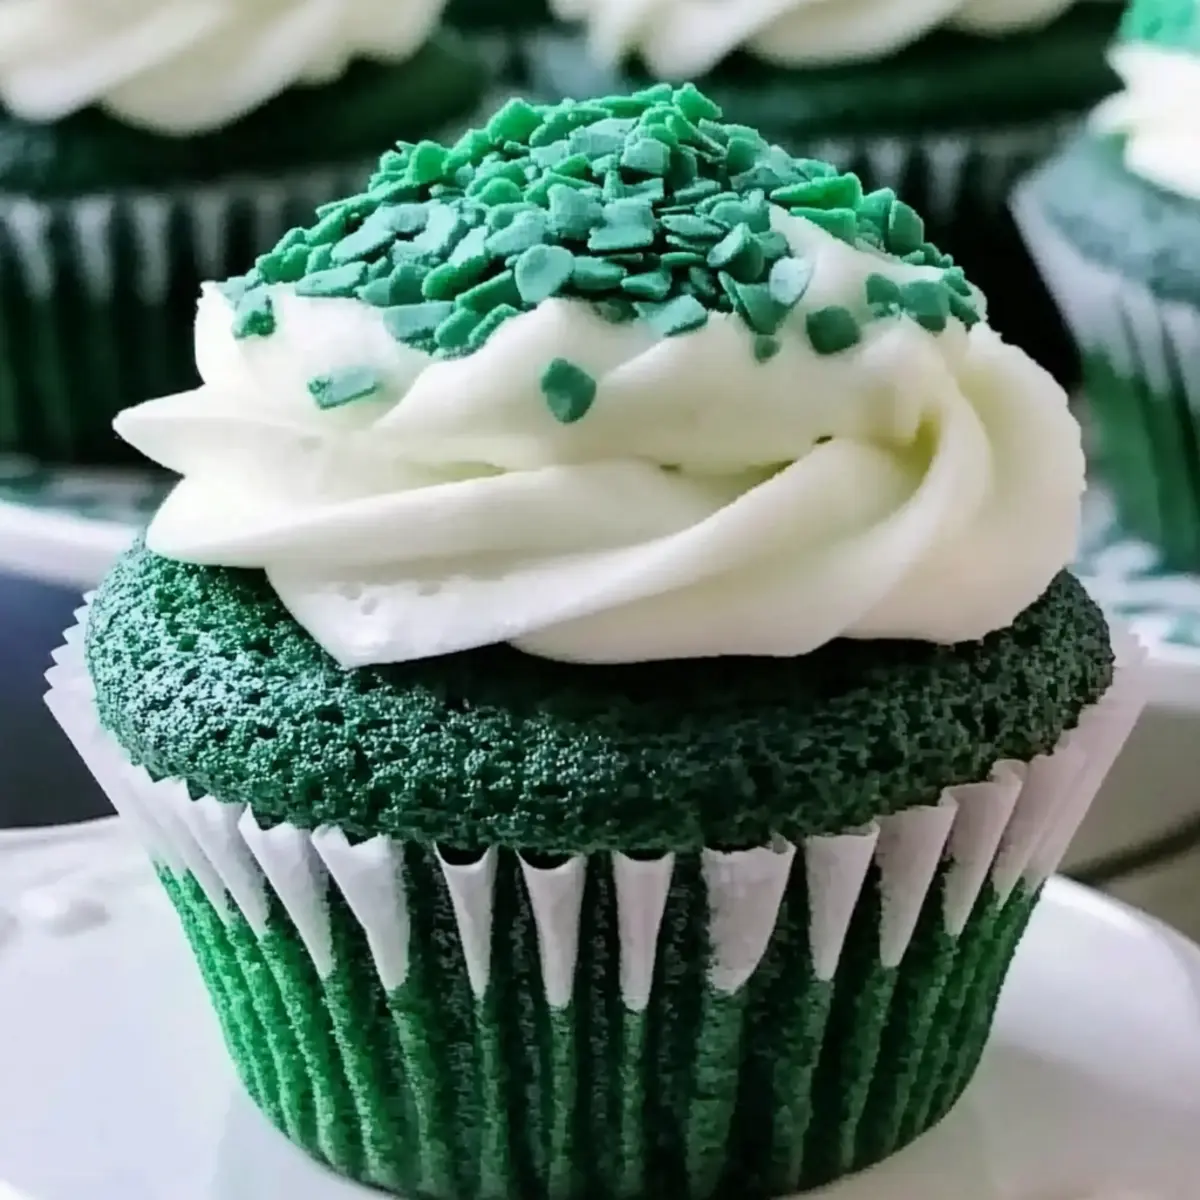
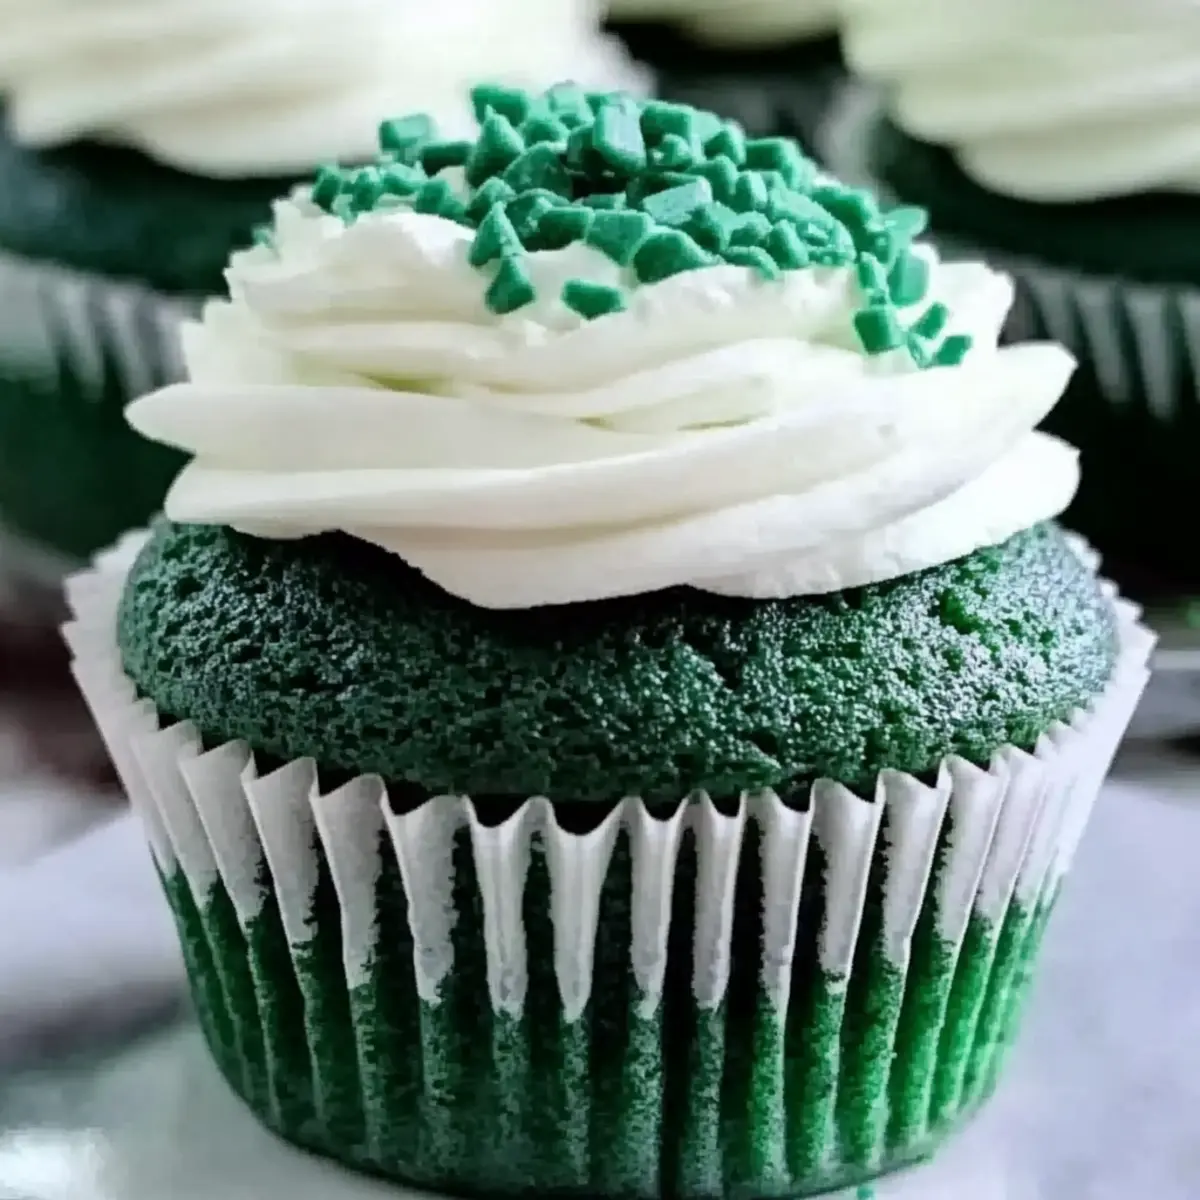
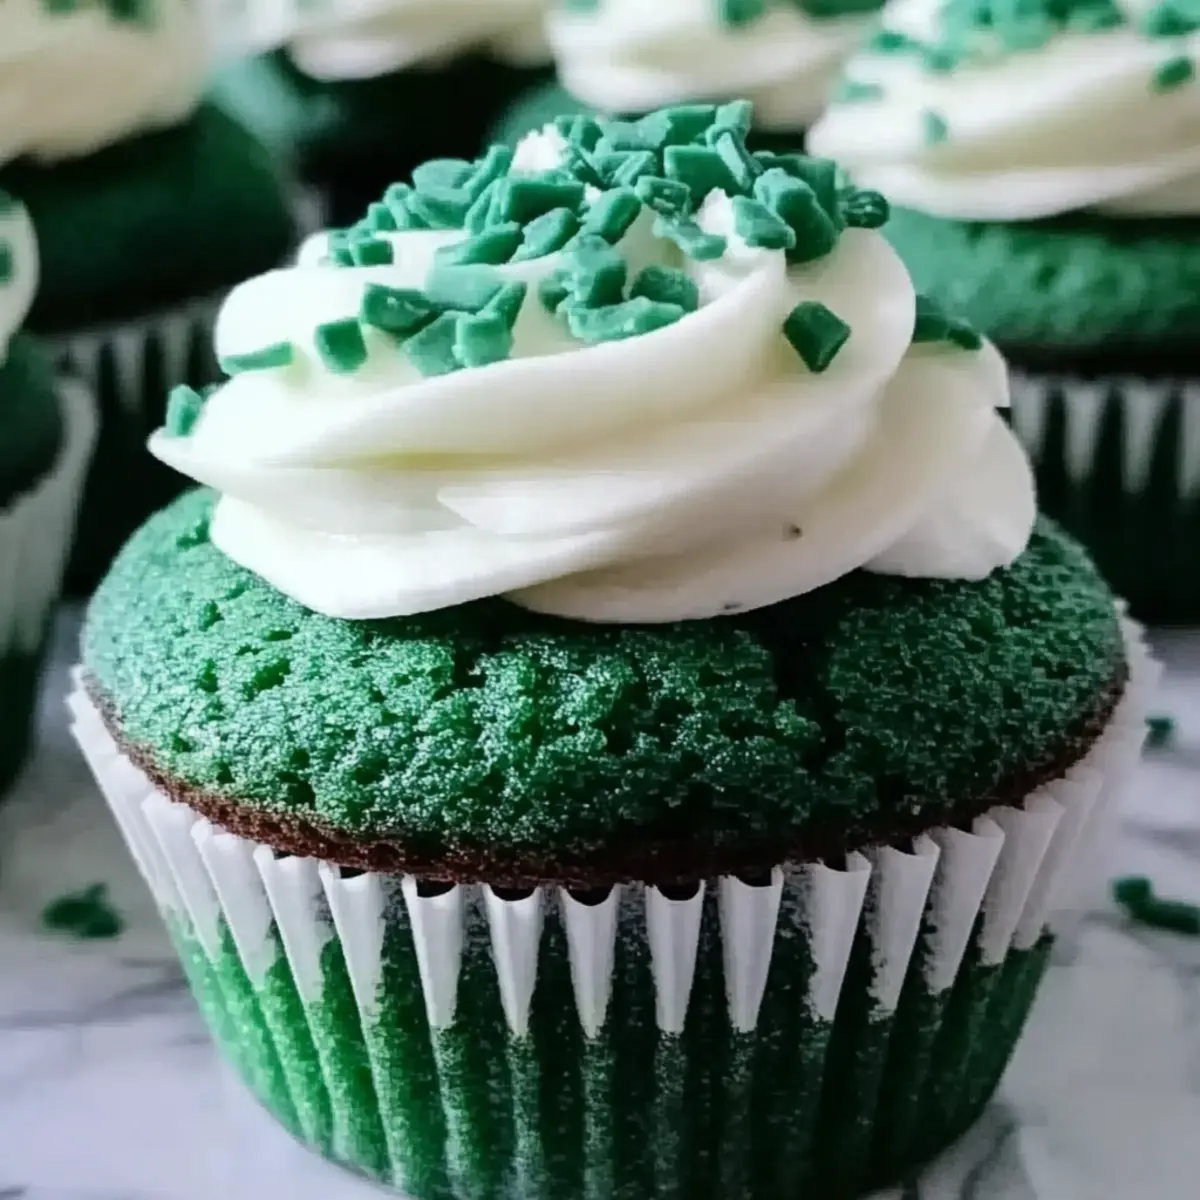
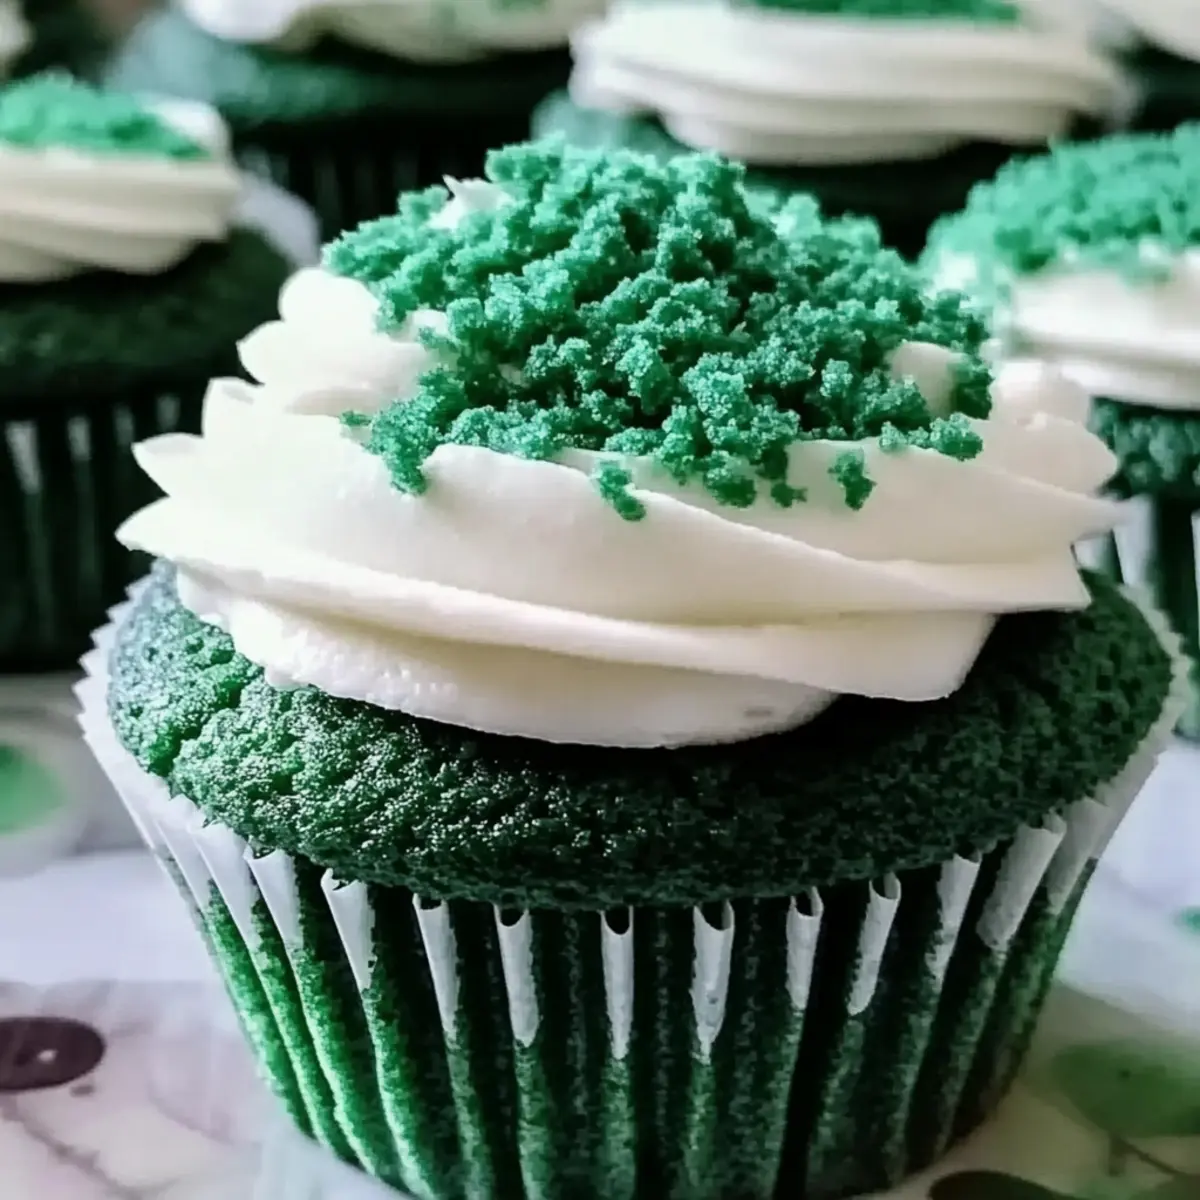
Once the layers of your Green Velvet Cake are completely cool, use a spatula to generously frost the top of one layer, place the second layer on top, and frost the top and sides. For cupcakes, simply pipe or spread the frosting onto the cooled treats, creating artful swirls.
Green Velvet Cake Variations & Substitutions
Looking to make your Green Velvet Cake even more special? Dive into these delightful variations and substitutions that will cater to your unique taste and dietary needs!
- Gluten-Free: Substitute all-purpose flour with gluten-free baking flour to create a deliciously inclusive cake without sacrificing flavor.
- Nutrient Boost: Try adding a half cup of finely grated zucchini or carrots into the batter for extra moisture and nutrition. Your guests will be none the wiser!
- Sweetener Swap: For a lower-sugar option, substitute granulated sugar with coconut sugar or your favorite sweetener; just keep in mind this may slightly alter texture.
- Cocoa Twist: Replace cocoa powder with chocolate powder for a richer chocolate flavor that pairs beautifully with the bright green.
- Non-Dairy Delight: Use non-dairy cream cheese and plant-based butter for a scrumptious dairy-free frosting that doesn’t compromise on taste.
- Whipped Frosting: For a lighter frosting, whip several tablespoons of heavy cream into your cream cheese frosting to create a fluffy texture that’s irresistible.
- Flavor Infusion: Add a teaspoon of almond or mint extract to the batter to create an unexpected flavor twist — perfect for adding seasonal flair.
- Mini Treats: Consider using mini muffin pans for bite-sized cupcakes. They make lovely finger foods for parties, and who can resist their adorable charm?
Feel inspired? Don’t forget to check out equally tempting recipes like Pistachio Raspberry Cake or indulge in a slice of Caramel Brownie Cheesecake for a touch of creativity in your dessert line-up! Happy baking!
Expert Tips for Green Velvet Cake
- Avoid Overmixing: Mixing too long can result in a dense cake. Combine just until smooth for light and fluffy layers.
- Measure Flour Correctly: Spoon and level flour accurately to ensure your Green Velvet Cake has the ideal texture and rise.
- Room Temperature Ingredients: Use eggs and buttermilk at room temperature for easier blending and a better batter consistency.
- Use Gel Food Coloring: Gel coloring provides vibrant color without adding extra liquid, ensuring your cake bakes perfectly.
- Proper Cooling: Cool your cakes completely on a wire rack before frosting. This prevents the frosting from melting and sliding off.
- Chill the Frosting: If using cream cheese frosting, chill it slightly for easier spreading and a cleaner finish on your Green Velvet Cake.
Make Ahead Options
Preparing the Easy Green Velvet Cake and Cupcakes ahead of time is a wonderful way to save precious minutes on busy days! You can mix the cake batter and store it in the refrigerator for up to 24 hours before baking to maintain its freshness. Alternatively, bake your cake or cupcakes and allow them to cool completely, then store them unfrosted in an airtight container at room temperature for up to 2 days or freeze them for up to 3 months. When you’re ready to serve, simply thaw your desserts in the refrigerator overnight, frost them while they’re slightly chilled, and enjoy the same delightful taste and texture as if they were freshly made! This makes the Green Velvet Cake a fantastic option for easy meal prep and spontaneous celebrations!
How to Store and Freeze Green Velvet Cake
Fridge: Store frosted Green Velvet Cake in an airtight container in the fridge for up to 3 days. Allow it to sit at room temperature for 15-30 minutes before serving for the best flavor and texture.
Room Temperature: Unfrosted cupcakes can be kept at room temperature for up to 2 days in a sealed container for optimal freshness and moisture retention.
Freezer: For longer storage, wrap unfrosted cake layers or cupcakes tightly in plastic wrap, then foil. Freeze for up to 3 months; thaw in the refrigerator before frosting or serving.
Reheating: For leftover cake, gently warm individual slices in the microwave for about 10-15 seconds if you prefer it slightly warm, enhancing the cocoa flavor!
What to Serve with Easy Green Velvet Cake and Cupcakes
Indulging in a slice of vibrant Green Velvet Cake creates a moment of joy that deserves to be paired with delightful companions.
- Creamy Mashed Potatoes: Smooth and buttery, these potatoes offer a comforting contrast to the cake’s sweetness, perfect for balancing your palate.
- Fresh Fruit Salad: A mix of vibrant, juicy fruits brings a refreshing contrast to the richness of the cake, adding brightness to any gathering.
- Sparkling Lemonade: The zesty effervescence of lemonade complements the creamy frosting beautifully, turning each bite into a fizzy delight.
- Chocolate-Dipped Strawberries: Smooth and fruity, these treats echo the cake’s cocoa flavor while introducing a delicious sweetness that feels indulgent.
- Vanilla Ice Cream: A scoop of creamy vanilla ice cream melts beautifully over a warm slice of cake, creating the ultimate decadent dessert experience.
- Dark Roast Coffee: The bold, rich flavors of coffee cut through the sweetness of the cake, making every bite feel like a moment of bliss.
- Mint Mojito Mocktail: This refreshing twist celebrates the cake’s green hue, adding a cool, herbal contrast that leaves your mouth feeling fresh.
- Whipped Cream: Light and airy, a dollop of freshly whipped cream lends a luxurious creaminess that enhances the velvety nature of the cake.
- Chocolate Sauce Drizzle: A warm, rich chocolate sauce drizzled on the cake elevates the cocoa notes, making every bite even more delectable.
Green Velvet Cake Recipe FAQs
How do I choose ripe ingredients like eggs and butter for the Green Velvet Cake?
When selecting eggs for your Green Velvet Cake, look for those with clean, uncracked shells and which have been stored in the refrigerator. Room temperature eggs blend more easily into the batter, improving texture. For butter, ensure it’s at a soft, spreadable consistency, which helps in achieving a creamy frosting.
What’s the best way to store my Green Velvet Cake, and how long will it last?
Store your frosted Green Velvet Cake in an airtight container in the fridge for up to 3 days. Allow it to sit at room temperature for 15-30 minutes before serving for optimal flavor and a tender texture. Unfrosted cupcakes can be kept at room temperature for up to 2 days, ideally in a sealed container.
Can I freeze my Green Velvet Cake, and if so, how?
Absolutely! To freeze your Green Velvet Cake, wrap unfrosted layers tightly in plastic wrap, then cover with foil to prevent freezer burn. They can be frozen for up to 3 months. When you’re ready to enjoy, simply thaw in the refrigerator overnight. If you like, frost after they’re completely thawed for the best results.
What if my cake comes out too dense?
If your Green Velvet Cake ends up dense, it’s often due to overmixing once the wet and dry ingredients are combined. Aim to mix only until you see a smooth batter. Additionally, accurately measuring flour is important—spoon it into the measuring cup and level it off to avoid adding too much.
Can I make this cake dairy-free or vegan?
Yes, you can easily create a dairy-free or vegan version of the Green Velvet Cake! Substitute the eggs with unsweetened applesauce (1/4 cup per egg) and use dairy-free cream cheese and plant-based butter for the frosting. Additionally, replace buttermilk with your favorite non-dairy milk mixed with a tablespoon of vinegar, letting it sit for 5 minutes.
Is it safe for my pets or anyone with allergies?
While the Green Velvet Cake is vegetarian-friendly, it contains ingredients like eggs, dairy, and sometimes food coloring that may cause allergies. It’s essential to keep this cake away from pets, as chocolate and certain sweeteners can be harmful to them. Always inform your guests of potential allergens present in your cake before serving.
Deliciously Fun Green Velvet Cake for Every Celebration
Ingredients
Equipment
Method
- Preheat your oven to 350°F (175°C). Grease two 8-inch round cake pans or line muffin tins with cupcake liners.
- In a medium bowl, whisk together 2 large eggs until frothy. Stir in 1 cup of vegetable oil, 1 cup of buttermilk, 1 tablespoon of white vinegar, 2 teaspoons of vanilla extract, and 1 tablespoon of green food coloring. Mix until combined.
- In a separate bowl, combine 2 cups of all-purpose flour, 1 cup of granulated sugar, 2 tablespoons of cocoa powder, 1 teaspoon of salt, and 1 teaspoon of baking soda. Whisk until well mixed.
- Pour the wet mixture into the dry ingredients, mixing on medium-high speed for 1 to 2 minutes until smooth.
- Divide cake batter evenly between the prepared pans, filling each about 2/3 full.
- Bake in the preheated oven for 22 minutes for the cake or 16 minutes for cupcakes. Check for doneness with a toothpick.
- Remove cakes from the oven and let them cool in the pans for about 10 minutes. Then transfer to a wire rack to cool completely.
- For frosting, beat together 8 ounces of cream cheese and 1/2 cup of softened butter until creamy. Gradually add 4 cups of powdered sugar and 1 teaspoon of vanilla extract, mixing until smooth. Adjust with milk if necessary.
- Once layers are cool, frost the top of one layer, place the second on top, and frost the sides. For cupcakes, pipe or spread frosting on top.
Leave a Reply