
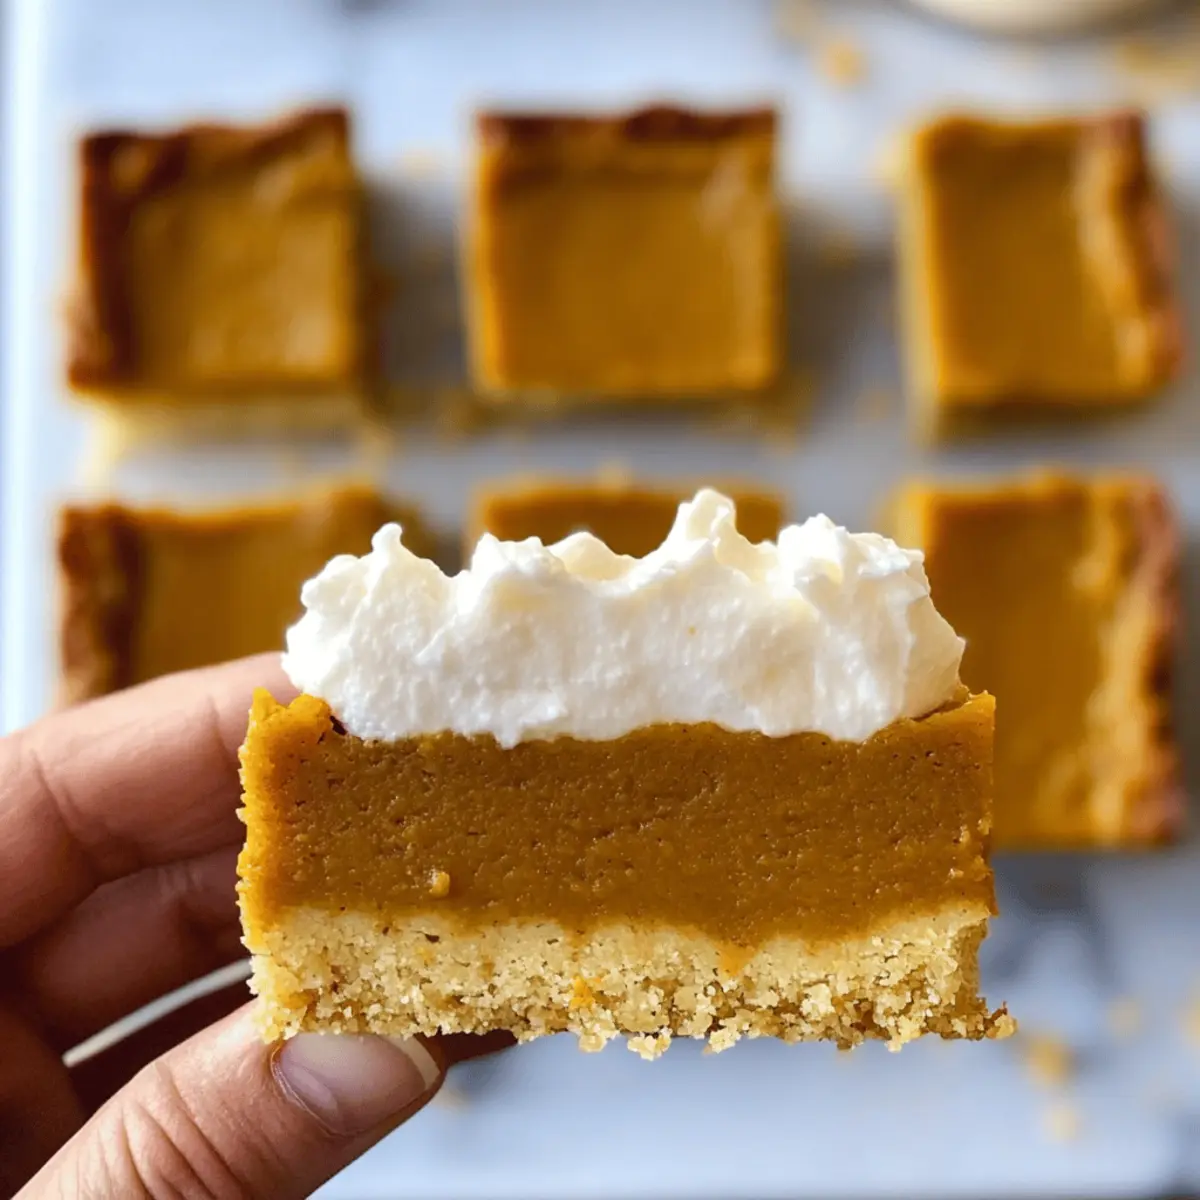
As I pulled my first batch of gluten-free pumpkin pie bars from the oven, the warm scent of autumn spices filled my kitchen, wrapping around me like a cozy blanket. These easy gluten-free baking recipes are the perfect solution for anyone looking to ditch the fast-food hustle during the holiday season. With a buttery shortbread base that pairs beautifully with a creamy pumpkin filling, these bars promise to be a crowd-pleaser at any gathering. Not only are they a delightful alternative for those avoiding gluten, but their slice-and-serve nature makes them an ideal dessert for Thanksgiving feasts. Who wouldn’t love indulging in a sweet treat that everyone can enjoy? So, are you ready to elevate your holiday dessert game with these irresistible gluten-free pumpkin pie bars?
Why Choose These Pumpkin Pie Bars?
Irresistible flavor awaits you in each bite, blending warm spices with creamy pumpkin goodness that makes these bars a seasonal favorite. Easy to make, this gluten-free recipe requires minimal effort but delivers maximum satisfaction. Perfect for sharing, they’re ideal for gatherings, ensuring everyone can indulge without compromise. Versatile options allow for dairy-free adjustments and creative variations, catering to various dietary needs. Make-ahead friendly, they can be whipped up in advance, saving you time during the busy holiday season. Treat your loved ones to these delicious bars, and watch them disappear just as quickly as you bake them!
Gluten-Free Pumpkin Pie Bars Ingredients
For the Cookie Base
- Gluten-Free All-Purpose Flour – Provides structure for the cookie base; regular flour can be used if you’re not gluten intolerant.
- Granulated Sugar – Sweetens both the cookie base and pumpkin layer; coconut sugar can be used for a richer flavor.
- Salt – Balances sweetness and enhances the overall flavor profile.
- Dairy-Free Butter (or regular butter) – Adds richness and moisture; coconut oil is a substitute, but may slightly change the flavor.
For the Pumpkin Filling
- Pure Pumpkin Puree – The star ingredient that provides moisture and flavor; use pure pumpkin, not pumpkin pie filling.
- Cinnamon – Infuses warmth and depth into the pumpkin layer; can replace with pumpkin pie spice for convenience.
- Nutmeg – Enhances the autumnal flavors beautifully; a must for that classic taste.
- Ground Ginger – Adds a zesty kick; can be substituted with more pumpkin pie spice if desired.
- Eggs – Provide structure to the filling; for a vegan option, use flax or chia eggs, though it may alter texture.
- Milk (or Coconut Milk) – Contributes to creaminess; use any milk of your choice, with coconut milk adding a slight coconut flavor.
- Evaporated Milk (or Evaporated Coconut Milk) – Adds richness to the filling; ensure you use evaporated, not sweetened condensed milk.
Feel free to gather these ingredients and get ready to bake some delightful gluten-free pumpkin pie bars that will impress everyone this holiday season!
Step‑by‑Step Instructions for Gluten-Free Pumpkin Pie Bars
Step 1: Preheat and Prepare the Oven
Begin by preheating your oven to 375°F (190°C). While the oven heats, grab an 8-inch square baking pan and lightly grease it with dairy-free butter or regular butter. This preparation ensures your gluten-free pumpkin pie bars won’t stick to the pan, allowing for easy slicing later on.
Step 2: Mix the Dry Ingredients
In a large mixing bowl, combine gluten-free all-purpose flour, granulated sugar, and salt. Using an electric mixer on low speed, blend the ingredients until well-mixed, about 1-2 minutes. This step provides the foundation for a delicious cookie base, ensuring a balanced sweetness in your bars.
Step 3: Incorporate the Butter
Gradually add the dairy-free butter, cut into small pieces, into the dry mixture. Mix on medium speed for about 2-3 minutes, or until a smooth dough forms that pulls away from the sides of the bowl. The mixture should resemble a crumbly dough, setting up the perfect shortbread base for your gluten-free pumpkin pie bars.
Step 4: Press and Bake the Cookie Base
Transfer the dough into the prepared baking pan and evenly press it down using your fingertips or a flat-bottomed glass. Bake the cookie base in the preheated oven for 15 minutes, or until just set but not browned. This step creates a sturdy foundation for the creamy pumpkin layer that will follow.
Step 5: Prepare the Pumpkin Filling
While the cookie base is baking, whip up the pumpkin filling by mixing pure pumpkin puree, sugar, salt, and your spices (cinnamon, nutmeg, ginger) in a separate bowl. Add the eggs, milk, and evaporated milk, and blend until smooth and creamy. This mixture is the heart of your gluten-free pumpkin pie bars, rich and flavorful.
Step 6: Combine Bases and Bake Again
Once the cookie base is out of the oven, immediately pour the smooth pumpkin filling over it, spreading it evenly with a spatula. Return the pan to the oven and bake at 450°F (230°C) for 10 minutes. This initial high heat helps set the filling, creating that perfect contrast between the layers.
Step 7: Lower the Temperature
After 10 minutes, reduce the oven temperature to 350°F (175°C) and continue baking for an additional 30 minutes. Keep an eye on the bars as they bake; they should be firm and slightly puffed, indicating that the filling is setting beautifully within the cookie base.
Step 8: Final Bake and Check for Doneness
Cover the baking pan loosely with aluminum foil and bake for another 5 minutes to prevent over-browning. To check if the filling is done, insert a toothpick in the center—it should come out clean. This final step ensures your gluten-free pumpkin pie bars are perfectly set for serving.
Step 9: Cool and Slice
Once baked, remove the bars from the oven and let them cool completely in the pan on a wire rack. After they have cooled to room temperature, transfer them to the refrigerator for at least 2 hours before slicing. Chilling helps the bars set further for cleaner cuts and a more enjoyable eating experience.
Storage Tips for Gluten-Free Pumpkin Pie Bars
Fridge: Store your gluten-free pumpkin pie bars in an airtight container for up to 5 days, ensuring they stay fresh and flavorful.
Freezer: For longer storage, wrap each bar tightly in plastic wrap before placing them in a freezer-safe bag. They can be frozen for up to 3 months.
Thawing: To enjoy your frozen bars, simply remove them from the freezer and let them thaw in the fridge overnight. This helps maintain their texture and taste.
Reheating: If desired, gently reheat your bars in the oven at 350°F (175°C) for about 10 minutes before serving. This will enhance the creamy pumpkin filling’s delightful warmth.
Make Ahead Options
These Gluten-Free Pumpkin Pie Bars are fantastic for meal prep, allowing you to savor more time with family during the busy holiday season. You can prepare the cookie base up to 24 hours in advance; simply store it tightly wrapped in the refrigerator. Additionally, the pumpkin filling can be mixed and refrigerated for up to 3 days before baking. To maintain the quality, ensure both components are covered well to prevent drying out. When you’re ready to complete the process, pour the chilled filling over the cookie base and bake as directed. This way, you’ll get the same delicious homemade results while saving precious time!
Gluten-Free Pumpkin Pie Bars Variations
Feel free to get creative and customize these pumpkin pie bars to suit your taste buds!
- Dairy-Free: Substitute all dairy with coconut milk and coconut oil for a rich flavor without the lactose.
- Nut-Free: Replace almond flour with certified gluten-free oat flour to keep it nut-free while maintaining great texture.
- Spiced Up: Add a pinch of cayenne pepper or crushed red pepper flakes for an unexpected and delightful kick.
- Sweet Twist: Drizzle maple syrup over the creamy filling before baking to deepen the sweetness and add a hint of maple flavor.
- Texture Boost: Fold in chopped pecans or walnuts into the pumpkin filling for a crunchy contrast to the creamy base.
- Chocolate Lovers: Swirl in melted dark chocolate or add chocolate chips to the filling for a deliciously decadent treat. The richness of chocolate pairs surprisingly well with pumpkin!
- Pumpkin Pie Spice: Use a pre-mixed pumpkin pie spice blend for convenience instead of measuring out individual spices; it saves time and still delivers that autumnal flavor.
- Boozy Version: For an adult twist, add a tablespoon of bourbon or rum to the pumpkin filling for a warming, festive touch.
If you’re looking for more creative ways to infuse pumpkin into your holiday baking, check out Pumpkin Pie Stuffed or try making Pumpkin Cream Cheese. With these variations, you can easily make these bars your own while still embracing the comforting flavors of the season!
What to Serve with Gluten-Free Pumpkin Pie Bars
Serving gluten-free pumpkin pie bars is your golden opportunity to craft a festive, heartwarming spread perfect for any gathering.
-
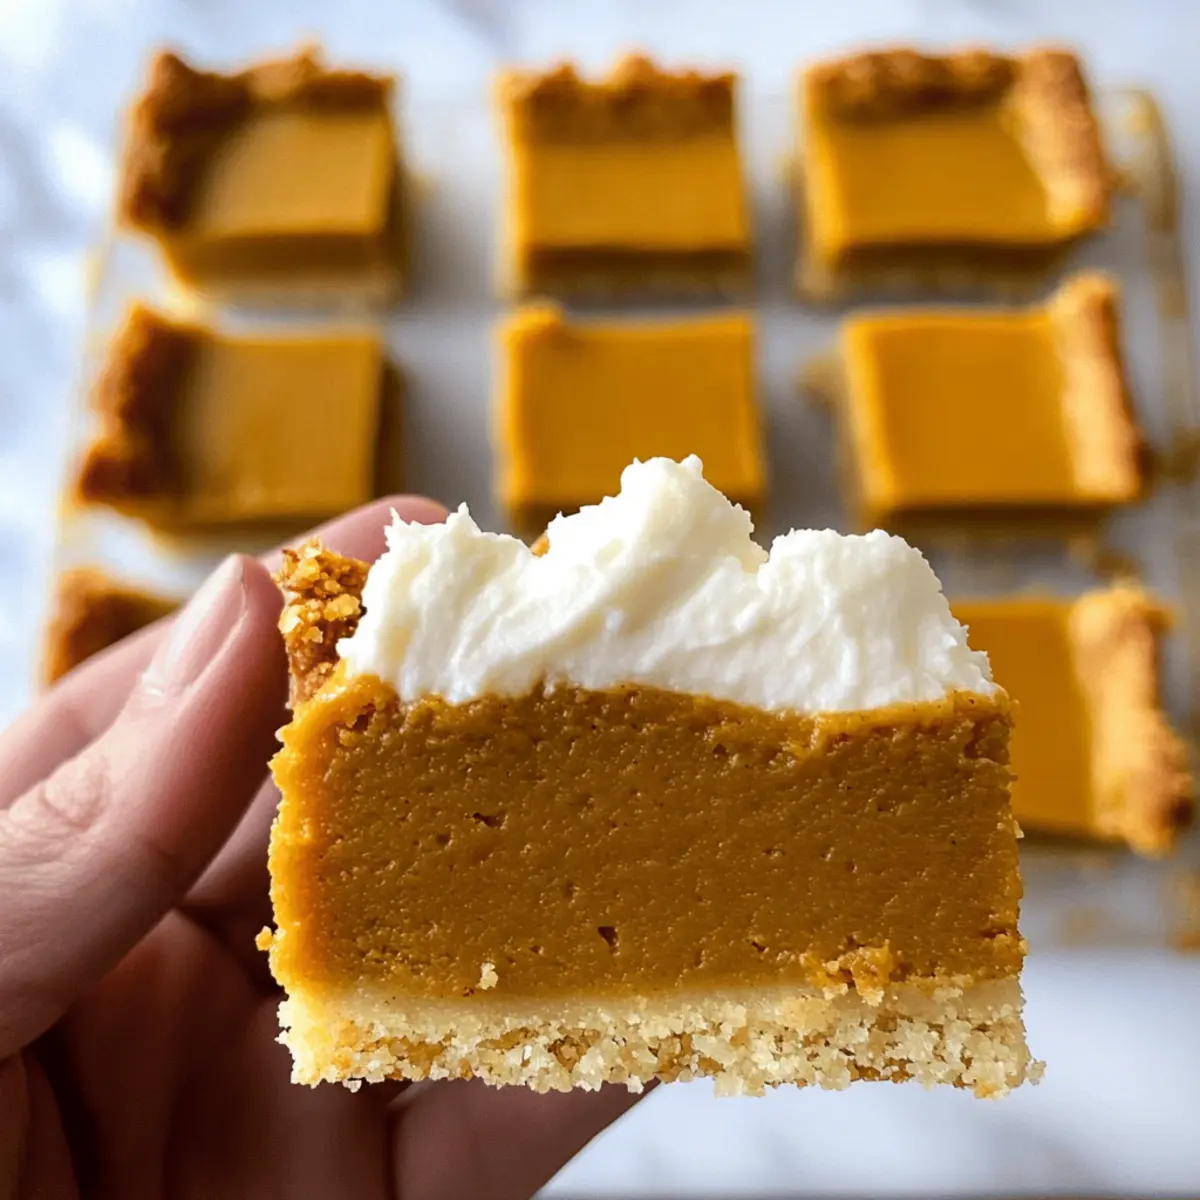
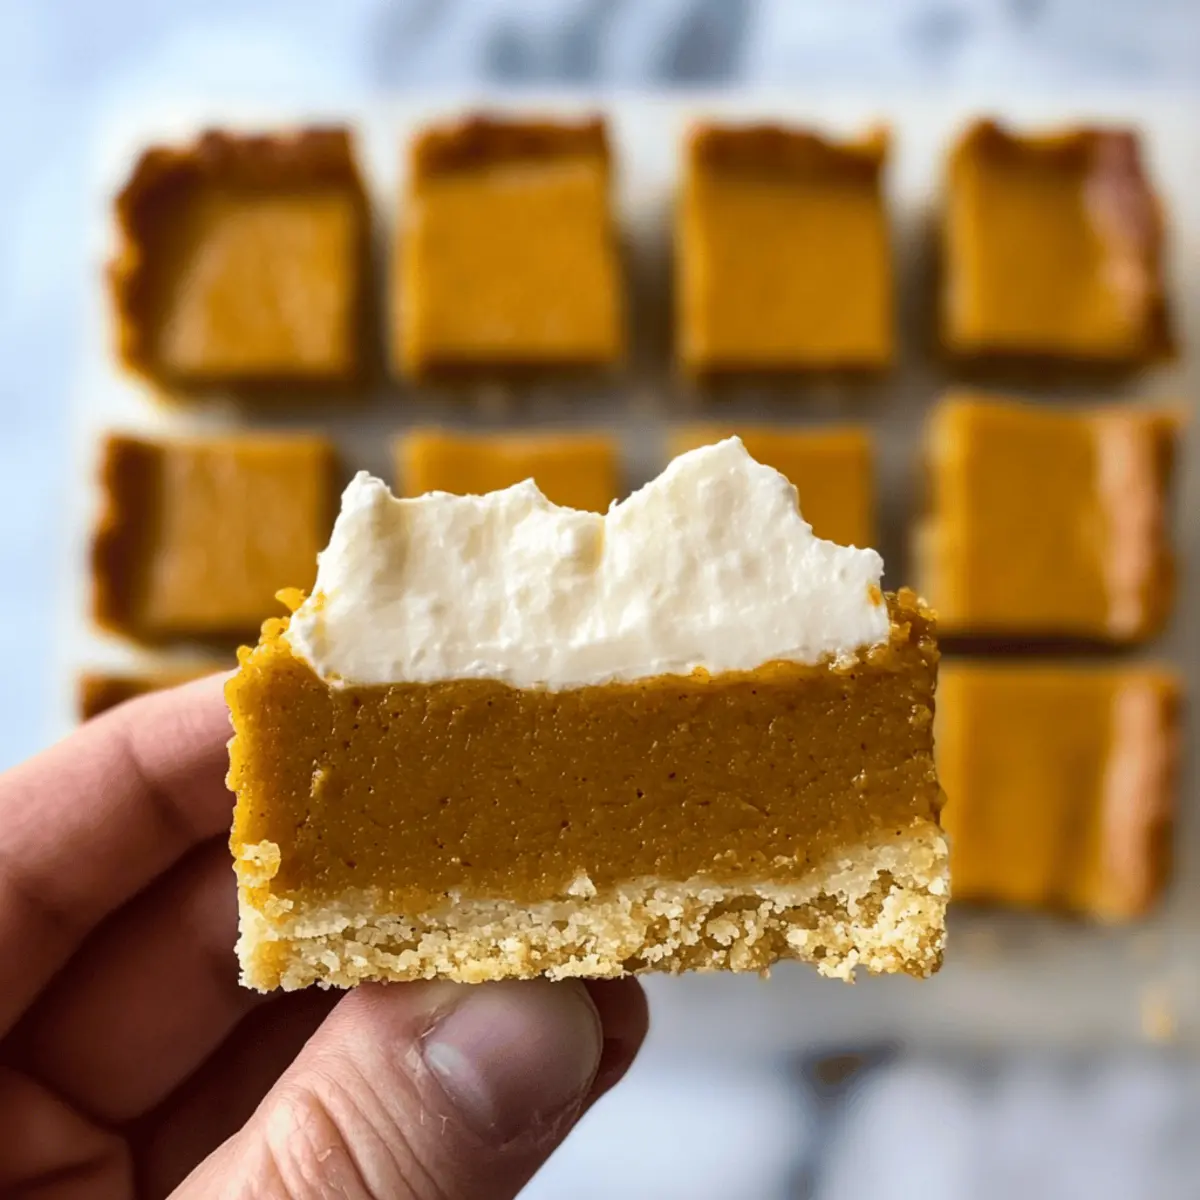
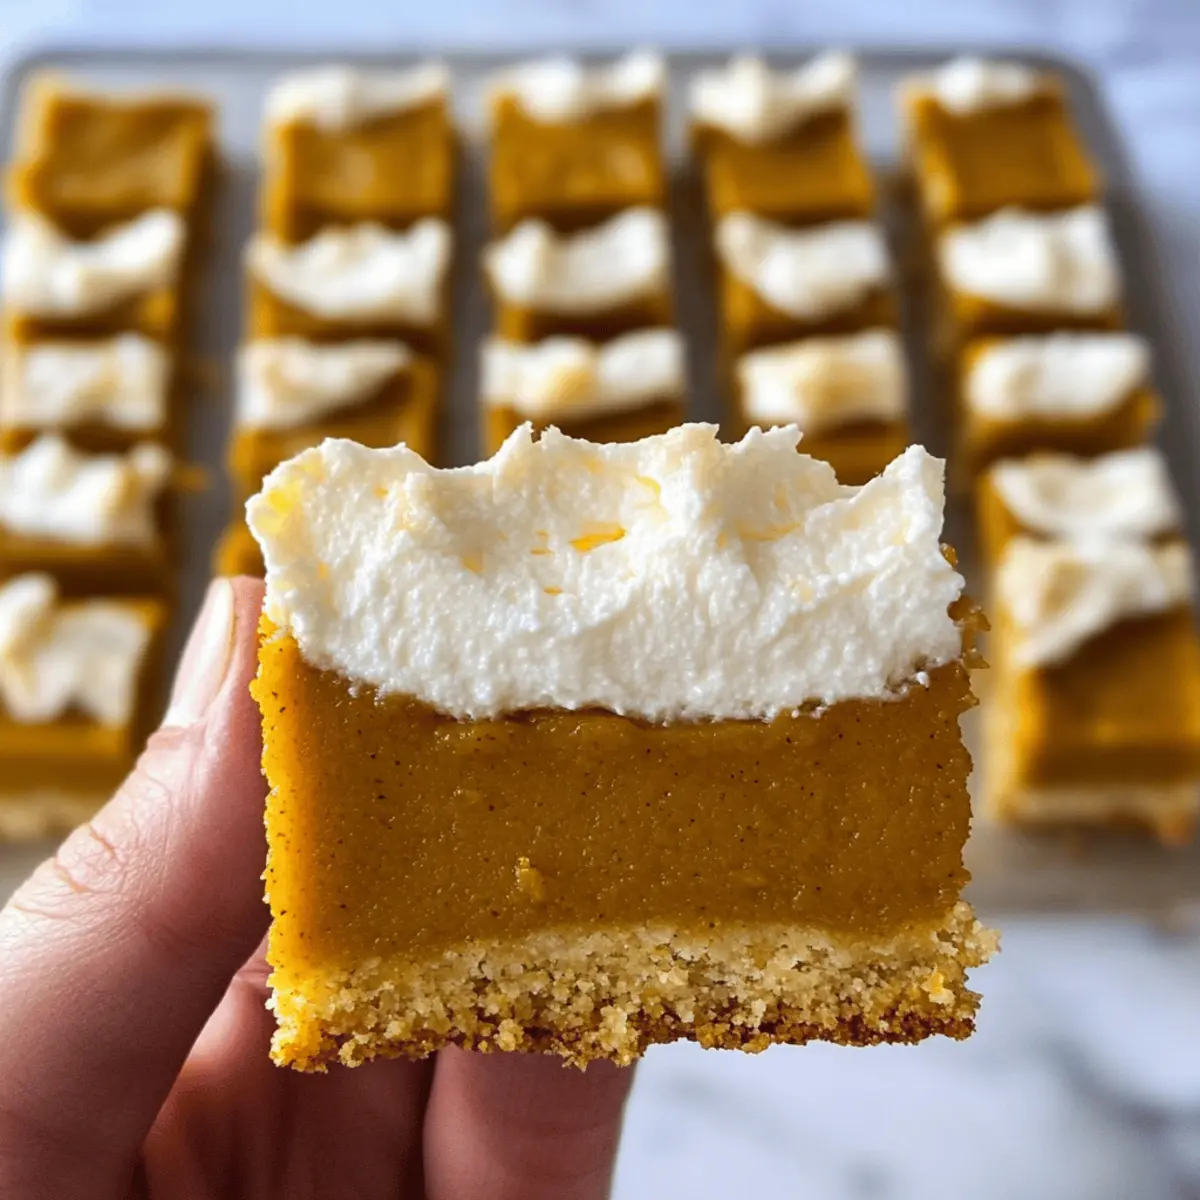
Whipped Cream: A dollop of fresh whipped cream adds a light, airy contrast to the dense pumpkin layers, making each bite delightful. You could try a flavored whipped cream by adding a hint of cinnamon or vanilla.
-
Cinnamon Sugar Donuts: These fluffy donuts provide a playful twist and their lightly spiced flavor pairs beautifully with the warm spices in the pumpkin bars. They offer a fun texture contrast, making them a perfect companion on a dessert platter.
-
Fresh Apples: A platter of crisp apple slices brings a refreshing crunch that complements the creamy filling and sweet base. Try serving them with a drizzle of caramel or a sprinkle of cinnamon for an extra treat!
-
Vanilla Ice Cream: This classic pairing creates a luscious experience as the cold ice cream slowly melts into the warm pumpkin bars, enhancing every delightful bite. A sprinkle of cinnamon on top takes it to the next level!
-
Cranberry Orchard Salad: A fresh salad burst with tart cranberries and crunchy pecans offers a refreshing contrast to the richness of the pumpkin bars, showcasing seasonal flavors beautifully.
-
Chai Tea: Steep a warm cup of chai tea, and let the aromatic spices blend seamlessly with the flavors of your pumpkin dessert, adding comfort and warmth to your holiday gathering.
-
Pumpkin Spice Latte: Enhance that fall spirit with a homemade pumpkin spice latte that mirrors the flavors of the bars, creating a complete sensory experience and enchanting your guests.
-
Pecan Pie Bars: For the true dessert lovers, pair your pumpkin bars with pecan pie bars for an indulgent treat that combines two beloved autumn classics—it’s a dream for those who adore a sweet ending.
-
Handcrafted Soda: Offer a refreshing, craft soda, perhaps a spiced apple flavor, to balance the sweetness and create a fun, festive atmosphere perfect for holiday celebrations.
Expert Tips for Gluten-Free Pumpkin Pie Bars
-
Mix Thoroughly: Ensure you mix the butter well into the dry ingredients to create a sturdy cookie base, preventing sogginess in your gluten-free pumpkin pie bars.
-
Watch the Temperatures: The shift in baking temperature—starting high and then lowering—is crucial for achieving the best consistency in the filling; don’t skip this step!
-
Cool Completely: Allow the bars to cool completely, then refrigerate before slicing. This helps them set properly, making them easier to cut and serve beautifully.
-
Use Pure Pumpkin: Always opt for pure pumpkin puree instead of pumpkin pie filling. The latter contains extra sugars and spices that can throw off your flavor balance.
-
Experiment with Spices: If you’re out of individual spices, feel free to use a pumpkin pie spice blend for convenience; it’ll add that cozy warmth without the fuss!
Gluten-Free Pumpkin Pie Bars Recipe FAQs
How do I choose ripe pumpkins for puree?
Absolutely! When selecting pumpkins for puree, look for ones that are firm, with smooth, deep coloration and no dark spots. A medium-sized pumpkin (about 4-5 pounds) will provide the perfect amount of puree for your gluten-free pumpkin pie bars. The stem should be dry and hard, indicating that the pumpkin is ripe.
How should I store leftovers?
Very! Store your gluten-free pumpkin pie bars in an airtight container in the refrigerator for up to 5 days. This keeps them fresh and tasty! If you need to store them longer, consider freezing them (more on that below).
Can I freeze these pumpkin pie bars?
Absolutely! To freeze your gluten-free pumpkin pie bars, wrap each bar tightly in plastic wrap and then place them in a freezer-safe zip-top bag. They can last up to 3 months in the freezer. When you’re ready to enjoy them, simply remove the desired amount from the freezer and let them thaw in the refrigerator overnight for the best texture.
What if my filling doesn’t set properly?
No worries! If your pumpkin filling appears to be runny after baking, it may require additional baking time. Check it at 5-minute intervals by inserting a toothpick into the center; if it comes out clean, it’s done! If the edges are firm, but the middle is still jiggly, that’s okay. Letting it cool completely in the pan allows the filling to firm up nicely.
Are these bars suitable for those with dairy allergies?
Absolutely! You can make these gluten-free pumpkin pie bars dairy-free by using alternatives for the butter and milk. I often suggest using coconut oil instead of butter and coconut milk in place of regular milk for a delicious, creamy filling without any dairy. Just ensure your substitute for evaporated milk is also dairy-free, like evaporated coconut milk.
Can my pets have any of the ingredients?
Very! While pure pumpkin is safe for dogs and can aid in digestion, make sure your gluten-free pumpkin pie bars do not contain added sugar or spices that could be harmful. Always consult your veterinarian before sharing any human food with your pets.
Irresistible Gluten-Free Pumpkin Pie Bars for a Cozy Fall Treat
Ingredients
Equipment
Method
- Preheat your oven to 375°F (190°C) and grease an 8-inch baking pan.
- Mix gluten-free flour, sugar, and salt in a bowl for the cookie base.
- Gradually add dairy-free butter to the dry mixture and mix until a dough forms.
- Press the dough into the prepared baking pan and bake for 15 minutes.
- In another bowl, mix pumpkin puree, sugar, salt, and spices for the filling.
- Add eggs, milk, and evaporated milk, blending until smooth.
- Pour pumpkin filling over the baked cookie base and bake at 450°F (230°C) for 10 minutes.
- Lower the oven temperature to 350°F (175°C) and bake for an additional 30 minutes.
- Cover with foil and bake for another 5 minutes, then cool completely before slicing.
Leave a Reply