
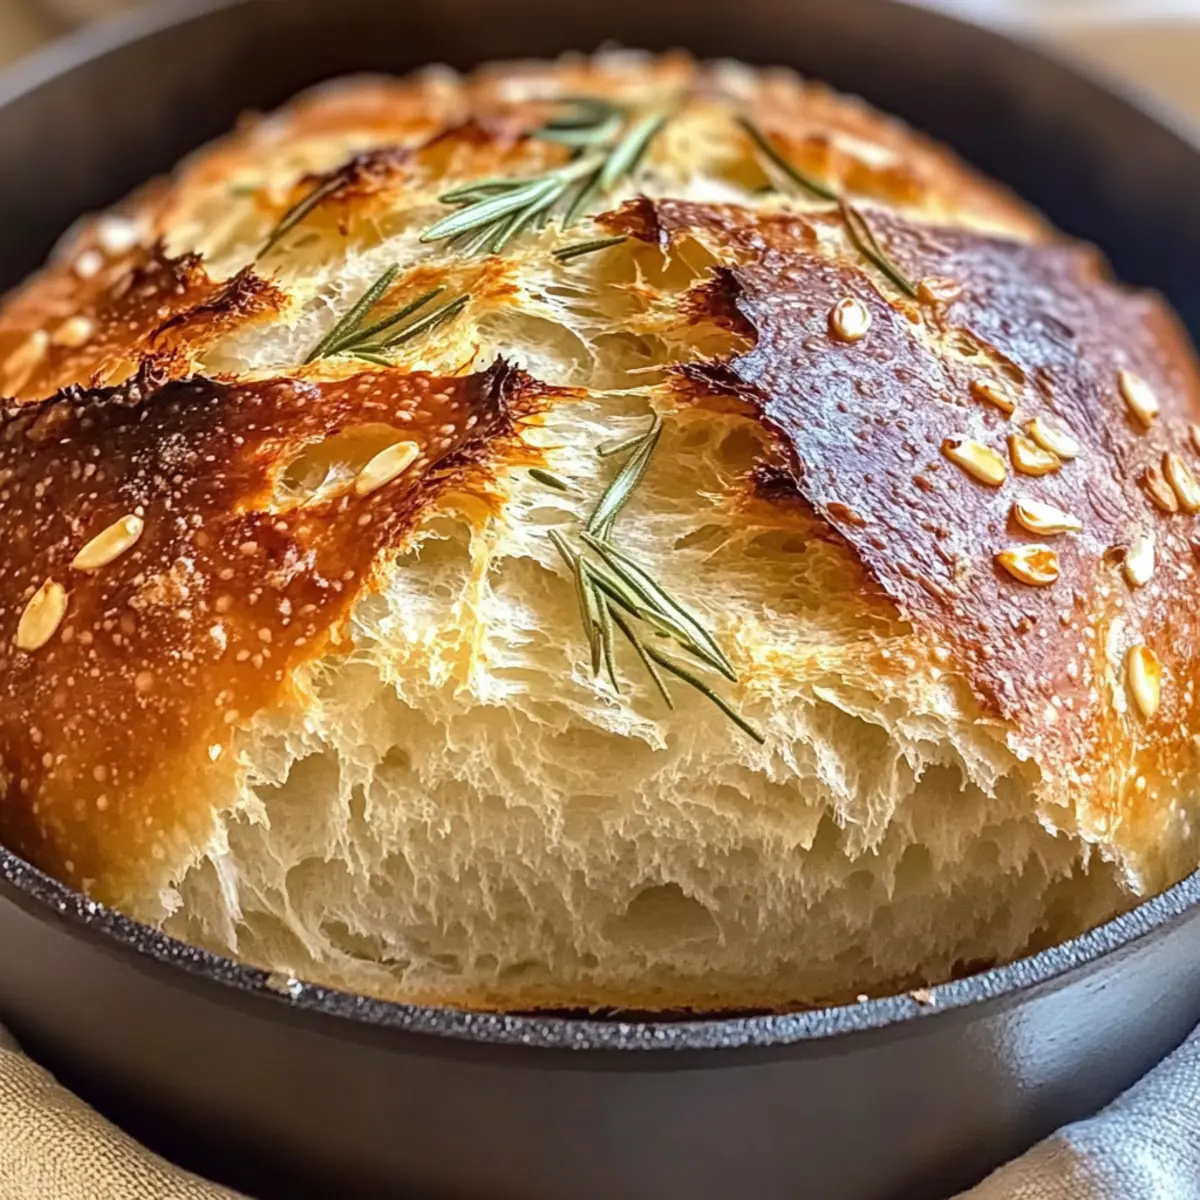
There’s something so magical about the aroma of fresh bread wafting through the kitchen. When I first tried my hand at baking, I was intimidated, but after discovering this Dutch Oven Garlic Rosemary Bread recipe, all my fears melted away. This delightful, artisan-style loaf combines the earthy flavor of rosemary and the savory punch of garlic, creating a masterpiece that looks as stunning as it tastes. Whether you’re a seasoned baker or a novice in the kitchen, this recipe makes bread-making simple and rewarding. You’ll love how it transforms into a beautiful centerpiece for any meal, and the best part? You can whip it up easily, allowing you to impress family and friends without hours of effort. Ready for a baking adventure that fills your home with warmth and deliciousness? Let’s dive in!
Why is Garlic Rosemary Bread So Special?
Aromatics fill your home with an inviting scent as this bread bakes. Artisan-style results in a loaf that looks impressive yet is easy enough for beginners. Versatile and perfect for pairing with soups or salads, this bread complements any meal. Unique flavors of garlic and rosemary elevate your baking from ordinary to extraordinary. Plus, the time-saving Dutch oven method guarantees a perfect crust without complicated techniques! Get ready to impress everyone with a homemade delight!
Garlic Rosemary Bread Ingredients
For the Dough
- All-purpose flour – Provides structure and body to the bread; substitute with gluten-free flour for a gluten-free option.
- Sugar (1 ½ tsp) – Enhances flavor and aids yeast activation; honey or agave syrup can work as natural alternatives.
- Salt (2 tsp) – Essential for taste and strengthens the dough; do not omit!
- Quick yeast (2 ½ tsp, 1 package) – Leavens the bread, helping it rise quickly; you can use instant yeast as a substitute.
- Warm water (1 ⅓ cups) – Hydrates dry ingredients and activates the yeast; ensure the water is warm to avoid killing the yeast.
For Flavor
- Fresh rosemary (2 large sprigs, diced) – Imparts an earthy flavor; you can substitute with dry rosemary but use less due to its concentration.
- Garlic (3 cloves, diced) – Adds aromatic flavor; fresh garlic is ideal, but garlic powder is a suitable alternative when necessary.
This simple yet mouthwatering Garlic Rosemary Bread is not only a treat for your palate but also a great way to enjoy home baking!
Step‑by‑Step Instructions for Garlic Rosemary Bread
Step 1: Prepare Dough
In a large mixing bowl, combine all-purpose flour, sugar, salt, and quick yeast. Gradually pour in warm water while mixing with a wooden spoon until the dough becomes sticky and shaggy. Add the diced garlic and rosemary, incorporating them well into the mixture. The dough should look cohesive yet still a bit messy, perfect for your Garlic Rosemary Bread!
Step 2: First Rise
Cover the bowl with a clean kitchen towel and place it in a warm area of your kitchen. Allow the dough to rise for about 60 minutes, or until it has doubled in size. Check for a fluffy texture; it should have bubbles forming on the surface. This first rise is crucial for creating the soft interior of your artisan bread.
Step 3: Shape the Dough
Once the dough has risen, transfer it onto a well-floured sheet of parchment paper. Gently shape the dough into a ball by folding the edges toward the center, then let it rest for 20 minutes. This shaping process will help develop the structure and enhance the final texture of your Garlic Rosemary Bread.
Step 4: Preheat Dutch Oven
While the dough rests, place your Dutch oven (with the lid off) in the oven and preheat to 450°F (232°C). It’s essential that your Dutch oven is hot before the bread goes in, as this helps create a beautifully crisp crust. Make sure to preheat for at least 30 minutes for best results.
Step 5: Score and Bake
Carefully lift the dough using the parchment paper and transfer it into the hot Dutch oven. Using a sharp knife, score the top of the dough with an X or a few slashes to allow for steam expansion during baking. Cover with the lid and bake for 30 minutes, allowing the flavors and aromas to meld deliciously.
Step 6: Brown the Crust
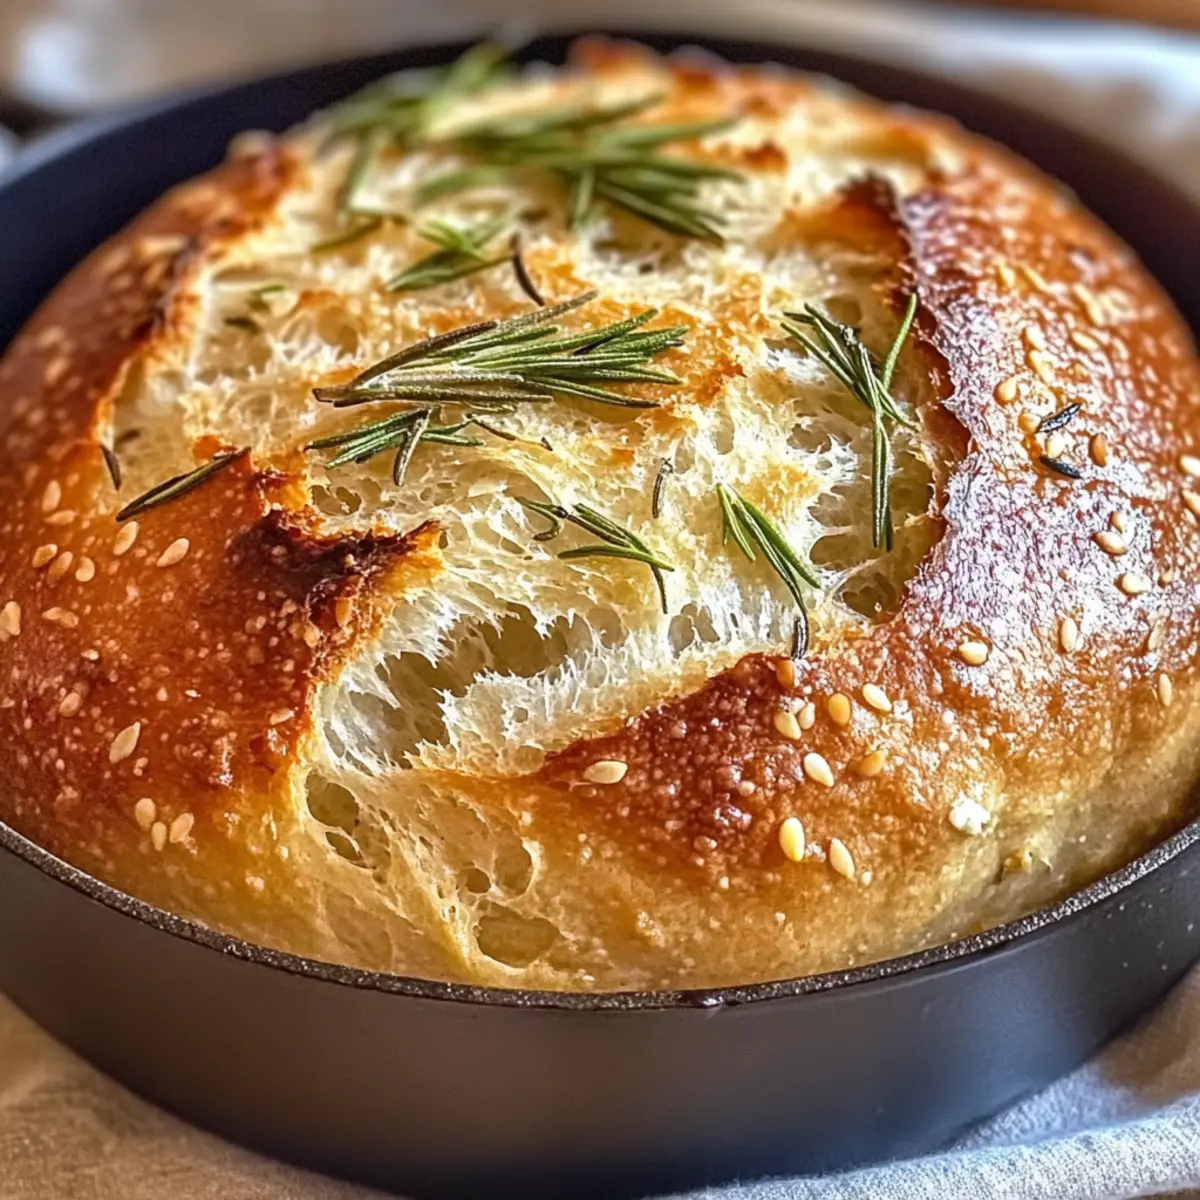
After the initial baking time, carefully remove the lid from the Dutch oven. Continue baking for an additional 10 minutes or until the crust becomes a deep golden brown. This step will enhance the crust’s texture and flavor, giving your Garlic Rosemary Bread that perfect artisan finish.
Step 7: Cooling
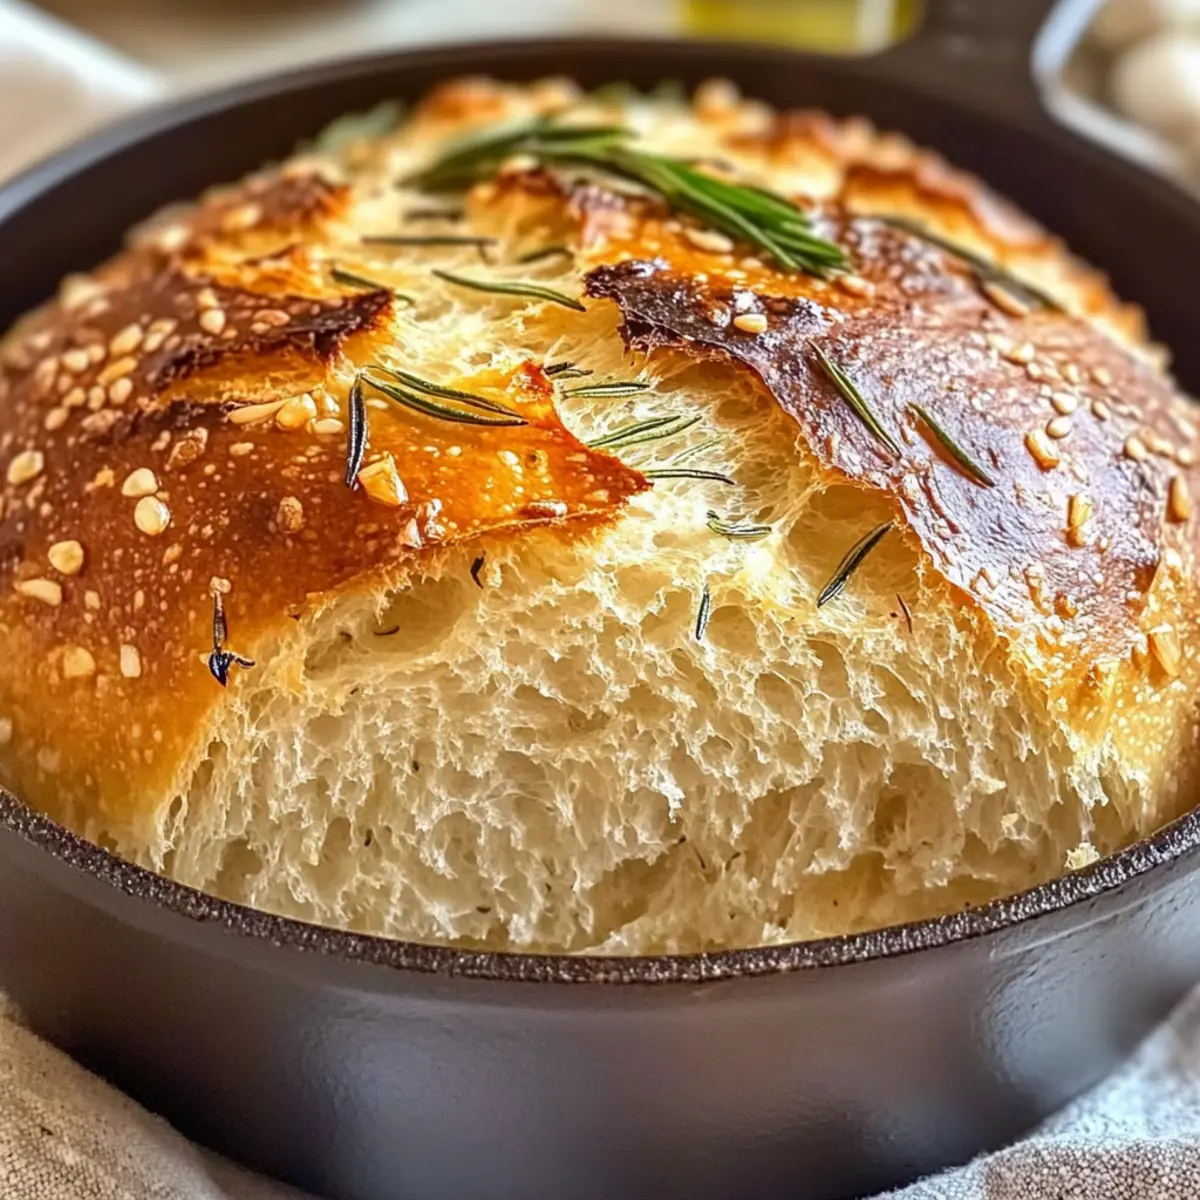
Once baked, lift the bread using the parchment and transfer it to a cooling rack. Allow it to cool for at least 30 minutes before slicing. This resting period is crucial for the crumb to set properly, ensuring your first slice reveals the soft, airy interior of your Garlic Rosemary Bread.

Expert Tips for Garlic Rosemary Bread
-
Preheat Properly: Ensure your Dutch oven is fully preheated; this is essential for achieving that perfect, crusty exterior.
-
Score with Confidence: Make sure to score your dough before baking. This technique allows steam to escape and promotes an even rise for your Garlic Rosemary Bread.
-
Cool Before Slicing: Be patient and let your bread cool for at least 30 minutes. This helps develop the flavor and ensures a better texture when you slice into it.
-
Use Warm, Not Hot Water: When activating your yeast, remember to use warm water—too hot can kill yeast and prevent your dough from rising properly.
-
Experiment with Flavor: Don’t hesitate to add extra ingredients for a twist! Consider cheese or other herbs to elevate your Garlic Rosemary Bread to new flavor heights.
Storage Tips for Garlic Rosemary Bread
- Room Temperature: Store your Garlic Rosemary Bread in an airtight container at room temperature for up to 3 days. This keeps it soft and fresh for everyday enjoyment.
- Freezer: For longer storage, wrap the bread tightly in plastic wrap and aluminum foil before placing it in the freezer. It will keep well for up to 3 months.
- Reheating: To refresh your bread, thaw it overnight in the fridge and reheat in a preheated oven at 350°F (175°C) for 10–15 minutes to restore its crusty goodness.
- Slicing Tip: If you plan to freeze the bread, slice it beforehand for quick, easy serving when cravings hit.
Make Ahead Options
These Garlic Rosemary Bread options are perfect for busy home cooks looking to save time without sacrificing flavor! You can prepare the dough up to 24 hours in advance; just mix the ingredients and let it rise, then cover it tightly and refrigerate. This not only develops the flavors but also keeps the dough ready to go! When you’re ready to bake, simply shape the dough and allow it to rest for 20 minutes before preheating your Dutch oven. For an even quicker meal prep, shape and freeze the dough for up to 3 days — defrost overnight in the fridge before baking, ensuring you still get that wonderfully crispy crust on your Garlic Rosemary Bread with minimal effort!
What to Serve with Dutch Oven Garlic Rosemary Bread?
There’s nothing quite like the warmth of homemade bread gracing your table, creating a delightful atmosphere for any meal.
- Creamy Tomato Soup: The rich, savory flavors of tomato soup enhance the garlic and rosemary, making each bite a comforting delight.
- Savory Green Salad: Fresh greens tossed in a zesty vinaigrette bring a bright contrast to the warm, hearty bread, balancing textures beautifully.
- Roasted Vegetables: A medley of seasonal veggies adds a delightful crunch, their natural sweetness perfectly complementing the herby notes of the bread.
- Olive Oil and Balsamic Vinegar: Drizzling a high-quality olive oil mixed with balsamic offers a dip that elevates the artisan experience of your bread.
- Cheese Platter: Pair with soft cheeses like goat cheese or sharp cheddar for an inviting appetizer; the flavors audibly sing together.
- Homemade Bruschetta: Use leftover slices of bread to create delicious bruschetta topped with tomatoes and basil, a delicious way to use every crumb.
- Chardonnay or Chianti: A glass of wine can enhance the flavors of the bread and any dish served alongside, creating a truly memorable dining experience.
Garlic Rosemary Bread Variations
Feel free to get creative with this delightful recipe, and let your taste buds guide you to new flavor experiences!
-
Cheesy Delight: Add grated Parmesan or mozzarella for a deliciously cheesy version. The melted cheese creates an indulgent twist you won’t want to miss!
-
Herb Medley: Experiment with thyme, oregano, or basil instead of rosemary. Each herb brings a delightful character to your bread, allowing for endless variations in flavor.
-
Mediterranean Twist: Incorporate sun-dried tomatoes or olives for a vibrant Mediterranean flair. These add flavor bursts that transform your Garlic Rosemary Bread into a gourmet creation!
-
Spicy Kick: Mix in red pepper flakes to enjoy a subtle heat that builds with every bite. Transform a simple loaf into an exciting, spicy treat!
-
Nutty Flavor: Add chopped walnuts or pine nuts for added crunch and depth. Their nutty undertones complement the garlic and rosemary beautifully.
Imagine serving these variations alongside a comforting bowl of soup or a fresh salad. For more delicious ideas, have you tried out my Garlic Butter Honey BBQ Beef Tacos or the savory Cheesy Garlic Chicken? These are perfect partners for your homemade bread!
- Vegan Option: Replace the cheese with a chickpea mixture or dairy-free mozzarella to create a vegan-friendly bread. Deliciousness is for everyone!
Feel free to mix and match these variations to create your perfect Garlic Rosemary Bread!
Garlic Rosemary Bread Recipe FAQs
What type of flour should I use for Garlic Rosemary Bread?
All-purpose flour is recommended for this recipe as it gives the bread its structure and texture. If you need a gluten-free option, you can substitute it with a gluten-free all-purpose flour blend. Make sure the blend includes xanthan gum for the correct consistency.
How should I store Garlic Rosemary Bread?
To keep your Garlic Rosemary Bread fresh, store it in an airtight container at room temperature for up to 3 days. If you want to save it for longer, it’s best to wrap it tightly in plastic wrap and aluminum foil, then place it in the freezer. It can last up to 3 months in the freezer.
Can I freeze Garlic Rosemary Bread? How?
Absolutely! To freeze your Garlic Rosemary Bread, first let it cool completely. Then, wrap the loaf tightly in plastic wrap, followed by aluminum foil. This method will help prevent freezer burn. When you’re ready to enjoy it, simply thaw it in the fridge overnight and reheat it in a preheated oven at 350°F (175°C) for about 10–15 minutes to rejuvenate the crust.
What if my bread doesn’t rise?
If your Garlic Rosemary Bread doesn’t rise as expected, it could be because your yeast is expired or the warm water was too hot, killing the yeast. Always make sure your yeast is fresh and test it by mixing it with warm water and a pinch of sugar—if it bubbles after 5-10 minutes, it’s active. Additionally, ensure that you allow the dough to rise in a warm, draft-free space.
Can dogs eat Garlic Rosemary Bread?
While bread itself is safe for dogs, garlic can be harmful to them in larger amounts. It’s best to avoid giving your pets anything that contains garlic. If you’d like to make a special canine treat, consider making a separate loaf without any garlic or seasoning. Remember always to keep any human food safe from pets!
Irresistible Garlic Rosemary Bread You'll Love Baking at Home
Ingredients
Equipment
Method
- In a large mixing bowl, combine all-purpose flour, sugar, salt, and quick yeast. Gradually pour in warm water while mixing until the dough becomes sticky and shaggy.
- Cover the bowl with a clean kitchen towel and place it in a warm area. Allow the dough to rise for about 60 minutes, or until it has doubled in size.
- Transfer the dough onto a well-floured sheet of parchment paper. Gently shape it into a ball and let it rest for 20 minutes.
- Preheat your Dutch oven (with the lid off) in the oven at 450°F (232°C) for at least 30 minutes.
- Transfer the dough into the hot Dutch oven. Score the top with a sharp knife and cover with the lid. Bake for 30 minutes.
- After 30 minutes, remove the lid and continue baking for an additional 10 minutes until the crust is golden brown.
- Lift the bread using the parchment and transfer it to a cooling rack. Allow it to cool for at least 30 minutes before slicing.
Leave a Reply