
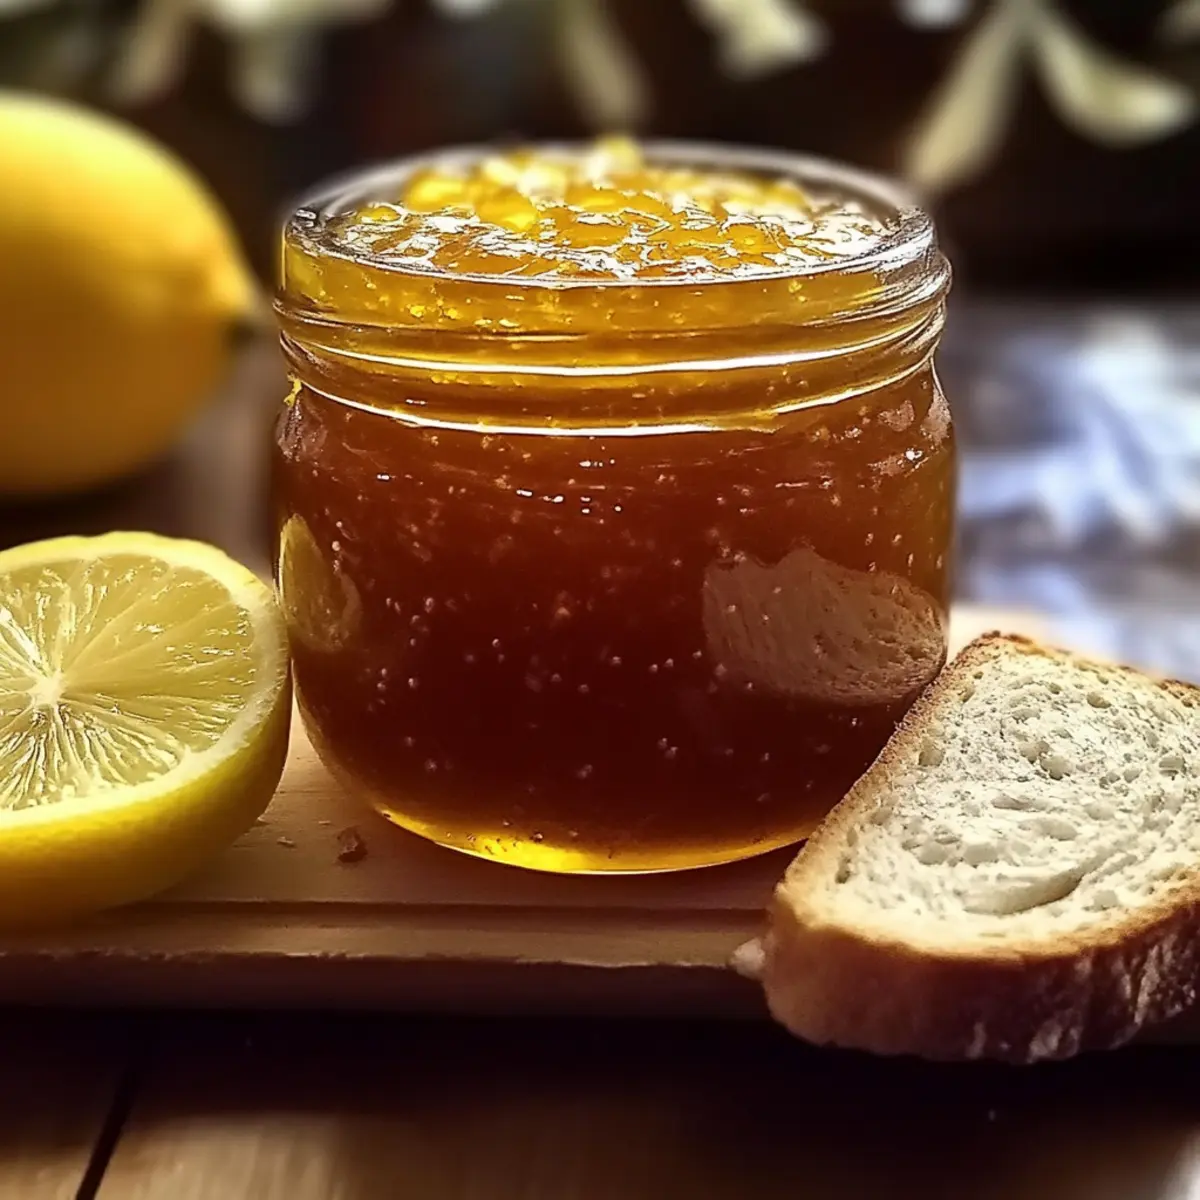
As I wandered through my garden one sunny afternoon, I was greeted by a vibrant sea of dandelions, their cheerful yellow heads waving in the breeze. It struck me: these humble blossoms could transform into something truly delightful—a Fresh Dandelion Jelly Recipe that captures the essence of spring! This jelly, with its bright golden hue and floral notes, is not only a treat for the palate but also a stunning addition to your breakfast spread or as a thoughtful homemade gift. Plus, it’s surprisingly easy to whip up and can be customized to reflect your unique taste—a win-win for any enthusiastic home chef! Are you ready to discover how these common weeds can elevate your culinary repertoire?
Why Choose This Dandelion Jelly?
Uniqueness Awaits: This homemade Fresh Dandelion Jelly is not just a treat; it’s a celebration of spring! Enjoy the floral flavors that set it apart from store-bought options.
Easy Process: With simple steps, you’ll impress friends and family with your crafting skills. From harvesting dandelions to creating your jelly, it’s an engaging experience!
Versatile Uses: Perfect for breakfast toast, topping desserts, or even mixing into yogurt – this jelly enhances various dishes. Try it alongside our Garlic Butter Potatoes for a fresh twist!
A Thoughtful Gift: Jars of this vibrant jelly make charming gifts. Friends will love receiving such a thoughtfully crafted delight.
Customize It: Experiment with flavors by adding fresh herbs or swapping honey for agave, tailoring it to your taste. The possibilities are endless!
Fresh Dandelion Jelly Ingredients
Get ready to create a springtime delight with these fresh ingredients!
For the Jelly Base
- Fresh Dandelion Petals – Use only bright yellow petals for the best flavor and appearance, avoiding the greens.
- Water – Use freshly boiled water to steep the dandelion petals, ensuring optimal flavor extraction.
- Fresh-Squeezed Lemon Juice – Adds necessary acidity for setting the jelly; avoid using bottled lemon juice for the best results.
- Honey – Mild wildflower honey balances sweetness, or substitute with agave nectar for a vegan variation.
- Granulated Sugar – Provides sweetness and helps achieve the jelly’s desired consistency; lower-sugar options may affect the set.
- Liquid Pectin – Essential for the jelly’s proper setting; be sure to follow package instructions for best results.
- Butter (optional) – Adding this helps reduce foam while boiling, resulting in a clearer jelly for better presentation.
With this Fresh Dandelion Jelly Recipe, you’ll be creating an exquisite treat that reflects the beauty of spring!
Step‑by‑Step Instructions for Fresh Dandelion Jelly Recipe
Step 1: Prepare Petals
Gently harvest 4 cups of fresh dandelion petals, ensuring you only select bright yellow blooms, avoiding any greens. Rinse the petals in cool water for about 10 minutes to remove dirt and insects. This careful cleaning is crucial for ensuring the purity of flavors in your Fresh Dandelion Jelly.
Step 2: Steep
Place the cleaned dandelion petals in a heat-proof pot and pour 4 cups of boiling water over them. Cover the pot and let it steep at room temperature for a minimum of 3 hours, or up to 24 hours for deeper flavor. The petals will infuse the water with vibrant, floral notes, essential for your jelly.
Step 3: Strain
After steeping, carefully strain the liquid through a fine-mesh sieve into a bowl. Gently press the petals with the back of a spoon to extract as much liquid as possible without crushing them. This step is vital to achieve a clear and flavorful base for your Fresh Dandelion Jelly.
Step 4: Mix
In the strained dandelion liquid, stir in ½ cup of freshly squeezed lemon juice and 2 cups of granulated sugar. Mix thoroughly for about 5 minutes until the sugar has completely dissolved. The lemon juice adds the necessary acidity for proper setting, enhancing the overall flavor of the jelly.
Step 5: Boil
Bring the mixture to a rolling boil over medium-high heat, stirring frequently to prevent sticking. Optionally add 1 tablespoon of butter to reduce foam. Boil hard for exactly 1 minute, watching for bubbly clarity, as this indicates that you’re on the right track to creating your delicious Fresh Dandelion Jelly.
Step 6: Add Pectin
Stir in the liquid pectin, ensuring it’s mixed well, then return the mixture to a rapid boil for precisely 1 minute while stirring continuously. The pectin is essential for thickening your jelly, so keep a close eye on the boil to ensure the perfect consistency.
Step 7: Test Set
To check if the jelly has set, conduct a cold plate test: drop a spoonful of jelly onto a cold plate and push with your finger. If it wrinkles, it’s ready; if not, boil for an additional minute and retest. This step ensures your Fresh Dandelion Jelly reaches the ideal gel stage.
Step 8: Jar
Carefully ladle the hot jelly into sterilized jars, leaving about ¼-inch headspace at the top. Wipe the rims clean to ensure a good seal, then secure the lids. Allow the jars to cool at room temperature, which will help the jelly set further and enhance its beautiful golden hue.
Step 9: Store
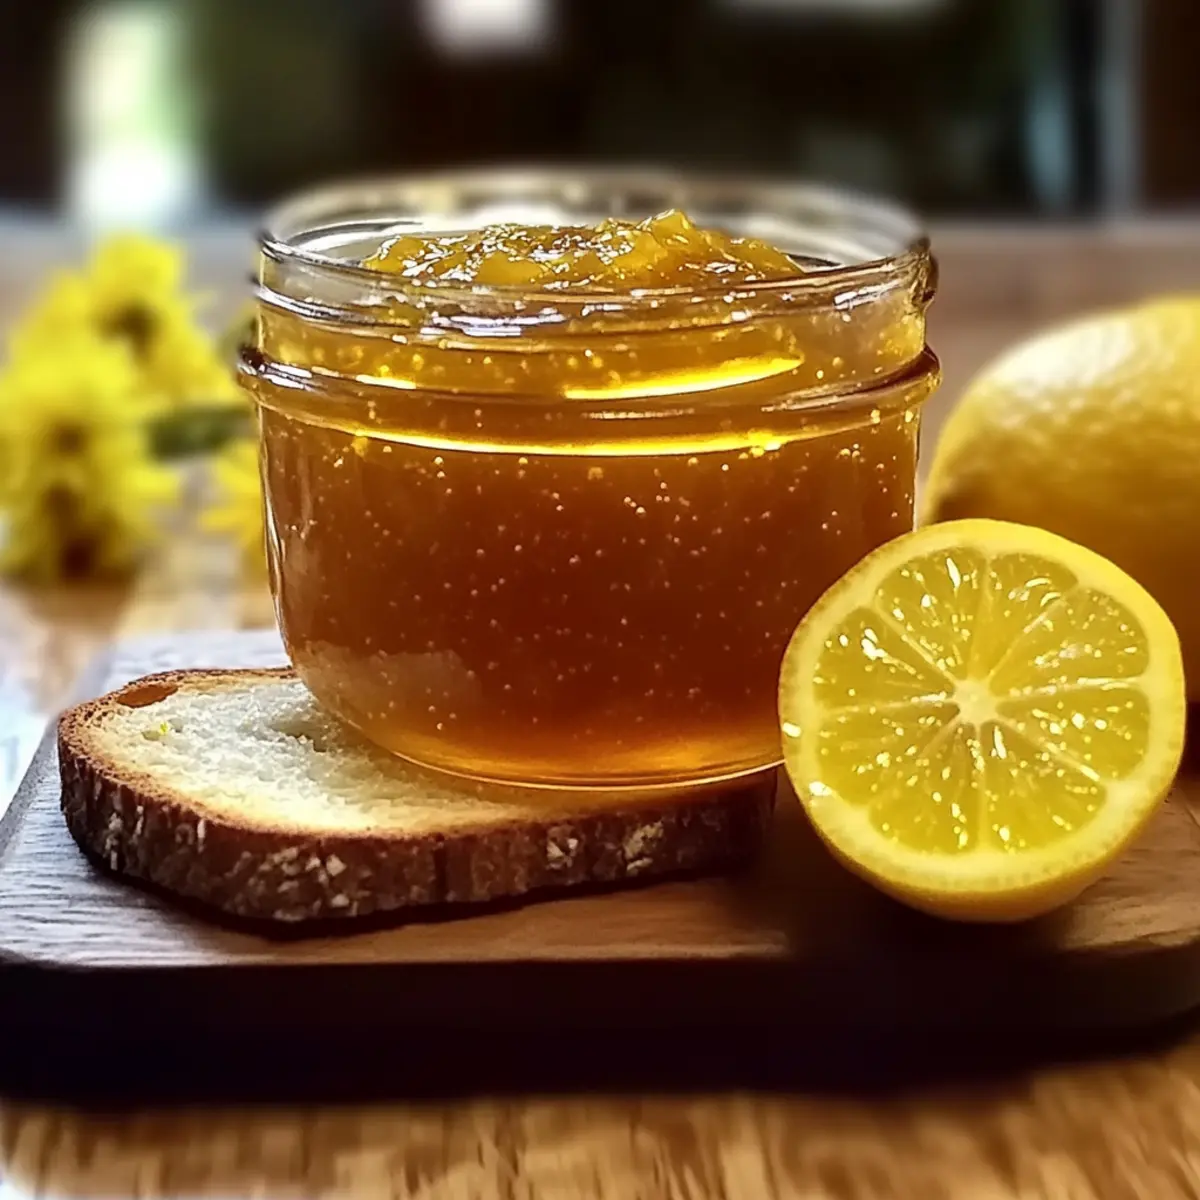
After the jars have cooled, store them in the refrigerator or a cool pantry. The flavors of your Fresh Dandelion Jelly will develop over the next 24-48 hours, improving its taste and texture. Enjoy your delightful creation on toast, desserts, or as a thoughtful gift!
Expert Tips for Fresh Dandelion Jelly
Forage Safely: Ensure dandelions are sourced from pesticide-free areas. Avoiding chemicals is vital for a healthy, homemade treat.
Use Fresh Ingredients: Opt for fresh-squeezed lemon juice instead of bottled. The acidity helps the fresh dandelion jelly set properly, enhancing flavor.
Don’t Rush Steeping: Allow ample time for the dandelion petals to steep—ideally 24 hours. The longer steeping provides a richer floral flavor in your jelly.
Check the Set: If your jelly doesn’t set properly, don’t worry! You can always reprocess it with extra pectin or lemon juice for the desired consistency.
Sterilize Jars Thoroughly: Properly sterilize your jars before filling. This step prolongs shelf life and maintains the quality of your fresh dandelion jelly.
Fresh Dandelion Jelly Recipe Variations
Feel free to personalize this delightful jelly recipe and let your creativity blossom with these fun variations!
-
Honey Swap: Substitute with agave nectar for a vegan-friendly option while retaining sweetness. It’ll lend a slightly different flavor twist, making it uniquely yours.
-
Flavor Boost: Add fresh mint leaves during the steeping process for a refreshing herbal note. This aromatic addition pairs beautifully with the floral dandelion, creating an irresistibly refreshing jelly.
-
Citrus Zing: Incorporate the zest of an orange or lime along with the lemon juice to deepen the flavor profile. A zesty touch can add a delightful brightness to each bite!
-
Herbal Infusion: Try adding rosemary or thyme while steeping the dandelions for an herbal jelly that provides a unique depth of flavor. These aromatic herbs will transform your spread into a culinary masterpiece.
-
Spicy Kick: For heat lovers, incorporate a pinch of cayenne pepper or a few slices of fresh jalapeño during the boiling process. This unexpected twist makes the jelly a delightful contrast on savory dishes or cheeses.
-
Berry Delight: Mix in crushed berries like strawberries or blueberries when boiling for a colorful, fruity combination. This turns your jelly into a berry-enhanced treat, bringing a new dimension to your spring spread!
-
Floral Fusion: Blend in a few tablespoons of lavender or chamomile during the steeping process to infuse your jelly with a lovely floral aroma and taste. This twist creates a sophisticated, garden-inspired jelly that’s perfect for gift-giving!
-
Nectar Remix: Experiment with different types of honey to achieve diverse flavor profiles. A robust buckwheat honey can add richness, while wildflower honey delivers a lighter taste—every jar can vary!
Explore these suggestions to craft a jelly that feels like a personal work of art! Whether you choose a spicy kick or a herbal infusion, your version will be a lovely addition to any homemade spread, perfect for enjoying on toast or drizzling over yogurt. Don’t forget to try pairing it with our Peach Fritters as a delightful dessert!
Make Ahead Options
These Fresh Dandelion Jelly preparations are perfect for busy home cooks looking to save time! You can steep the dandelion petals in water up to 24 hours in advance; simply cover a pot with a lid after pouring 4 cups of boiling water over 4 cups of freshly cleaned petals. This method allows for deeper flavor extraction. After steeping, strain the mixture and store the liquid in the refrigerator for up to 3 days until you’re ready to proceed with mixing in lemons and sugar. When you’re ready to finish your jelly, just heat it, add pectin, and follow the boiling instructions—ensuring that your jelly remains just as delicious as if made fresh! Enjoy the convenience of preparing ahead, all while sharing this delightful spring treat with family and friends.
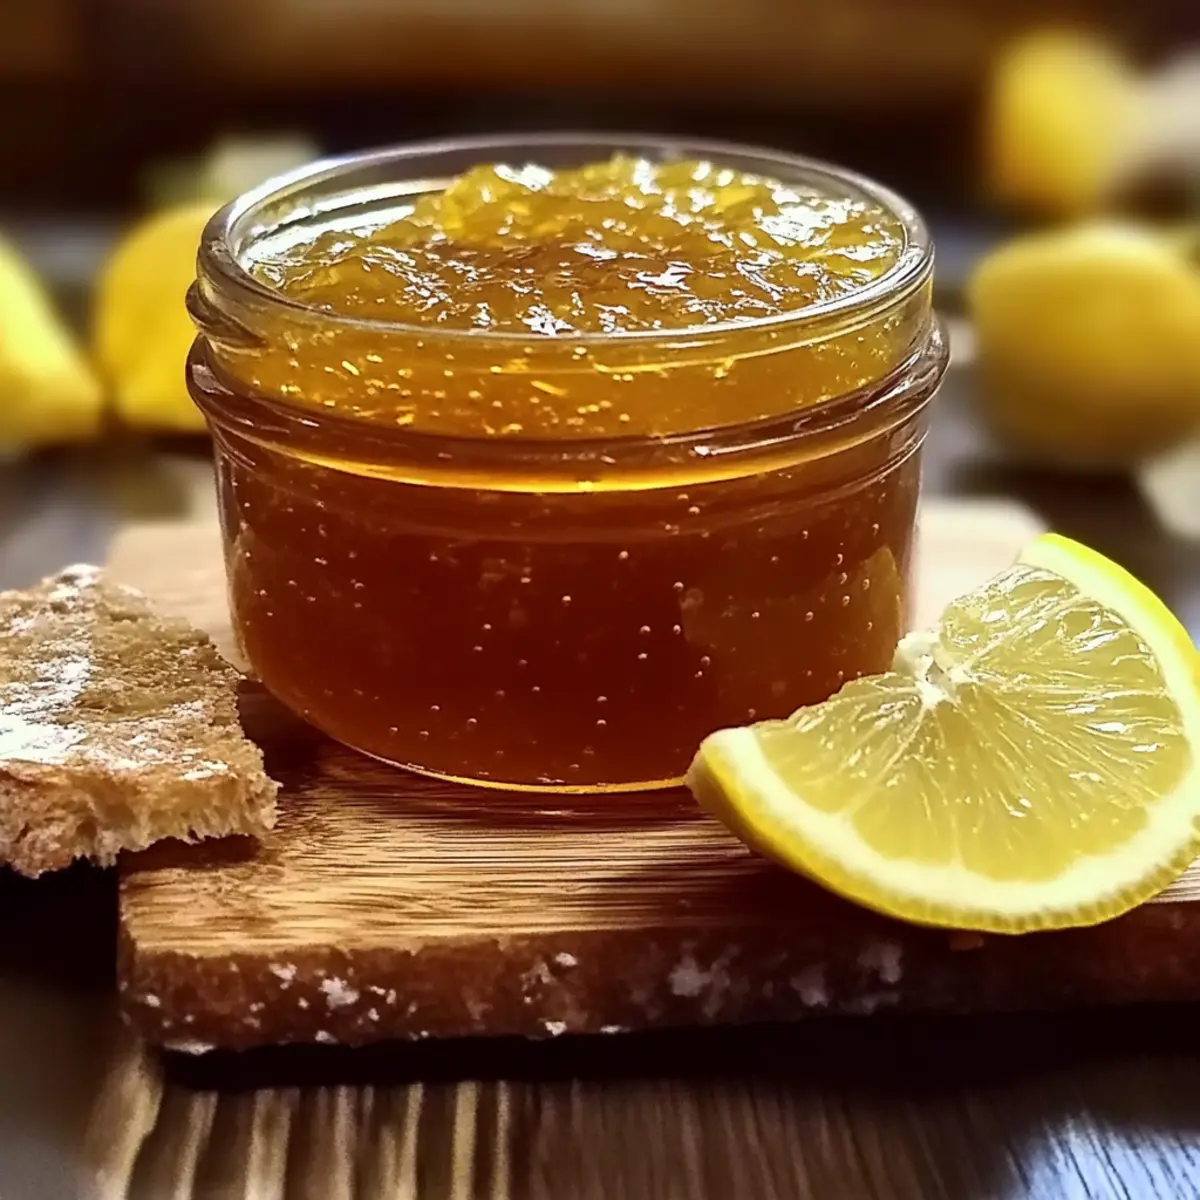
What to Serve with Fresh Dandelion Jelly with Lemon and Honey
Delight your taste buds with a beautiful spread of flavors that elevate every meal.
-
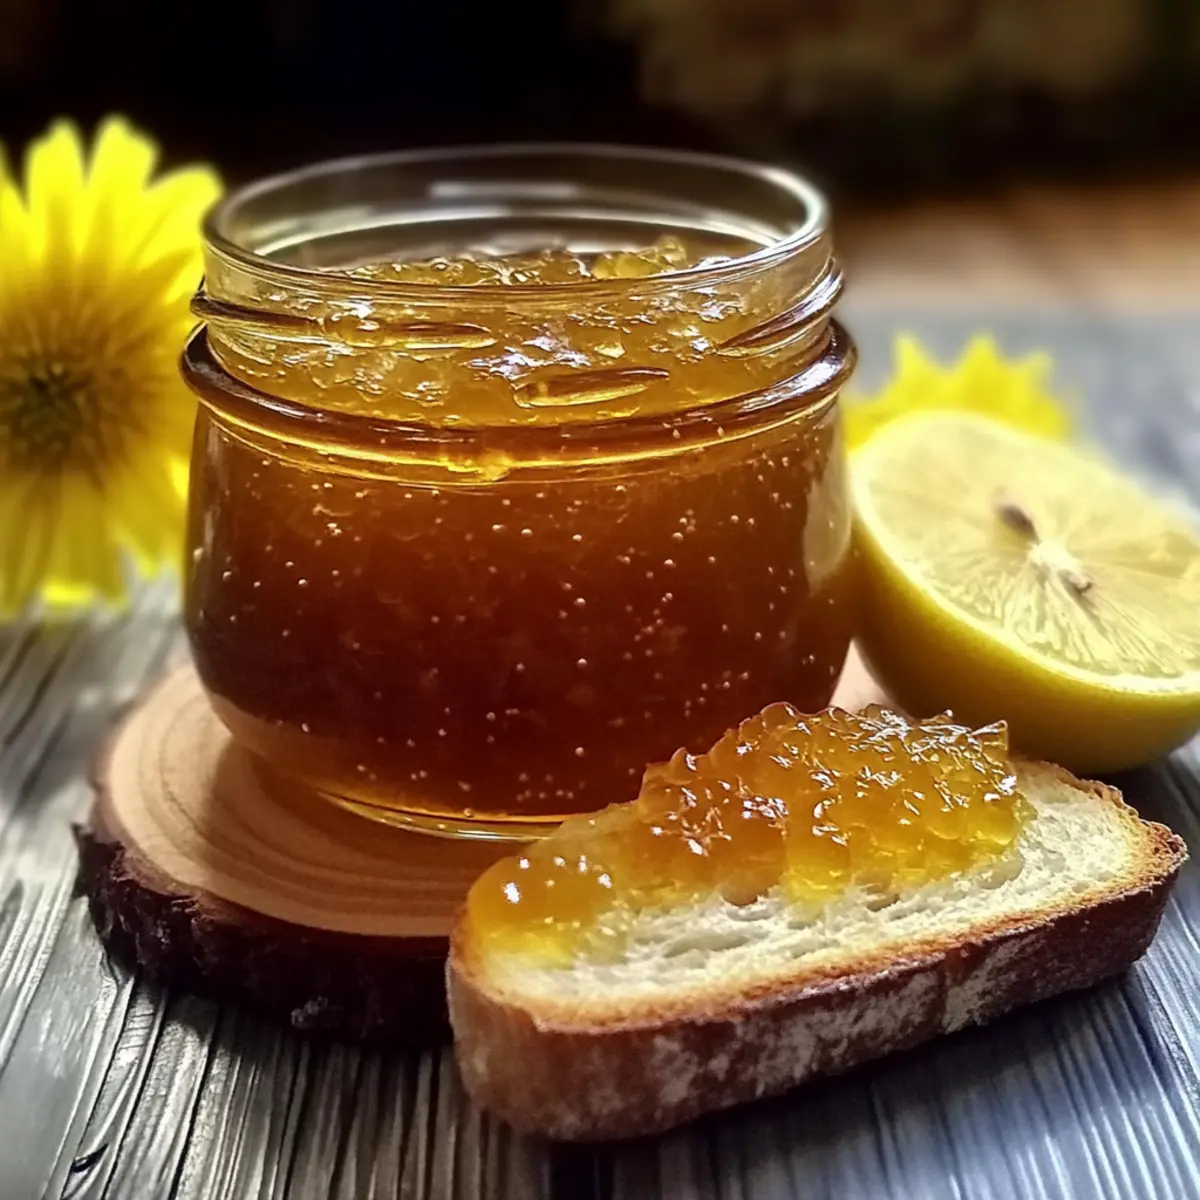
Buttered Toast: The warm and crispy texture complements the jelly’s floral sweetness, making your breakfast truly vibrant.
-
Creamy Yogurt: A dollop of this jelly adds a fresh twist to plain yogurt, transforming it into a delightful dessert or healthy snack.
-
Pancakes or Waffles: Drizzle over fluffy pancakes or waffles for a fragrant, sweet touch that captures the essence of spring mornings.
-
Cheesecake: Use as a stunning topping for creamy cheesecake, enhancing its flavor profile with floral notes that dance on the palate.
-
Savory Biscuits: Serve alongside buttery biscuits for a unique sweet and savory experience—perfect for brunch or afternoon tea.
-
Herbal Tea: Pair this jelly with a cup of warm herbal tea, as its delicate sweetness beautifully complements the tea’s fragrant notes.
-
Fruit Salad: Combine with fresh berries and citrus fruits to create a refreshing fruit salad that harmonizes beautifully with the jelly’s flavor.
-
Sparkling Water: For a refreshing drink, mix a spoonful into sparkling water, creating a delightful, lightly sweetened beverage to sip on a sunny day.
-
Scones: Enjoy with freshly baked scones for an irresistibly charming afternoon treat, where the buttery layers meld with the jelly’s floral sweetness.
How to Store and Freeze Fresh Dandelion Jelly
Fridge: Store the freshly made dandelion jelly in airtight jars in the refrigerator for up to 3 months. This will keep the jelly fresh while allowing flavors to develop over time.
Freezer: If you’d like to store it longer, freeze the jelly in freezer-safe containers for up to a year. Just leave some headspace to accommodate expansion during freezing.
Reheating: When ready to use frozen jelly, thaw it in the fridge overnight. Reheat gently on the stove over low heat, stirring until it’s smooth and spreadable again.
Room Temperature: For short-term storage, an unopened jar can be kept in a cool, dark pantry for up to 2 weeks. Once opened, transfer it to the fridge to retain quality.
Fresh Dandelion Jelly with Lemon and Honey Recipe FAQs
How do I select fresh dandelion petals for the jelly?
Absolutely! When collecting dandelion petals, choose only the bright yellow blooms and avoid any greens or wilted flowers. Gather them from areas free of pesticides to ensure safety and flavor. Rinse them gently in cool water for about 10 minutes to remove any dirt or insects.
How long can I store the fresh dandelion jelly?
You can keep your freshly made dandelion jelly in airtight jars in the refrigerator for up to 3 months. This not only preserves the jelly but also allows the flavors to develop further over time, making each spoonful a delightful treat!
Can I freeze the fresh dandelion jelly?
Very! To freeze your dandelion jelly, transfer it to freezer-safe containers, leaving some headspace for expansion. It will last for up to a year in the freezer. When you’re ready to use it, just thaw it in the fridge overnight, and reheat gently on the stove over low heat until smooth.
What if my jelly doesn’t set properly?
Don’t worry! If your jelly doesn’t set, it may need a little help. You can reprocess the jelly by pouring it back into a pot, adding more liquid pectin or lemon juice, and boiling it again for 1-2 minutes. Test the set with the cold plate method to ensure it’s ready before canning it again.
Is there any dietary consideration for allergies or pets?
Absolutely! This recipe primarily uses natural ingredients, but keep in mind that honey can pose a risk for infants under one year old. If you’re preparing the jelly for pets, it’s best to avoid honey altogether as some pets can have sensitivities to sugars. Always ensure that dandelions are harvested from pesticide-free areas to avoid any harmful residues.
What are some variations I can try with the dandelion jelly?
You can customize your dandelion jelly in many ways! Substitute honey with agave nectar for a vegan option, or experiment with different floral flavors by adding herbs like mint or lavender for a fresh twist. Each variation brings its unique charm to this delightful spring treat!
Homemade Fresh Dandelion Jelly Recipe for Spring Bliss
Ingredients
Equipment
Method
- Gently harvest 4 cups of fresh dandelion petals, rinse in cool water for about 10 minutes.
- Place cleaned petals in a pot, pour 4 cups of boiling water over them, cover and steep for 3 to 24 hours.
- Strain liquid through a fine-mesh sieve into a bowl, press petals gently to extract maximum liquid.
- In the strained liquid, stir in ½ cup lemon juice and 2 cups sugar thoroughly for 5 minutes.
- Bring to a rolling boil over medium-high heat, stirring frequently. Optionally add 1 tablespoon of butter.
- Stir in liquid pectin, return to a rapid boil for 1 minute while stirring.
- Perform a cold plate test to check for set; if not set, boil for another minute and retest.
- Ladle hot jelly into sterilized jars, leaving ¼-inch headspace, wipe rims, and secure lids.
- Let jars cool at room temperature to further set jelly.
- Store in the refrigerator or cool pantry, allowing flavors to develop over 24-48 hours.
Leave a Reply