
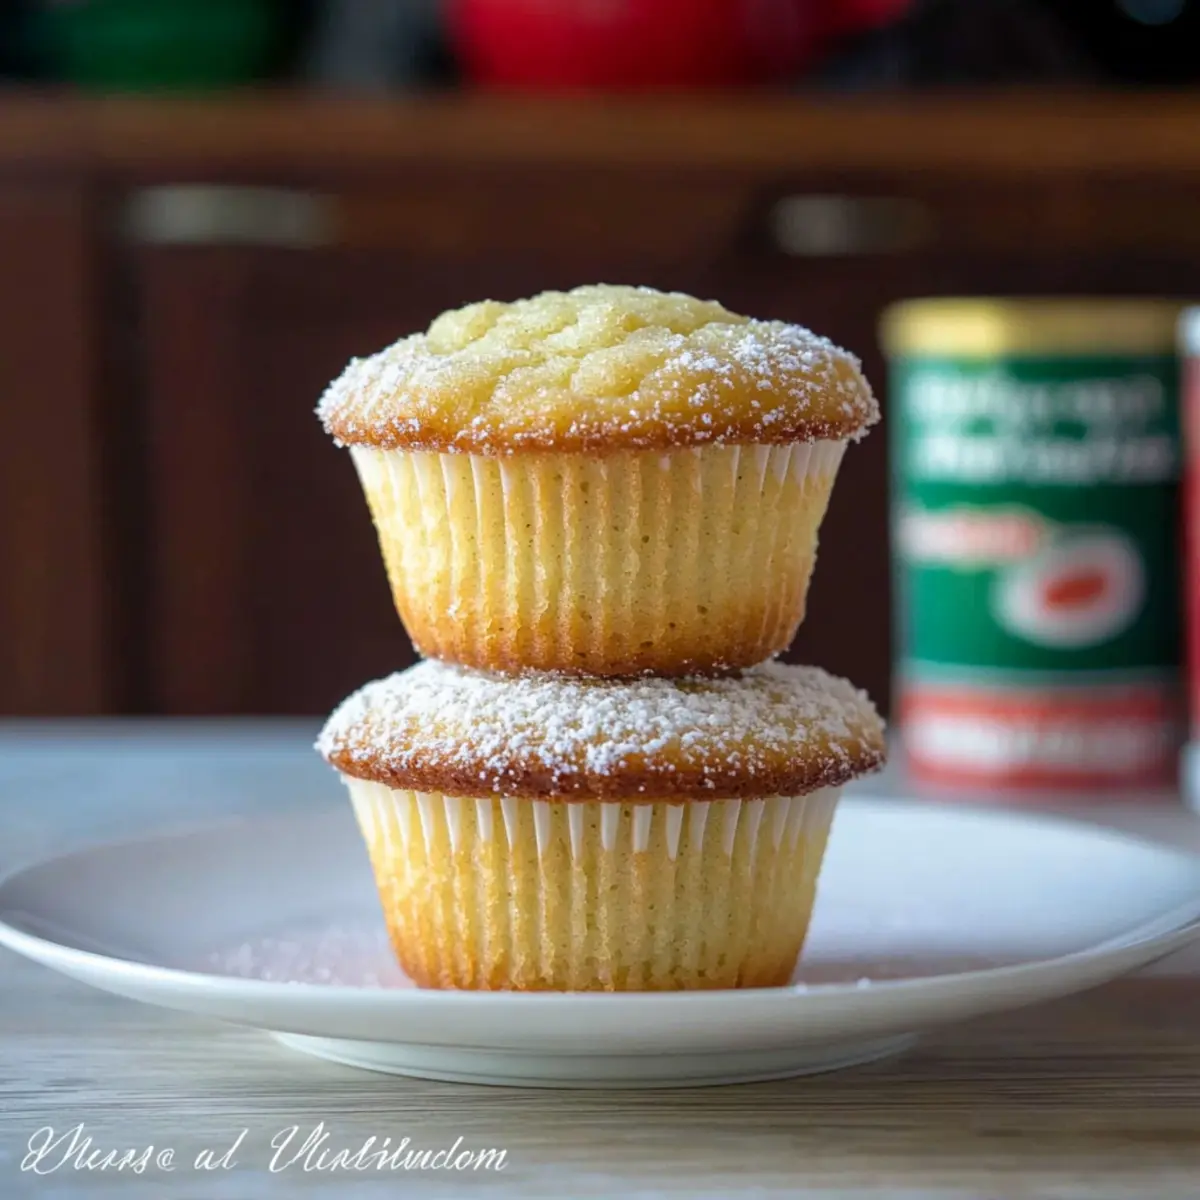
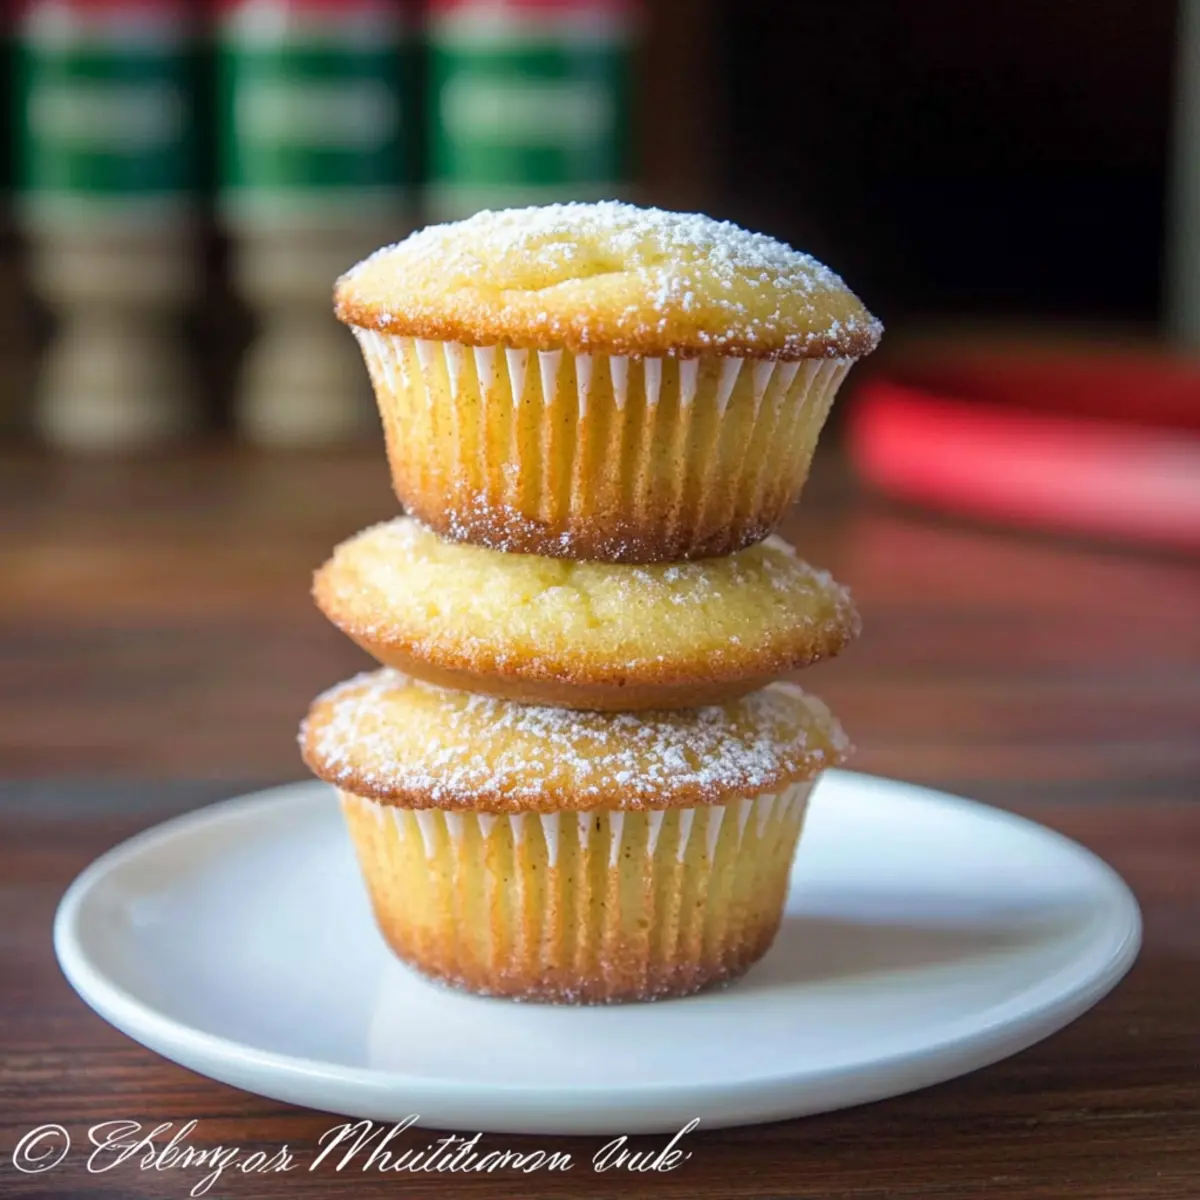
As the scent of freshly baked goods wafts through my kitchen, I can’t help but feel a sense of warmth and nostalgia—nothing captures the magic of the holidays quite like these Moist Eggnog Muffins. Bursting with seasonal spices and the cozy embrace of eggnog, this recipe is a simple pleasure that elevates your festive mornings. Not only are they incredibly quick to whip up, but they also freeze beautifully, ensuring you can relish this delightful treat even on your busiest days. Ready to spread some holiday cheer? Let’s dive into making these scrumptious muffins that promise to sweeten both your breakfast and your spirit!
Why Are Eggnog Muffins a Must-Try?
Delightfully Moist: The secret to these eggnog muffins lies in their incredible moisture, thanks to the creamy eggnog and melted butter. Festive Flavors: With warm nutmeg blending beautifully in every bite, you’ll feel the holiday spirit with each mouthful. Quick and Easy: Perfect for even the busiest mornings, these muffins can be whipped up in no time. Versatile Options: Want to customize? Add chocolate chips or swap spices to create your unique twist! Whether enjoyed fresh or frozen for later, these muffins are a crowd-pleaser that pairs wonderfully with a cup of coffee or warm cider, just like my Nutella Banana Muffins.
Eggnog Muffin Ingredients
• Get ready to bake your favorite holiday treats!
For the Batter
- All-Purpose Flour – Provides structure to the muffins; can be substituted with a gluten-free blend for a gluten-free option.
- Granulated Sugar – Adds sweetness and helps in browning; may be replaced with brown sugar for a richer flavor.
- Baking Powder – Acts as a leavening agent for a light texture; ensure it’s fresh for best results.
- Ground Nutmeg – Infuses seasonal spice; freshly grated nutmeg can enhance flavor.
- Large Eggs – Binds ingredients and adds moisture; replace with flax eggs for a vegan option.
- Eggnog – The star ingredient giving flavor and moisture; substitute with non-dairy eggnog for a dairy-free version.
- Butter (melted and cooled) – Adds richness and moisture; can be substituted with a neutral oil like canola for a dairy-free muffin.
- Vanilla Extract – Enhances the overall flavor; use pure vanilla for the best results.
Step‑by‑Step Instructions for Eggnog Muffins
Step 1: Preheat Your Oven
Start by preheating your oven to 375°F (190°C). While the oven heats up, prepare a 12-cup muffin pan by lining it with paper liners or spraying it with non-stick cooking spray. This will ensure your eggnog muffins release easily after baking, making clean-up a breeze.
Step 2: Mix the Dry Ingredients
In a large mixing bowl, combine 2 cups of all-purpose flour, ¾ cup of granulated sugar, 1 tablespoon of baking powder, and 1 teaspoon of ground nutmeg. Whisk these ingredients together until they are well combined and evenly mixed, allowing the flavors to blend and ensuring the baking powder is distributed evenly for the perfect rise of your muffins.
Step 3: Combine the Wet Ingredients
In another bowl, whisk together 2 large eggs, 1 cup of eggnog, ½ cup of melted and cooled butter, and 1 teaspoon of vanilla extract. Mix these wet ingredients thoroughly until well combined. The eggnog will bring a creamy texture and festive flavor, making your eggnog muffins extra special.
Step 4: Combine Wet and Dry Ingredients
Gently add the wet mixture into the bowl with the dry ingredients. Using a spatula, stir the mixture until just combined; be careful not to overmix! The batter should remain a bit lumpy, ensuring your eggnog muffins come out light and fluffy.
Step 5: Fill the Muffin Cups
Spoon the batter into the prepared muffin cups, filling each one about ¾ full. This allows enough room for the muffins to rise beautifully while baking. As you fill the cups, imagine the delightful aroma filling your kitchen, bringing the holiday spirit to life.
Step 6: Bake the Muffins
Place the muffin pan in the preheated oven and bake the eggnog muffins for 15 to 18 minutes. Keep an eye on them, and they are ready when the tops are golden brown and a toothpick inserted into the center comes out clean, indicating a perfectly baked treat.
Step 7: Cool the Muffins
Once the muffins are done baking, remove the muffin pan from the oven and let it cool for about 5 minutes. After that, carefully transfer the muffins to a wire rack to cool completely. This step prevents them from becoming soggy in the pan and maintains their delightful texture.

How to Store and Freeze Eggnog Muffins
Room Temperature: Store your eggnog muffins in an airtight container for up to 5–6 days. This keeps them fresh and ready to enjoy at a moment’s notice.
Fridge: If you want to keep them longer, place them in an airtight container in the fridge for up to 1 week without sacrificing flavor or texture.
Freezer: For even longer storage, freeze the muffins in freezer-safe bags or containers for up to 3–4 months, ensuring they’re well-wrapped to prevent freezer burn.
Reheating: When you’re ready to indulge in a frozen muffin, simply microwave it for 30-40 seconds or let it sit at room temperature until thawed for the best taste and texture.
What to Serve with Eggnog Muffins?
Imagine cozy holiday mornings where the aroma of freshly baked eggnog muffins blends with delightful accompanying dishes, enhancing your festive spirit.
-
Spiced Apple Cider: A warm cup of spiced apple cider creates a perfect balance with the holiday flavors of the muffins.
-
Crispy Bacon: The salty, savory goodness of crispy bacon contrasts beautifully with the sweet, spiced muffins, making each bite satisfying.
-
Cream Cheese Spread: A luscious cream cheese spread adds a creamy richness that elevates the muffins while complementing their flavor.
-
Fresh Fruit Salad: A vibrant fruit salad brings a refreshing burst of flavor, adding color and brightness to your holiday table.
-
Whipped Maple Butter: A dollop of whipped maple butter can enhance the sweetness of your muffins while adding a touch of decadence.
-
Nutty Granola: Serve alongside crunchy granola; its texture and nutty flavor provide a delightful contrast to the soft, moist muffins.
-
Coffee or Hot Chocolate: Pairing these muffins with a steaming cup of coffee or rich hot chocolate creates the ultimate cozy experience for any holiday breakfast.
Expert Tips for Eggnog Muffins
• Mix Gently: Be careful not to overmix the batter; this is crucial for keeping your eggnog muffins light and fluffy.
• Fresh Baking Powder: Always check that your baking powder is fresh. Expired baking powder can lead to dense muffins with little rise.
• Perfectly Fill: Fill muffin cups about ¾ full to allow room for rising; overfilling may cause muffins to overflow and become misshapen.
• Cooling Time: Allow muffins to cool in the pan for a few minutes before transferring to a wire rack to prevent sogginess and maintain texture.
• Thawing Frozen Muffins: If you’ve frozen your eggnog muffins, thaw them in the microwave for 30-40 seconds for a quick treat or at room temperature for a soft texture.
Eggnog Muffins Customizations
Feel free to play with these eggnog muffins and make them your own; the festive possibilities are endless!
- Gluten-Free: Swap all-purpose flour with a gluten-free blend to make delightful gluten-free muffins everyone can enjoy.
- Dairy-Free: Use a non-dairy eggnog to ensure these muffins are safe for all, plus they’ll still taste delicious!
- Brown Sugar: Replace granulated sugar with brown sugar to enhance the flavor with a rich, caramel-like sweetness.
- Add-Ins: Toss in chocolate chips, walnuts, or dried cranberries for a fun texture and extra bursts of flavor in every bite.
- Spice It Up: Experiment with different spices, like cinnamon or ginger, to create a unique twist that captures your family’s favorite holiday scents.
Imagine biting into a muffin with a hint of spicy cinnamon or soft chocolate melting in your mouth—such a delightful surprise!
- Maple Syrup Glaze: Drizzle a maple syrup glaze over the cooled muffins for an indulgent treat that brightens your holiday mornings, giving a sweet finish you won’t forget.
- Mini Muffins: Bake as mini muffins for bite-sized treats that are perfect for holiday gatherings; they’ll disappear in no time!
Looking for more cozy baking ideas? Check out my Alfredo Lasagna Soup or indulge in the comforting richness of Alfredo Lasagna Soup. Happy baking!
Make Ahead Options
These delightful Eggnog Muffins are perfect for meal prep enthusiasts! You can prepare the muffin batter up to 24 hours in advance and store it in the refrigerator to keep it fresh. Simply mix your dry ingredients in one bowl and the wet ones in another, combining them just before you’re ready to bake. If you’d like to save even more time, you can bake them ahead and refrigerate or freeze the muffins. To maintain their quality, ensure they are stored in an airtight container; they’ll stay delicious for up to 5 days in the fridge or 3-4 months in the freezer. When ready to enjoy, simply reheat in the microwave for 30-40 seconds, and you’ll have warm, scrumptious Eggnog Muffins that taste just as delightful as freshly baked!
Eggnog Muffins Recipe FAQs
What type of eggnog should I use for these muffins?
Absolutely! You can use store-bought eggnog for convenience, but if you’re feeling adventurous, homemade eggnog works wonderfully too. Just ensure it’s a drinkable consistency. If you’re looking for a dairy-free alternative, there are fantastic coconut or almond-based eggnog options on the market.
How should I store leftover eggnog muffins?
To keep your eggnog muffins fresh, store them in an airtight container at room temperature for about 5-6 days. If you prefer, you can refrigerate them in an airtight container, where they’ll stay delicious for up to a week. Just make sure they come to room temperature before enjoying for the best flavor!
Can I freeze eggnog muffins? How?
Yes, you can freeze eggnog muffins! Simply let them cool completely after baking, then place them in freezer-safe bags or airtight containers. Be sure to label them with the date before popping them in the freezer. They can be stored for up to 3-4 months. When you’re ready for a treat, microwave a muffin for 30-40 seconds to thaw, or let it sit at room temperature for a bit. Enjoy that festive flavor whenever you like!
What if my eggnog muffins don’t rise?
Very! If your muffins don’t rise as expected, the most common reason could be expired baking powder. Always check that your baking powder is fresh; you can do a quick test by mixing a teaspoon with hot water—if it bubbles, it’s good to go! Additionally, be careful not to overmix your batter; this keeps them light and fluffy.
Are eggnog muffins safe for my pets?
Sadly, eggnog muffins are not recommended for pets, especially if they contain chocolate, nuts, or any sweeteners like xylitol. Always ensure your furry friends stick to their safe treats. If you want to share the love, I often make a separate batch using pet-friendly ingredients, ensuring they can enjoy muffin time too!
Can I customize the spices in the recipe?
Absolutely! While nutmeg is traditional for eggnog muffins, feel free to experiment with other spices such as cinnamon or ginger for a different flavor profile. Adding a dash of cinnamon can give a lovely warmth, making it a delightful variation.

Eggnog Muffins That Bring Holiday Cheer to Your Mornings
Ingredients
Equipment
Method
- Preheat your oven to 375°F (190°C) and prepare a muffin pan with liners or spray.
- In a large bowl, mix together flour, sugar, baking powder, and nutmeg until well combined.
- In another bowl, whisk together eggs, eggnog, melted butter, and vanilla extract until fully blended.
- Gently combine the wet and dry ingredients, stirring until just mixed; batter will be lumpy.
- Fill muffin cups about ¾ full with batter, ensuring enough room for rising.
- Bake for 15 to 18 minutes until golden brown and a toothpick comes out clean.
- Allow to cool in the pan for 5 minutes before transferring to a wire rack to cool completely.
Leave a Reply