
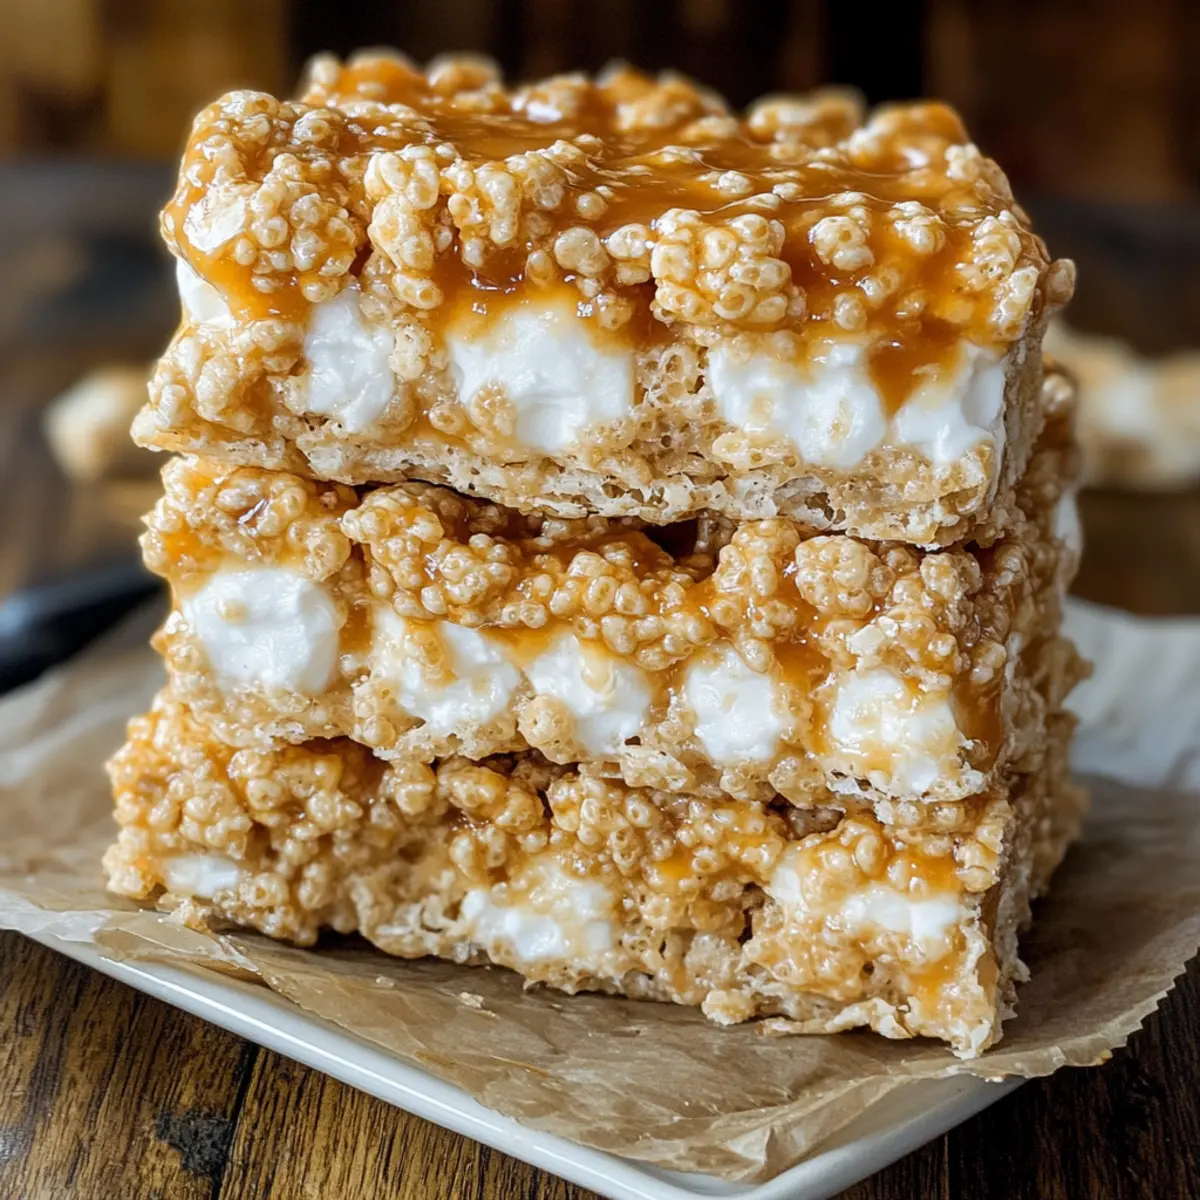
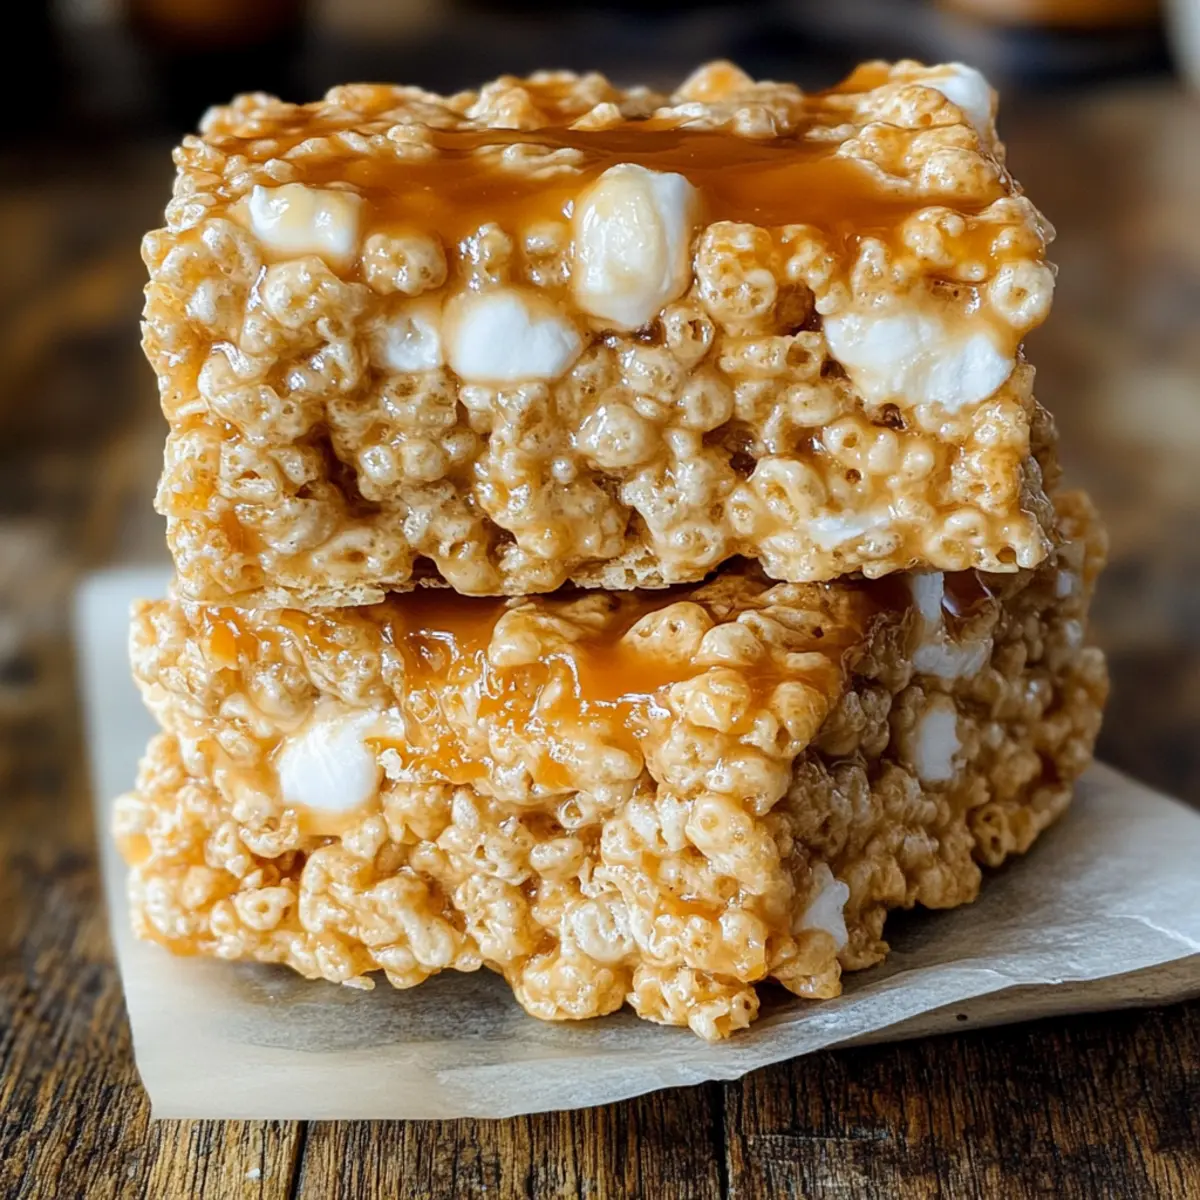
As the sweet scent of brown butter wafts through your kitchen, you might think a simple indulgence is just moments away. Enter my Brown Butter Dulce de Leche Rice Krispie Treats—a twist on the familiar favorite that brings warmth and nostalgia right to your table. This no-bake dessert comes together in about 10 minutes, making it a stress-free option for both seasoned cooks and those new to the kitchen. The soft, chewy texture beautifully complements the satisfying crunch of Rice Krispies, while the decadent layers of dulce de leche create a treat that’s truly unforgettable. Whether you’re hosting a gathering or simply pampering yourself, these treats are the perfect way to satisfy your sweet tooth. Curious about how to elevate this classic recipe? Let’s dive in!

Why are these Rice Krispie Treats special?
Indulgence, the rich flavor of brown butter combined with creamy dulce de leche creates a dessert experience that’s beyond ordinary. Quick and easy, in just 10 minutes, you’ll have an impressive treat ready for any occasion. Family-friendly, kids and adults alike will adore this no-bake delight. Versatile, swap in flavored Rice Krispies or marshmallows for a fun twist! These decadent treats are sure to steal the spotlight. Pair them with a cup of coffee alongside Onion Butter Rice for an indulgent snack break!
Dulce de Leche Rice Krispie Treats Ingredients
For the Base
- Unsalted Butter – Adds richness and flavor; keep it unsalted for better salt control.
- Vanilla Extract – Enhances overall sweetness and aroma; using vanilla bean paste can intensify the flavor.
- Mini Marshmallows – The key binding agent; ensure they’re fresh for the best chewy texture.
- Rice Krispies Cereal – Brings crunch and texture; consider using cinnamon sugar-flavored Rice Krispies for extra deliciousness.
- Sea Salt – Balances the sweetness, enhancing flavors; fine grain integrates smoothly into the mixture.
For the Sweetness
- Dulce de Leche – Infuses a creamy, rich sweetness; alternatively, you can use caramel sauce if preferred.
Step‑by‑Step Instructions for Dulce de Leche Rice Krispie Treats
Step 1: Prepare the Pan
Begin by greasing a 9×9-inch baking pan with non-stick spray. Once coated, line the pan with parchment paper, letting the edges hang over the sides for easy removal later. This step ensures your Dulce de Leche Rice Krispie Treats won’t stick, making for a hassle-free serving experience.
Step 2: Brown the Butter
In a large pot, melt ½ cup of unsalted butter over medium heat, stirring frequently to promote even cooking. Keep an eye on it as it turns golden and develops a nutty aroma, typically taking about 3 to 5 minutes. You’ll know it’s ready when you see brown flecks forming at the bottom, so remove it from the heat immediately to prevent burning.
Step 3: Melt the Marshmallows
Add 8 cups of mini marshmallows to the browned butter, stirring until they are fully melted and smooth, which may take about 2-3 minutes on low heat. If the mixture becomes too thick, you can return it to low heat briefly. The blending of brown butter and marshmallows will create a creamy, rich base for your Rice Krispie Treats.
Step 4: Enhance with Vanilla and Salt
Once your marshmallows are melted, stir in 1 teaspoon of vanilla extract and a pinch of sea salt, mixing well to combine. The vanilla will elevate the sweetness, while the salt balances the overall flavor, enhancing your Dulce de Leche Rice Krispie Treats. Be sure to turn off the heat to prevent any further cooking.
Step 5: Combine with Rice Krispies
Next, pour the entire melted marshmallow mixture over 6 cups of Rice Krispies cereal in a large mixing bowl. Gently fold the cereal into the marshmallow mix using a spatula, ensuring every piece is evenly coated. The contrast between the gooey marshmallow and crispy cereal forms the delightful texture of these treats.
Step 6: Layer the Mixture
Take half of the Rice Krispie mixture and press it evenly into the prepared pan, ensuring it covers the bottom completely. Use a buttered spatula or your hands to avoid sticking. This forms the base layer that will hold the rich layers of dulce de leche in your decadent Rice Krispie Treats.
Step 7: Spread the Dulce de Leche
Now, take your dulce de leche and spread it evenly over the Rice Krispie layer, allowing it to coat the bottom layer generously. The creamy sweetness of the dulce de leche adds a luxurious touch to your treats, contrasting beautifully with the chewy texture of the Rice Krispies.
Step 8: Finish with the Second Layer
Finally, drop spoonfuls of the remaining Rice Krispie mixture over the dulce de leche layer, pressing it gently into place for a cohesive top layer. Make sure it’s evenly distributed for balanced bites. Allow the completed assembly to cool at room temperature until set, typically about 30 minutes.
Step 9: Slice and Serve
Once fully cooled, grasp the edges of the parchment paper to lift the entire slab out of the pan. Place it on a cutting board and slice into squares or bars. Your Dulce de Leche Rice Krispie Treats are now ready to serve, bringing smiles and satisfaction to all who indulge.
Make Ahead Options
Make these delightful Brown Butter Dulce de Leche Rice Krispie Treats even easier by prepping components in advance! You can prepare the marshmallow mixture and layer it in the pan up to 24 hours ahead; just cover it tightly with plastic wrap to keep it fresh. The dulce de leche can also be spread over the base layer up to 3 days in advance if stored in an airtight container in the refrigerator. When you’re ready to serve, simply add the final layer of the Rice Krispie mixture, let it set for about 30 minutes at room temperature, and slice. This method not only saves time but also ensures your treats are just as delicious when it’s time to enjoy them!
Expert Tips for Dulce de Leche Rice Krispie Treats
-
Brown Butter Care: Pay close attention when browning the butter; it can transition from perfect to burned quickly. Remove it from heat as soon as you notice brown flecks.
-
Fresh Marshmallows: Ensure your mini marshmallows are fresh for that dreamy, chewy texture. Stale marshmallows won’t bind properly, leading to crumbly treats.
-
Grease the Pan: Always grease your pan well with non-stick spray, and use parchment paper for easy removal. This ensures your Dulce de Leche Rice Krispie Treats come out perfectly!
-
Pressing Trick: Use a buttered spatula or a greased hand to press the mixture into the pan. This prevents sticking and ensures an even layer for maximum enjoyment.
-
Allow to Set: For the best texture, let your treats cool completely before slicing. Cutting too soon can lead to a mushy mess instead of perfect, chewy squares.
Dulce de Leche Rice Krispie Treats Variations
Feel free to get creative and personalize these delightful treats to your taste!
-
Cinnamon Sugar Twist: Use cinnamon sugar-flavored Rice Krispies instead of the regular ones for a warm, spicy flavor. This variation brings a cozy note that’s perfect for cold days.
-
Nutty Delight: Swap dulce de leche with peanut butter for a nutty twist that’s absolutely delicious. You can even sprinkle chopped peanuts for added crunch!
-
Marshmallow Madness: Experiment with flavored marshmallows, like caramel or chocolate, to elevate the sweetness! These flavors can bring an exciting twist and enhance the overall experience.
-
Chocolate Lovers: Add chocolate chips to the Rice Krispie mixture for a rich, decadent touch. The melty chocolate pairs beautifully with the chewy texture of the treats.
-
Fun with Toppings: Top your treats with colorful sprinkles or chopped candies before they fully set. This fun variation adds a festive element, making them party-ready!
-
Dairy-Free Delight: For a dairy-free version, use plant-based butter and coconut cream instead of dulce de leche. You still get indulgence without the dairy!
-
Add Some Heat: If you’re a fan of a little spice, sprinkle a dash of cayenne pepper into the mixture! It creates a delightful contrast to the sweetness and surprises your taste buds.
-
Flavored Fusions: Try adding in some orange or lemon zest to the marshmallow mix for a citrusy kick! This lightens up the rich flavors and adds freshness to every bite.
With these variations, your Dulce de Leche Rice Krispie Treats can become a new family favorite! And remember, they’re perfect alongside a warm cup of your favorite coffee or even with a comforting bowl of Alfredo Lasagna Soup for a cozy snack time. Happy cooking!
What to Serve with Brown Butter Dulce de Leche Rice Krispie Treats
These delightful bites of sweetness not only stand on their own but also pair wonderfully with a variety of flavors and textures.
- Coffee or Espresso: A warm, rich cup of coffee enhances the sweetness and provides a delightful contrast to the treats’ flavors.
- Vanilla Ice Cream: The creamy, cold ice cream will melt into the warm treats, creating a luscious dessert experience that you’ll crave.
- Fresh Berries: Juicy strawberries or tart raspberries add a refreshing burst of flavor that balances out the sweetness of the treats beautifully.
- Chocolate Sauce: Drizzling warm chocolate sauce over the Rice Krispie Treats adds an indulgent layer that will leave everyone reaching for more.
- Milk: A classic pairing, a tall glass of cold milk complements the sweetness while providing a satisfying contrast in temperature.
- Nutella: Spread a thin layer of Nutella on top before serving for an extra layer of creamy chocolate-hazelnut indulgence that will delight your palate.
- Coconut Flakes: Sprinkle toasted coconut on top for an added crunch and tropical flavor that perfectly complements the richness of dulce de leche.
- Chai Tea: The warm spices of chai tea harmonize with the nutty brown butter, creating a cozy blend that enhances your dessert experience.
- Peanut Butter: A dollop of creamy peanut butter will add a delightful nuttiness and depth that pairs perfectly with the sweet sticky treats.
- Caramel Sauce: For those who can’t get enough sweetness, a drizzle of rich caramel sauce adds a luxurious touch that elevates the entire dessert.
How to Store and Freeze Dulce de Leche Rice Krispie Treats
Room Temperature: Store the treats in an airtight container at room temperature for up to 5 days to keep them soft and chewy.
Fridge: For longer life, refrigerate them in an airtight container for up to a week. This helps maintain their freshness and flavor.
Freezer: If you’d like to store them for a longer period, freeze for up to 6 weeks. Wrap each piece individually in plastic wrap before placing them in a freezer-safe container.
Reheating: When ready to enjoy again, allow the treats to thaw in the fridge or at room temperature. For a slight warm-up, microwave for 5-10 seconds.
Dulce de Leche Rice Krispie Treats Recipe FAQs
What kind of butter should I use for these treats?
You should use unsalted butter to maintain better control over the salt levels in your treats. This allows the sweetness from the dulce de leche and marshmallows to shine without being overshadowed by saltiness. I recommend always tasting as you go to find the perfect balance.
How should I store my Dulce de Leche Rice Krispie Treats?
Store your treats in an airtight container at room temperature for up to 5 days. If you’re keeping them longer, refrigerate them for up to a week to preserve freshness. Just make sure they are in a sealed container to avoid them absorbing any odors from the fridge!
Can I freeze Dulce de Leche Rice Krispie Treats?
Absolutely! To freeze your treats for up to 6 weeks, wrap each piece individually in plastic wrap and place them in a freezer-safe container. This step helps maintain their freshness and prevents freezer burn. When you’re ready to enjoy them, simply thaw them in the fridge or at room temperature – you can even warm them up in the microwave for a few seconds for that fresh-baked taste.
What should I do if my Rice Krispie Treats are too sticky or crumbly?
If your treats are too sticky, it may be due to using stale marshmallows or not using enough Rice Krispies. To prevent this in the future, make sure your marshmallows are fresh and stick to the correct amount of Rice Krispies. If they turn out crumbly, you may need to melt additional marshmallows and mix them into the treats to help bind everything together better—just be careful not to over-mix!
Can I make these treats to accommodate food allergies?
Yes, you can customize this recipe to accommodate food allergies! Use gluten-free Rice Krispies to make them safe for gluten sensitivities. For dairy-free options, try using vegan butter and non-dairy marshmallows. Always make sure to check labels for any potential allergens and substitute accordingly.

Decadent Dulce de Leche Rice Krispie Treats You'll Love
Ingredients
Equipment
Method
- Grease a 9x9-inch baking pan with non-stick spray and line with parchment paper, letting the edges hang over for easy removal.
- Melt ½ cup of unsalted butter in a large pot over medium heat, stirring frequently until golden and nutty, about 3-5 minutes.
- Add 8 cups of mini marshmallows to the browned butter and stir until melted and smooth, about 2-3 minutes on low heat.
- Stir in 1 teaspoon of vanilla extract and a pinch of sea salt, mixing well to combine; turn off the heat to prevent cooking.
- Pour the melted marshmallow mixture over 6 cups of Rice Krispies in a large mixing bowl, gently folding until evenly coated.
- Press half of the Rice Krispie mixture into the prepared pan, covering the bottom completely as the base layer.
- Spread dulce de leche evenly over the Rice Krispie layer, coating it generously.
- Drop spoonfuls of the remaining Rice Krispie mixture over the dulce de leche layer, pressing gently to form a cohesive top layer.
- Allow the assembled treats to cool at room temperature for about 30 minutes until set.
- Lift the entire slab out using the parchment paper and slice into squares or bars for serving.
Leave a Reply