
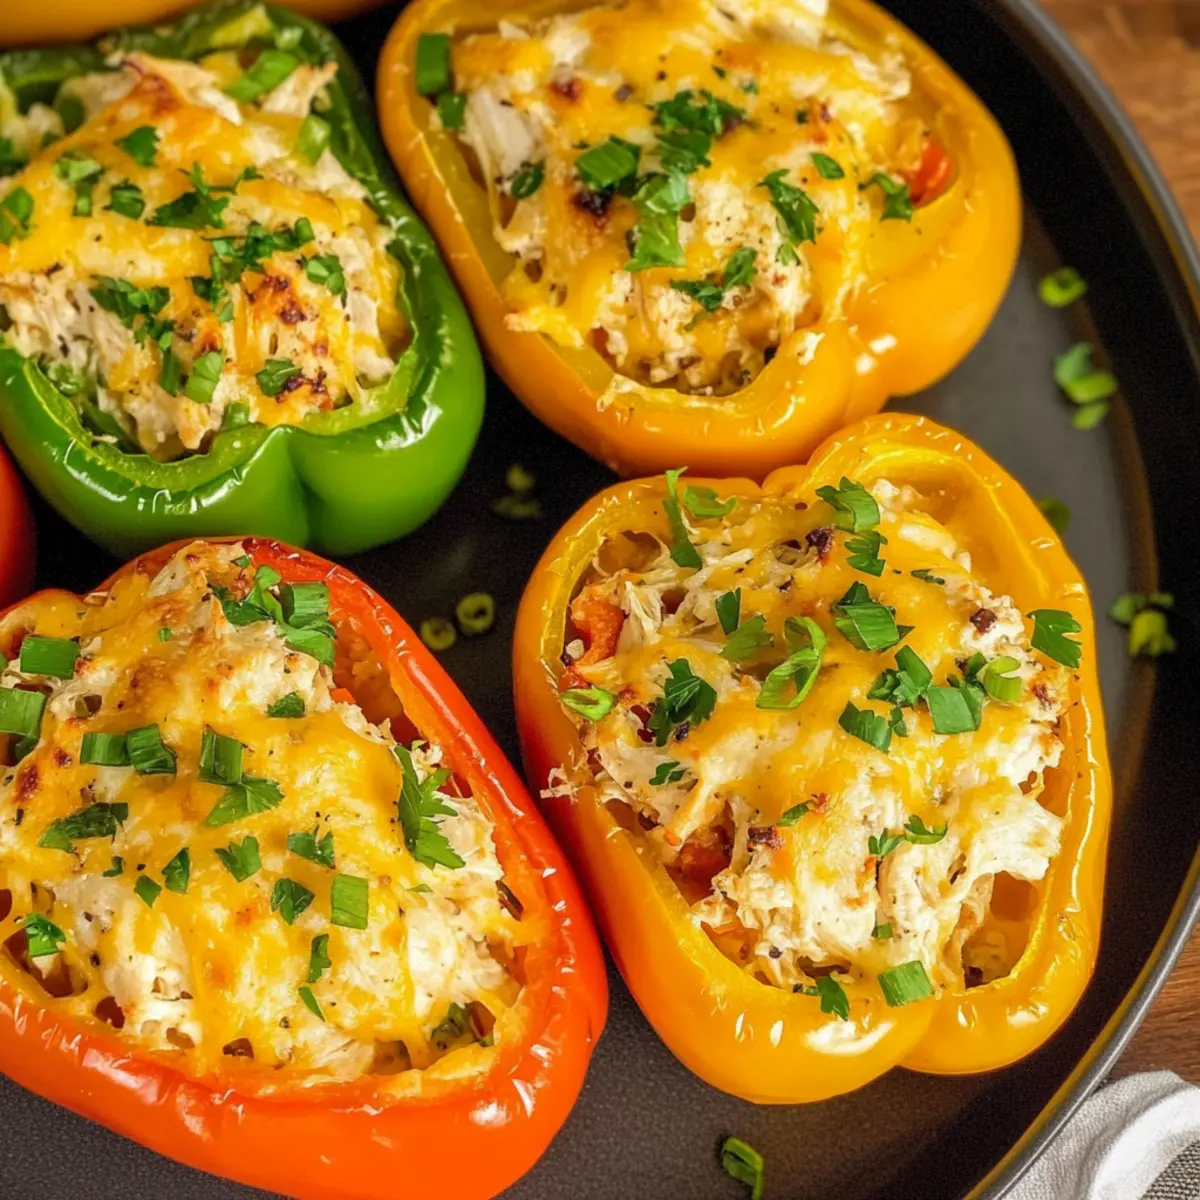
Stepping into the kitchen, I found myself amidst a colorful display of vibrant bell peppers, each one brimming with potential. The idea of creating Creamy Chicken Stuffed Peppers sparked a wave of excitement — a delightful blend of tender chicken and creamy cheese all tucked within those sweet, inviting shells. This recipe is not only quick to whip up, making it a perfect option for busy weeknights, but it’s also a high-protein, family-approved meal that pleases both kids and adults alike. And if you’re looking for a healthy twist, don’t worry! There are vegetarian substitutions and cheese variations to make this dish even more versatile. Curious about how to bring this hearty meal to life in your kitchen? Let’s dive in!
Why are Creamy Chicken Stuffed Peppers a must-try?
Flavorful Delight: Each bite bursts with the savory goodness of tender chicken and creamy cheese, making dinner a hit for everyone.
Quick & Easy: Perfect for busy weeknights, these peppers come together in no time!
Health-Conscious Option: Packed with protein and low in carbs, they fit perfectly into any healthy eating plan.
Versatile Recipe: Easily swap chicken for quinoa or lentils for vegetarian options; customize the cheese to your liking!
Kid-Friendly: With their colorful presentation and delicious filling, they’re sure to excite even picky eaters.
Plus, for more delightful options, check out our Cheesy Cajun Chicken and Seafood Stuffed Shells for additional family favorites.
Creamy Chicken Stuffed Peppers Ingredients
Unlock the flavors of this delightful dish!
For the Filling
- Bell Peppers – The sweet shells that hold the creamy goodness; any color works brilliantly!
- Cooked, Shredded Chicken – Offers a hearty protein base; rotisserie chicken makes this even easier!
- Cream Cheese – This is the secret to a rich, creamy filling; ensure it’s softened for perfect blending.
- Mexican Cheese (Shredded) – Provides a melty texture and flavor; try mozzarella or sharp cheddar for a different twist.
- Jalapeno – Adds a spicy kick; feel free to adjust for your heat preference!
- Ground Cumin – The warm spice that brings everything together; don’t skip this for authentic flavor!
- Salt – Essential to enhance all the flavors in the dish.
- Salsa – Adds moisture and extra flavor depth; choose your favorite variety!
- Cilantro (optional) – A fresh garnish that adds brightness; skip it if you aren’t a fan.
These Creamy Chicken Stuffed Peppers are more than just a meal—they’re an experience you’ll want to repeat!
Step‑by‑Step Instructions for Creamy Chicken Stuffed Peppers
Step 1: Preheat the Oven
Begin by preheating your oven to 350°F (175°C). While the oven warms up, prepare a 9×13-inch baking pan by spraying it lightly with cooking spray. This will help prevent the stuffed peppers from sticking and make for easy cleanup later.
Step 2: Prepare the Bell Peppers
Carefully halve each bell pepper lengthwise and remove the seeds and membranes. Place the halved peppers cut-side up in the prepared baking dish, ensuring they’re snug and balanced. Their vibrant colors will add an inviting look to your Creamy Chicken Stuffed Peppers once they’re baked.
Step 3: Mix the Filling
In a large mixing bowl, combine the cooked, shredded chicken, softened cream cheese, shredded Mexican cheese, diced jalapeno, ground cumin, salt, and salsa. Use a sturdy spatula or spoon to mix thoroughly until all ingredients are well combined and creamy. This filling is what makes the peppers deliciously rich and flavorful!
Step 4: Stuff the Peppers
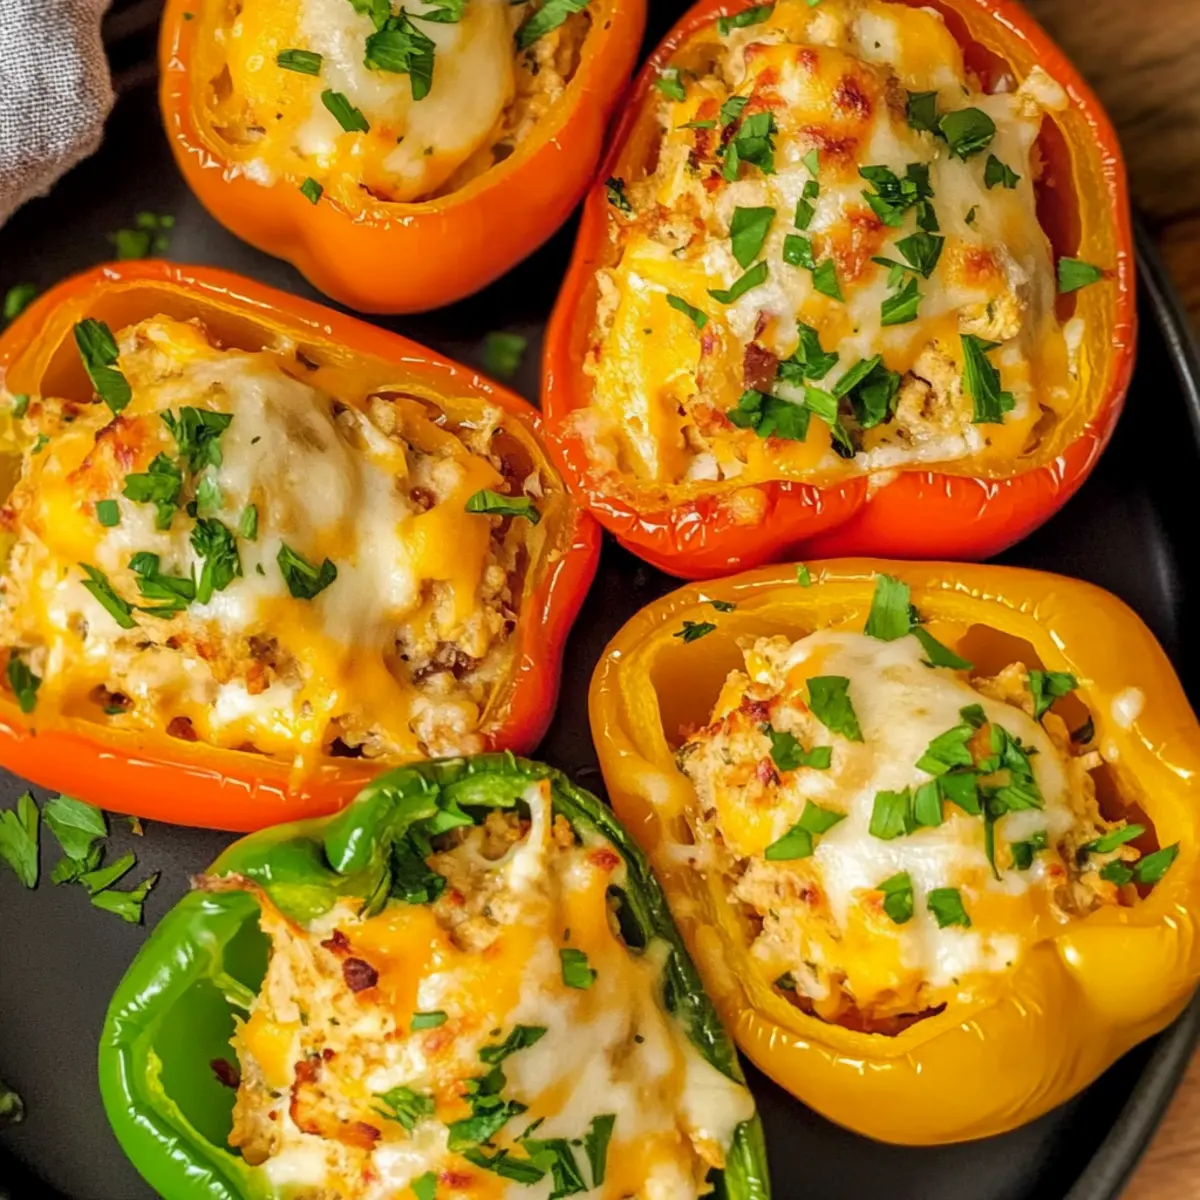
Evenly distribute the creamy chicken filling into each pepper half, pressing it gently to ensure it’s packed in without overfilling. The mixture should look generous and inviting. This is the heart of your Creamy Chicken Stuffed Peppers, so make sure they’re nicely filled!
Step 5: Optional Garnish
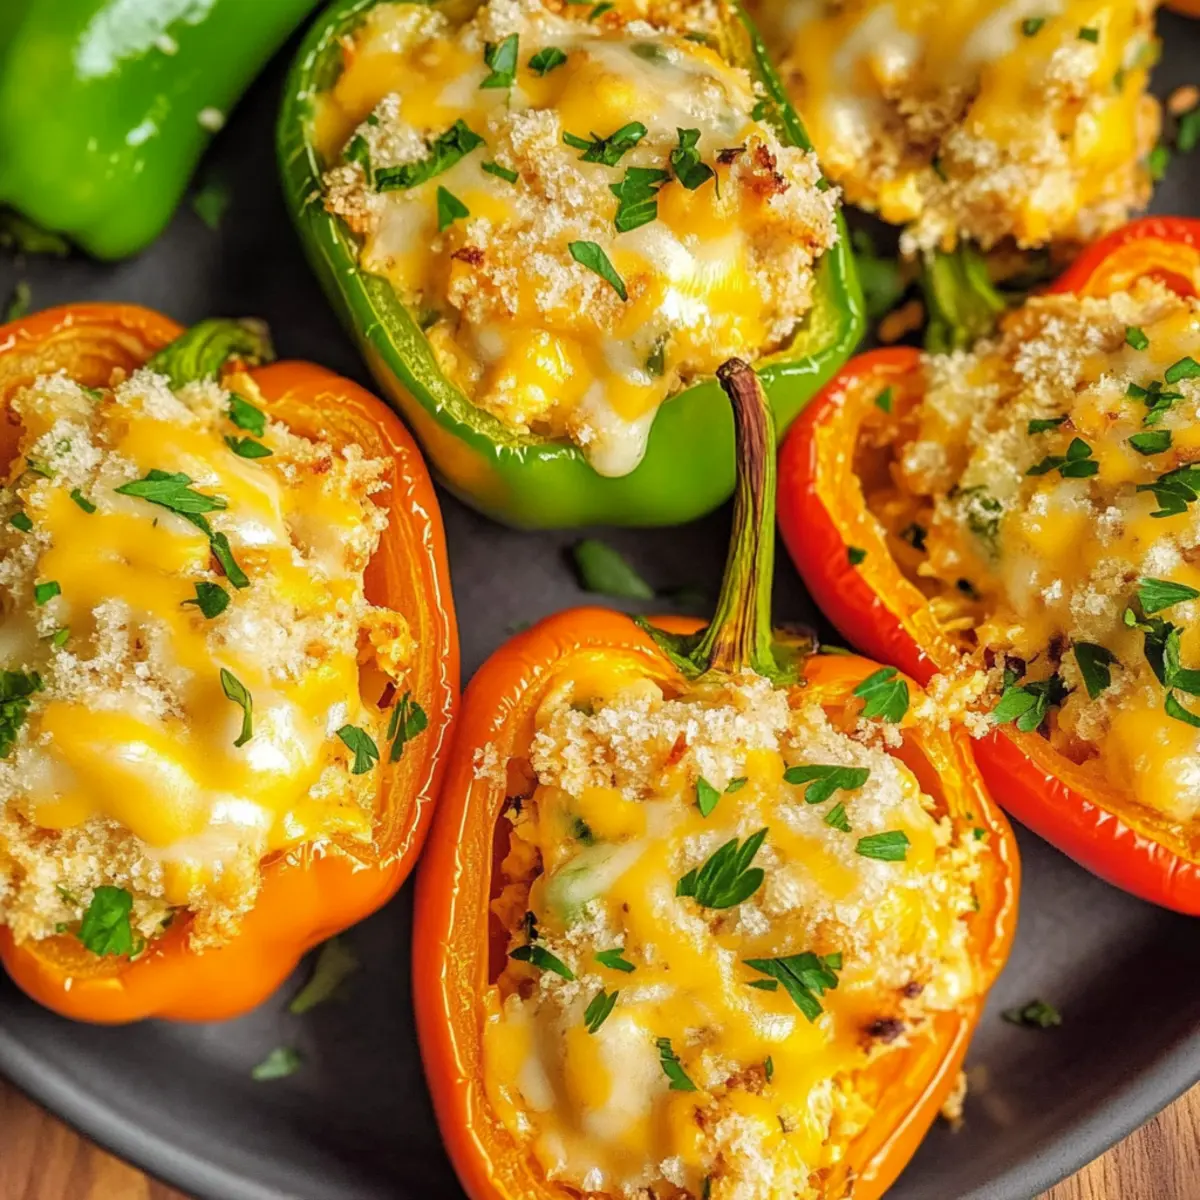
If you’re using cilantro, sprinkle the chopped leaves over the stuffed peppers for an added burst of freshness and color. This step is optional but adds a lovely touch to your dish. It will complement the flavors beautifully and give a vibrant finish!
Step 6: Bake the Peppers
Cover the baking pan tightly with aluminum foil to retain moisture and heat. Bake in the preheated oven for approximately 45 minutes, or until the peppers are tender and the filling is bubbly. You can check for doneness by gently poking the peppers with a fork.
Step 7: Serve Hot
Once baked, carefully remove the foil and let the Creamy Chicken Stuffed Peppers cool for a few minutes. This allows the filling to set slightly for easier serving. Arrange them on a platter and enjoy their warmth and delightful aroma as you serve this hearty meal.
Storage Tips for Creamy Chicken Stuffed Peppers
Fridge: Store leftover Creamy Chicken Stuffed Peppers in an airtight container for up to 3 days. Reheat gently in the microwave or oven until warmed through.
Freezer: For longer storage, freeze the peppers in airtight freezer-safe containers. They can last up to 3 months; reheat directly from frozen or thaw overnight in the fridge before warming.
Reheating: To bring back the creamy goodness, reheat in the oven at 350°F (175°C) for about 20-30 minutes, or until heated through. If they’re frozen, you might need to extend the time slightly.
Assembly Ahead: If you wish to prep ahead, assemble the peppers a day in advance, cover, and refrigerate unbaked until ready to cook.
Creamy Chicken Stuffed Peppers Variations
Feel free to mix things up and make these Creamy Chicken Stuffed Peppers your own with these delightful twists!
-
Vegetarian Substitute: Swap shredded chicken for cooked quinoa or lentils for a satisfying vegetarian option. This not only upholds the dish’s high-protein nature, but offers a whole new flavor profile.
-
Cheese Twist: Experiment with different cheese varieties like ricotta for a creamier filling or sharp cheddar for a bolder taste. Cheese lovers will delight in this easy switch that adds a fun richness.
-
Spicy Kick: Add more diced jalapeño or sprinkle in some red pepper flakes for an extra layer of heat. The spicy notes complement the creamy filling beautifully.
-
Pepper Variety: Use poblano or banana peppers instead of bell peppers for a bolder, smokier taste. This change maintains the authenticity of stuffed peppers while enhancing flavor complexity.
-
Flavored Filling: Incorporate diced sun-dried tomatoes or olives into the chicken mix for an added burst of Mediterranean flavor. These small additions can elevate your dish in ways you won’t forget!
-
Herb Infusion: Toss in a handful of fresh spinach or parsley for added nutrition and a pop of color. It’s an easy way to sneak in some green goodness that the whole family will appreciate.
-
Make it Creamier: Mix in some sour cream or Greek yogurt into the filling for an even creamier texture. The tangy flavor this adds creates a lovely contrast against the sweetness of the peppers.
-
Low Carb Option: Substitute the filling with a cauliflower rice mix combined with cheese and spices for a delicious low-carb version. This twist will keep your meal satisfying without the carbs.
For those looking for more delectable dishes, you might enjoy our Low Carb Chicken or experience flavorful layers with Rolled Chicken Feta. Let your taste buds guide your creativity!
Expert Tips for Creamy Chicken Stuffed Peppers
- Perfectly Softened Peppers: Ensure you bake the bell peppers until they are tender; no need to pre-cook them!
- Fill to Perfection: Don’t overfill the peppers; pack the chicken mixture lightly to avoid spilling during baking.
- Make-Ahead Magic: Prep your stuffed peppers a day in advance; refrigerate until you’re ready to bake for added convenience.
- Spice Level Control: Adjust the jalapeño quantity based on your family’s taste; it’s easy to customize the heat in these Creamy Chicken Stuffed Peppers!
- Experiment with Cheese: Don’t hesitate to try different cheeses for the filling; gouda or pepper jack could give an exciting twist!
What to Serve with Creamy Chicken Stuffed Peppers?
Transform your family meal into a delightful feast with these easy pairings that enhance every bite!
- Light Green Salad: A crisp salad with mixed greens adds freshness and crunch, balancing the creaminess of the stuffed peppers.
- Garlic Bread: The warm, buttery flavors complement the savory filling, inviting everyone to indulge in each bite.
- Roasted Vegetables: A medley of seasonal vegetables offers added color on the plate and a sweet, caramelized flavor that pairs beautifully.
- Cauliflower Rice: A low-carb alternative that complements the stuffed peppers while keeping the dish light and healthy, perfect for any diet.
- Mexican Street Corn: This creamy, spicy corn salad adds a delightful twist, echoing the southwest flavors in the peppers.
- Olive Oil and Balsamic Vinegar: A simple dip enhances the bread served on the side, inviting everyone to enjoy the enticing flavors!
- Homemade Salsa: A scoop of fresh salsa on the side brings a burst of flavor, enhancing the dish’s overall profile.
- Chilled Lemonade: A refreshing drink to cleanse the palate and balance the rich flavors of the stuffed peppers.
Make Ahead Options
These Creamy Chicken Stuffed Peppers are a fantastic choice for busy home cooks looking to streamline meal prep! You can assemble the stuffed peppers up to 24 hours in advance and store them in the refrigerator, covered tightly to maintain their freshness. Simply fill the halved bell peppers with the creamy chicken filling and keep them sealed until you’re ready to bake. When it’s time for dinner, preheat the oven and bake them straight from the fridge. This ensures that you’ll enjoy a warm, hearty dish with just the right flavors—perfect for busy weeknights while still delivering restaurant-quality results with minimal effort!

Creamy Chicken Stuffed Peppers Recipe FAQs
What type of bell peppers are best for stuffing?
Absolutely! Any color of bell pepper works wonderfully, whether it’s green, red, yellow, or orange. Each brings a slightly different sweetness, but they all serve as perfect vessels for the creamy chicken filling.
How long can I store leftover Creamy Chicken Stuffed Peppers in the fridge?
Leftovers should be stored in an airtight container and will stay fresh for up to 3 days. To reheat, simply pop them in the microwave or oven until they’re warmed through—perfect for a quick meal!
Can I freeze these stuffed peppers for later?
Yes, you can! To freeze, first allow the stuffed peppers to cool completely. Then, place them in airtight freezer-safe containers or wrap them tightly in aluminum foil. They can be kept in the freezer for up to 3 months. When you’re ready to eat, you can reheat them directly from frozen or thaw them in the fridge overnight before baking.
What if my filling is too dry?
If you find the filling is too dry after mixing, you can add a little more salsa or cream cheese to moisten it up. If you’re using rotisserie chicken, you’ll usually get enough moisture, but adjusting based on your chicken choice is always a good idea!
Are Creamy Chicken Stuffed Peppers suitable for gluten-free diets?
Yes, these stuffed peppers can easily be made gluten-free! Just ensure that any salsa or other ingredients you use are labeled gluten-free. Avoid adding flour or breadcrumbs in the filling, and you’ll have a delicious, gluten-free meal.
Can I make these peppers vegetarian?
Very! To create a vegetarian version of Creamy Chicken Stuffed Peppers, simply replace the chicken with cooked quinoa or lentils. You can also incorporate additional veggies like black beans, corn, or spinach for extra color and nutrients. Feel free to experiment with your favorite veggies to keep it exciting!
Creamy Chicken Stuffed Peppers That Wow Your Taste Buds
Ingredients
Equipment
Method
- Preheat your oven to 350°F (175°C). Prepare a 9x13-inch baking pan with cooking spray.
- Halve each bell pepper lengthwise, remove seeds and membranes, and place cut-side up in the prepared baking dish.
- In a large mixing bowl, combine chicken, cream cheese, Mexican cheese, jalapeno, cumin, salt, and salsa. Mix until creamy.
- Evenly distribute the filling into each pepper half, pressing gently to pack without overfilling.
- If using cilantro, sprinkle over the stuffed peppers.
- Cover the baking pan with aluminum foil and bake for approximately 45 minutes, or until peppers are tender.
- Remove the foil, let cool for a few minutes, and serve hot.
Leave a Reply