
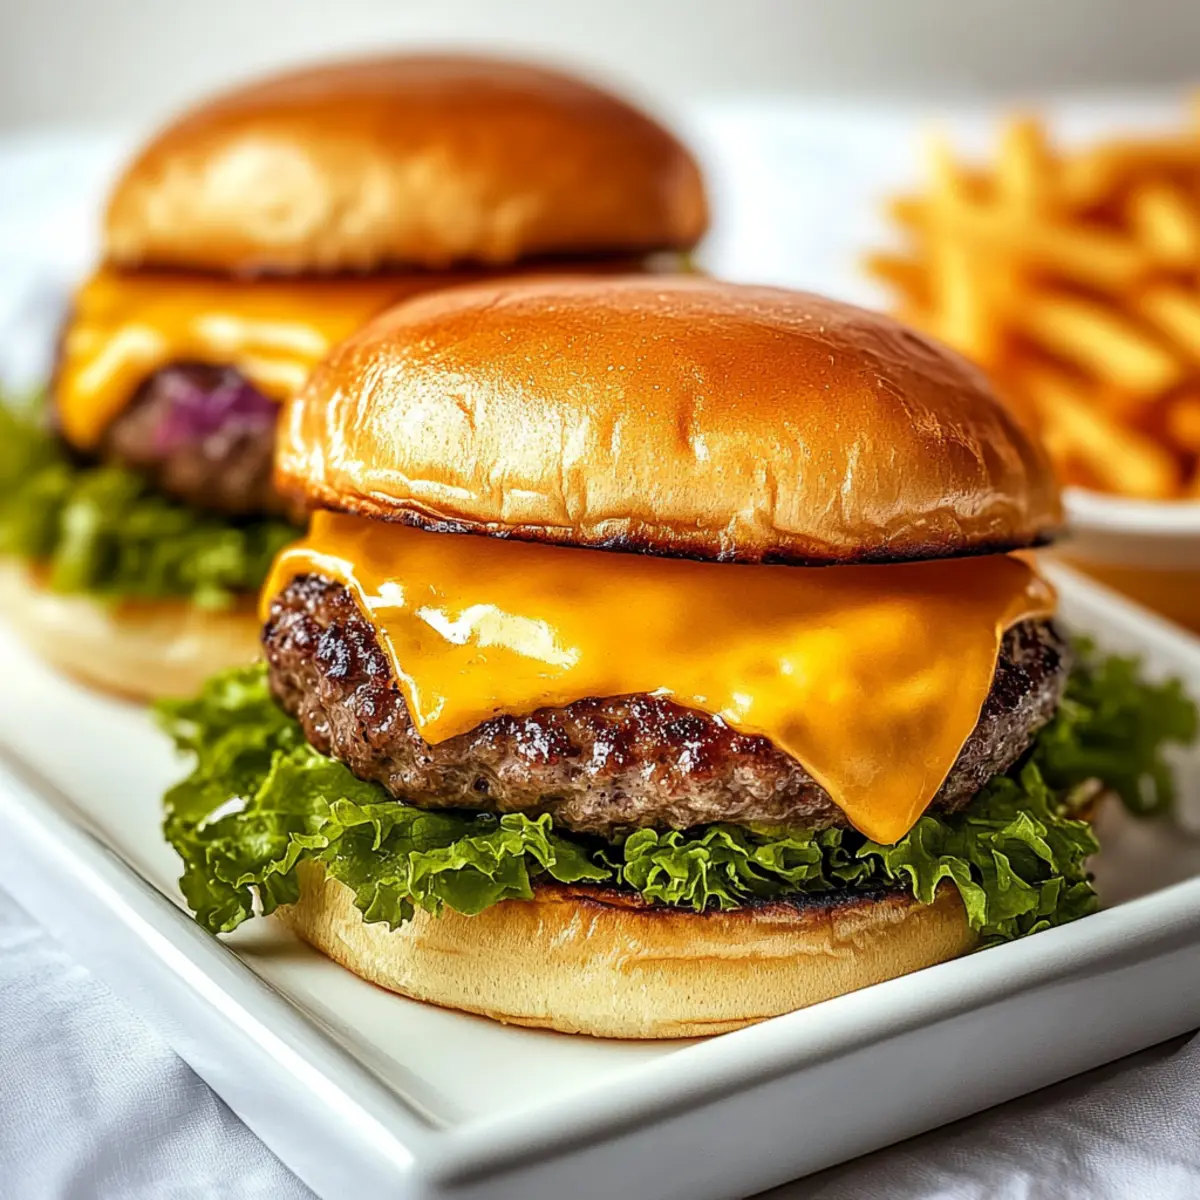
The sizzling sound of patties meeting the hot skillet takes me back to summer barbecues, bringing forth a wave of nostalgia and delicious anticipation. Creating an Easy Classic Stovetop Cheeseburger right in my own kitchen feels like finding a culinary treasure, especially on a busy weeknight. This recipe delivers all the comfort food vibes you crave, featuring juicy beef patties with a perfect sear, topped with melty cheese and nestled in toasty buns. Not only is it a quick prep, ready in under 30 minutes, but it’s also a kid-friendly delight that even picky eaters will devour. So, whether you’re feeding a hungry family or throwing together a casual meal, let me guide you through making your own stovetop cheeseburgers. Are you ready to elevate your weeknight dinners?
Why not make the best cheeseburgers at home?
Simplicity: This classic stovetop cheeseburger recipe is designed for cooks of all skill levels and can be made in under 30 minutes.
Flavor Explosion: With the luscious blend of fresh ingredients and spices, each bite delivers a burst of savory goodness that can transform any weeknight meal.
Crowd Pleaser: Kids and adults alike will adore these juicy patties with beautifully melted cheese, making it a surefire hit for family dinners or casual gatherings.
Customizable: Tweak your burgers to match your cravings! Top with everything from avocado to spicy jalapeños, or even try different cheeses like pepper jack for a unique twist.
Meal Prep Winner: Make your patties ahead of time and store them in the fridge or freezer for effortless weeknight meals that still feel special.
Stovetop Cheeseburger Ingredients
For the Patties
• Ground Beef – Choose 80/20 for a juicy and flavorful base.
• Minced Garlic – Adds depth; can substitute with garlic powder if needed.
• Minced Onion – Provides sweetness; shallots work well as an alternative.
• A-1 Sauce – Infuses umami flavors; Worcestershire sauce is a good substitute.
• Paprika – Enhances color and adds a hint of spice; use smoked paprika for a twist.
• White Pepper – Offers mild heat; substitute with black pepper if preferred.
• Salt – Essential for amplifying all the flavors.
For the Assembly
• Hamburger Buns – Opt for toasted, sturdy buns for the best texture.
• Deli Style Cheddar Cheese – Melts beautifully; try pepper jack or Swiss for variation.
This classic stovetop cheeseburger recipe is sure to impress, bringing comfort food vibes straight from your kitchen!
Step‑by‑Step Instructions for Juicy Easy Classic Stovetop Cheeseburger
Step 1: Prepare the Patty Mixture
In a medium bowl, gently combine the ground beef, minced garlic, minced onion, A-1 sauce, paprika, white pepper, and salt. Use your hands to mix just until incorporated, taking care not to overwork the meat. This ensures your patties remain tender and juicy. Once mixed, set the bowl aside for a moment as you prepare the next steps.
Step 2: Shape the Patties
Divide the beef mixture into six equal portions and, with clean hands, shape each into a patty about 4 inches wide and 1 inch thick. To prevent the patties from puffing while cooking, make a small indentation in the center of each. This step is crucial for achieving perfectly cooked stovetop cheeseburgers that cook evenly and retain their juicy texture.
Step 3: Chill the Patties
Cover the shaped patties with plastic wrap or place them in a container, then refrigerate for at least 15 minutes while you preheat the skillet. This chilling period helps the patties firm up, making them easier to handle during the cooking process while also enhancing the flavor.
Step 4: Preheat the Skillet
Set a cast iron skillet or heavy-bottomed pan over medium-high heat and allow it to warm for about 3 minutes. Once it’s hot, lightly oil the skillet to prevent sticking. You can use cooking oil or butter. When the oil shimmers, it’s time to add the patties to the skillet, ensuring they are placed with the indented side facing up.
Step 5: Cook the First Side
Cook the patties for about 5 minutes without moving them, allowing a beautiful crust to form. You’ll know they’re ready to flip when they easily release from the skillet and have deep grill marks. This step is vital for creating that delectable sear that defines a classic stovetop cheeseburger.
Step 6: Flip and Finish Cooking
Carefully flip each patty using a spatula and cook for an additional 3 minutes, checking doneness by feeling the firmness of the patty. If you’d like your cheeseburgers cooked to medium, aim for an internal temperature of 160°F. This step will ensure that every bite of your stovetop cheeseburger is juicy and satisfying.
Step 7: Add Cheese
During the last minute of cooking, place 1-2 slices of cheese on top of each patty. Cover the skillet with a lid to trap heat, allowing the cheese to melt beautifully. The gooey, melted cheese adds an irresistible layer of flavor to your classic stovetop cheeseburger that is sure to please everyone at the table.
Step 8: Toast the Buns
While the cheese melts, you can either lightly toast the hamburger buns in a separate skillet or place them directly on the hot griddle for about 1 minute, keeping an eye on them to avoid burning. This optional step enhances the overall texture of your cheeseburgers, providing a delightful crunch to the experience.
Step 9: Assemble and Serve
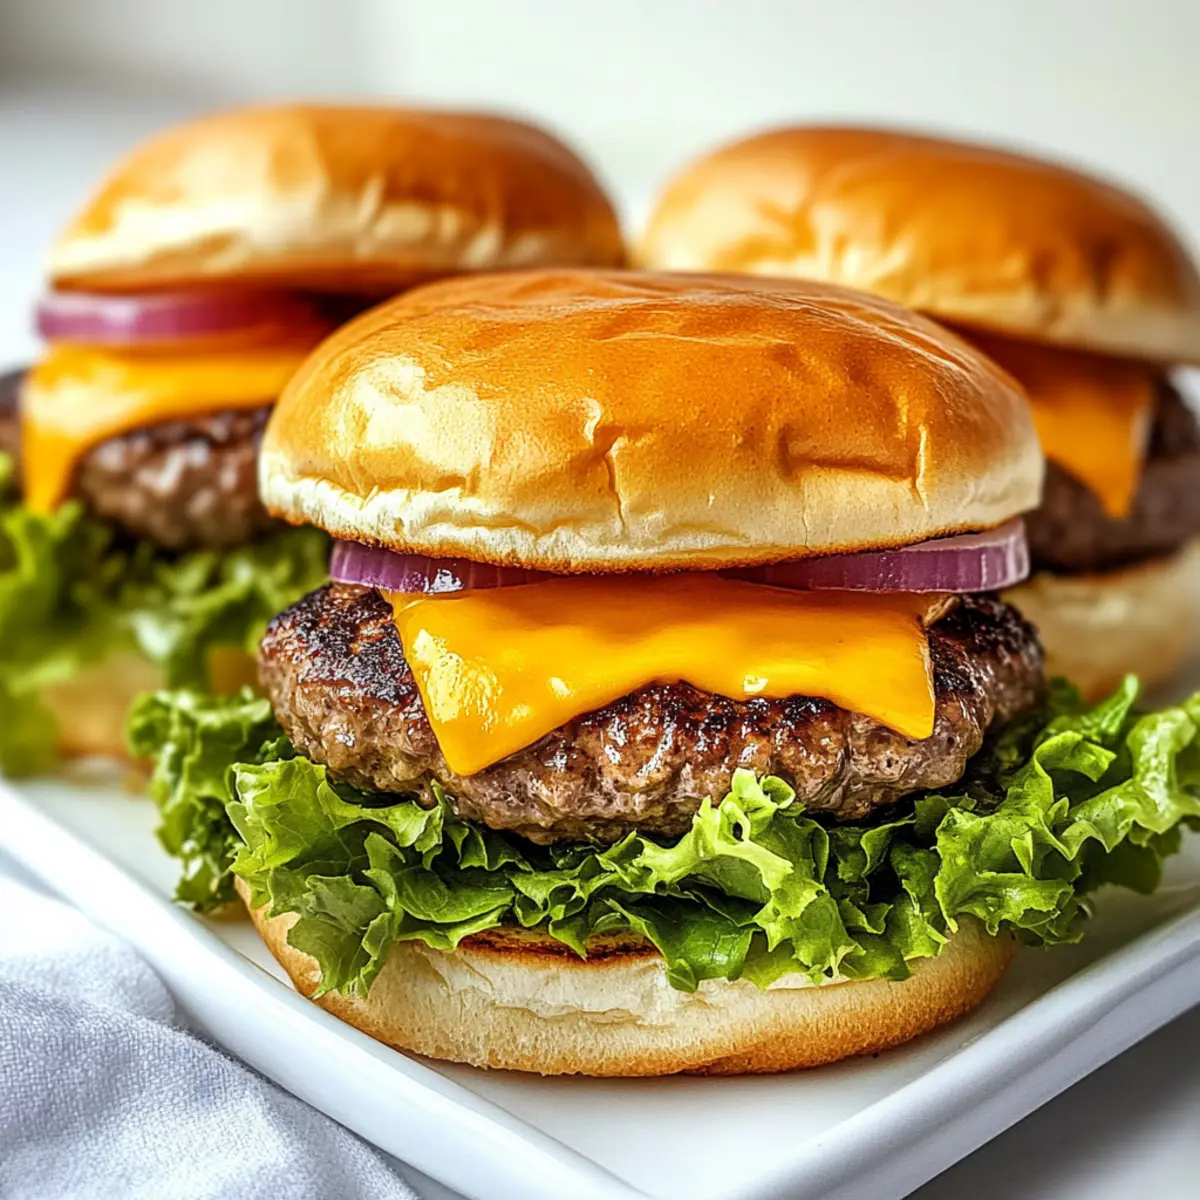
Remove the cheeseburgers from the skillet and let them rest for a couple of minutes to maintain their juiciness. Assembly time! Place each cheesy patty on a toasted bun and top with your favorite fixings such as lettuce, tomato, pickles, or sauce. Your delicious, homemade classic stovetop cheeseburger is now ready to be devoured!
Make Ahead Options
These Juicy Easy Classic Stovetop Cheeseburgers are perfect for busy weeknights when you need a delicious meal without the fuss! You can prepare the burger patties up to 24 hours in advance by mixing the ground beef, garlic, onion, and spices, then shaping them into patties. Store them in an airtight container in the refrigerator to maintain their juiciness. When you’re ready to serve, simply preheat your skillet and cook the patties according to the original instructions. Additionally, if you want to prepare even further ahead, you can freeze the shaped patties for up to 3 months. Just be sure to thaw them overnight in the fridge before cooking; they’ll be just as tender and flavorful!
Expert Tips for Stovetop Cheeseburger
-
Choose Quality Meat: Look for ground beef with an 80/20 fat ratio; it keeps the patty moist while enhancing the flavor of your stovetop cheeseburger.
-
Mix Gently: When combining ingredients, mix until just combined to avoid tough, dry patties—keeping it light is key!
-
Patty Indentation: Don’t forget to create a slight indentation in the center of each patty to ensure even cooking and prevent puffing during the cooking process.
-
Rest After Cooking: Allow the cheeseburgers to rest for a few minutes post-cooking. This helps retain moisture, ensuring each bite is juicy and satisfying.
-
Experiment with Toppings: Customize your stovetop cheeseburger with unique toppings like avocado, jalapeños, or a drizzle of aioli—make it your own!
Storage Tips for Classic Stovetop Cheeseburger
Fridge: Store leftover cheeseburgers wrapped tightly in foil or in an airtight container for up to 3 days. This keeps them fresh and ready for reheating.
Freezer: If you want to save burgers for later, freeze the cooked patties individually wrapped in plastic wrap or in a freezer-safe bag for up to 3 months.
Reheating: To reheat, place the patties in a skillet over medium heat for about 5 minutes on each side or until warmed through. Add cheese during the last minute if desired for a melty finish.
Make-Ahead: Prepare the beef patties ahead of time and store them in the fridge for up to 2 days, or freeze them for up to 3 months before cooking your classic stovetop cheeseburger.
Classic Stovetop Cheeseburger Variations
Feel free to have fun by personalizing your cheeseburger experience with these delicious twists and substitutions!
-
Dairy-Free Option: Use a dairy-free cheese or skip the cheese entirely for a lighter version that still packs flavor.
A cheeseburger doesn’t need to sacrifice flavor to accommodate different diets—just ensure you’re using quality ingredients in every layer. -
Spice It Up: Add finely chopped jalapeños or a dash of hot sauce into the beef mixture for an exciting kick.
A little heat can elevate the flavors, making your cheeseburger not only about comfort but also about exciting taste sensations! -
Herb Infusion: Incorporate fresh herbs like chopped parsley or cilantro into the patty mixture for a refreshing twist.
These bright flavors can transport your classic burger into a new culinary realm—perfect for warm weather or garden gatherings. -
Meat Alternative: Swap ground beef for ground turkey or plant-based crumbles for a healthier or vegetarian indulgence.
You can still enjoy that juicy cheeseburger experience while catering to various dietary preferences; just be mindful of seasoning! -
Artisan Buns: Upgrade your hamburger buns to whole grain or sourdough for added texture and flavor depth.
A unique bun can truly elevate your burger, giving it a gourmet feel while still being accessible for weeknight meals. -
Flavorful Cheeses: Try swapping cheddar for gouda, blue cheese, or a spicy pepper jack to switch up the flavor profile.
A great cheese can transform your simple cheeseburger into a gourmet experience; don’t shy away from mixing it up! -
Add a Crunch: Top your cheeseburger with crispy onion rings or coleslaw to add texture and a new dimension to your meal.
The contrast of textures can take your dining experience from good to absolutely delightful with each mouthful! -
Sweet and Savory: Consider adding a layer of BBQ sauce or caramelized onions for that perfect balance of sweet and savory goodness.
You can turn an otherwise classic cheeseburger into a memorable dining event that’ll have everyone coming back for seconds.
For more delicious variations and ideas, don’t forget to check out our Vegetarian Low Carb recipes and discover how to mix your flavors!
What to Serve with Easy Classic Stovetop Cheeseburger
The aroma of golden, juicy cheeseburgers filling your kitchen is just the beginning of a meal that delights all the senses.
-
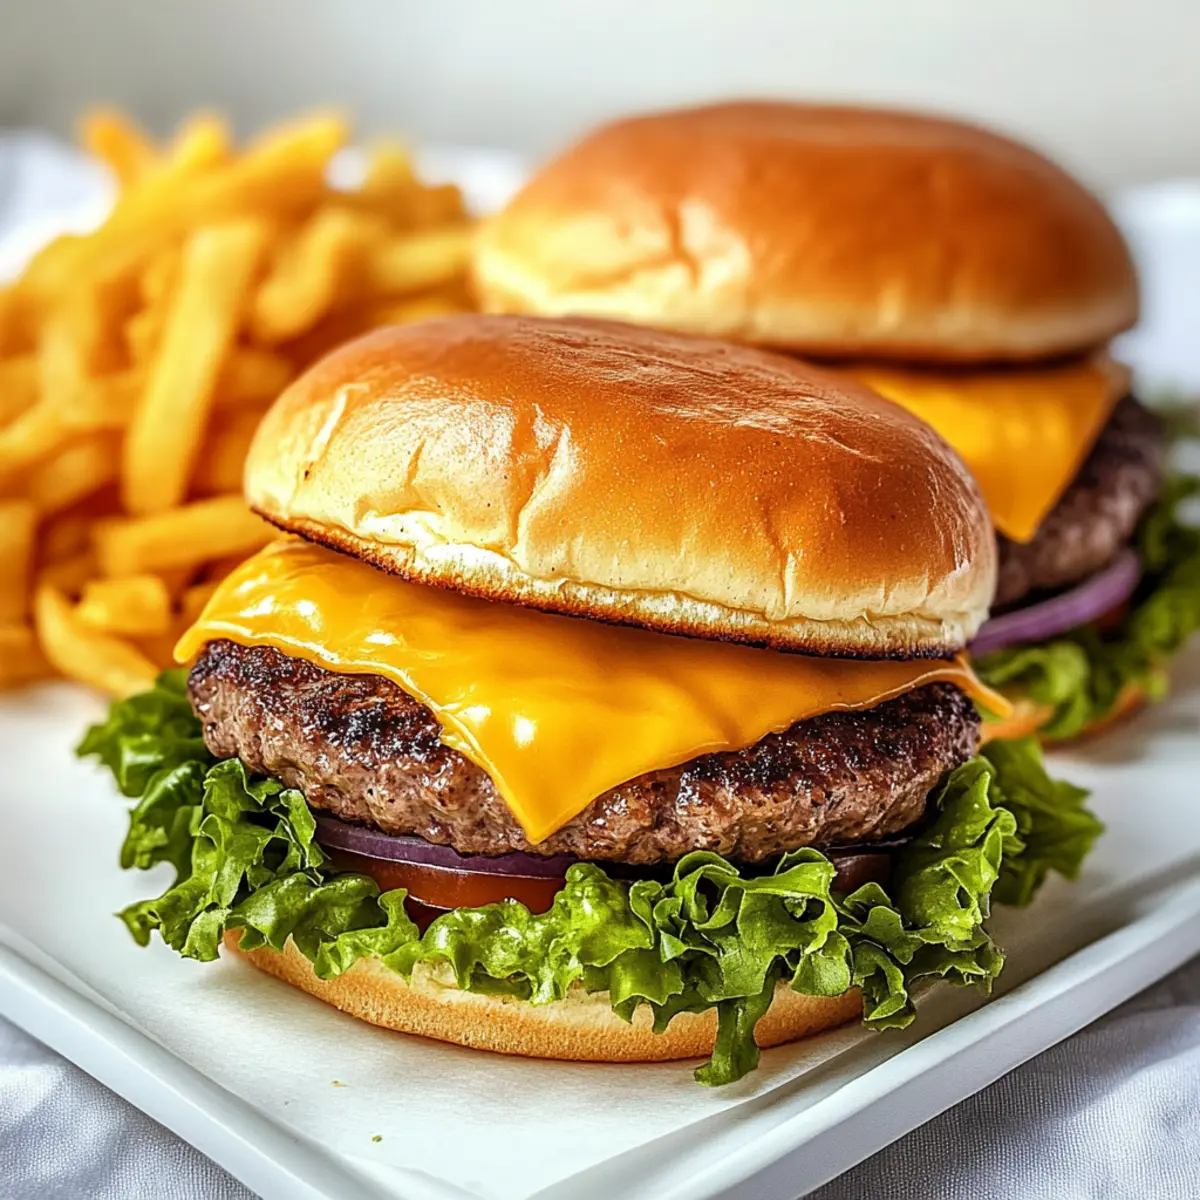
Crispy French Fries: Perfectly seasoned fries offer the ideal crunch, complementing the juicy goodness of the cheeseburger, making every bite irresistible.
-
Coleslaw: A tangy, crunchy coleslaw brings a refreshing contrast and adds crunchiness to each mouthful, balancing the rich flavors beautifully.
-
Grilled Corn on the Cob: Sweet, smoky grilled corn enhances the summery vibe, making it a delightful side that pairs effortlessly with your cheeseburger.
-
Pickles: Tangy dill pickles add a burst of acidity that cuts through the richness of the burger, elevating the flavor experience in each bite.
-
Sweet Potato Fries: Their natural sweetness and crisp texture create a wholesome side that brings a nutritious twist to your classic cheeseburger meal.
-
Fresh Garden Salad: A light, colorful salad dressed with lemon vinaigrette brings fresh, vibrant flavors that brighten up your plate and cleanse the palate.
-
Milkshake: A creamy chocolate or vanilla milkshake turns a simple meal into a nostalgic treat, perfect for satisfying your sweet tooth after that savory cheeseburger.
-
Beer or Iced Tea: A cold craft beer or refreshing iced tea pairs well, providing a lively beverage that complements the strong flavors of the cheeseburger.

Classic Stovetop Cheeseburger Recipe FAQs
What kind of ground beef should I use for the best flavor?
Absolutely! For a juicy and flavorful classic stovetop cheeseburger, I recommend using ground beef with an 80/20 fat ratio. This fat content keeps the patties moist and enhances their overall taste, creating that delicious, comforting flavor we all crave.
How should I store any leftover cheeseburgers?
To store leftover cheeseburgers, wrap them tightly in foil or place them in an airtight container. They can be kept in the refrigerator for up to 3 days. This method helps maintain their freshness, making them easy to reheat later when you’re in the mood for a quick meal.
Can I freeze the patties before cooking?
Yes, you can! To freeze the uncooked patties, lay them on a baking sheet lined with parchment paper and freeze them until firm. Then, wrap each patty in plastic wrap or place them in a freezer-safe bag. They can be stored in the freezer for up to 3 months. When you’re ready to cook them, simply thaw overnight in the refrigerator before proceeding with the cooking instructions.
What should I do if my patties are too dry?
If you find that your patties are dry, consider using ground beef with a higher fat content next time, such as 85/15. Also, remember to mix the ingredients gently to avoid overworking the meat, which can lead to tougher patties. Additionally, don’t press down on the patties while they cook—this can release the juices. Letting them rest post-cooking also helps keep them juicy.
Are there any dietary considerations when making these cheeseburgers?
Absolutely! If you’re preparing these cheeseburgers for someone with allergies, be aware that the A-1 sauce contains gluten and other ingredients that may not be suitable for everyone. You can substitute it with gluten-free Worcestershire sauce if needed. For pet considerations, avoid feeding these burgers to dogs as ingredients like onions and garlic can be harmful to them. Always check with a healthcare professional if allergies are a concern.
Can I make the patties ahead of time?
Yes, making the patties in advance is a great way to save time! You can prepare them and store them in the fridge for up to 2 days before cooking. Alternatively, for longer storage, shape the patties and freeze them for up to 3 months. Just make sure to separate them with parchment paper, so they don’t stick together, and thaw them in the refrigerator when you’re ready to cook!
Savor the Juicy Classic Stovetop Cheeseburger at Home
Ingredients
Equipment
Method
- Prepare the Patty Mixture: In a medium bowl, gently combine the ground beef, minced garlic, minced onion, A-1 sauce, paprika, white pepper, and salt.
- Shape the Patties: Divide the beef mixture into six equal portions and shape each into a patty about 4 inches wide and 1 inch thick.
- Chill the Patties: Cover the shaped patties with plastic wrap and refrigerate for at least 15 minutes.
- Preheat the Skillet: Set a skillet over medium-high heat for about 3 minutes, then lightly oil it.
- Cook the First Side: Cook the patties for about 5 minutes without moving them.
- Flip and Finish Cooking: Carefully flip each patty and cook for an additional 3 minutes.
- Add Cheese: During the last minute, place cheese on top of each patty and cover the skillet.
- Toast the Buns: Toast the hamburger buns for about 1 minute.
- Assemble and Serve: Place each cheesy patty on a toasted bun and add your favorite toppings.
Leave a Reply