
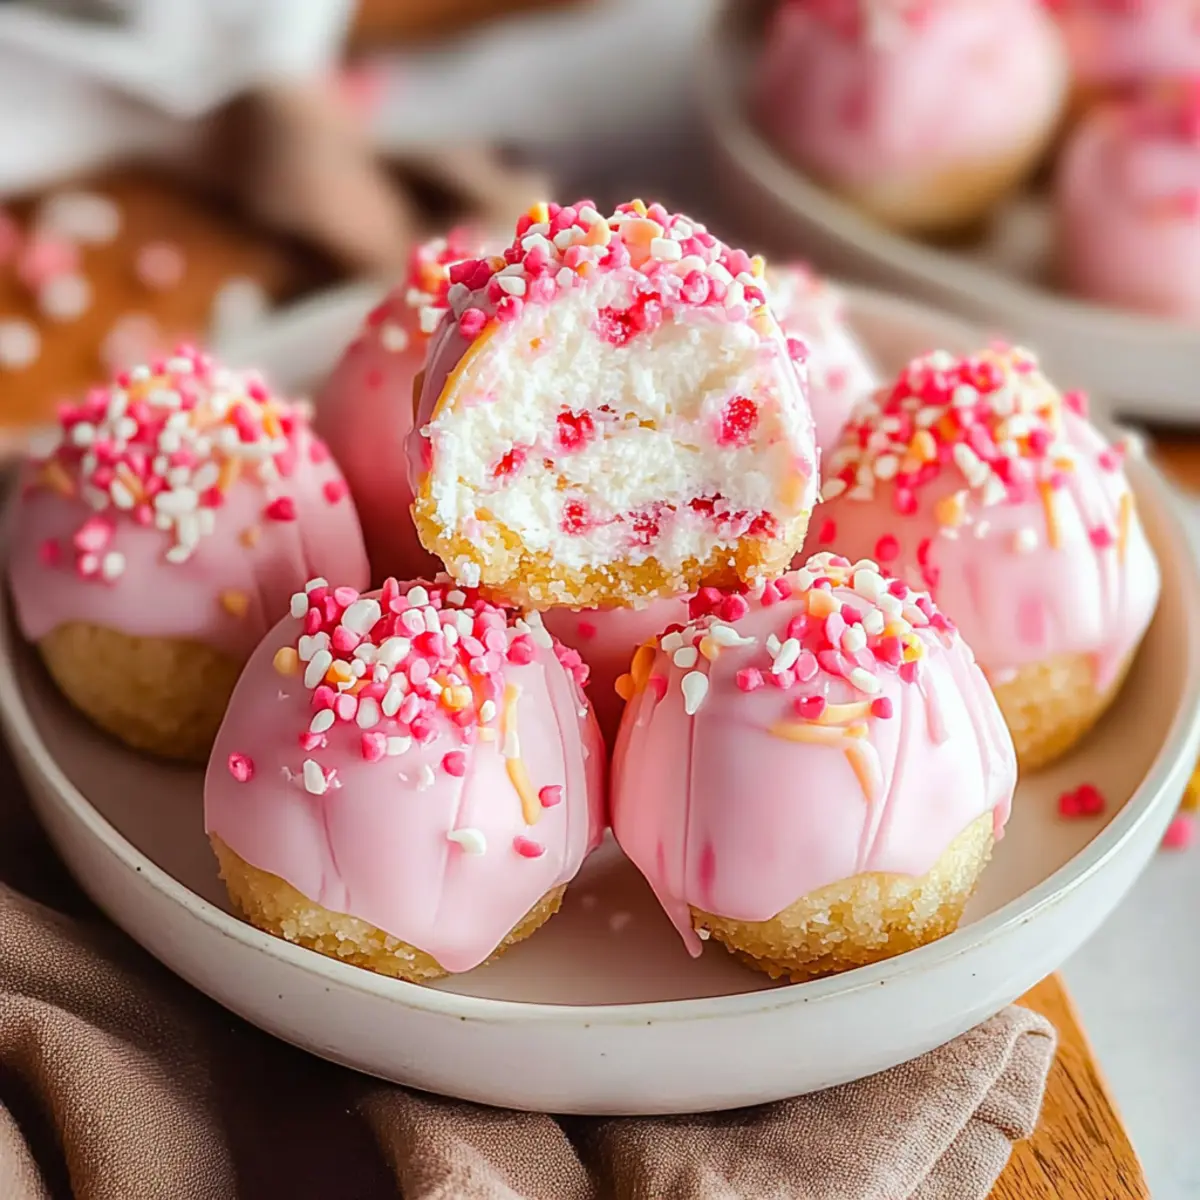
Standing in my kitchen, I was inspired by a vibrant box of cherry chip cake mix sitting on the counter, just waiting to transform into something extraordinary. That’s when the idea for Cherry Chip Cheesecake Bites struck me—a no-bake treat that balances the creamy decadence of cheesecake with the delightful cherry flavor, bringing an irresistible twist to dessert lovers everywhere. These easy bites not only promise a quick prep time, making them perfect for spontaneous gatherings, but they’re also fully customizable to fit any celebration. Imagine serving these colorful, candy-coated bites at your next party, or just savoring a few for an afternoon pick-me-up. What flavor twist will you put on your Cherry Chip Cheesecake Bites?
Why are Cheesecake Bites so Irresistible?
Simplicity: With a quick and easy no-bake process, you’ll be amazed at how simple it is to whip up these Cherry Chip Cheesecake Bites.
Customizable: Feel free to swap the cherry chip cake mix for your favorite flavor or add mix-ins like nuts and sprinkles for a personal touch.
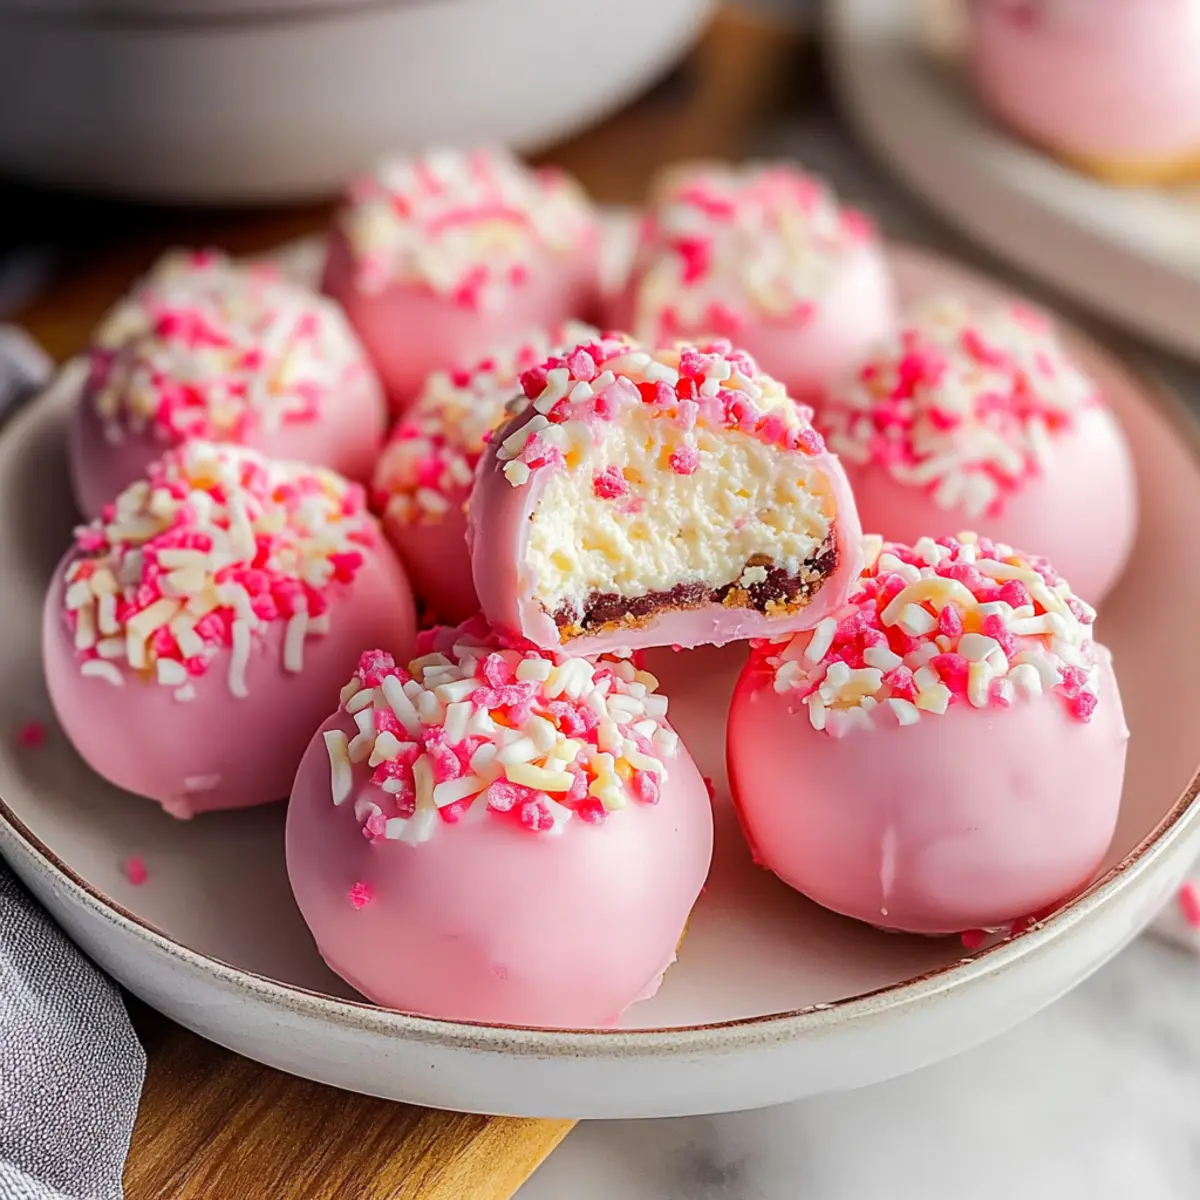
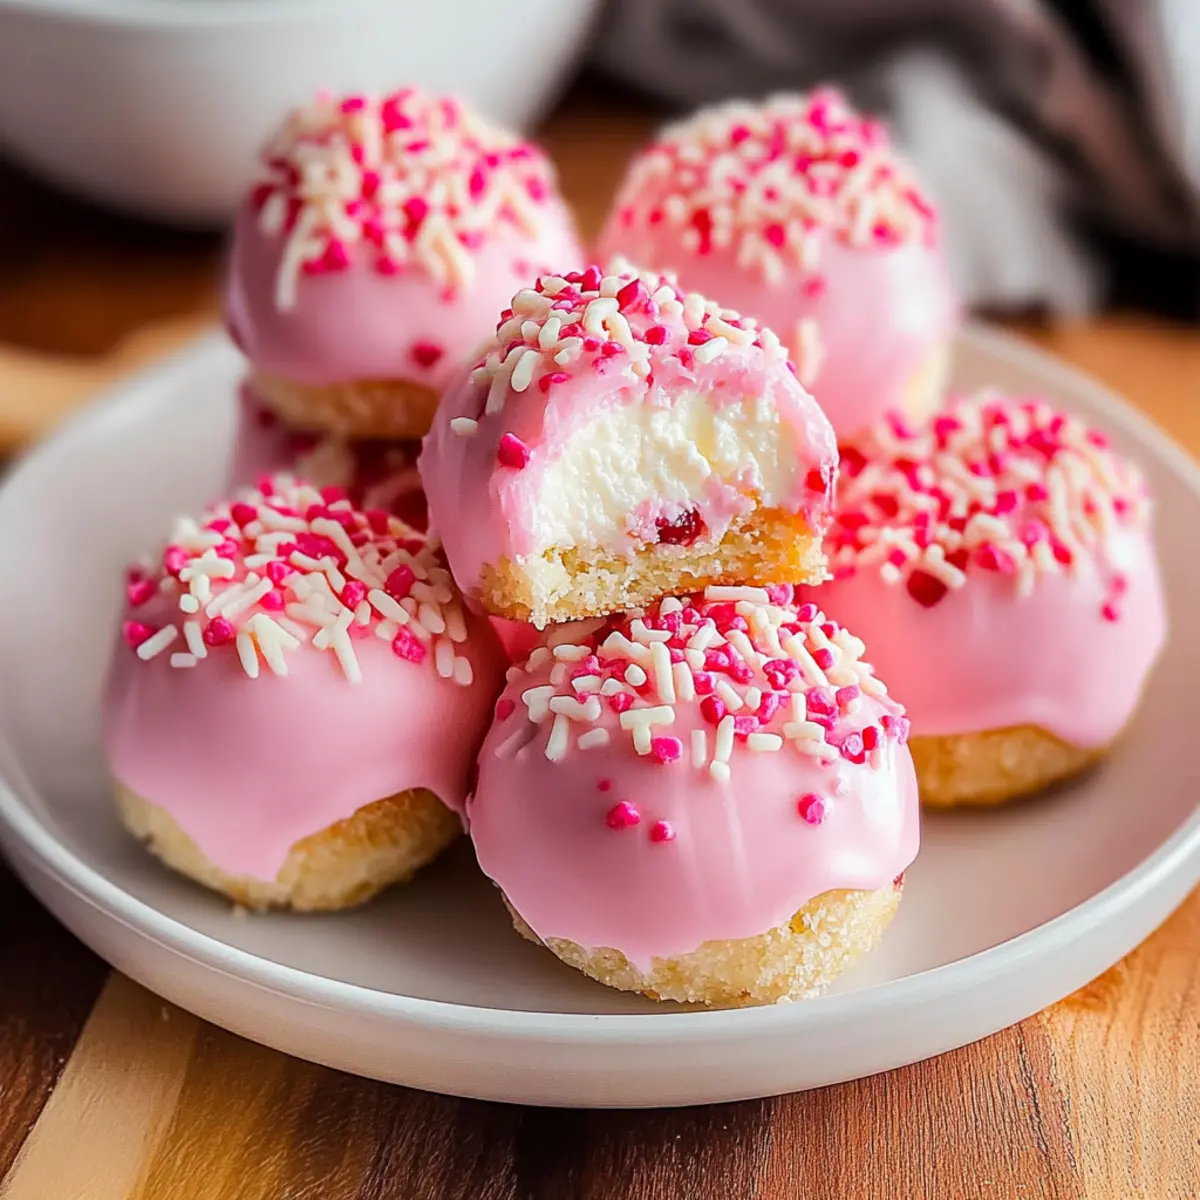
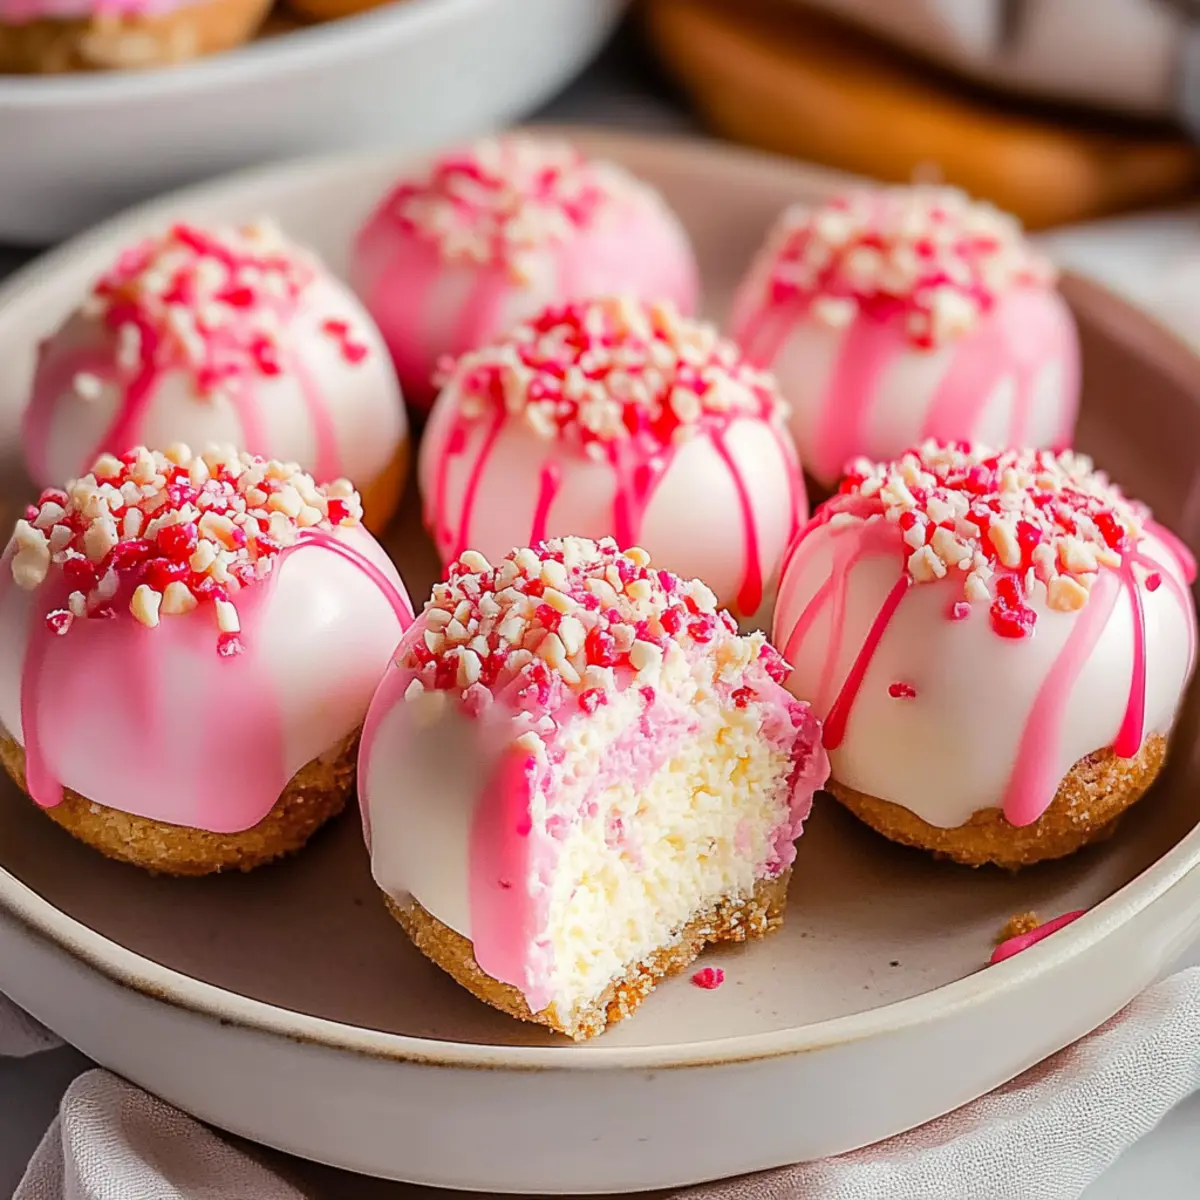
Visually Stunning: Coated in colorful candy melts, these bites are as delightful to look at as they are to eat, making them a show-stopping dessert at any gathering.
Quick Prep Time: These cheesecake bites can be ready to chill in under 30 minutes, perfect for when you’re short on time or want a last-minute sweet treat.
Crowd-Pleasing: Ideal for parties or casual get-togethers, everyone from kids to adults will be reaching for these delightful morsels. You could even serve them alongside Chocolate Chip Sourdough for a sweet indulgence!
Light yet Satisfying: With around 80 calories per bite, you can enjoy a delicious treat without feeling guilty—satisfying your sweet tooth without going overboard!
Cherry Chip Cheesecake Bites Ingredients
For the Cheesecake Filling
• Cherry Chip Cake Mix – Provides the fruity flavor and structure; you can substitute with another cake mix flavor for variation.
• Cream Cheese – Adds richness and creaminess; ensure it is softened for easy mixing.
For the Coating
• Candy Melts (colorful) – Used for coating to add visual appeal and sweet flavor; white chocolate or chocolate chips make great alternative coatings.
• White Almond Bark – For drizzling; adds an extra layer of sweetness and decorative touch, or substitute with additional candy melts for a colorful finish.
With these simple ingredients, you’re one step closer to creating delightful Cherry Chip Cheesecake Bites that everyone will love!
Step‑by‑Step Instructions for Cherry Chip Cheesecake Bites
Step 1: Prepare Cake Mix
In a medium microwave-safe bowl, heat the dry cherry chip cake mix in two separate 30-second intervals, stirring between to ensure even warming. Carefully let the mixture cool down for about 10 minutes. This heating process helps eliminate any raw flour taste, preparing it perfectly for your upcoming Cherry Chip Cheesecake Bites.
Step 2: Mix Cream Cheese
In a mixing bowl, beat the softened cream cheese with an electric mixer on medium speed for 2 to 2½ minutes until it’s completely smooth and creamy. Take your time to achieve a fluffy texture, as this will contribute to the richness of your Cherry Chip Cheesecake Bites.
Step 3: Combine Mixtures
Sprinkle the cooled cherry chip cake mix over the smooth cream cheese. Using a spatula, gently fold the mixtures together just until combined; avoid overmixing to preserve the lightness of the filling. Once blended, your mixture will have a deliciously sweet and fruity scent, ready to scoop into bites.
Step 4: Chill Mixture
Cover the combined mixture tightly with plastic wrap and place it in the refrigerator. Allow it to chill for at least 2 hours, or until it firms up. This chilling step is essential for shaping your Cherry Chip Cheesecake Bites into delightful, bite-sized treats.
Step 5: Shape Bites
After chilling, line a baking sheet with parchment paper for easy cleanup. Using a 1-tablespoon cookie scoop, scoop out portions of the mixture and roll them into smooth balls. Place the shaped bites onto the prepared baking sheet, keeping them evenly spaced to make coating easier.
Step 6: Melt Coatings
In separate microwave-safe bowls, add the colorful candy melts and white almond bark. Microwave each at 50% power, stirring every 30 seconds until completely melted and smooth—this usually takes about 1 to 2 minutes. Ensure both coatings are warm and ready for dipping your Cherry Chip Cheesecake Bites.
Step 7: Coat Bites
Take each cheesecake ball and roll it in the melted candy melts, gently tapping off any excess coating. Place the balls back onto the parchment-lined baking sheet. This colorful coating adds a fun touch to your Cherry Chip Cheesecake Bites, making them even more enticing.
Step 8: Drizzle
Once all the cheesecake balls are coated, drizzle the melted almond bark over each bite in a decorative pattern. This adds another layer of sweetness and visual appeal, making your Cherry Chip Cheesecake Bites look professionally made and irresistible.
Step 9: Chill Again
Return the coated bites to the refrigerator and allow them to set for at least 30 minutes before serving. This final chilling step ensures that everything stays perfectly firm, giving your delicious Cherry Chip Cheesecake Bites the ideal texture for enjoying!
Storage Tips for Cherry Chip Cheesecake Bites
Fridge: Keep your Cherry Chip Cheesecake Bites in an airtight container in the refrigerator for up to one week to maintain their freshness and creamy texture.
Freezer: If you want to save some bites for later, store them in a single layer in a freezer-safe container or bag for up to three months. Just thaw them in the fridge before serving.
Reheating: These treats are best enjoyed chilled and do not require reheating. Simply take them out of the fridge or freezer and enjoy their creamy goodness!
Wrapping: For the best taste and texture, wrap individual bites in plastic wrap before freezing, preventing freezer burn and keeping them deliciously fresh.
Make Ahead Options
These Cherry Chip Cheesecake Bites are perfect for meal prep, allowing you to save time on busy days! You can prepare the cheesecake mixture and chill it in the refrigerator up to 24 hours in advance, ensuring that the flavors meld beautifully. Just cover the mixture tightly with plastic wrap to maintain freshness. When you’re ready to serve, simply scoop, roll into balls, and coat with the melted candy melts and almond bark. For an even easier option, you can shape the bites and freeze them for up to 3 months; just let them thaw in the fridge before coating. This way, you’ll have delicious treats ready to impress anytime!
What to Serve with Cherry Chip Cheesecake Bites
Indulging in these sweet treats opens up a world of delightful pairings that will elevate any gathering.
-
Fresh Berries: Bursting with flavor, fresh strawberries or raspberries provide a tart contrast to creamy sweetness. Their bright colors enhance the visual appeal of your dessert table.
-
Vanilla Ice Cream: This classic pairing adds a creamy, cool touch to each bite. The melty goodness perfectly balances the rich flavors of cherry chip cheesecake.
-
Chocolate Drizzle: A simple drizzle of chocolate sauce over the cheesecake bites intensifies the richness and adds a special touch that guests will love.
-
Sparkling Lemonade: Refreshingly tart and sweet, this drink cleanses the palate between bites and keeps everyone feeling festive. Plus, its bubbly nature adds a celebratory feel!
-
Mini Fruit Tarts: These delightful little pastries filled with creamy custard and topped with fresh fruit create a bright contrast to the sweetness of cherry chip cheesecake bites.
-
Coffee or Espresso: A warm cup of coffee or espresso complements the creamy cheesecake, enhancing the flavors and creating a cozy atmosphere for dessert.
Embrace the variety and let these pairings bring out the best in your Cherry Chip Cheesecake Bites!
Expert Tips for Cherry Chip Cheesecake Bites
-
Room Temperature Cream Cheese: Ensure your cream cheese is at room temperature for a smooth filling. Cold cream cheese can lead to lumps in your mixture.
-
Be Careful with Coatings: When melting candy melts, use a microwave-safe bowl and stir every 30 seconds. This prevents burning and guarantees a velvety coating for your Cherry Chip Cheesecake Bites.
-
Avoid Overmixing: Mix the cake mix and cream cheese gently to maintain a light and airy filling. Overmixing can lead to dense bites.
-
Chill Properly: Don’t skip the chilling steps! Proper chilling ensures the mixture firms up, making it easier to shape the bites and providing the perfect texture.
-
Spacious Baking Sheet: When shaping and coating your bites, make sure to space them out on the baking sheet. This prevents them from sticking together and makes the coating process smoother.
Cherry Chip Cheesecake Bites Variations
Feel free to let your creativity shine as you personalize these delicious bites to suit your taste and occasion!
-
Nutty Delight: Mix in chopped almonds or walnuts for a delightful crunch that enhances the creamy texture. The toasted nuts add a warm flavor that perfectly complements the cherries.
-
Chocolate Lovers: Swap the cherry chip cake mix for chocolate cake mix to create decadent chocolate cheesecake bites. This rich variant pairs beautifully with a drizzle of dark chocolate.
-
Sprinkle Fun: Add colorful sprinkles into the cheesecake mixture for a festive touch. Kids will love the fun visual, and it’s a great way to celebrate birthdays or special occasions.
-
Fruit Twist: Incorporate freeze-dried strawberries or blueberries into the mix for an extra fruity kick. This addition not only amps up the flavor but adds a lovely natural color to the bites.
-
Dairy-Free Option: Use dairy-free cream cheese and swap the cake mix for a dairy-free variant to make it suitable for lactose-intolerant guests. The flavor remains delightful without compromising on taste.
-
Zesty Lemon: Add a splash of lemon juice and zest to the mixture for a refreshing citrus note. This tangy addition makes each bite feel so light and invigorating!
-
Spicy Kick: If you’re feeling daring, mix in a pinch of cayenne or chili powder to your cream cheese mixture before shaping the bites. This surprising hint of spice will excite your taste buds with every bite!
By experimenting with these variations, you’ll create a beautiful array of Cherry Chip Cheesecake Bites that everyone will adore! You might also consider pairing them with some Crab Crescent Bites for a sweet and savory spread, or follow up with a rich Caramel Brownie Cheesecake for the ultimate dessert experience. Enjoy transforming these bites to make them uniquely yours!
Cherry Chip Cheesecake Bites Recipe FAQs
How do I choose the right ripeness for the cream cheese?
Absolutely! For the best results, ensure your cream cheese is at room temperature before mixing. This means letting it sit out for about 30 minutes to an hour (or gently microwaving for about 10 seconds). This step is crucial for a smooth and creamy filling, preventing any lumps from forming in your Cherry Chip Cheesecake Bites.
What’s the best way to store leftovers?
Very! To keep your Cherry Chip Cheesecake Bites fresh, store them in an airtight container in the refrigerator. They will stay delicious for up to one week. Just remember to separate any layers with parchment paper to prevent sticking, ensuring every bite remains perfect until you’re ready to enjoy them again!
Can I freeze these cheesecake bites?
Yes! If you want to save some for a later date, freeze your Cherry Chip Cheesecake Bites by placing them in a single layer in a freezer-safe container with parchment dividers. They can be stored for up to three months. When you’re ready to indulge, simply thaw them in the refrigerator for a few hours or overnight before serving.
What should I do if the mixture is too sticky to shape?
Don’t worry! If you find your mixture too sticky, try chilling it for an additional 30 minutes. If you’re still having trouble, you can lightly dust your hands with powdered sugar while shaping the bites. This little trick helps without altering the flavor and allows you to easily roll the mixture into perfect bite-sized balls.
Are there any allergy considerations for this recipe?
Very much so! This recipe includes dairy and can also contain gluten, particularly in the cake mix. If you have allergies or dietary constraints, consider using gluten-free cake mix and dairy-free cream cheese. Always check labels for allergy information, especially with ingredients like candy melts, as they may contain allergens such as soy or nuts.
How can I add more flavor or customize my cheesecake bites?
Great question! Feel free to add mix-ins like chopped nuts, sprinkles, or even a splash of vanilla extract to enhance the flavor. You can also swap the cherry chip cake mix for other flavors such as chocolate or vanilla, creating unique variations of your Cherry Chip Cheesecake Bites that cater to different tastes and occasions!
Delightful Cherry Chip Cheesecake Bites You’ll Love!
Ingredients
Equipment
Method
- In a medium microwave-safe bowl, heat the dry cherry chip cake mix in two separate 30-second intervals, stirring between, and let it cool for 10 minutes.
- In a mixing bowl, beat the softened cream cheese on medium speed for 2 to 2½ minutes until smooth and creamy.
- Sprinkle the cooled cherry chip cake mix over the cream cheese and gently fold the mixtures together until combined.
- Cover the mixture tightly with plastic wrap and refrigerate for at least 2 hours.
- Line a baking sheet with parchment paper and scoop out portions of the mixture, rolling them into smooth balls.
- In separate microwave-safe bowls, melt the colorful candy melts and white almond bark, stirring every 30 seconds until smooth.
- Roll each cheesecake ball in the melted candy melts, tapping off excess coating, and place back on the parchment-lined baking sheet.
- Drizzle the melted almond bark over each bite in a decorative pattern.
- Return the coated bites to the refrigerator for at least 30 minutes to set.
Leave a Reply